
Trampoline Installation Made Easy – Full Backyard Assembly Guide
Introduction: Why Proper Trampoline Assembly Matters
Assembling a trampoline in your backyard can be a fun and rewarding experience if done correctly. A home trampoline is not only a great source of family entertainment but also helps improve balance, strengthen muscles, and reduce stress.
However, improper installation can lead to safety hazards or damage to the trampoline. This guide provides a step-by-step tutorial for trampoline assembly in your backyard, ensuring safety, durability, and long-lasting enjoyment.
Trampoline Installation Made Easy
Choosing the Best Location for Backyard Trampoline Assembly
Assessing the Available Space
Before you start assembling your trampoline, you must choose a suitable area.
- Size: Standard trampolines range from 8 to 15 feet in diameter. Leave at least 3 feet (1 meter) of free space around it.
- Ground Surface: The surface should be flat, level, and free of rocks or tree roots.
- Safety Clearance: Avoid installing under trees, near fences, walls, or power lines.
Protecting the Lawn and Ground Base
If setting up on grass, place rubber pads or ground protectors under the legs. This prevents the legs from sinking into the soil and keeps the trampoline stable.
Unboxing and Identifying Trampoline Parts
A typical trampoline package includes:
- Metal frame (ring sections)
- Legs and connectors
- Springs
- Jumping mat
- Safety pad (spring cover)
- Safety net
- Poles with foam sleeves
- Ladder and accessories
When unboxing:
- Lay all parts on the ground.
- Match each piece with the instruction manual.
- Prepare the necessary tools: Allen key, screwdriver, rubber mallet, and gloves.
Trampoline Installation Made Easy
Assembling the Trampoline Frame
Connecting Frame Sections
The circular (or polygonal) frame is made of several curved pieces.
- Connect opposite pieces first to maintain symmetry.
- Continue attaching until the circle is complete.
- Tighten all locking pins or bolts securely.
Attaching the Legs
Attach the U-shaped legs evenly under the frame joints.
Ensure that the entire structure sits flat and doesn’t wobble.
Trampoline Installation Made Easy
Installing the Jumping Mat and Springs (Main Assembly Step)
Initial Layout
Trampoline Installation Made Easy
Place the jumping mat in the center of the frame. Each spring has two hooks:
- One hook attaches to the frame.
- The other connects to the mat’s metal ring.
Spring Installation Pattern
To maintain balance:
- Start by attaching springs at 12, 3, 6, and 9 o’clock positions.
- Then fill in the gaps between them, always working opposite sides evenly.
- Continue until all springs are securely attached.
Safety Tips for Spring Installation
- Use a spring-pulling tool or hook to protect your hands.
- Twist gently instead of forcing tight springs.
- Never use oil or lubricants—they can cause slippage.
Trampoline Installation Made Easy
Attaching the Safety Pad (Spring Cover)
The safety pad covers the springs and metal edges to prevent injury.
- Lay the pad evenly over the springs.
- Secure it with Velcro straps or ties around the frame.
- Ensure that no springs or metal parts are exposed.
If your pad isn’t waterproof, use a cover during rainy seasons.
Trampoline Installation Made Easy
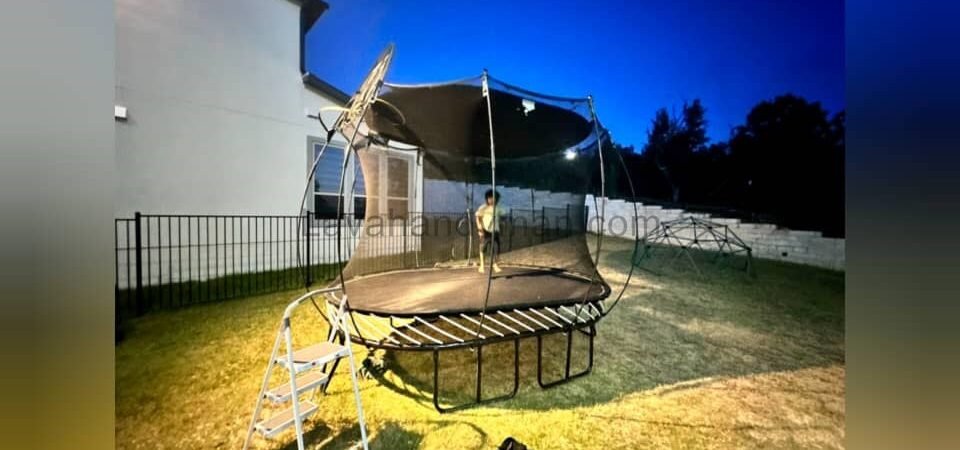
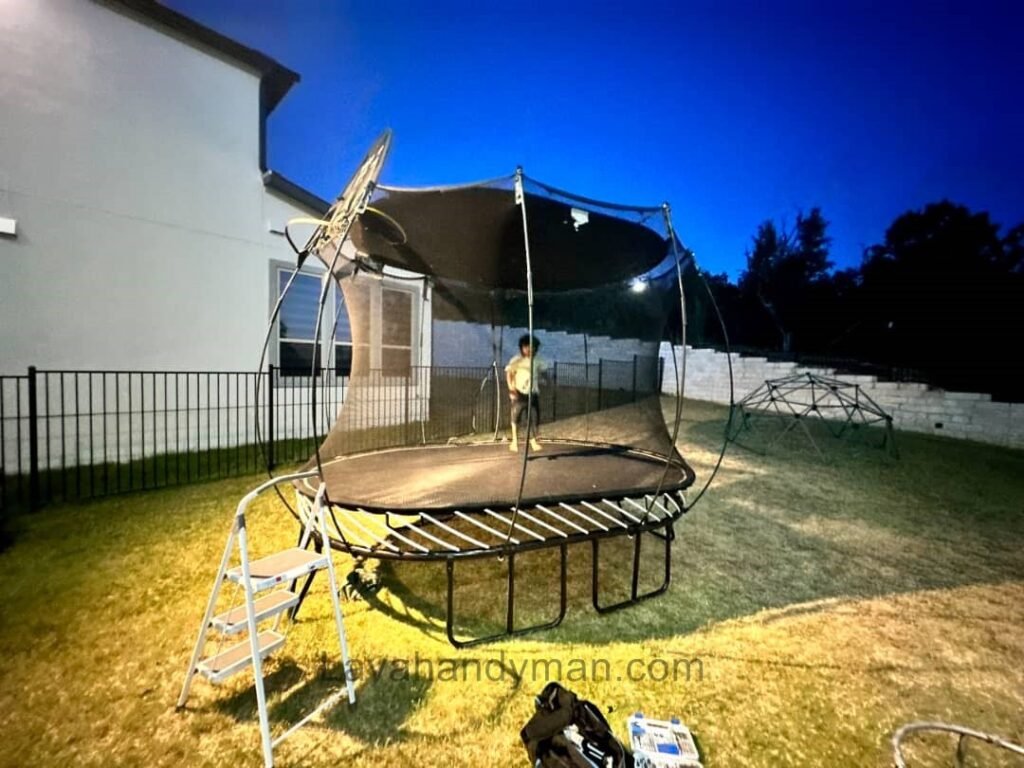
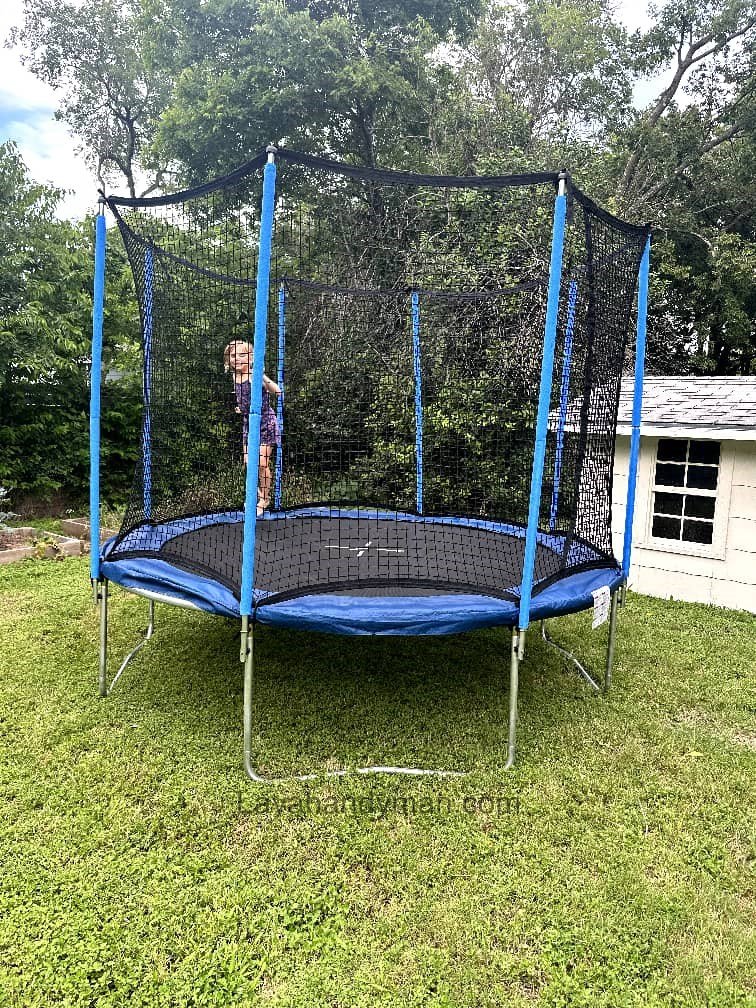
Installing the Trampoline Safety Net
Setting Up the Poles
Insert the support poles into their designated frame sockets. Add foam sleeves for protection.
Attaching the Safety Net
- Secure the upper edge of the net to the tops of the poles.
- Fasten the bottom of the net to the trampoline pad or frame.
- Check that the entrance zipper or buckle works properly.
Adding the Ladder and Accessories
Attach the ladder to the frame entrance at a slight angle for stability.
Optional accessories include weather covers, shade tents, or under-trampoline storage nets, which protect the trampoline and extend its lifespan.
Trampoline Installation Made Easy
Post-Assembly Safety Inspection
Before using your trampoline, perform this safety checklist:
- Frame and legs are firmly secured.
- All springs are locked in place.
- The safety pad fully covers the springs.
- The net is tight and undamaged.
- The ground is level and dry.
After inspection, test the mat with a few light bounces.
Trampoline Installation Made Easy
Trampoline Maintenance After Installation
Regular Cleaning
Wipe the mat and pad with a damp cloth once a month to remove dust and debris.
Weather Protection
- Avoid prolonged exposure to direct sunlight.
- During winter, store the mat and springs indoors if possible.
- Use a waterproof cover when not in use.
Routine Safety Checks
- Tighten all screws every two months.
- Replace rusted or overstretched springs.
- Repair torn nets or pads immediately.
Trampoline Installation Made Easy
Safety Tips for Using a Backyard Trampoline
- Allow only one jumper at a time.
- Always jump barefoot (no shoes).
- Avoid flips or risky tricks without supervision.
- Supervise children under 6 years old.
- Keep pets off the trampoline.
Following these simple rules will greatly reduce the risk of injury.
Common Trampoline Assembly Problems and Fixes
Trampoline Installation Made Easy
| Problem | Cause | Solution |
|---|---|---|
| Frame won’t fit together | Incorrect assembly order | Connect opposite parts first |
| Springs won’t stretch | Uneven tension | Install springs in a cross pattern |
| Safety pad moves | Straps too loose | Retie or tighten straps |
| Loose safety net | Loose ties | Retighten at the top poles |
Pro Tips to Extend Trampoline Lifespan
- Lubricate metal joints every six months to prevent rust.
- Use anchor kits to secure the trampoline during strong winds.
- Keep the trampoline shaded to reduce UV wear.
- Inspect it regularly and replace worn-out parts promptly.
🧰 Step-by-Step Guide to Assembling a Trampoline in Your Backyard (Complete Installation & Safety Tips)
Step 1: Choose the Right Location for Your Trampoline
To begin your backyard trampoline assembly, select a safe, level area.
- The ground should be flat and free of rocks, branches, or bumps.
- Leave at least 1 meter (3 feet) of free space around the trampoline.
- Avoid placing it under trees, low roofs, or near power lines.
- If you’re installing on grass, use rubber pads under the legs to prevent sinking.
💡 Choosing the right spot ensures both safety and stability for long-term use.
Trampoline Installation Made Easy
Step 2: Unpack the Box and Prepare Your Tools
Before starting your trampoline installation:
- Unpack the box and lay out all the parts on the ground.
- Check them against the instruction manual to ensure nothing is missing.
- Gather the necessary tools:
- Allen wrench or regular wrench
- Screwdriver
- Rubber mallet
- Spring pull tool (hook)
- Safety gloves
Main trampoline parts include:
Frame, legs, springs, jumping mat, safety pad, safety net, poles, and ladder.
Step 3: Assemble the Trampoline Frame
- Arrange the frame pieces on the ground according to the manual.
- Connect the opposite pieces first to keep the frame balanced.
- Continue attaching all pieces until you form a complete circle (or oval/square).
- Tighten all screws and pins securely to avoid movement or instability.
🔸 The frame should be perfectly round and even when finished.
Trampoline Installation Made Easy
Step 4: Install the Trampoline Legs
- Attach the U-shaped or L-shaped legs under the frame.
- Each leg usually connects to two frame joints.
- After all legs are installed, check that the trampoline sits firmly and evenly.
- On uneven ground, use plastic or wooden blocks for leveling.
Step 5: Attach the Jumping Mat and Springs (Key Assembly Stage)
Initial Setup
Place the jumping mat at the center of the frame.
Each spring connects:
- One end to the frame.
- The other end to the metal ring on the jumping mat.
Correct Order for Spring Installation
To keep tension balanced during setup:
- Start with four springs at 12, 3, 6, and 9 o’clock positions.
- Then install springs in between those positions, one by one.
- Always attach springs in opposite pairs until all are connected.
Safety Tips for Spring Installation
- Use the spring pull tool instead of your hands.
- Rotate tight springs slightly if they don’t hook easily.
- Never use oil or grease on the springs — it can reduce grip and cause slipping.
Trampoline Installation Made Easy
Step 6: Install the Safety Pad
The safety pad covers the springs and metal edges to prevent injuries.
- Lay the pad evenly over the springs.
- Use Velcro straps or ties to secure it tightly to the frame.
- Make sure no spring or metal part is exposed.
✅ A properly installed safety pad greatly reduces the risk of injury.
Step 7: Install the Safety Net
Attaching the Poles
- Insert the net poles into the designated spots on the legs.
- Slide the foam sleeves over each pole to provide soft protection.
Attaching the Net
- Secure the top of the net with straps or hooks at the pole tops.
- Attach the bottom of the net to the frame or safety pad.
- Check that the zipper door opens and closes smoothly.
Trampoline Installation Made Easy
Step 8: Install the Ladder and Accessories
- Attach the ladder near the entrance for easy access.
- Adjust its angle so it’s stable and doesn’t slide.
- If desired, add a weather cover or shade canopy to protect the trampoline from rain and UV rays.
Step 9: Perform a Final Safety Check
Before using the trampoline, go through this checklist:
- The frame is stable and doesn’t wobble.
- All springs are tightly secured.
- The safety pad completely covers the springs.
- The safety net is intact and properly fastened.
- The ground is dry, clean, and flat.
Finally, test the trampoline with a few light jumps to ensure proper balance and tension.
Trampoline Installation Made Easy
Step 10: Maintenance Tips for Your Backyard Trampoline
- Monthly cleaning: Wipe down the jumping mat and pads with a damp cloth.
- Inspect the springs: Replace any loose or rusty ones every two months.
- Weather protection: Use a trampoline cover during rainy or hot seasons.
- Lubricate metal parts: Apply oil every six months to prevent rust.
- Safety rule: Only one person should jump at a time to avoid accidents.
Final Thoughts: Safe Fun That Lasts
Assembling a trampoline in your backyard is simple when done carefully.
By following these step-by-step assembly instructions and performing regular safety checks, you can enjoy years of safe, active family fun.
A home trampoline isn’t just for play — it promotes fitness, balance, and happiness for everyone.
🔧 Types of Brackets Used for Backyard Trampoline Assembly
When assembling a trampoline, using the right brackets is crucial for stability, safety, and durability. The type of bracket depends on the trampoline design and model, but the most common types include:
Trampoline Installation Made Easy
1. Leg-to-Frame Brackets
- These brackets connect U-shaped or L-shaped legs to the main frame.
- Made of strong, pressure-resistant metal and secured with screws or pins.
- Function: Support weight, absorb jumping impact, and keep the frame level.
2. Frame Joint Brackets
- Circular or polygonal trampolines have frames made of multiple pieces.
- Angle or tube brackets with locking holes are used to join these sections.
- Function: Create a strong, stable frame and prevent the pieces from separating.
3. Spring Anchor Brackets
- Some larger trampolines have special brackets for spring attachment.
- Springs hook directly onto these brackets to ensure even tension.
- Function: Distribute spring force evenly and prevent frame bending.
Trampoline Installation Made Easy
4. Net Pole Brackets
- Safety net poles attach to the frame or legs using strong metal brackets.
- Sometimes covered with foam padding to reduce the risk of injury from contact.
- Function: Stabilize the safety net and protect users during jumping.
5. Ladder Brackets
- Some trampolines include brackets for attaching a ladder.
- Function: Secure the ladder at the correct angle and prevent slipping.
🔑 Important Tips for Using Brackets in Trampoline Assembly
- Always use manufacturer-provided brackets; avoid non-standard replacements.
- Make sure screws and pins are tightly secured with no looseness.
- Brackets should be made from galvanized or rust-resistant metal for outdoor durability.
- Ensure that brackets are not stressed beyond their limit during spring or net installation.
Proper use of brackets increases trampoline lifespan, enhances safety, and reduces the risk of accidents during play.
Trampoline Installation Made Easy
Conclusion
Assembling a trampoline in your backyard may seem complex, but with patience and careful attention to detail, it’s quite simple.
By following the steps in this backyard trampoline installation guide, you can ensure safety, durability, and endless family fun.
A well-installed trampoline will provide years of enjoyment while promoting physical activity and outdoor play.
📞 Need Help?
Let us take care of the hard work while you sit back and relax.
📍 Serving: Austin, Round Rock, Cedar Park & more
📱 Call or Text: (737) 420-6992
🌐 Visit: https://lavahandyman.com
