How to Mount a Samsung TV on the Wall with the New Slim Fit Method
Introduction
Mounting a Samsung TV on the wall is no longer just about saving space — it has become an essential part of modern home design. With Samsung’s new Slim Fit Wall Mount method, you can eliminate the bulky brackets and wide gaps between your TV and the wall.
In this step-by-step guide, you’ll learn how to mount your Samsung TV on the wall using the latest Slim Fit system. You’ll also discover the required tools, installation steps, safety tips, and professional advice to achieve a clean, stylish, and secure setup.

What Is the Samsung Slim Fit Wall Mount Method?
Samsung’s new Slim Fit Wall Mount (also known as No-Gap Mount) is designed specifically for its latest models, including QLED, Neo QLED, and The Frame TVs.
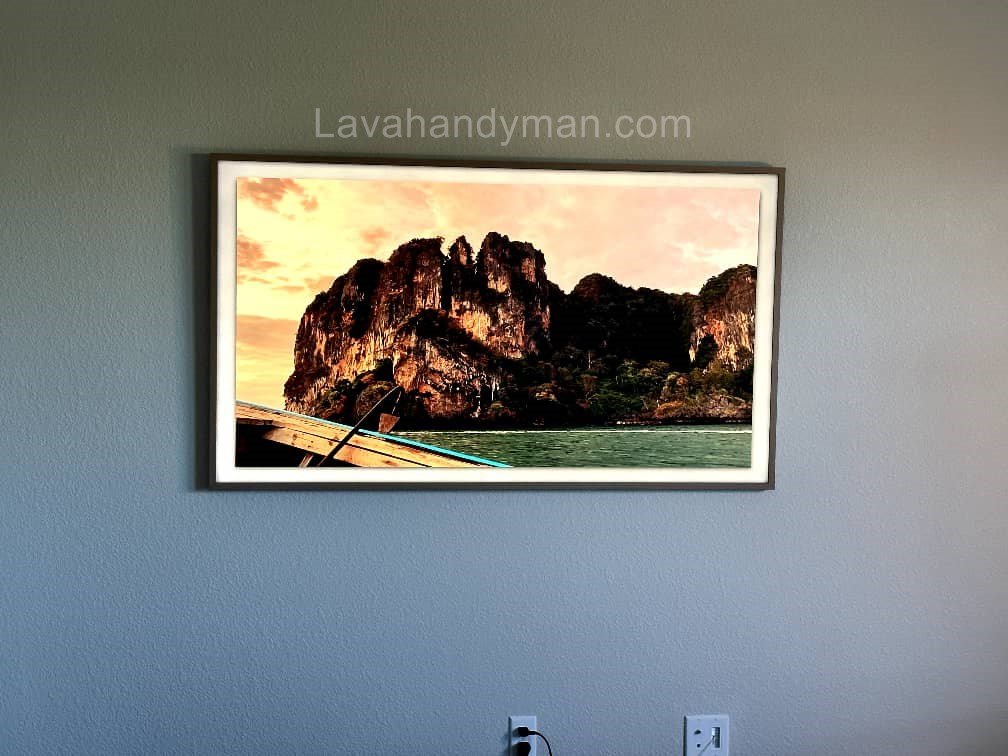
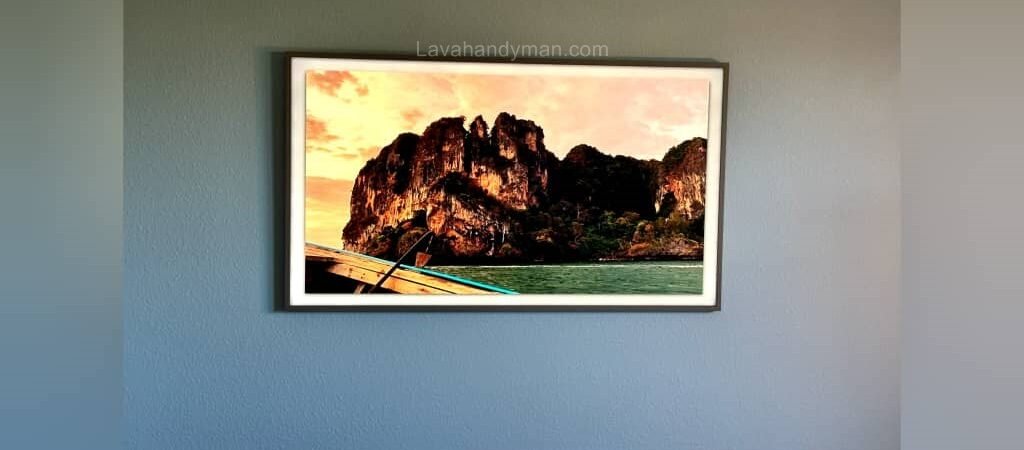
This method allows you to mount your Samsung TV almost completely flush with the wall — giving it the appearance of a framed artwork. The ultra-slim design and magnetic locking system ensure both elegance and safety, making it one of the most advanced wall-mounting systems available today.
Samsung TV on the Wall
Advantages of Mounting a Samsung TV with the Slim Fit Method
- Stunning Aesthetics: The TV sits nearly flat against the wall, creating a sleek, modern look.
- Space Efficiency: Eliminates unnecessary wall gaps, making your room appear larger.
- Cable Management: With Samsung’s One Connect Cable, all wires remain hidden from view.
- High Safety: The engineered lock mechanism prevents the TV from falling or tilting.
- Quick and Easy Installation: The lightweight design reduces setup time significantly.
Required Tools for Mounting a Samsung TV on the Wall
| Tool | Purpose |
|---|---|
| Hammer drill & masonry bit | For drilling into brick or concrete walls |
| Measuring tape & laser level | To ensure accurate height and alignment |
| Wall plugs and screws | For securely fastening the Slim Fit mount |
| Phillips screwdriver | To attach mounting brackets to the TV |
| Original Samsung Slim Fit Wall Mount | Recommended for QLED and Neo QLED models |
| One Connect or thin HDMI cable | For signal transfer without adding bulk |
| Safety gloves and goggles | For personal protection during installation |
Step-by-Step Guide: Mounting a Samsung TV on the Wall
Step 1: Prepare the Installation Area
- Choose the ideal wall location for your TV.
- The center of the screen should be roughly 110–120 cm (43–47 inches) from the floor.
- Check the wall for hidden electrical wires or plumbing.
- Identify the wall type (drywall, concrete, or brick) before drilling.
Step 2: Mark the Mounting Points
Samsung TV on the Wall
- Hold the TV against the wall to find the center position.
- Mark the bracket holes using a pencil.
- Use a laser level to ensure the line is perfectly horizontal.
Step 3: Drill and Secure the Wall Plate
- Drill holes at the marked points.
- Insert wall plugs and tighten the screws.
- Attach the Slim Fit Wall Plate firmly and check the level.
Step 4: Attach the Mounting Brackets to the TV
- Locate the four VESA mount holes on the back of your Samsung TV.
- Secure the Slim Fit brackets with the provided screws.
- Do not overtighten to avoid damaging the TV casing.
Step 5: Connect Cables Before Mounting
Before hanging the TV, connect the power cord and One Connect Cable.
Since the gap between the TV and the wall will be minimal, it’s best to handle cables beforehand.
Step 6: Mount the TV onto the Wall
- With the help of another person, lift the TV and align the brackets with the wall mount.
- Gently push it into place until you hear a click, confirming that it’s locked securely.
Step 7: Final Alignment and Safety Check
- Verify that the TV is level.
- Check all screws and connections.
- Ensure the cables are not stretched or pinched.
Safety and Professional Installation Tips
- Always use the original Samsung Slim Fit Wall Mount for compatibility.
- For drywall installations, reinforce with a metal backing plate.
- For TVs larger than 65 inches, installation should be done by two people.
- Use a surge protector to safeguard your TV from power fluctuations.
- After installation, recheck the alignment with a level tool.
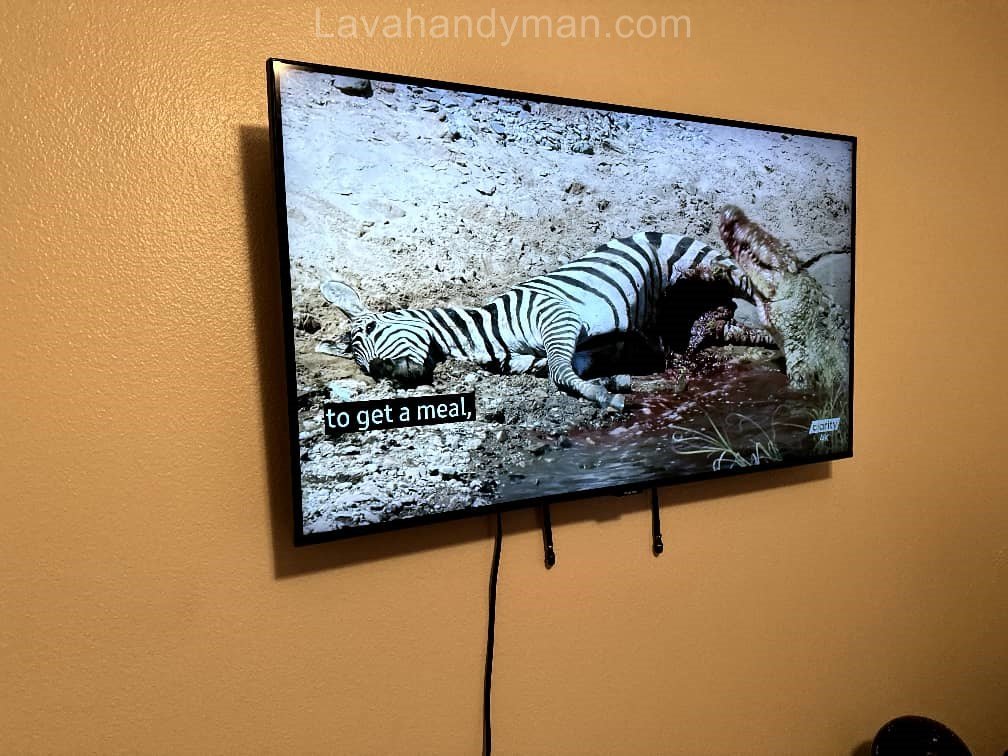
Samsung TV on the Wall
Other Modern Mounting Methods for Samsung TVs
| Mount Type | Description |
|---|---|
| Full Motion Mount | Adjustable for different viewing angles; great for large rooms. |
| Magnetic Mount | Tool-free installation with magnetic locks. |
| In-Wall Mount | Hides the entire TV inside a recessed wall niche. |
| Ceiling Mount | Ideal for commercial spaces or large halls. |
While these options exist, Samsung’s Slim Fit Wall Mount remains the most elegant and practical choice for modern homes.
Maintenance After Wall Mounting
- Clean your TV screen monthly with a soft microfiber cloth.
- Avoid using cleaning sprays or chemicals.
- Check all screws and brackets every six months for looseness.
- Remove the TV from the wall before moving to a new location.
- Keep heat sources such as heaters or fireplaces away from the TV.
🔧 Step-by-Step Guide: Mounting a Samsung TV on the Wall (Slim Fit Method):
Tools and Equipment You’ll Need
| Tool | Purpose |
|---|---|
| Slim Fit or Compatible Wall Mount Bracket | Securely attaches the TV to the wall |
| Hammer Drill & Appropriate Bits | Drilling into concrete or brick walls |
| Anchors and Heavy-Duty Screws | Fixing the bracket firmly to the wall |
| Laser or Bubble Level | Ensures your TV is perfectly horizontal |
| Measuring Tape and Pencil | Accurate marking of installation points |
| Screwdriver and Adjustable Wrench | Tightening screws and bolts |
| Stud Finder | Detects wall studs, pipes, and electrical wiring |
| Protective Gloves & Safety Glasses | Prevents injury during installation |
Samsung TV on the Wall
Step 1: Choose the Right Wall Location
Before drilling, pick the ideal wall spot for your TV.
- The wall must be flat, dry, and sturdy.
- The ideal mounting height is 110–120 cm (43–47 inches) from the floor, with the TV’s center at eye level when seated.
- Avoid direct sunlight or heat sources.
- Ensure nearby power outlets and cable connections are accessible.
💡 Tip: For drywall or lightweight walls, use a reinforcement plate or specialized drywall anchors.
Step 2: Check the Wall Type and Prepare the Area
- Use a stud finder to locate metal or wooden studs.
- For concrete or brick, use masonry drill bits and wall anchors.
- For drywall, use toggle bolts or a reinforcement backplate.
⚠️ Warning: Always check for hidden electrical wires or pipes before drilling.
Step 3: Mark the Bracket Mounting Points
- Hold the TV at the desired height to find the screen’s center.
- Mark the drill holes for the wall bracket using a pencil.
- Use a laser level to draw a straight horizontal line to ensure alignment.
🎯 Pro Tip: The TV center should align with the viewer’s seated eye level to prevent neck strain.
Samsung TV on the Wall
Step 4: Drill Holes and Mount the Wall Plate
- Drill the holes where marked using the proper bit for your wall type.
- Insert the wall anchors.
- Place the metal wall plate and secure it with screws.
- Double-check that it’s perfectly level.
🔧 For drywall, use high-strength anchors designed to hold heavy loads.
Step 5: Attach the Brackets to the Back of the TV
- Lay the TV on a soft, flat surface to prevent screen damage.
- Attach the Slim Fit brackets to the VESA mount holes on the back.
- Tighten the screws firmly but avoid over-tightening.
🧩 Note: Make sure the VESA pattern (e.g., 200×200 or 400×400) matches your wall mount bracket.
Step 6: Connect the Cables Before Hanging the TV
Samsung TV on the Wall
Before lifting the TV onto the wall mount, connect all necessary cables:
- Power cable
- HDMI or One Connect cable
- Ethernet or optical audio cable
💡 Tip: If routing cables inside the wall, use in-wall rated cables that meet safety standards.
Step 7: Hang the TV on the Wall Bracket
- Lift the TV carefully with another person.
- Align the attached brackets on the TV with the wall plate.
- Gently lower the TV until it clicks into place.
- Confirm that it’s securely locked.
⚙️ Note: For TVs larger than 55 inches, at least two people are required for safe installation.
Step 8: Final Alignment and Safety Check
- Use a level to ensure the TV is perfectly horizontal.
- Gently pull the TV forward to verify stability.
- Ensure cables are not under tension.
- Adjust tilt or swivel angle if your mount supports it.
✅ Finally, turn on the TV and check that both video and audio connections work correctly.
Samsung TV on the Wall
Step 9: Maintenance and Periodic Checks
Always remove the TV from the wall before moving it to another location.
Every 6 months, inspect and tighten the wall mount screws.
Avoid spraying liquid cleaners directly on the screen.
Use a dry microfiber cloth for cleaning.
Conclusion
Mounting your Samsung TV on the wall with the Slim Fit Wall Mount combines aesthetics, safety, and advanced engineering. By minimizing the gap between the TV and the wall, this method transforms your display into a true piece of art.
For a minimalist and modern living space, the Samsung Slim Fit Mount is the best solution. Follow the steps in this guide carefully, and you’ll achieve a perfect, flush installation that enhances both your home décor and viewing experience.
📞 Need Help?
Let us take care of the hard work while you sit back and relax.
📍 Serving: Austin, Round Rock, Cedar Park & more
📱 Call or Text: (737) 420-6992
🌐 Visit: https://lavahandyman.com