
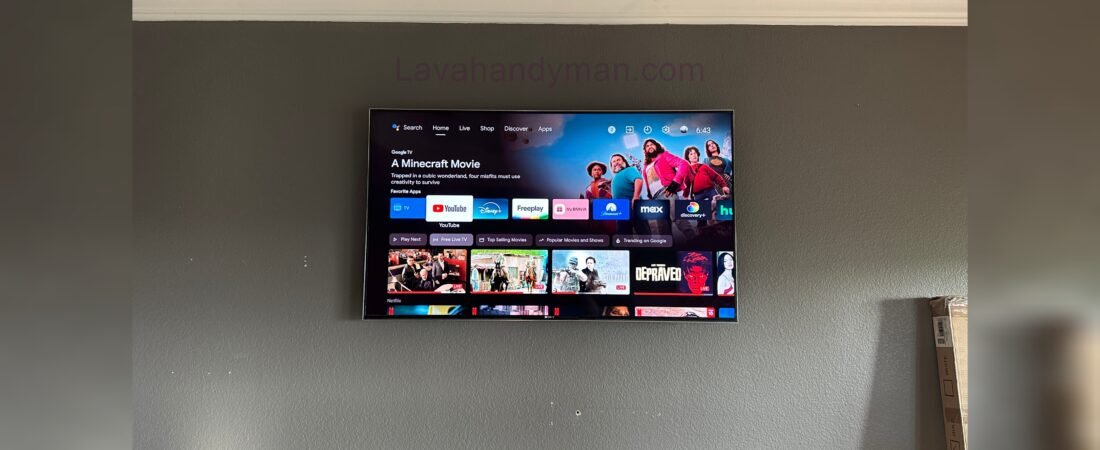
How to Mount a Sony TV on the Wall Safely | Installation Guide
Introduction
Wall mounting a Sony TV is one of the best ways to enhance your home décor, maximize available space, and create a more enjoyable viewing experience. With the sleek design of modern Sony Smart TVs, many homeowners choose to mount their televisions on the wall instead of placing them on a TV stand. Besides creating a clean and modern look, proper wall installation improves safety, provides a better viewing angle, and helps protect your television from accidental damage.
Although installing a Sony TV may seem like a simple task, following the correct installation procedures and safety standards is essential. Choosing the right wall mount, checking the wall’s strength, determining the ideal mounting height, using appropriate screws and anchors, and following the correct VESA mounting standard all play a crucial role in ensuring a secure installation. Ignoring these factors could result in a loose mount, damage to the TV panel, or even the television falling from the wall.
One of the most common mistakes people make is purchasing a wall bracket without considering the TV’s size and weight. Every Sony television is designed with specific mounting requirements, and using an incompatible bracket may place unnecessary stress on the back panel of the TV. In addition, the wall material is equally important. Mounting a Sony TV on concrete, brick, or drywall requires different hardware and installation techniques to ensure the bracket can safely support the television’s weight.
Selecting the right installation location is another key consideration. The mounting height, viewing distance, and exposure to direct sunlight all affect your viewing comfort and the overall performance of the television. If you plan to connect accessories such as a soundbar, gaming console, streaming device, or home theater system, it is also important to plan cable routing and equipment placement before installation begins.
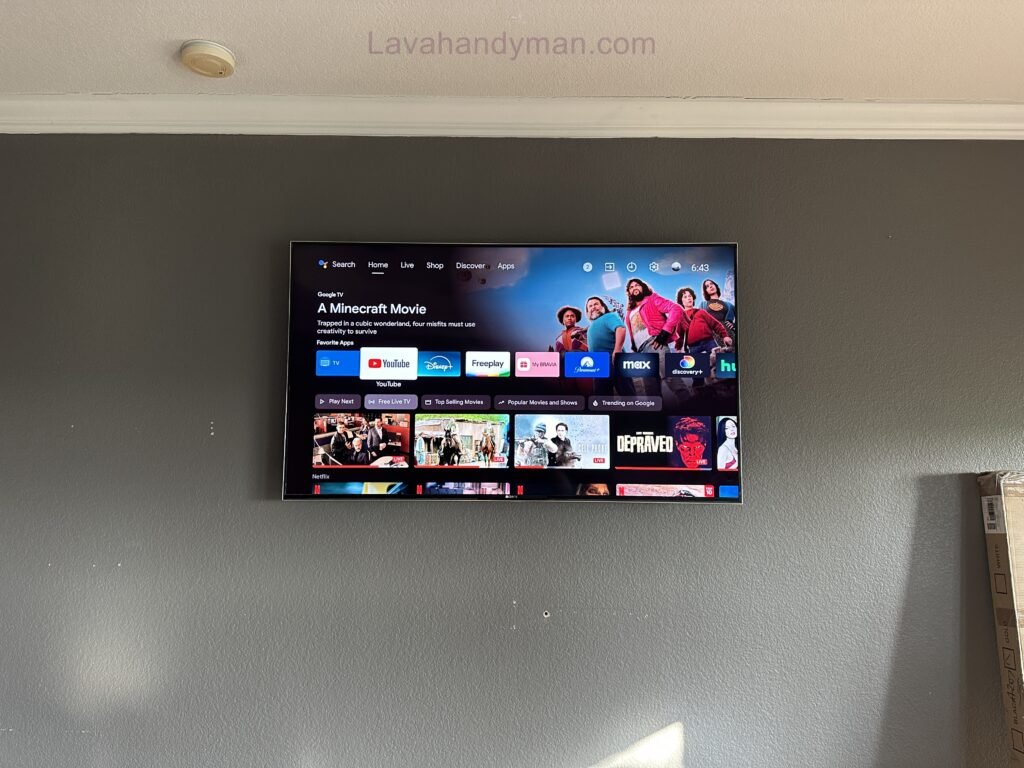
Mount a Sony TV on the Wall
Another significant advantage of wall mounting a Sony TV is improved home safety. Televisions placed on furniture are more vulnerable to tipping over, especially in homes with young children or pets. A properly installed wall-mounted TV greatly reduces this risk and provides greater peace of mind. For this reason, professional installers often recommend wall mounting as the safest option for large-screen televisions.
Wall mounting also creates a cleaner appearance by making cable management much easier. Using cable covers or in-wall cable management systems allows power, HDMI, antenna, and network cables to remain hidden, giving your living room a tidy and professional appearance while also protecting the cables from wear and damage.
In this comprehensive guide, you’ll learn how to safely mount a Sony TV on the wall step by step. We’ll cover everything from choosing the best installation location and selecting the right wall mount to understanding VESA standards, determining the ideal mounting height, preparing the wall, installing the mounting bracket, organizing cables, and following important safety recommendations. Whether you’re installing your TV yourself or simply want to understand the process before hiring a professional, this guide will provide everything you need to know.
Mount a Sony TV on the Wall
Why Is Wall Mounting a Sony TV the Best Choice?
Mount a Sony TV on the Wall
Today, many homeowners prefer mounting their television on the wall rather than placing it on a TV stand. Besides creating a sleek and modern appearance, wall mounting offers several practical advantages. If you own a Sony Smart TV, including BRAVIA, OLED, or Google TV models, mounting it on the wall can improve both the aesthetics of your room and your overall viewing experience.
1. Enhances Your Interior Design
Sony televisions feature slim profiles and ultra-thin bezels, making them an excellent choice for wall installation. Mounting the TV creates a clean, minimalist appearance while freeing up space previously occupied by a TV cabinet.
2. Saves Valuable Space
Wall mounting is especially beneficial in apartments and smaller homes where maximizing floor space is important. Removing bulky furniture creates a more open and organized living environment.
3. Improves Safety
One of the biggest benefits of wall mounting a Sony TV is increased safety. A securely mounted television is far less likely to be knocked over or damaged by accidental impacts. This is particularly important for households with children or pets.
Mount a Sony TV on the Wall
4. Provides a Better Viewing Angle
Installing your television at the recommended viewing height reduces strain on your neck and eyes. Whether you’re watching movies, sports, or playing video games, the correct mounting position creates a more comfortable viewing experience.
5. Makes Cable Management Easier
Messy cables are one of the biggest drawbacks of placing a TV on a stand. Wall mounting allows you to organize and conceal power cords, HDMI cables, network cables, and antenna wires using cable raceways or in-wall cable management systems, creating a cleaner and more professional setup.
Things You Should Know Before Mounting a Sony TV on the Wall
Mount a Sony TV on the Wall
Before you begin drilling holes, it’s important to prepare properly. Paying attention to the following points will help ensure a safe and successful installation.
- Make sure the wall mount is compatible with your Sony TV’s size and weight.
- Identify your wall type (concrete, brick, or drywall) so you can use the correct anchors and screws.
- Choose a location that is protected from direct sunlight.
- Maintain an appropriate viewing distance based on your television’s screen size.
- Ensure power outlets, internet connections, and other required ports are easily accessible.
- Leave enough space behind the television for proper ventilation.
- If you plan to install a soundbar or gaming console, decide where those devices will be placed before mounting the TV.
Mount a Sony TV on the Wall
Choosing the Best Wall Mount for Your Sony TV
Selecting the right Sony TV wall mount is one of the most important steps when mounting a Sony TV on the wall. Many people assume that all TV wall brackets are the same, but choosing the wrong mount can lead to an unstable installation, screen misalignment, or even the television falling from the wall. Before purchasing a wall mount, you should carefully consider your TV’s weight, screen size, VESA mounting pattern, wall type, and preferred viewing angle.
Today, TV wall mounts are available in several different designs, each created for specific installation needs. If you want to install your Sony TV safely and securely, understanding the different types of wall mounts will help you choose the best option for your home.
Mount a Sony TV on the Wall
Types of Sony TV Wall Mounts
Choosing the right wall mount directly affects installation safety, viewing comfort, and the overall lifespan of your television. Below are the most common types of Sony TV wall mounts.
Fixed Wall Mount
A fixed wall mount is one of the most popular choices for wall mounting a Sony TV. It keeps the television positioned very close to the wall and does not allow the screen angle to be adjusted after installation. If you’ve already selected the ideal viewing location, a fixed mount is often the best solution.
Advantages
- Affordable price
- Strong and durable construction
- Easy installation
- Minimal distance between the TV and the wall
- Ideal for living rooms and smaller spaces
Mount a Sony TV on the Wall
Disadvantages
- No tilt or swivel adjustment
- More difficult access to rear ports and cables
Mount a Sony TV on the Wall
Tilting Wall Mount
A tilting wall mount allows you to adjust the television vertically. This makes it an excellent option if the TV will be installed above eye level or in areas where glare from windows or lighting is a concern.
Advantages
Mount a Sony TV on the Wall
- Adjustable viewing angle
- Reduces screen glare
- Perfect for bedrooms and elevated installations
- Easy to install
Disadvantages
- More expensive than fixed mounts
- Leaves slightly more space between the TV and the wall
Full Motion Wall Mount
A full motion wall mount, also known as an articulating mount, offers maximum flexibility. It allows the TV to swivel left and right, tilt up and down, and extend away from the wall whenever necessary.
Mount a Sony TV on the Wall
This type of mount is ideal for large living rooms or open spaces where people watch television from multiple seating positions.
Advantages
- Maximum viewing flexibility
- Easy access to cables and rear connections
- Ideal for large Sony TVs
- Perfect for multi-angle viewing
Disadvantages
- Higher price
- More complex installation
- Requires a strong and secure wall
Mount a Sony TV on the Wall
What Is the VESA Standard and Why Is It Important?
When researching Sony TV wall installation, you’ll frequently encounter the term VESA.
The VESA mounting standard defines the spacing between the mounting holes located on the back of your television. Wall mounts are designed around these measurements, making VESA compatibility one of the most important factors when choosing a bracket.
Almost all modern Sony televisions support VESA mounting standards. If your wall mount does not match your TV’s VESA pattern, the television cannot be installed safely or correctly.
Common VESA sizes include:
- VESA 200 × 200
- VESA 300 × 300
- VESA 400 × 400
- VESA 600 × 400
Mount a Sony TV on the Wall
Before purchasing a wall mount, always check your Sony TV’s specifications or measure the mounting hole spacing on the back of the television. Choosing a VESA-compatible mount is essential for a safe and reliable installation.
How to Find Your Sony TV’s VESA Size
There are three easy ways to identify your television’s VESA pattern:
- Check the user manual.
- Visit Sony’s official product specifications page.
- Measure the horizontal and vertical distance between the mounting holes using a tape measure.
If you’re unsure which mount to purchase, choose a wall bracket that supports multiple VESA patterns.
Mount a Sony TV on the Wall
How Much Weight Should a Sony TV Wall Mount Support?
One of the most common mistakes during Sony TV wall installation is purchasing a wall mount that cannot safely support the television’s weight.
As a general rule, always choose a wall mount with a weight capacity higher than your TV’s actual weight.
For example, if your television weighs 25 kg (55 lbs), select a mount rated to support at least 30–35 kg (66–77 lbs). This additional capacity provides a greater safety margin and reduces stress on the mounting hardware.
Mount a Sony TV on the Wall
Tools Required for Installing a Sony TV on the Wall
Preparing the right tools before starting the installation makes the process safer, faster, and more accurate.
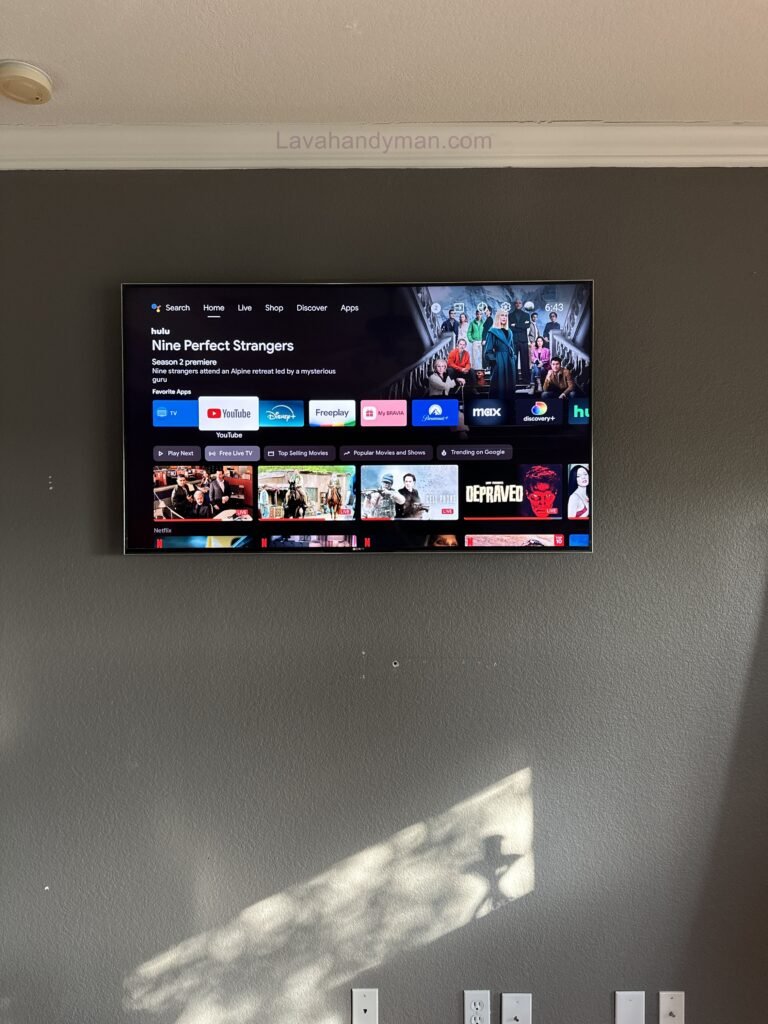
The essential tools include:
- Power drill – For drilling into concrete, brick, or drywall.
- Appropriate drill bits – Selected according to the wall material.
- Heavy-duty screws and wall anchors – To securely attach the wall bracket.
- Level – Ensures the TV is perfectly straight.
- Tape measure – For accurate positioning and mounting height.
- Screwdrivers and socket wrench – For tightening mounting hardware.
- Pencil – To mark drilling locations.
- Stud finder – Essential when mounting on drywall.
Using the proper tools significantly reduces installation errors and improves overall safety.
Mount a Sony TV on the Wall
Check Your Wall Type Before Installing a Sony TV
Before mounting your television, you must determine what type of wall you’re working with, since each material requires a different installation method.
Installing a Sony TV on a Concrete Wall
Mount a Sony TV on the Wall
Concrete walls provide the strongest and safest mounting surface. They can easily support the weight of large Sony televisions when installed with the correct anchors and heavy-duty screws.
Installing a Sony TV on a Brick Wall
Brick walls are also an excellent option, but the mounting holes should always be drilled directly into solid bricks rather than the mortar joints. This provides a much stronger and more secure installation.
Mount a Sony TV on the Wall
Installing a Sony TV on Drywall
Drywall installations require extra care. The wall bracket should never be attached directly to drywall alone. Instead, it must be secured to the wooden or metal wall studs behind the drywall. Failing to do so may result in wall damage or the television falling from the wall.
Step-by-Step Guide to Mounting a Sony TV on the Wall
After selecting the right Sony TV wall mount, confirming VESA compatibility, preparing the necessary tools, and inspecting your wall type, it’s time to begin the Sony TV wall installation process. Many people assume that mounting a TV simply involves drilling a few holes and tightening a few screws. In reality, every installation step plays a critical role in ensuring safety, extending the lifespan of your television, and preventing costly damage.
If the installation is not carried out correctly, issues such as an uneven TV, a loose wall bracket, damage to the display panel, or even the television falling from the wall can occur. In this section of our Sony TV wall mounting guide, you’ll learn every step of the installation process to ensure your television is mounted safely, securely, and professionally.
Mount a Sony TV on the Wall
Step 1: Choose the Best Location for Mounting Your Sony TV
Selecting the right location is the most important part of mounting a Sony TV on the wall. Even the highest-quality wall mount cannot provide a great viewing experience if the television is installed in the wrong position. Besides viewing comfort, you should also consider wall strength, cable access, power outlets, and ventilation.
When choosing the installation location, make sure that:
- The TV faces the main seating area.
- The screen is protected from direct sunlight.
- Power outlets and input connections are easily accessible.
- There is sufficient ventilation behind the television.
- The wall is strong enough to support both the TV and the wall mount.
Avoid mounting your television directly above fireplaces, radiators, or other heat sources, as excessive heat may reduce the lifespan of the TV’s internal components.
Mount a Sony TV on the Wall
Step 2: Measure and Determine the Ideal Mounting Height
One of the most important factors in a successful Sony TV wall installation is choosing the correct mounting height. Installing the television too high or too low can cause neck strain, eye fatigue, and an uncomfortable viewing experience.
Ideally, the center of the screen should be positioned at approximately eye level when you are seated.
Before drilling any holes:
- Measure the installation height carefully.
- Locate the center of the wall.
- Mark the drilling points with a pencil.
- Use a level to ensure perfect alignment.
Taking a few extra minutes to measure accurately can prevent uneven installation and unnecessary wall repairs.
Mount a Sony TV on the Wall
Step 3: Check the Wall Type Before Installation
Before attaching the Sony TV wall bracket, you must identify the type of wall you’re working with because each wall material requires a different installation method.
Installing a Sony TV on a Concrete Wall
Concrete walls provide the strongest and safest support for wall-mounted televisions. With the proper anchors and heavy-duty screws, they can easily support even large Sony TV models.
Mount a Sony TV on the Wall
Installing a Sony TV on a Brick Wall
When installing on brick, always drill directly into solid bricks rather than mortar joints. This creates a much stronger and more secure mounting point.
Installing a Sony TV on Drywall
If your wall is made of drywall, never attach the wall bracket directly to the drywall surface. Instead, locate the wooden or metal wall studs using a stud finder and secure the bracket directly to the studs. This significantly improves safety and prevents the television from falling.
Mount a Sony TV on the Wall
Step 4: Drill the Wall and Install the Wall Anchors
Once the installation location has been confirmed, you can begin drilling.
Select the correct drill bit based on your wall type:
- Masonry drill bit for concrete walls.
- Brick drill bit for brick walls.
- Wood drill bit for wooden studs.
After drilling, insert the wall anchors securely into each hole. The holes should match the anchor size precisely to ensure maximum holding strength.
Mount a Sony TV on the Wall
Step 5: Install the Sony TV Wall Mount
Attach the Sony TV wall mount to the wall using the appropriate mounting screws.
During this step:
- Tighten all mounting bolts evenly.
- Confirm that the bracket is firmly attached.
- Use a level to ensure the mount is perfectly straight.
A properly installed wall bracket is the foundation of a safe and secure television installation.
Mount a Sony TV on the Wall
Step 6: Attach the Mounting Brackets to the Back of the Sony TV
Next, install the mounting arms or brackets onto the back of the television.
For maximum safety:
- Use only the screws recommended by Sony or supplied with the wall mount.
- Confirm VESA compatibility.
- Do not overtighten the screws.
Using incorrect screws may damage the television housing or internal components.
Mount a Sony TV on the Wall
Step 7: Mount the Sony TV onto the Wall Bracket
Lifting and mounting the television should always be done by two people, especially for TVs measuring 55 inches or larger.
Carefully lift the television, align the mounting arms with the wall bracket, and gently lower the TV until it locks securely into place.
Before releasing the television, verify that the safety locking mechanism is fully engaged and that the TV is stable with no unwanted movement.
Mount a Sony TV on the Wall
Step 8: Connect the Cables and Organize Cable Management
After mounting the television, connect all necessary cables, including:
- Power cable
- HDMI cables
- Antenna cable
- Ethernet cable
- Optical audio cable
- USB devices
Leave a small amount of slack behind the television so the cables are not stretched during adjustments.
Mount a Sony TV on the Wall
For a cleaner and more professional appearance, use cable raceways, cable covers, Velcro straps, or in-wall cable management systems. Proper cable management not only enhances your room’s appearance but also protects cables from unnecessary wear and damage.
Final Safety Checklist Before Completing the Installation
Before considering the installation complete, carefully inspect the following:
- The wall mount is securely fastened.
- The television is perfectly level.
- All mounting screws are fully tightened.
- The safety lock is engaged.
- The cables are not under tension.
- There is sufficient ventilation behind the TV.
Taking a few extra minutes to complete this final inspection can help prevent expensive repairs and ensure long-term safety.
Mount a Sony TV on the Wall
Common Mistakes to Avoid When Mounting a Sony TV on the Wall
Even with high-quality equipment, simple installation mistakes can reduce safety and affect the performance of your television.
Avoid these common errors:
Blocking the TV’s ventilation openings.
Choosing a wall mount that cannot support the TV’s weight.
Mount a Sony TV on the Wall
Ignoring the VESA mounting standard.
Mounting directly onto drywall without securing to wall studs.
Installing the television at an incorrect height.
Using the wrong mounting screws.
Failing to level the wall bracket.
Forgetting to engage the safety locking mechanism.
Pulling cables too tightly.
Mount a Sony TV on the Wall
Conclusion
Wall mounting a Sony TV is more than just a space-saving solution—it’s one of the best ways to improve home safety, enhance your viewing experience, and create a clean, modern entertainment setup. By choosing the right Sony TV wall mount, confirming VESA compatibility, selecting the proper mounting height, and following recommended installation practices, you can ensure that your television remains secure and performs at its best for years to come.
Throughout this guide, we’ve covered every essential step of how to mount a Sony TV on the wall, from selecting the appropriate wall bracket and preparing the installation surface to mounting the TV, organizing cables, and performing final safety checks. Following these best practices helps prevent common issues such as unstable mounting, improper alignment, or accidental damage while also extending the lifespan of your television.
📞 Need Help?
Let us take care of the hard work while you sit back and relax.
📍 Serving: Austin, Round Rock, Cedar Park & more
📱 Call or Text: (737) 420-6992
🌐 Visit: https://lavahandyman.com