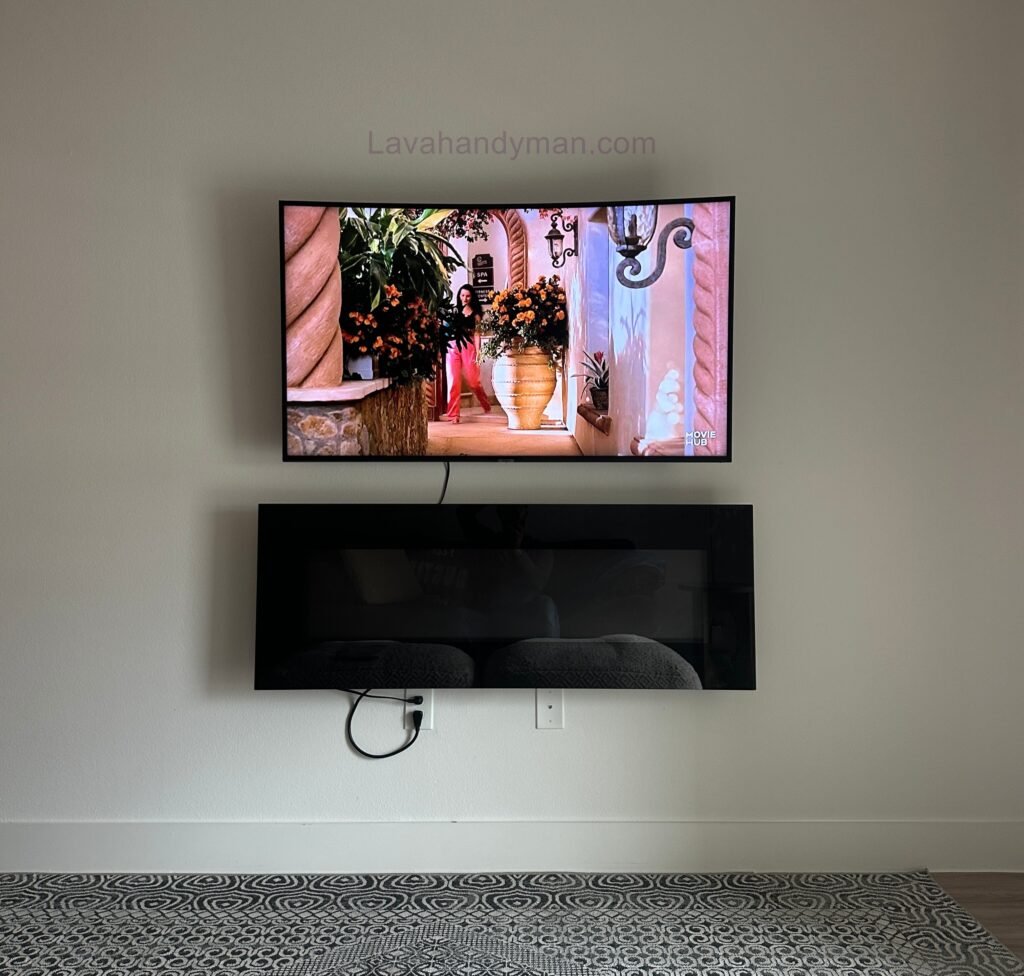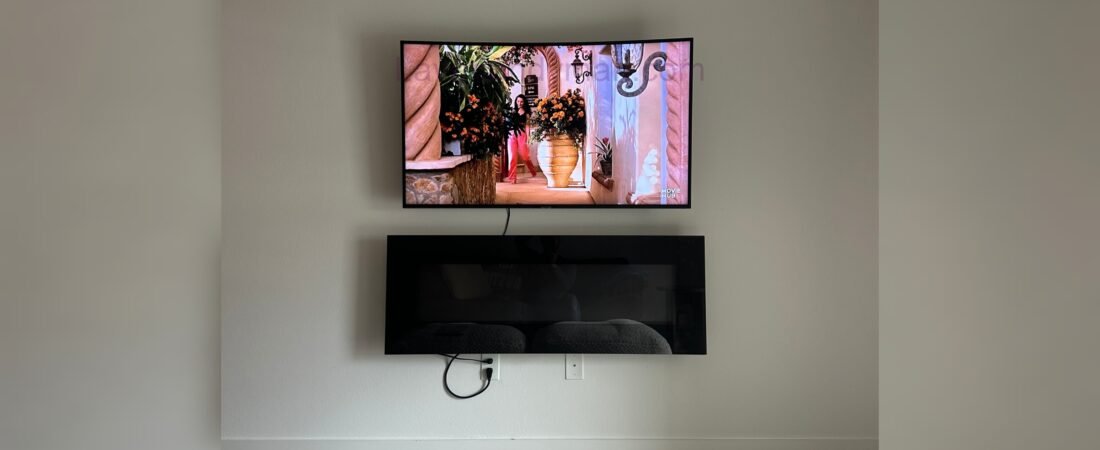
Curved TV Wall Mount Installation: Complete Guide, Choosing the Right Mount, and Essential Tips
If you’re planning a curved TV wall mount installation, you may be wondering whether a curved television can be mounted on the wall just like a flat-screen TV. The answer is yes—but achieving a safe, secure, and professional installation requires choosing the right TV wall mount, checking the VESA mounting pattern, ensuring the mount supports your TV’s weight, selecting the proper mounting height, and following essential safety guidelines.
A properly installed curved TV wall mount not only enhances the appearance of your living room but also improves safety, saves floor space, and provides a more comfortable viewing experience. However, using the wrong mounting bracket or installing the TV incorrectly can damage both the television and the wall.
In this comprehensive guide, you’ll learn everything you need to know about mounting a curved TV on the wall, including how to choose the best wall mount, the tools you’ll need, installation tips, common mistakes to avoid, and expert recommendations for a secure and professional setup.
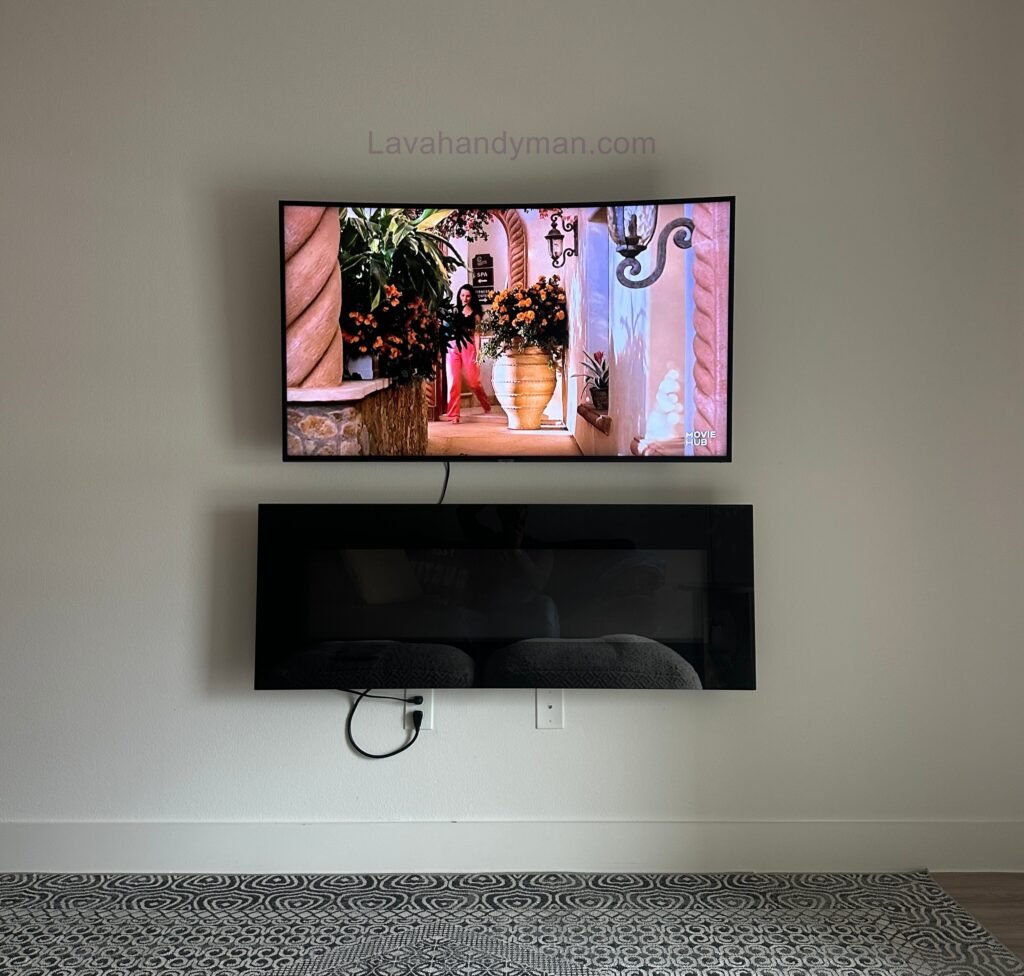
Curved TV Wall Mount Installation
What Is a Curved TV?
A Curved TV is a television with a gently curved display designed to create a more immersive viewing experience. Unlike flat-screen televisions, curved displays bring the edges of the screen slightly closer to the viewer, making movies, sports, and games feel more engaging.
Although flat-screen TVs dominate today’s market, many homeowners still own curved televisions from brands such as Samsung and LG. As a result, many people continue searching for the best way to mount a curved TV on the wall.
Some of the key advantages of a curved TV include:
- Modern and stylish design
- Enhanced depth perception
- More immersive viewing from the center position
- Ideal for larger screen sizes
- Reduced glare under certain lighting conditions
To enjoy these benefits, however, proper curved TV wall installation is essential.
Curved TV Wall Mount Installation
Can You Mount a Curved TV on the Wall?
One of the most common questions is:
Can a curved TV be mounted on a wall?
The answer is yes.
Most curved televisions support the VESA mounting standard, allowing them to be installed using compatible TV wall brackets.
The mounting holes on the back of the television are designed according to VESA specifications, making installation straightforward—as long as you choose a wall mount designed for your TV’s size and weight.
Because curved TVs have a different rear profile than flat-screen models, selecting the right mount is especially important. A high-quality wall bracket should support the TV securely while providing enough clearance between the television and the wall to avoid unnecessary pressure on the back of the panel.
Curved TV Wall Mount Installation
Benefits of Mounting a Curved TV on the Wall
Installing a curved TV wall mount offers several advantages beyond improving your home’s appearance.
1. Enhanced Interior Design
Wall mounting creates a clean, modern look while eliminating the need for a bulky TV stand.
2. Improved Safety
A securely mounted television is far less likely to tip over, making it safer for households with children or pets.
3. Better Space Utilization
Wall mounting frees up valuable floor space, making smaller living rooms feel larger and more organized.
4. Improved Viewing Angles
Using a full-motion wall mount allows you to tilt or swivel the television for the best possible viewing position.
5. Cleaner Cable Management
Wall-mounted installations make it easier to conceal HDMI, power, and antenna cables inside cable raceways or behind the wall, creating a cleaner entertainment setup.
Curved TV Wall Mount Installation
Drawbacks of Wall Mounting a Curved TV
While there are many advantages, there are also a few considerations before beginning your curved TV wall mount installation.
- Curved TVs generally do not sit completely flush against the wall.
- A compatible wall mount designed for curved televisions is recommended.
- Accessing HDMI and USB ports may become more difficult after installation.
- Installing a curved TV requires greater care than mounting a flat-screen television because of its unique shape.
How to Choose the Best Wall Mount for a Curved TV
Choosing the right wall mount is one of the most important steps in the installation process.
1. Verify VESA Compatibility
Ensure the wall mount matches your television’s VESA mounting pattern, which can be found in your TV’s specifications or user manual.
2. Check the Weight Capacity
Always select a mount with a weight rating at least 20–30% higher than your television’s actual weight to ensure maximum safety.
3. Match the TV Size
Wall mounts are designed for specific screen-size ranges, such as:
- 32–55 inches
- 55–65 inches
- 65–85 inches
Choose a mount that supports your television’s screen size.
4. Consider Wall Clearance
Curved TV Wall Mount Installation
Because of the curved back design, it’s best to choose a mount that provides sufficient clearance between the television and the wall without placing stress on the panel.
5. Choose High-Quality Materials
Look for heavy-duty steel construction, anti-rust coating, strong mounting hardware, and built-in safety locking mechanisms for long-term reliability.
In the next section, we’ll cover the different types of wall mounts, the tools required for installation, and a step-by-step guide to mounting your curved TV safely and professionally.
Types of Wall Mounts for Curved TVs
Choosing the best wall mount for a curved TV is one of the most important steps in a successful curved TV wall mount installation. The right wall bracket improves viewing comfort, increases safety, and helps protect your television from damage. Whether you’re installing a Samsung, LG, Sony, or another curved TV, selecting the correct mount ensures a secure and professional installation.
Below are the most common types of curved TV wall mounts and their advantages.
Curved TV Wall Mount Installation
Fixed Wall Mount
A fixed wall mount for a curved TV keeps your television securely positioned close to the wall. This type of mount is ideal if you always watch TV from directly in front of the screen and don’t need to adjust its angle.
Benefits
- Affordable and easy to install
- Sleek, low-profile appearance
- Excellent stability
- Perfect for living rooms and entertainment spaces
Drawbacks
- No tilt or swivel adjustment
- Limited access to rear HDMI and USB ports
Curved TV Wall Mount Installation
Tilting Wall Mount
A tilting wall mount allows you to angle your curved TV up or down, reducing glare and improving viewing comfort.
This option is recommended for:
- TVs mounted above fireplaces
- Bedroom installations
- High wall mounting positions
Benefits
- Reduces reflections from windows and lights
- Provides a more comfortable viewing angle
- Easy adjustment after installation
Curved TV Wall Mount Installation
Full-Motion Wall Mount
A full-motion wall mount for curved TVs is considered the best option for most homeowners. It allows the television to extend from the wall, swivel left and right, and tilt vertically for maximum flexibility.
Benefits
- Best viewing angles
- Easy access to TV ports
- Ideal for corner installations
- Perfect for open-concept living rooms
Drawbacks
- Higher purchase price
- More complex installation process
- Requires a strong wall structure
Curved TV Wall Mount Installation
Tools Needed for Curved TV Wall Mount Installation
Before you begin your curved TV wall mount installation, gather all the required tools to ensure a smooth and safe installation.
Essential Tools
- Curved TV wall mount bracket
- Electric drill
- Masonry or wood drill bits
- Stud finder
- Tape measure
- Spirit level
- Pencil or marker
- Socket wrench or screwdriver
- Wall anchors
- Mounting screws
- Safety gloves
- Protective eyewear
Using professional tools improves installation accuracy and helps prevent damage to both the television and the wall.
Curved TV Wall Mount Installation
How to Mount a Curved TV on the Wall (Step-by-Step Guide)
If you’re wondering how to mount a curved TV on the wall, follow these professional installation steps.
Step 1: Choose the Best Wall Location
The first step in any curved TV wall installation is selecting the right location.
Choose a wall that offers:
- Comfortable viewing distance
- Minimal glare
- Easy access to power outlets
- Convenient cable routing
- Strong structural support
Concrete and brick walls are ideal, while drywall installations should always be attached to wall studs.
Curved TV Wall Mount Installation
Step 2: Determine the Correct TV Mounting Height
Installing a television too high is one of the most common mistakes.
For the best viewing experience, the center of the screen should generally be at eye level while seated.
Recommended center height:
42–48 inches (107–122 cm) from the floor.
The exact height may vary depending on your seating arrangement and TV size.
Curved TV Wall Mount Installation
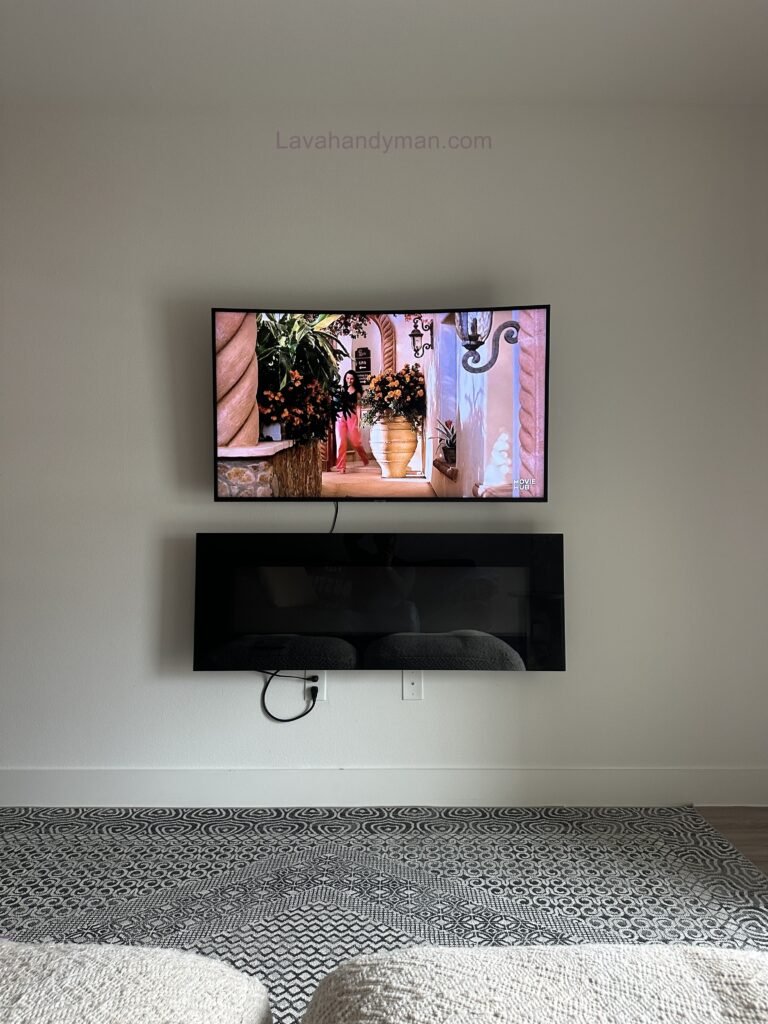
Step 3: Locate Wall Studs
For drywall installations, use a stud finder to locate wooden or metal studs.
A curved TV wall mount should never rely only on drywall anchors, especially for large televisions.
Mounting directly into studs provides maximum safety and long-term stability.
Curved TV Wall Mount Installation
Step 4: Mark the Mounting Holes
Hold the wall plate against the wall and use a spirit level to ensure perfect alignment.
Carefully mark each drilling point with a pencil.
Double-check all measurements before drilling to avoid unnecessary wall repairs.
Step 5: Drill the Mounting Holes
Use the correct drill bit for your wall type.
Drill carefully to maintain accurate alignment.
If mounting on concrete or brick, install the supplied wall anchors before attaching the mounting bracket.
Curved TV Wall Mount Installation
Step 6: Secure the Wall Mount
Attach the wall plate using the supplied bolts.
Tighten every bolt securely.
The mount should feel completely solid with no movement or wobbling.
Step 7: Attach the TV Brackets
Install the mounting arms on the back of the television using the screws provided.
Avoid overtightening the screws, as excessive force may damage the rear panel.
Always follow the manufacturer’s installation guidelines.
Curved TV Wall Mount Installation
Step 8: Hang the Curved TV
Because curved televisions are often heavy and delicate, at least two people should complete this step.
Carefully lift the TV onto the wall mount and engage all locking mechanisms.
Check that the television is securely attached before releasing it.
Step 9: Connect All Cables
Before pushing the TV fully toward the wall, connect:
- Power cable
- HDMI cables
- Ethernet cable
- Antenna cable
- Soundbar or home theater connections
Use cable raceways or cable management clips for a clean, professional appearance.
Curved TV Wall Mount Installation
Step 10: Perform a Final Safety Inspection
Before finishing your curved TV wall mount installation, verify the following:
- All mounting bolts are fully tightened.
- The television is perfectly level.
- The locking mechanism is fully engaged.
- Every cable is securely connected.
- The TV is firmly attached without movement.
Performing these final checks helps ensure a safe, reliable, and long-lasting installation.
Best Viewing Distance for a Curved TV After Wall Mount Installation
After completing a curved TV wall mount installation, choosing the correct viewing distance is essential for achieving the best picture quality and immersive experience. A properly positioned curved TV allows you to enjoy a wider field of view, improved depth perception, and a more cinematic viewing experience.
Unlike traditional flat-screen televisions, curved TVs are designed to provide the best experience when viewed from the center position at the recommended distance. Sitting too close or too far away may reduce the benefits of the curved screen design.
Recommended Viewing Distance for Curved TVs
The ideal viewing distance depends on your TV size, room layout, and personal preference. The following recommendations can help you find the best position after installing your curved TV on the wall:
Curved TV Wall Mount Installation
| TV Size | Recommended Viewing Distance |
|---|---|
| 43-inch | 5.5–7 feet (1.7–2.1 m) |
| 50-inch | 6–8 feet (1.8–2.4 m) |
| 55-inch | 7–9 feet (2.1–2.7 m) |
| 65-inch | 8–10 feet (2.4–3 m) |
| 75-inch | 9–12 feet (2.7–3.7 m) |
| 85-inch | 10–13 feet (3–4 m) |
For the best curved TV viewing experience, try to position your seating area directly in front of the screen. Curved televisions deliver their maximum visual effect when viewed from the optimal center angle.
Ideal Height for Mounting a Curved TV on the Wall
Choosing the correct TV wall mount height is just as important as selecting the right mounting bracket.
The recommended installation position is when the center of the TV screen is approximately level with your eyes while sitting.
Recommended TV Mounting Height:
- Living Room: 42–48 inches (107–122 cm) from the floor to the center of the screen
- Bedroom: Slightly higher depending on bed height and viewing position
- Above Fireplace: Use a tilting wall mount to improve viewing comfort
Mounting a curved TV too high can create neck strain and reduce the overall viewing experience. Proper placement ensures comfortable long-term watching.
Curved TV Wall Mount Installation
Cable Management Tips for a Professional Curved TV Installation
A clean cable setup is an important part of any professional curved TV wall mount installation. Proper cable management improves the appearance of your entertainment area and makes future upgrades easier.
Use Cable Raceways
Cable raceways are an affordable solution for hiding HDMI, power, and audio cables while keeping them accessible.
Install In-Wall Cable Management
For a premium and professional appearance, cables can be routed inside the wall when permitted by local electrical regulations.
Separate Power and Signal Cables
Keep power cables away from HDMI and audio cables whenever possible. This helps reduce potential interference and keeps your entertainment system running smoothly.
Organize Cables with Cable Ties
Reusable cable ties or Velcro straps prevent tangled wires and create a cleaner installation.
Leave Extra Cable Length
Avoid stretching cables tightly behind the television. Leaving additional cable length makes future maintenance and device upgrades easier.
Curved TV Wall Mount Installation
Common Mistakes During Curved TV Wall Mount Installation
Even with the best equipment, installation mistakes can affect safety and performance. Avoid these common errors when mounting a curved TV on the wall.
Choosing the Wrong TV Wall Mount
One of the biggest mistakes is selecting a wall bracket that does not match your television.
Before buying a wall mount for a curved TV, check:
- VESA mounting compatibility
- Maximum weight capacity
- Supported TV screen size
- Wall material compatibility
Using an unsuitable bracket can lead to an unstable installation.
Ignoring the Wall Type
Different walls require different mounting methods.
Concrete or Brick Walls:
Require heavy-duty anchors designed for masonry surfaces.
Wooden Stud Walls:
Require strong mounting screws installed directly into the studs.
Drywall:
Needs proper reinforcement and should not rely only on standard wall plugs.
Understanding your wall type is a critical part of a safe curved TV installation guide.
Curved TV Wall Mount Installation
Not Checking the TV Level
A slightly tilted television can be very noticeable, especially with large curved screens.
Always use a spirit level before fully tightening the mounting screws.
A perfectly aligned TV creates a cleaner and more professional appearance.
Installing a Large Curved TV Alone
Large curved televisions can be heavy and difficult to handle.
Having two people during installation helps prevent:
- Accidental drops
- Screen damage
- Incorrect mounting alignment
Professional assistance is recommended for larger screen sizes.
Curved TV Wall Mount Installation
Forgetting Future Cable Access
Many users install their TV too close to the wall and later struggle to connect new devices.
Before completing the installation, consider future connections such as:
- Gaming consoles
- Soundbars
- Streaming devices
- HDMI upgrades
Curved TV Wall Mount Maintenance Tips
A properly installed curved TV requires minimal maintenance, but regular checks can improve safety and extend the life of your setup.
Check Mounting Hardware Regularly
Inspect mounting screws and brackets every 6–12 months to make sure they remain secure.
Clean the Curved TV Screen Properly
Use a soft microfiber cloth and avoid aggressive cleaning products that may damage the screen surface.
Inspect Cable Connections
Check HDMI, power, and audio connections periodically to ensure they remain secure.
Monitor Wall and Bracket Stability
Look for:
- Loose screws
- Wall cracks
- Bracket movement
- Changes in TV alignment
Early detection can prevent larger installation problems.
Curved TV Wall Mount Installation
Frequently Asked Questions About Curved TV Wall Mount Installation
Can all curved TVs be mounted on the wall?
Most curved TVs support VESA mounting standards and can be installed using compatible wall brackets. Always check your TV specifications before purchasing a mount.
Do I need a special wall mount for a curved TV?
A special mount is not always required, but choosing a high-quality curved TV wall mount with proper clearance is highly recommended.
What is the best wall mount for a curved TV?
A full-motion TV wall mount is often the best option because it provides tilt and swivel adjustment, easier cable access, and better viewing flexibility.
How high should a curved TV be mounted?
The ideal height is usually where the center of the screen is at eye level while seated. This provides maximum comfort and reduces neck strain.
Can a curved TV be installed on drywall?
Yes, but the wall mount must be properly secured to wall studs or installed with suitable heavy-duty mounting hardware.
Final Thoughts on Curved TV Wall Mount Installation
A successful curved TV wall mount installation depends on proper planning, choosing the right bracket, and following safe installation practices. Selecting a compatible VESA mount, maintaining the correct viewing distance, managing cables properly, and installing the TV at the right height will help you create a professional and comfortable entertainment setup.
Whether you own a Samsung, LG, Sony, TCL, or another curved television, following this curved TV installation guide ensures better safety, improved viewing quality, and a cleaner home design.
📞 Need Help?
Let us take care of the hard work while you sit back and relax.
📍 Serving: Austin, Round Rock, Cedar Park & more
📱 Call or Text: (737) 420-6992
🌐 Visit: https://lavahandyman.com