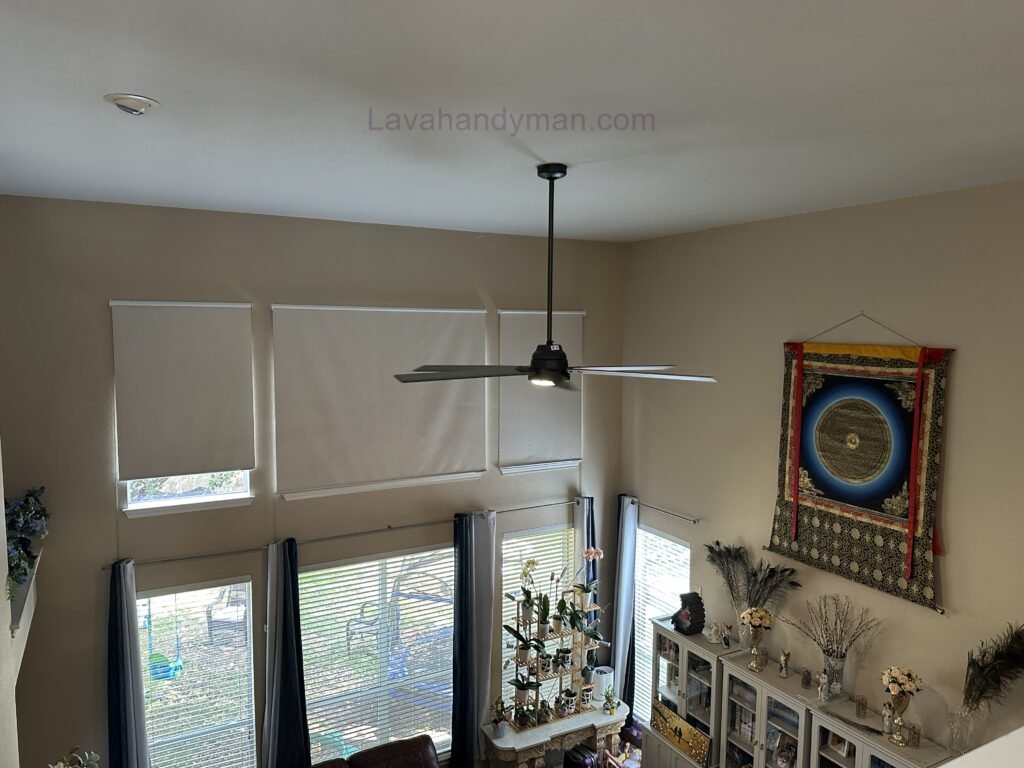
Comprehensive Guide to Ceiling Fan Installation and Assembly (Step-by-Step Visual & Technical Guide)
Introduction: The Importance of Proper Installation
A ceiling fan is one of the most efficient ways to improve air circulation and reduce energy consumption. However, improper installation can lead to unwanted noise, severe wobbling, or even the fan falling. In this professional guide, we will cover every detail of ceiling fan assembly and installation to ensure you can complete the job like a pro.
Guide to Ceiling Fan Installation
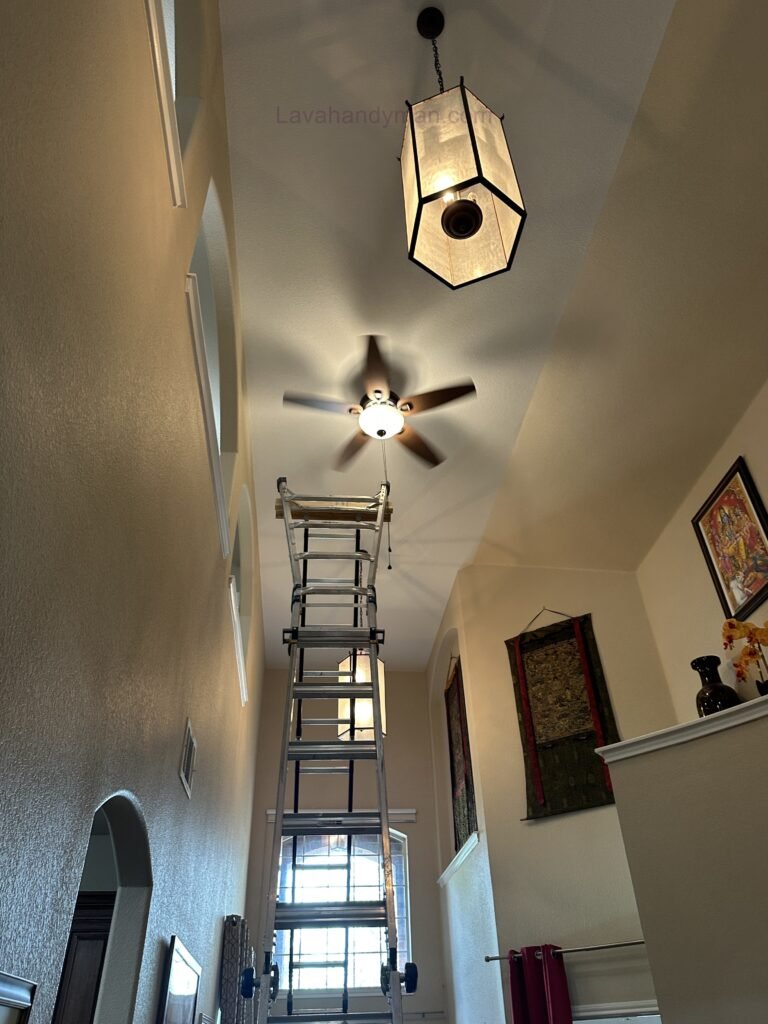
1. Essential Tools Checklist
Before you begin, ensure you have the following tools ready. Having the right equipment is the key to a clean and flawless installation:
- Power Tools: A hammer drill (for concrete ceilings) and appropriate drill bits.
- Measuring Tools: A spirit level (to prevent wobbling) and a tape measure.
- Electrical Tools: A voltage tester (phase tester), a multimeter, and wire strippers.
- Hand Tools: Phillips and flat-head screwdrivers, Allen keys, an adjustable wrench, and a sturdy ladder.
Guide to Ceiling Fan Installation
2. Critical Safety Protocols
Safety is the number one priority when working with electricity. Always follow these three rules:
- Power Off: Always turn off the main circuit breaker for the fan circuit at the electrical panel.
- Ceiling Integrity Check: Ensure the mounting surface (concrete or plaster) is strong enough to support the weight and vibrations of the fan.
- Protective Gear: Wear insulated footwear and use safety goggles when using a drill.
3. Understanding Ceiling Fan Components
Guide to Ceiling Fan Installation
To assemble the fan correctly, you must know its parts. Understanding these components helps prevent mistakes during the process:
A) The Motor (The Heart of the Fan)
Motors are typically categorized into two types: AC (Standard Electromotor) and DC (Energy-efficient and Smart). The motor is the primary source of torque.
Guide to Ceiling Fan Installation
B) The Downrod and Mounting Bracket
- Mounting Bracket: The part that attaches directly to the ceiling.
- Downrod: The pipe that determines the distance between the motor and the ceiling.
C) Blades and Blade Arms
The blades are responsible for moving the air. The “blade pitch” (angle) determines the airflow efficiency.
Guide to Ceiling Fan Installation
4. Step-by-Step Installation and Assembly
Step 1: Mounting the Bracket
The most critical step is attaching the bracket to the ceiling.
- If you have a concrete ceiling, you must use expansion bolts (Anchor Bolts).
- Pro Tip: Use a spirit level to ensure the bracket is perfectly horizontal. If the bracket is tilted, the fan will wobble at high speeds.
Step 2: Motor and Downrod Assembly
- Feed the motor wires through the downrod.
- Connect the downrod to the motor and tighten the screws using an Allen key.
- Crucial: Always use a safety pin or cotter pin to prevent the downrod from detaching due to long-term vibrations.
Step 3: Installing the Blades and Balancing
Attach the blades to the arms, and then to the motor:
- Use rubber washers between the blade and the arm to eliminate mechanical noise.
- After installation, double-check all connection screws for tightness.
Guide to Ceiling Fan Installation
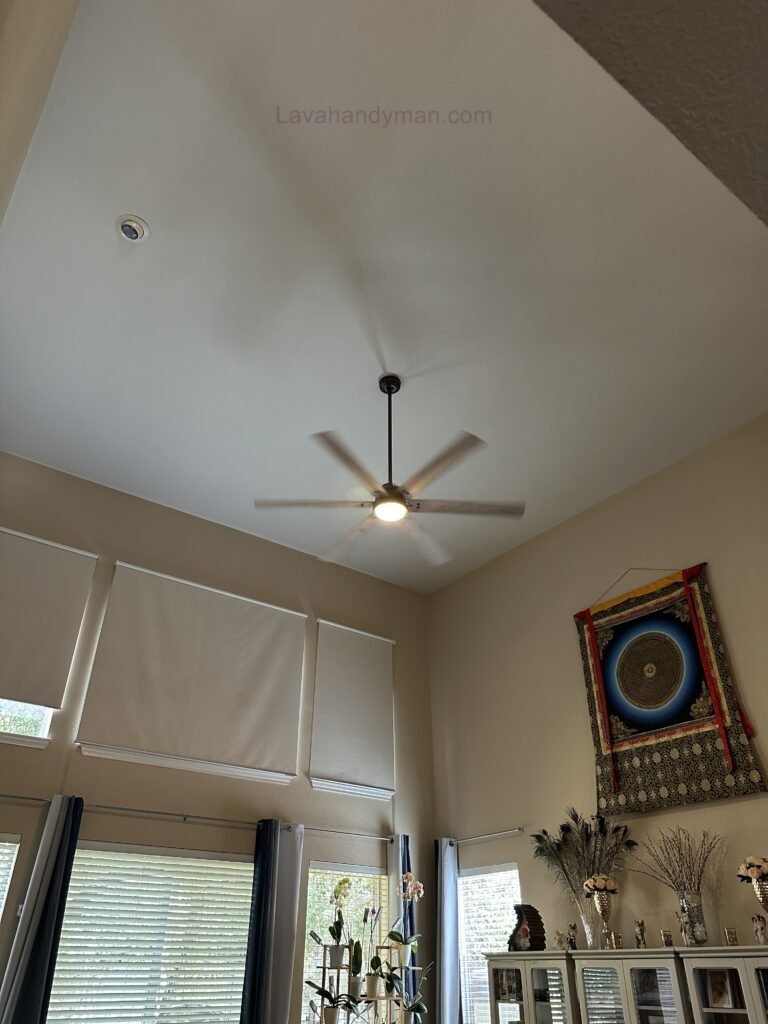
5. Troubleshooting Common Issues
Even after a successful installation, you might encounter some problems. Here is how to solve them:
| Problem | Likely Cause | Solution |
|---|---|---|
| Severe Wobbling | Unlevel bracket or unbalanced blades | Use a spirit level and a Balancing Kit |
| Clicking/Ticking Noise | Loose screws or blade contact | Tighten all screws and check rubber washers |
| Very Slow Rotation | Faulty Capacitor | Replace the capacitor with one of the same rating |
Guide to Ceiling Fan Installation
1. The Advantages of Using a Ceiling Fan (Why Buy One?)
Beyond simple air movement, ceiling fans offer several strategic benefits for your home:
A) Energy Efficiency and Cost Savings
Ceiling fans are among the most energy-efficient appliances available.
- The Smart Strategy: By using a ceiling fan in conjunction with an air conditioner (AC), you can increase your AC thermostat setting by 2∘C to 3∘C without sacrificing comfort. This can lead to up to a 30% reduction in air conditioning electricity consumption.
Guide to Ceiling Fan Installation
B) Improved Air Circulation
Unlike floor fans that provide localized cooling, ceiling fans distribute air more uniformly throughout the entire room. This prevents the formation of “dead zones”—stagnant, warm pockets of air in corners—and ensures constant air freshness.
C) Year-Round Utility (The Reverse Function)
Modern ceiling fans are equipped with a Reverse Mode. In the winter, by reversing the blade direction (clockwise rotation), the fan pushes the warm air that naturally rises to the ceiling back down into the living space, promoting even heating.
Guide to Ceiling Fan Installation
2. The Disadvantages and Challenges (What to Consider Before Buying)
Before investing in a ceiling fan, it is essential to be aware of its limitations:
- No Real Temperature Reduction: In extremely hot environments (above 40∘C), a fan may simply move hot air around, which can occasionally feel uncomfortable if not paired with a cooling source.
- Strategic Installation Requirements: Placement is critical. The fan must be centered or strategically located near the user to be effective. Furthermore, the ceiling must possess the structural integrity to support the unit.
- Dust Accumulation: Fan blades act as magnets for dust. Accumulation on the edges can cause imbalances, leading to noise and the dispersal of allergens throughout the room—a concern for individuals with asthma or allergies.
- Potential for Vibration and Noise: If the installation is not precise or if the blades are poorly balanced, the centrifugal force can cause vibrations that resonate through the ceiling and walls.
Guide to Ceiling Fan Installation
3. Ceiling Fan vs. Other Cooling Systems: A Comparative Guide
Use the following comparison table to make an informed decision:
| Feature | Ceiling Fan | Air Conditioner (Split/Window) | Evaporative Cooler (Swamp Cooler) |
|---|---|---|---|
| Energy Consumption | Very Low (Economical) | Very High (Expensive) | Moderate |
| Temperature Reduction | None (Wind Chill only) | Excellent & Rapid | Good (In dry climates) |
| Maintenance Cost | Very Low | High (Gas refills/Servicing) | Moderate (Pad cleaning) |
| Best Suited For | Air circulation & savings | Primary cooling | Dry/Arid environments |
Essential Prerequisites: Tools and Safety Gear
Guide to Ceiling Fan Installation
Before you begin, ensure you have all the following tools ready to avoid interruptions during the process.
Tool Checklist:
- Measuring & Leveling Tools: A tape measure and a spirit level (to ensure the mounting bracket is perfectly straight).
- Power & Hand Tools: A drill with appropriate bits (for concrete or wood), Phillips and flat-head screwdrivers, and a socket wrench.
- Electrical Tools: A voltage tester (to confirm power is off), wire strippers, electrical tape, and wire connectors (wire nuts).
- Height Equipment: A sturdy ladder and, if necessary, safety gloves.
⚠️ CRITICAL SAFETY WARNING: Before touching any wires, always turn off the main circuit breaker related to the room. Always use a voltage tester to confirm that the power is truly disconnected.
Strategic Placement: Where to Install Your Fan
Guide to Ceiling Fan Installation
Proper placement determines the efficiency and comfort of your fan. Follow these industry standards:
- Distance from Walls: Fan blades should be at least 60 to 90 cm (24-36 inches) away from the nearest wall to ensure unobstructed airflow.
- Standard Ceiling Height: The blades should ideally be between 2.3 and 2.7 meters (7.5 to 9 feet) from the floor.
- Installation in False Ceilings: If you have a suspended or drop ceiling, never attach the fan directly to the ceiling tiles. You must use specialized mounting hardware connected to the main ceiling joists or structure.
Technical Installation Steps (Step-by-Step)
Step 1: Installing the Mounting Bracket
The mounting bracket is the backbone of your installation.
- Use a Fan-Rated Outlet Box: Standard light fixture boxes cannot handle the weight and vibration of a fan. You must use a specialized ceiling fan rated outlet box.
- Leveling: Use a spirit level to ensure the bracket is perfectly horizontal. Any tilt at this stage will cause permanent wobbling.
Step 2: Preparing the Motor and Downrod
Guide to Ceiling Fan Installation
Assemble the main components on the floor before climbing the ladder:
- Feed the motor wires through the downrod.
- Attach the downrod to the motor body and tighten the set screws securely.
- Slide the decorative canopy onto the downrod.
Step 3: Hanging the Fan Body
- Lift the fan assembly and place it onto the mounting bracket installed in the ceiling. Most models feature a safety hook or ball-and-socket joint to prevent accidental falls.
- Ensure the assembly is securely locked into the bracket.
Step 4: Professional Wiring
Guide to Ceiling Fan Installation
This is the most sensitive stage to prevent short circuits:
- Connections: Match the fan wires (typically black, white, and green/copper) with the house wires according to your specific model’s manual.
- Use Wire Nuts: Instead of relying solely on electrical tape, use wire nuts or lever connectors for a secure connection.
- Tidying Wires: Carefully tuck the excess wires into the mounting box so they do not come into contact with moving parts.
Step 5: Blade Installation and Final Testing
- Attach the blades one by one to the motor.
- Pro Tip: Tighten all blade screw connections in a diagonal pattern to ensure even tension.
- Once powered on, if the fan wobbles, use a Ceiling Fan Balancing Kit to adjust the weight of the blades.
Quick Troubleshooting Guide
Guide to Ceiling Fan Installation
| Issue | Likely Cause | Solution |
|---|---|---|
| Severe Wobbling | Unlevel bracket or unbalanced blades | Re-level the bracket or use a balancing kit |
| Clicking or Squeaking | Loose screws or blade hitting the body | Tighten all screws and check blade clearance |
| Fan Won’t Turn On | Tripped breaker or incorrect wiring | Check the circuit breaker and wire connections |
| Slow Rotation | Faulty capacitor or motor issue | Replace the capacitor or inspect the motor |
Guide to Ceiling Fan Installationp
Frequently Asked Questions (FAQ)
Can I install a ceiling fan on a false ceiling?
Not directly. You must use a support system that transfers the weight of the fan to the building’s structural joists.
Which direction should the fan spin in summer?
In the summer, the fan should rotate counter-clockwise to create a downdraft, providing a direct cooling effect.
Guide to Ceiling Fan Installation
Types of Ceiling Fans (Buying Guide)
To make your article complete, you need to categorize fans by functionality, design, and size.
1. By Functionality
A) Ceiling Fans with Heating Elements
These fans feature a built-in heater in the center.
- Best for: Cold climates. They act as a regular fan in summer and help circulate warm air downward in winter by reversing the blade direction.
B) Lighted Ceiling Fans
The most common type, featuring integrated LED or incandescent lights.
- Best for: Replacing a central light fixture in bedrooms, living rooms, or dining areas.
Guide to Ceiling Fan Installation
C) Smart Ceiling Fans
Equipped with Wi-Fi, Bluetooth, or voice control (compatible with Alexa/Google Home).
- Best for: Smart homes, allowing users to control speed, light, and scheduling via smartphone.
2. By Design & Style
A) Modern & Minimalist
Characterized by fewer blades (3 or 4), clean lines, and neutral colors (black, white, or brushed nickel).
- Best for: Contemporary apartments, kitchens, and home offices.
B) Traditional & Luxury
Features wooden blades with intricate patterns, ornate metal finishes (bronze or gold), and decorative glass light kits.
- Best for: Large living rooms, villas, and classic interior designs.
Guide to Ceiling Fan Installation
C) Bladeless Ceiling Fans
A cutting-edge design that uses hidden airflow technology or unique shapes instead of traditional large blades.
- Best for: Low ceilings or homeowners looking for a unique, high-tech aesthetic.
3. By Size & Application
Large/Industrial Fans (> 55 inches): Designed for large halls, cafes, or outdoor patios.
Small Fans (< 42 inches): Ideal for bathrooms, hallways, or small laundry rooms.
Standard Fans (44–54 inches): Perfect for standard bedrooms and living areas.
Guide to Ceiling Fan Installation
Conclusion
Installing a ceiling fan, when done following engineering and safety principles, will provide years of trouble-free service. The keys to success are using a level and ensuring all connections are tight.
📞 Need Help?
Let us take care of the hard work while you sit back and relax.
📍 Serving: Austin, Round Rock, Cedar Park & more
📱 Call or Text: (737) 420-6992
🌐 Visit: https://lavahandyman.com