

Wall or structure for hanging artwork|Complete Guide
Introduction
Artworks are among the most impactful decorative elements in interior design. Beyond their aesthetic value, they reflect identity, emotion, and personal taste. However, the visual impact of an artwork is not solely dependent on the piece itself—the wall or structure on which it’s mounted plays a crucial role in its longevity, security, and visual harmony.
This article explores the characteristics of different types of walls and structures for displaying art, along with the technical and aesthetic principles necessary for optimal placement.
1. Why Does Wall Type Matter When Hanging Art?
1.1. Strength and Safety
The wall must be capable of bearing the weight of the artwork. Improper installation may result in damage to the piece or surrounding area.
1.2. Protection of the Artwork
Environmental factors like humidity, heat, and improper lighting can damage artworks over time. A suitable wall helps preserve the piece effectively.
1.3. Visual Harmony
The wall should complement the artwork, not compete with it. Color, texture, and lighting all influence how a piece is perceived.
Wall or structure for hanging artwork|Complete Guide
2. Common Wall Types for Hanging Artwork
2.1. Drywall (Gypsum Wall)
Pros:
- Most common in residential interiors
- Easy to install nails, hooks, or screws
- Allows for repositioning with minimal damage
Cons:
- Limited weight capacity
- Vulnerable to moisture and impact
Best Use:
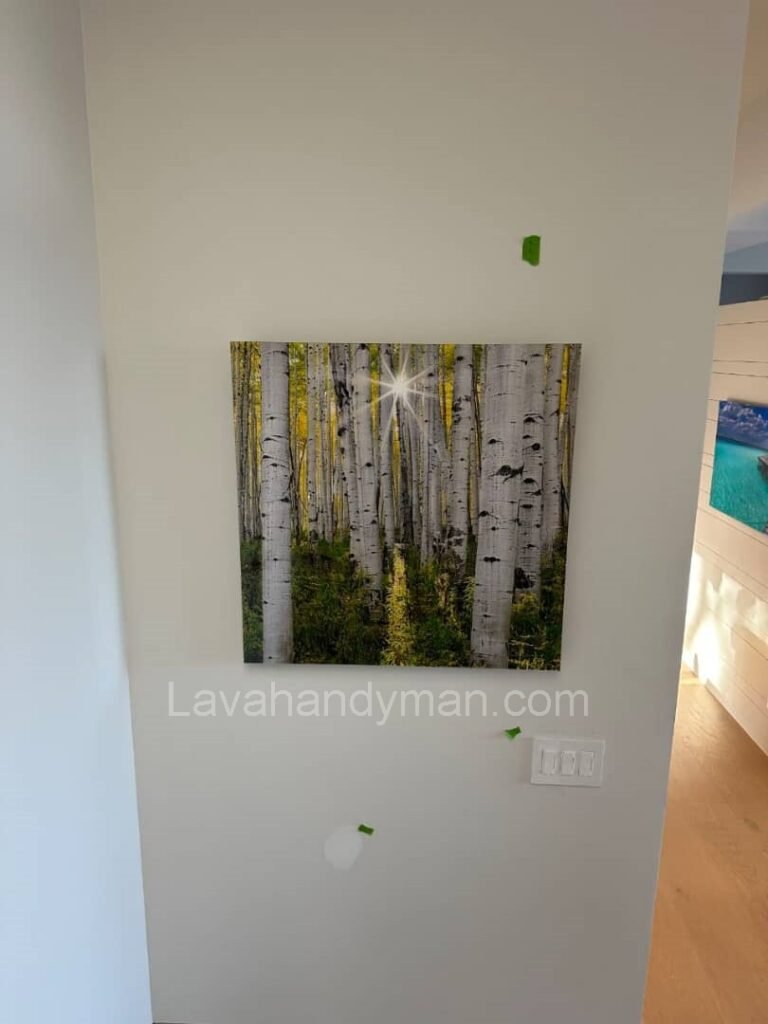
Ideal for lightweight or decorative artworks; use drywall anchors or adhesive hooks for secure installation.
Wall or structure for hanging artwork|Complete Guide
2.2. Concrete Wall
Pros:
- Extremely strong and durable
- Suitable for heavy or large-scale artwork
- Moisture-resistant
Cons:
- Requires professional drilling
- Installation needs special tools and anchors
Best Use:
Perfect for galleries, public spaces, or offices displaying valuable or heavy artworks.
2.3. Brick Wall
Pros:
- Moderately strong
- Easier to work with than concrete
Cons:
- Can crack if drilled incorrectly
- Potential moisture absorption in some environments
Best Use:
Suitable for medium-weight artworks. Drill directly into the brick (not mortar) for secure placement.
2.4. Wooden Wall
Pros:
- Easy to install screws or nails
- Warm, natural aesthetic
- Matches well with classic or rustic decor
Cons:
- Sensitive to moisture and pests
- May loosen over time
Best Use:
Excellent for cozy interior spaces with traditional or organic design themes.
Wall or structure for hanging artwork|Complete Guide
2.5. Glass or Mirrored Wall
Pros:
- Modern, luxurious appearance
- Reflects light and enhances space
Cons:
- Cannot be drilled easily
- Fragile and breakable
Best Use:
Use ceiling-mounted or track systems for safe hanging. Lightweight pieces may be mounted with special adhesives.
3. Key Considerations When Choosing Where to Hang Art
3.1. Height
The standard height for hanging art is 145–155 cm (57–61 inches) from the floor to the center of the piece—aligned with the average eye level.
3.2. Lighting
- Avoid direct sunlight to prevent fading
- Use adjustable, natural-spectrum spotlights for optimal viewing
- Glossy artworks need controlled lighting to avoid glare
3.3. Wall Color and Texture
- The wall color should complement the artwork, not overpower or match it exactly
- Textured walls (like brick or concrete) must be compatible with the artwork’s style
3.4. Temperature and Humidity
- Avoid placing art near heaters, fireplaces, or AC units
- Use insulated walls or controlled environments in humid areas
Wall or structure for hanging artwork|Complete Guide
4. Mounting Methods for Artwork
| Method | Suitable Wall Types | Notes |
|---|---|---|
| Nails/Screws | Drywall, wood, brick | Simple and common; use anchors for heavier pieces |
| Adhesive Hooks | Smooth drywall | No drilling; ideal for light pieces |
| Anchors & Screws | Concrete, brick | Requires tools and skill; for heavy or valuable art |
| Rail Systems | Gallery walls | Adjustable and non-invasive |
| Ceiling Mount | Glass/mirror walls | Requires special design and hardware |
5. Matching Wall Type with Interior Style
| Design Style | Recommended Wall Type | Notes |
|---|---|---|
| Modern | Smooth, neutral-colored drywall | Art should be the focal point |
| Classic | Wood or detailed framing | Works with ornate frames and traditional art |
| Industrial | Exposed brick or concrete | Enhances raw, authentic aesthetics |
| Scandinavian | White drywall | Emphasizes minimalism and light |
| Minimalist | Plain, flat surfaces | Keeps focus entirely on the artwork |
6. Common Mistakes to Avoid
- Hanging art on damp or near-hot walls
- Using the wrong hardware for the artwork’s weight
- Choosing a visually conflicting wall background
- Installing at the wrong height
- Poor or overly intense lighting
Wall or structure for hanging artwork|Complete Guide
The Importance of Wall Type in Installing Artwork
Choosing the right wall for installing artwork goes far beyond a simple decorative decision. The type of wall plays a critical role in the safety, longevity, visual appeal, and overall effectiveness of the displayed piece. Proper installation requires a thorough understanding of the wall’s material, structural strength, environmental conditions, and physical features.
Below are the key reasons why the wall type matters when hanging artwork:
1. Ensuring Safety of the Artwork and Surroundings
One of the most vital considerations when mounting a piece of art is safety. A wall that lacks adequate strength may not support the weight of the artwork, leading to the risk of falling. This not only damages the artwork but may also endanger nearby individuals or property.
2. Protection Against Environmental Damage
Walls exposed to moisture, temperature fluctuations, or direct sunlight can cause long-term harm to artworks. Mold growth, frame decay, discoloration, or warping of the medium are common consequences. Choosing a dry, stable, and protected wall helps preserve the artwork’s integrity and appearance over time.
Wall or structure for hanging artwork|Complete Guide
3. Enhancing Visual Impact and Aesthetic Harmony
Walls are not just physical backdrops—they act as visual frames that affect how art is perceived. The color, texture, and material of a wall should complement the style and tone of the artwork. For example, a neutral-colored, smooth wall enhances colorful or detailed works, while busy or textured walls might distract from the piece itself.
4. Supporting Proper and Professional Installation
Different wall types require different installation techniques and tools. Concrete or brick walls need drilling and wall anchors, while gypsum or wooden walls are suitable for nails or screws but offer less weight tolerance. Understanding the wall’s material ensures that the appropriate method is used, preventing damage to both the wall and the artwork.
5. Compatibility with Lighting and Environmental Conditions
Effective lighting significantly enhances the impact of art. Walls that face direct natural light or strong artificial sources may lead to fading or unwanted reflections. Glass or glossy surfaces can reflect light excessively, diminishing focus on the artwork. Selecting a wall with controlled lighting conditions improves visibility and viewer engagement.
Methods of Hanging Artwork Based on Wall Type
1. Drywall / Gypsum Wall
- Features: Lightweight, soft, and commonly found in residential spaces.
- Installation Methods:
- Use small nails or screws for lightweight artworks (under 2 kg).
- Use drywall anchors for medium to moderately heavy pieces.
- Adhesive hooks (e.g., Command hooks) for temporary hanging of lightweight artworks without damaging the wall.
Wall or structure for hanging artwork|Complete Guide
2. Concrete Wall
- Features: Very strong, suitable for heavy artwork.
- Installation Methods:
- Drill holes and use metal anchors or expansion bolts.
- Use diamond drill bits for precise drilling to prevent wall cracking.
- Use heavy-duty hanging hooks for permanent installation of heavy pieces.
3. Brick Wall
- Features: Durable, more porous structure than concrete.
- Installation Methods:
- Drill into the brick body (not the mortar) and use appropriate anchors.
- Use screws and anchors designed for brick for medium to heavy artworks.
- Use L-shaped metal hooks for secure and tidy hanging.
4. Wooden Wall / Paneling
- Features: Easy installation, warm and traditional appearance.
- Installation Methods:
- Use nails or screws directly for lightweight and medium-weight artworks.
- Use hanging hooks with wood screws for more secure installation.
- Use horizontal mounting rails for organized hanging of multiple pieces.
5. Glass or Mirror Wall
- Features: Fragile, cannot be drilled directly.
- Installation Methods:
- Use suction cup hooks or adhesive hooks designed for glass for very lightweight pieces.
- Use ceiling-mounted suspension cables or wires to hang artwork without direct wall contact.
- Use stands or free-standing supports near the wall.
6. Drywall with Metal Studs (Knauf Walls)
- Features: Lightweight, low tolerance for heavy weight.
- Installation Methods:
- Use butterfly anchors to better distribute weight.
- Install on metal studs behind the wall for better load-bearing.
- Use special adhesives for lightweight and temporary hanging.
Steps for Hanging a Picture on the Wall
1. Choose the Right Location
- Select a spot that complements the decor and provides good visibility.
- The standard hanging height is usually between 150 to 170 cm (59 to 67 inches) from the floor.
- Avoid direct sunlight or areas prone to moisture.
2. Identify the Wall Type and Prepare Tools
- Determine the wall material (drywall, concrete, brick, wood, etc.).
- Gather necessary tools such as a drill, screwdriver, anchors, nails, hooks, measuring tape, level, and pencil.
3. Mark the Installation Points
- Use a measuring tape and level to mark the exact spots for screws or hooks.
- If the picture uses multiple hooks, measure the distance between them precisely and ensure marks are level.
4. Drill Holes
- Choose the appropriate drill bit based on the wall type.
- Drill holes to the correct depth matching the size of the anchors.
5. Insert Anchors
- Place anchors into the holes and gently tap them in with a hammer if needed.
- Anchors increase the holding strength, especially on softer or hollow walls.
6. Install Screws or Hooks
- Screw in the screws or hooks into the anchors or directly into solid walls or wooden surfaces.
- Ensure screws are tightened enough to support the picture without wobbling.
7. Hang the Picture and Adjust
- Place the picture onto the screws or hooks.
- Check that it is level and adjust as necessary.
8. Final Check and Cleanup
- Confirm that the picture is securely mounted and safe.
- Clean up any tools or debris from the installation area.
Important Tips
Avoid drilling into delicate surfaces like glass or mirrors; use non-invasive hanging methods instead.
Always use tools and methods appropriate for the wall type.
For heavy pictures, consider professional assistance if needed.
Conclusion
Properly displaying an artwork requires thoughtful consideration of wall type, interior style, environmental conditions, and mounting methods. The right wall not only ensures safety and durability but also elevates the visual impact of the piece. Understanding the features of each wall type and matching them with your space and artwork will result in a more cohesive and art-enhancing environment.
At LavaHandyman.com, we don’t just help you understand TV tech — we also offer expert TV installation services, making sure your home entertainment setup looks and performs at its best.
📞 Need Help?
Let us take care of the hard work while you sit back and relax.
📍 Serving: Austin, Round Rock, Cedar Park & more
📱 Call or Text: (737) 420-6992
🌐 Visit: https://lavahandyman.com
