Digital Treadmill Assembly: A Complete and Comprehensive Guide
Introduction
The digital treadmill is one of the most popular fitness devices for homes and gyms. It allows walking and running while controlling speed, incline, and various workout programs.
In addition, digital treadmills provide precise exercise data such as distance, calories burned, and heart rate, helping users manage their workouts more effectively.
Proper assembly of a digital treadmill not only optimizes its performance but also ensures user safety and extends the device’s lifespan. This article covers the complete assembly process, technical tips, common problems, and maintenance guidelines.

Section 1: Understanding Digital Treadmill Components
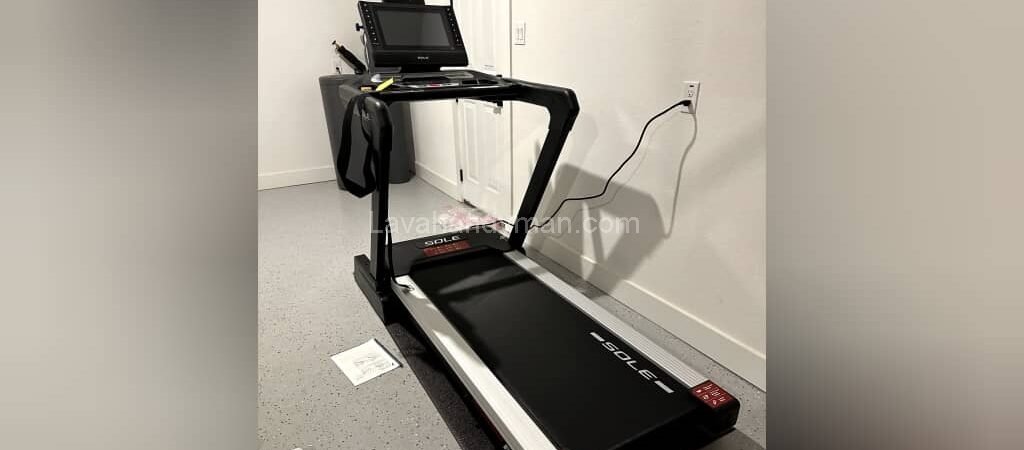
1. Frame and Main Structure
The treadmill frame includes legs, columns, and a metal chassis. This structure supports the user’s weight and the motor. The quality of the metal and welds plays a crucial role in stability and durability.
Digital Treadmill Assembly: A Complete and Comprehensive Guide
2. Motor and Drive System
The motor is the heart of the treadmill. It is usually DC or AC and is responsible for moving the belt. Motor power should match the user’s weight and intended use.
3. Belt and Running Surface
The treadmill belt consists of an upper surface and a lower surface. The lower surface contacts the rollers, and belt quality directly affects durability and comfort.
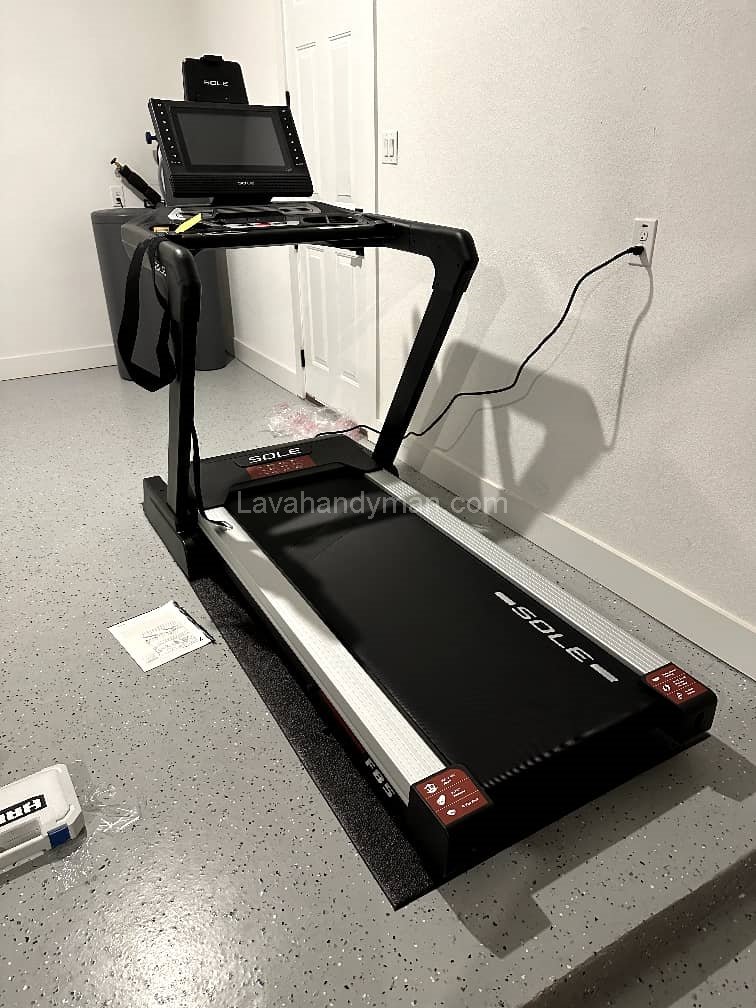
4. Digital Console and Control System
The digital console displays speed, distance, time, and heart rate. Many treadmills include pre-programmed workouts. Correctly connecting sensors and cables to the console is one of the most critical assembly steps.
Digital Treadmill Assembly: A Complete and Comprehensive Guide
5. Incline and Brake System
The incline system can be electric or mechanical. It adjusts the treadmill’s angle, and some models feature electronic or mechanical brakes for added safety.
Section 2: Steps for Assembling a Digital Treadmill
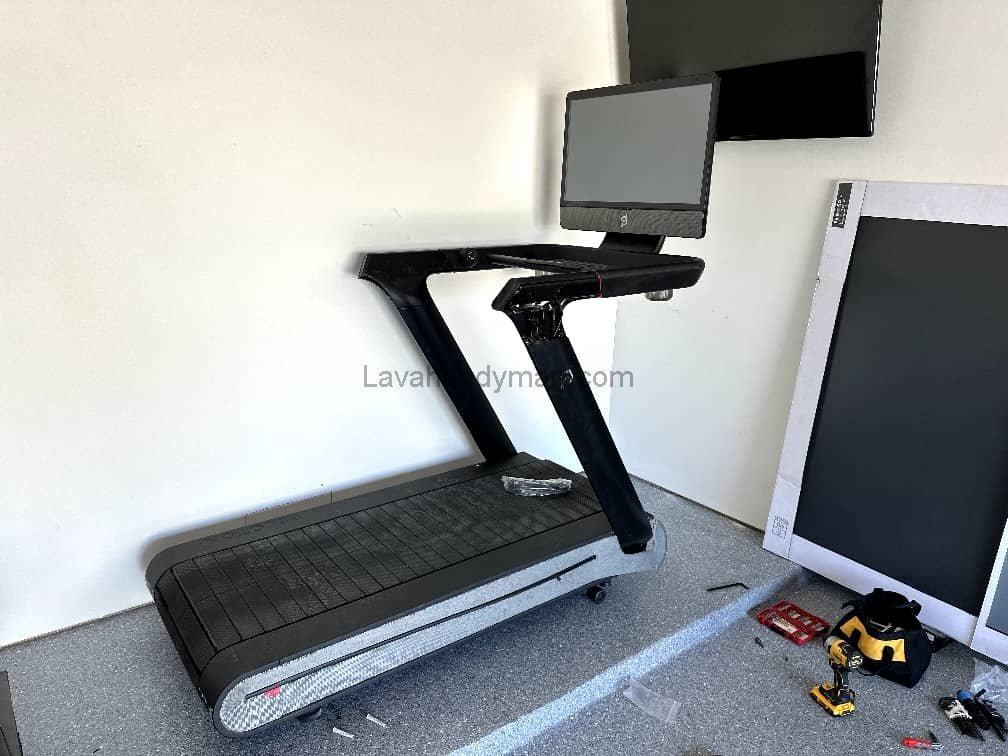
Step 1: Preparing the Workspace
Start with a flat, spacious area for assembly. Using a soft mat or cardboard can prevent parts from getting damaged.
Step 2: Installing the Frame and Legs
Attach the front and rear legs to the main frame using screws and bolts. Ensuring the legs are level is essential for proper operation.
Step 3: Installing the Motor and Belt
Digital Treadmill Assembly: A Complete and Comprehensive Guide
- Place the motor in its designated position and connect the power cables to the controller.
- Position the belt on the rollers and adjust its tension according to the manufacturer’s instructions.
Step 4: Installing the Digital Console
- Connect sensor and motor wires to the console.
- Mount the console onto the stand and secure it with screws.
- Check that the display powers on and functions without errors.
Step 5: Installing the Incline and Brake System
- For electric incline treadmills, attach the incline motor to the frame and connect the cables.
- For mechanical models, tighten the incline adjustment screws and verify proper function.
Step 6: Final Check and Testing
- Double-check all screws and connections.
- Turn on the treadmill without any weight to test motor, belt, and incline operation.
- Ensure the treadmill runs smoothly without unusual noises or slippage.
Digital Treadmill Assembly: A Complete and Comprehensive Guide
Section 3: Safety Tips for Assembly and Use
- Wear gloves and safety glasses during assembly.
- Follow the manufacturer’s instructions for screws and cables.
- Periodically check the belt, screws, and wiring.
- Use the treadmill in a dry, stable environment.
Section 4: Common Problems and Solutions
- Belt Slippage: Adjust belt tension and lubricate rollers.
- Console Display Issues: Check cable connections and sensors.
- Unusual Motor Noise: Tighten screws, clean the motor, and lubricate it.
- Incline Problems: Inspect the incline motor and mechanical screws, and lubricate if necessary.
Digital Treadmill Assembly: A Complete and Comprehensive Guide
Section 5: Maintenance and Longevity
- Regularly clean the belt and console.
- Periodically lubricate the belt and rollers.
- Check motor and cable health.
- Store the treadmill in a dry, ventilated area.
Digital Treadmill Assembly: A Complete and Comprehensive Guide
Step-by-Step Guide to Assembling a Digital Treadmill
Step 1: Prepare the Workspace and Tools
- Choose a suitable location:
- Place the treadmill on a flat and stable surface.
- Keep at least 0.5 meters of clearance from the back and sides for safety.
- Protective flooring:
- Use a mat, thick cardboard, or soft carpet to prevent damage to parts during assembly.
- Required tools:
- Wrenches and screwdrivers provided by the manufacturer.
- Gloves and safety glasses for protection.
Digital Treadmill Assembly: A Complete and Comprehensive Guide
Step 2: Check Parts and Packaging
- Match all parts with the instruction manual.
- Main parts typically include:
- Front and rear legs
- Main frame / chassis
- Motor and rollers
- Running belt
- Digital console
- Screws, nuts, and washers
- Incline and brake components
Step 3: Install the Legs and Main Frame
- Attach the front and rear legs to the main frame using screws and bolts.
- Use a level to ensure the legs are completely even.
- Tighten screws, but avoid over-tightening to prevent damage to threads.
Digital Treadmill Assembly: A Complete and Comprehensive Guide
Step 4: Install the Motor and Rollers
- Place the motor in its designated position.
- Connect the motor’s power cables to the controller.
- Position the rollers correctly and ensure they rotate smoothly.
- Place the belt on the rollers and carefully center it.
Step 5: Adjust the Belt Tension
- The belt should not be too loose or too tight.
- Adjust the tension using the manufacturer’s recommended screws.
- The belt must move smoothly without slipping.
Digital Treadmill Assembly: A Complete and Comprehensive Guide
Step 6: Install the Digital Console
- Connect the sensor and motor cables to the console ports.
- Mount the console on the stand and secure it with screws.
- Turn on the display and check that speed, time, distance, and heart rate are functioning properly.
Step 7: Install the Incline and Brake System
- Electric treadmill: install the incline motor and connect cables to the controller.
- Mechanical treadmill: tighten the incline adjustment screws and ensure smooth operation.
- Make sure the brakes function correctly.
Digital Treadmill Assembly: A Complete and Comprehensive Guide
Step 8: Final Inspection
- Double-check all screws and connections.
- Test the belt and rollers without any load to ensure smooth movement.
- Check the incline, console, and brakes for proper operation.
- Ensure there are no unusual noises or slippage.
Step 9: Initial Startup and Safety
- Turn on the treadmill and walk or jog at low speed for a few minutes.
- Listen for any abnormal sounds or unusual movements.
- If a problem occurs, turn off the treadmill and troubleshoot.
Digital Treadmill Assembly: A Complete and Comprehensive Guide
Step 10: Initial Maintenance
- Lubricate the belt and rollers before extended use.
- Clean the console and frame with a dry or slightly damp cloth.
- Review the instruction manual for the routine maintenance schedule.
Comparison Between Digital and Manual Treadmills
Digital Treadmill Assembly: A Complete and Comprehensive Guide
| Feature | Digital Treadmill | Manual Treadmill |
|---|---|---|
| Type of Motion | Motorized; belt moves with the motor | No motor; belt moves with the user’s feet |
| Speed Control | Adjustable via digital console | Speed depends on user’s effort and movement |
| Incline Adjustment | Usually electric and precise | Mechanical and less precise |
| Workout Data Display | Distance, speed, time, calories, heart rate | Usually limited or not available |
| Pre-programmed Workouts | Available; preset and customizable programs | Not available or very limited |
| Energy Consumption | Requires electricity | No electricity; powered by the user |
| Noise Level | Depending on motor, usually low to moderate | Generally very low; only belt and foot movement noise |
| Price | Generally higher | Usually lower |
| Maintenance | Requires checking motor, console, and cables | Requires checking belt and rollers; simpler maintenance |
| Training Capability | Suitable for precise workouts, long running, and structured programs | Suitable for light exercise, walking, and rehabilitation |
Digital Treadmill Assembly: A Complete and Comprehensive Guide
Summary
Manual Treadmill: Simpler and more affordable, requires no electricity, and is easier to maintain. However, it is less suitable for advanced running or long-duration workouts.
Digital Treadmill: Ideal for users who want structured, precise workouts and access to digital data such as heart rate and calories. It requires electricity and more maintenance.
Digital Treadmill Assembly: A Complete and Comprehensive Guide
Safety Tips for Assembling and Using a Digital Treadmill
1. Safety During Assembly
- Proper Installation Location:
- Place the treadmill on a flat and stable surface.
- Maintain at least 0.5 meters of clearance from the back and sides to prevent accidents.
- Use Safety Equipment:
- Always wear gloves and safety glasses.
- Use the tools provided by the manufacturer.
- Check All Parts:
- Match all components with the instruction manual before starting.
- Replace any damaged parts.
- Leveling and Tightening Screws:
- Ensure legs and main frame are level.
- Tighten screws securely, but avoid over-tightening to prevent damage to threads.
Digital Treadmill Assembly: A Complete and Comprehensive Guide
2. Safety When Installing the Motor and Belt
- Protect power cables from damage or stretching.
- Adjust the belt carefully before turning on the treadmill.
- Ensure rollers rotate freely without obstruction.
3. Safety During Use
- Start at Low Speed:
- Begin with a slow speed to allow your body to adapt to the treadmill’s movement.
- Wear Proper Shoes and Clothing:
- Use standard athletic shoes and comfortable clothing to prevent slipping or injury.
- Use the Safety Key:
- Always attach the treadmill’s safety key.
- In case of a fall or emergency, the treadmill stops immediately.
- Keep Children Supervised:
- Treadmills are designed for adults. Children should only use them under supervision.
- Clear the Surrounding Area:
- Remove loose objects around the treadmill to prevent entanglement or accidents.
Digital Treadmill Assembly: A Complete and Comprehensive Guide
4. Safe Maintenance
Store the treadmill in a dry, well-ventilated area.
Periodically check the belt, screws, and cables.
Clean the console and frame regularly with a dry or slightly damp cloth.
Lubricate the belt and rollers according to the manufacturer’s instructions.
Conclusion
Proper assembly of a digital treadmill is key to a safe, comfortable, and long-lasting exercise experience. By following technical and safety tips and performing regular maintenance, users can maximize the benefits of home workouts and ensure the treadmill’s durability.
📞 Need Help?
Let us take care of the hard work while you sit back and relax.
📍 Serving: Austin, Round Rock, Cedar Park & more
📱 Call or Text: (737) 420-6992
🌐 Visit: https://lavahandyman.com