🏡 Trampoline Assembly in Your Backyard: A Complete Step-by-Step Guide
🎯 Introduction: Why Install a Trampoline in Your Backyard?
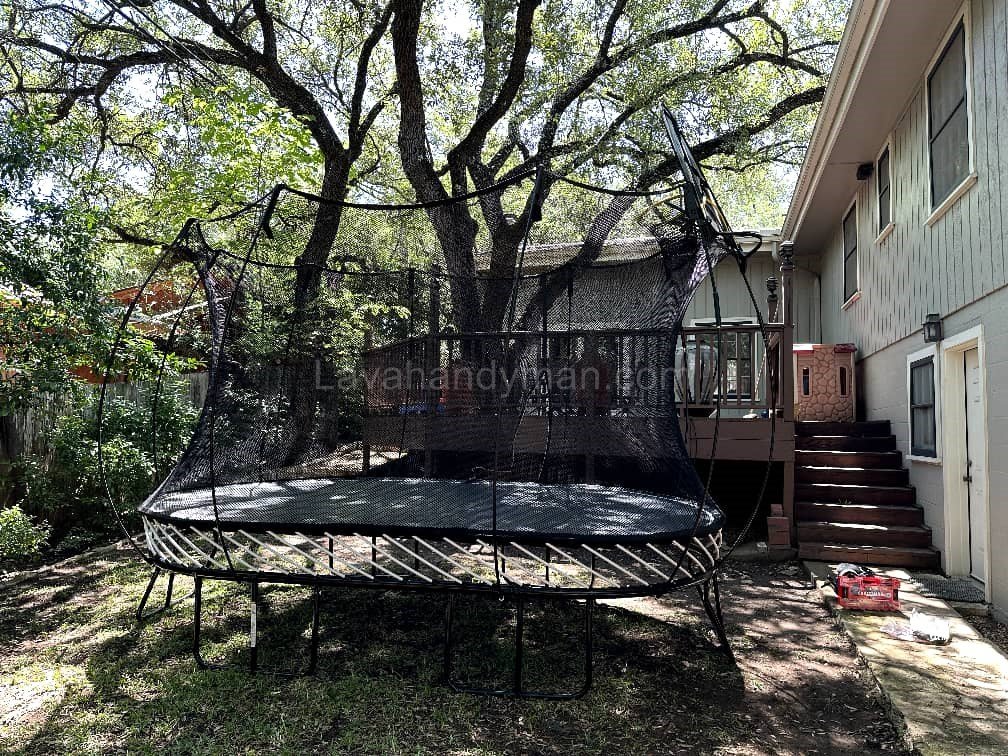
If you’re looking for a fun, healthy, and family-friendly activity that brings life to your backyard, a trampoline is an excellent choice.
Not only does it entertain children for hours, but it also serves as one of the most effective home workout tools.
In this detailed guide, we’ll walk you through how to assemble a trampoline step by step—from choosing the right spot and gathering tools to final safety checks—so you can install it yourself without professional help.

Trampoline Assembly in Your Backyard
🧩 What Is a Trampoline and What Types Exist?
A trampoline is a recreational device consisting of a strong fabric sheet (usually made of polypropylene) stretched over a steel frame and held by numerous springs. It’s designed for jumping, balance training, and physical activity.
Before setting up, it’s helpful to understand the main types of trampolines:
🔹 1. Round Trampolines
The most popular type for home backyards. The circular shape distributes weight and tension evenly, making it safer and more stable for kids.
🔹 2. Rectangular or Square Trampolines
Preferred by gymnasts and athletes. They provide higher bounce but require more control.
🔹 3. Fitness or Mini Trampolines
Compact and designed for indoor use. Perfect for adults who want low-impact cardio workouts.
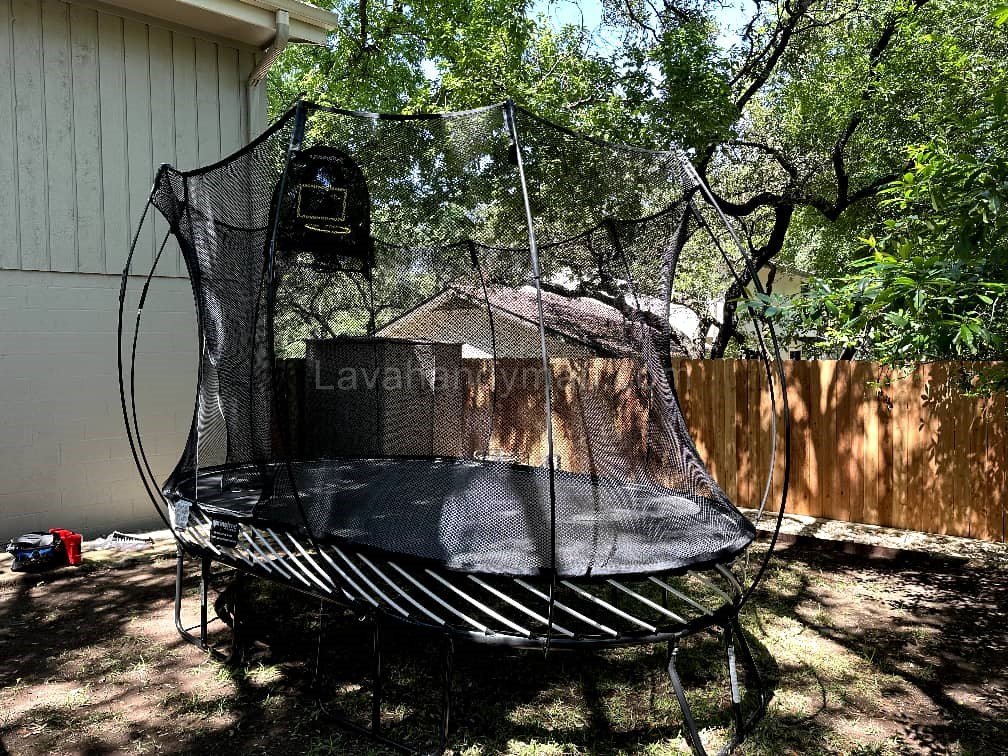
🔹 4. Enclosed Safety Trampolines
Equipped with a safety net to prevent falls — ideal for families with younger children.
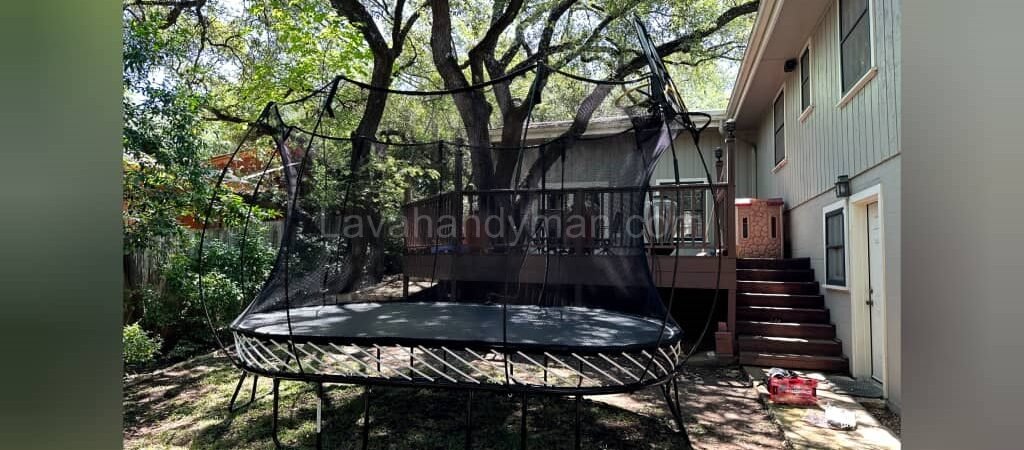
Trampoline Assembly in Your Backyard
🌿 Benefits of Installing a Trampoline in Your Backyard
✅ Family Entertainment
A trampoline brings joy and energy to your home, creating a perfect space for outdoor family fun.
✅ Health and Fitness
Jumping on a trampoline is one of the most effective aerobic exercises.
Just 10 minutes of bouncing can equal 30 minutes of running in calorie burn.
✅ Improved Coordination and Balance
Children enhance their motor skills, coordination, and body awareness through repetitive bouncing.
✅ Stress Relief
The rhythmic motion of trampoline jumping releases endorphins, improving mood and reducing stress.
✅ Aesthetic and Property Value Boost
A well-installed trampoline adds a modern and playful touch to your backyard.
Trampoline Assembly in Your Backyard
🔧 Tools and Equipment Needed for Trampoline Assembly
Before you begin assembling your trampoline, prepare the following tools:
| Tool | Purpose |
|---|---|
| Instruction manual | To follow the correct order of parts |
| Spring pull tool | For safe and easy spring installation |
| Screwdriver or Allen wrench | To tighten screws and joints |
| Rubber mallet | To secure metal pieces without damage |
| Work gloves | Protects hands from sharp edges |
| Tape measure | To align and balance the structure |
| Flat, level surface | Essential for stability and safety |
Trampoline Assembly in Your Backyard
📍 Choosing the Best Spot for Your Trampoline
The location of your trampoline can greatly affect its safety and longevity. Follow these tips:
- Choose a flat, level surface — avoid slopes or uneven ground.
- Keep at least 2 meters (6 feet) of clearance from walls, fences, or trees.
- Remove any rocks or hard objects beneath the trampoline.
- Pick a spot with partial shade to prevent the mat from overheating in summer.
- If installing on artificial grass or concrete, use rubber pads under the legs for extra grip.
⚙️ Step-by-Step Guide to Trampoline Assembly
Now it’s time to put everything together! Follow these steps carefully:
🪛 Step 1: Unpack and Check All Parts
Lay out all the pieces and compare them with the instruction manual. Check for damaged or missing parts before you start.
🧱 Step 2: Assemble the Frame
Trampoline Assembly in Your Backyard
Connect the steel tubes according to the numbering or color code until a full circular or rectangular shape is formed. Don’t attach the legs yet.
🔩 Step 3: Attach the Jumping Mat
Lay the mat over the frame. Hook the first spring to the mat and the frame, then attach the opposite spring to balance the tension.
Continue attaching springs in a cross pattern until all are installed.
💡 Tip: Always use the provided spring pull tool to avoid injuries and ensure proper tension.
🧍♂️ Step 4: Attach the Legs
Connect the legs or U-shaped supports to the frame and tighten all bolts securely.
🧤 Step 5: Install the Safety Pad
Place the foam safety pad over the springs to cover all metal edges.
🕸️ Step 6: Set Up the Safety Net (if included)
Attach the poles to the frame, then secure the enclosure net from top to bottom. Check the zipper door for proper closure.
Trampoline Assembly in Your Backyard
⚠️ Safety Tips for Using a Trampoline
Trampoline fun should always come with safety in mind. Here are key precautions:
- Inspect the trampoline before every use.
- Allow only one jumper at a time unless the model supports multiple users.
- Supervise children at all times.
- Remove shoes, jewelry, and sharp objects before jumping.
- Do not use the trampoline in wet or windy conditions.
- Replace any torn mat, broken spring, or damaged net immediately.
Trampoline Assembly in Your Backyard
❌ Common Mistakes During Trampoline Assembly
Avoid these frequent errors that can lead to damage or accidents:
- Uneven Spring Installation – causes the mat to pull unevenly.
- Ignoring the Manual – every brand has unique assembly details.
- Using Incorrect Tools – can strip screws or damage metal joints.
- Installing Too Close to Obstacles – increases collision risk.
- Uneven Ground Setup – causes imbalance and premature wear.
Trampoline Assembly in Your Backyard
🧽 Maintenance and Care Tips for Your Trampoline
To keep your trampoline safe and long-lasting, follow these maintenance practices:
- Clean the mat regularly from dust, leaves, or debris.
- Use a waterproof cover during rainy or snowy seasons.
- Tighten all bolts and screws every few weeks.
- Apply anti-rust spray on springs if they start corroding.
- Store the mat indoors during winter if possible.
- Never allow rough play or overloading the trampoline.
💡 Backyard Styling Ideas for Your Trampoline
Want to make your trampoline area look more inviting? Try these ideas:
- Surround it with artificial grass or decorative stones.
- Add LED strip lights for nighttime fun.
- Place colorful potted plants around the frame.
- Create a themed play zone with outdoor cushions or canopies.
Trampoline Assembly in Your Backyard
🧠 Expert Tips from Professional Installers
- Always assemble with at least two people for safety and balance.
- Test each leg by applying slight pressure to ensure even weight distribution.
- Re-tighten all screws every six months.
- If installed on hard ground, use rubber mats under each leg to prevent slipping.
🏡 Step-by-Step Guide: How to Assemble a Trampoline in Your Backyard
Trampoline Assembly in Your Backyard
🎯 Before You Start Assembling the Trampoline
Make sure you prepare the installation area and all necessary tools:
Tools Required:
- Spring tool (for trampoline springs)
- Adjustable wrench or Allen keys
- Rubber mallet
- Tape measure and level
- Work gloves
- Protective mat for the floor
🔹 Important Tip: Install the trampoline on a flat, clean surface free of rocks, sticks, or sharp objects. This ensures stability and increases child safety.
Trampoline Assembly in Your Backyard
🧩 Step 1: Unboxing and Checking Parts
- Lay out all parts and compare them with the instruction manual.
- Main parts include: metal frame, legs, springs, jumping mat, spring pad, poles, and safety net (if included).
- If any parts are missing or damaged, contact the seller before continuing.
⚙️ Step 2: Assemble the Metal Frame
- Connect the frame tubes according to numbers or markings until you form a complete circle or rectangle.
- Do not fully tighten bolts initially—you may need adjustments later.
- Place the frame on the ground for easier spring installation and better stability.
🔸 Safety Tip: Use a rubber mallet to secure tubes, and avoid metal hammering to prevent scratches or bending.
Trampoline Assembly in Your Backyard
🪄 Step 3: Attach the Jumping Mat and Springs
This is the most critical part of trampoline assembly.
- Center the jumping mat on the frame.
- Attach one spring to the mat and frame.
- Attach the spring directly opposite the first one to balance tension.
- Continue attaching springs in a cross-pattern until all are installed.
- Always use the spring tool to avoid hand injuries.
⚠️ Warning: Never attach all springs from one side—it can stretch the mat unevenly and cause tearing.
🧱 Step 4: Install the Legs and Balance the Frame
- Attach the legs according to the manual.
- Once all legs are installed, tighten all bolts securely.
- Check the frame with a level to ensure it is even.
- Use rubber pads under legs if the ground is uneven.
💡 Pro Tip: On grass, place durable plastic pads under legs to prevent sinking.
🛡️ Step 5: Install the Spring Safety Pad
The spring pad is essential for home trampoline safety.
- Place the pad over all springs and edges.
- Attach the straps underneath the pad to secure it in place.
- Make sure there are no gaps between the pad and frame.
🚸 Safety Tip: The pad prevents contact with metal springs and reduces injury risk by up to 90%.
🕸️ Step 6: Install the Safety Net (If Applicable)
- Insert the poles into the designated spots on the frame.
- Slide the net over the top of the poles and attach it to the frame.
- Check the zipper or closure to ensure it opens and closes properly.
- Make sure there are no gaps between the net and the spring pad.
✅ Step 7: Final Check Before Use
Before anyone jumps on the trampoline:
- Double-check that all bolts and screws are tightened.
- Ensure springs are evenly tensioned.
- Verify that the safety pad and net are secure.
- Conduct a soft test jump: one adult should sit and lightly bounce in the center to test balance and tension.
Stop using the trampoline immediately if you notice any unusual noises or wobbling.
🧠 Professional Tips for Safe Home Trampoline Use
- Always supervise children when using the trampoline.
- Avoid multiple jumpers at the same time unless the trampoline allows it.
- Do not use the trampoline in windy or rainy conditions.
- Check bolts and springs every few months and replace rusted or damaged parts.
- Use a weatherproof cover if the trampoline is outdoors.
⚡ Common Problems During Trampoline Assembly and Solutions
| Problem | Possible Cause | Solution |
|---|---|---|
| Uneven jumping mat | Springs installed asymmetrically | Reinstall springs in a cross-pattern |
| Wobbly legs | Bolts not tight | Retighten bolts |
| Loose safety net | Poles not properly secured | Reinstall poles and check net connections |
| Squeaky or noisy springs | Rust or improper installation | Clean or replace springs |
📋 Final Trampoline Assembly Checklist
☑ All springs installed evenly
☑ Safety pad properly covers springs
☑ Net is intact with no gaps
☑ Legs are level and stable
☑ All bolts are tightened
☑ Ground beneath trampoline is clean and safe
🎯 Conclusion: Bring Joy and Fitness to Your Backyard
Assembling a trampoline in your backyard is easier than it looks.
By following these steps, you’ll create a safe and fun space for your family — a place for laughter, exercise, and energy.
Remember:
- Safety first – always check your trampoline before use.
- Proper setup ensures longer lifespan and better performance.
- Regular maintenance keeps it in great shape all year long.
📞 Need Help?
Let us take care of the hard work while you sit back and relax.
📍 Serving: Austin, Round Rock, Cedar Park & more
📱 Call or Text: (737) 420-6992
🌐 Visit: https://lavahandyman.com