
Professional Tips: Hanging Three-Piece Wall Art Like a Pro (DIY Tutorial)
Introduction
Wall art is one of the most important elements in interior design, transforming plain walls into expressive and vibrant spaces. Among various decorative options, three-piece wall art (triptych) has become extremely popular in modern homes.
Three-piece wall art consists of three separate panels that together form a cohesive or complementary visual design. Proper installation is essential because misaligned panels or incorrect spacing can compromise the overall effect.
In this guide, you’ll learn step-by-step how to install three-piece wall art at home, including the necessary tools, alignment techniques, and tips for visual arrangement.
What Is Three-Piece Wall Art?
A three-piece wall art (triptych) is a set of three separate panels displayed together to create a unified image or complementary design. Proper spacing between panels ensures visual balance and aesthetic appeal.
Types of Three-Piece Wall Art by Material
- Canvas Prints: Lightweight, easy to hang, ideal for interior walls.
- Wood or MDF Panels: Durable, suitable for classic or rustic interiors.
- Glass or Mirror Art: Modern and luxurious, requires careful installation.
- Metal Wall Art: Perfect for industrial or minimalist decor styles.
Choosing the Right Wall for Installation
1. Match with the Room
- Living Room: Above the sofa or main table.
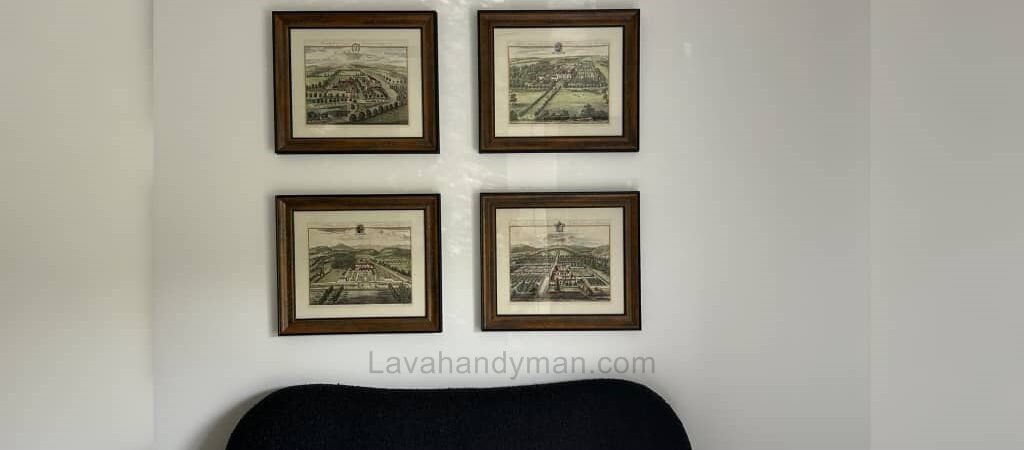
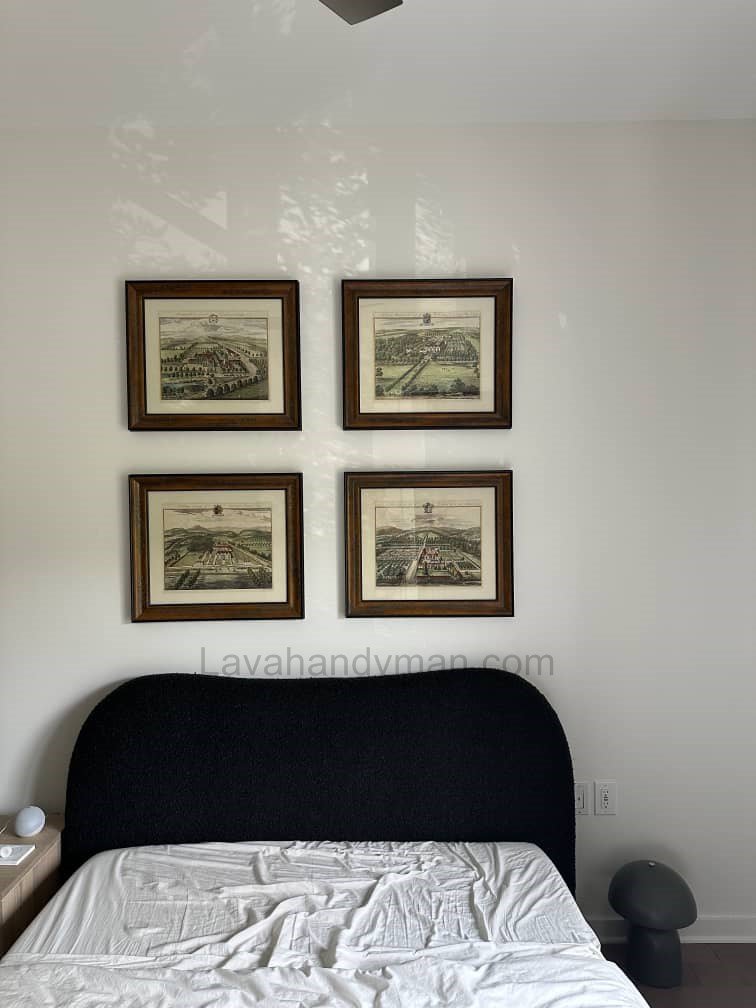
- Bedroom: Above or opposite the bed.
- Hallways or Entryways: Creates depth and a welcoming feel.
2. Open, Clean Wall
Three-piece wall art requires a relatively empty wall to showcase the design effectively.
3. Lighting
Natural light or accent lighting enhances colors and textures, giving the artwork a more vibrant appearance.
Tools and Materials Needed
| Tool | Purpose |
|---|---|
| Measuring tape | Measure distances and height accurately |
| Pencil or light marker | Mark wall placement |
| Level (manual or laser) | Ensure panels are perfectly aligned |
| Drill or hammer | Create holes for hooks or screws |
| Screws, wall plugs, or nails | Secure the panels |
| String or level tape | Check horizontal alignment |
| Soft cloth | Clean wall and artwork before/after installation |
Step-by-Step Installation Guide
Step 1: Find the Center of the Wall
Measure the wall and mark its center — this will be the axis for alignment.
Step 2: Choose the Right Height
The center of the artwork should be at eye level (~145 cm / 57 inches from the floor).
If hanging above a sofa, leave 20–30 cm (8–12 inches) between the bottom of the panels and the top of the sofa.
Step 3: Determine Spacing Between Panels
Standard spacing is 4–8 cm (1.5–3 inches). For continuous images, use less spacing to maintain visual continuity.
Step 4: Test Layout
Before final installation, arrange the panels on the floor or use temporary adhesive on the wall to check spacing and height.
Step 5: Mark Placement on Wall
Lightly mark each panel’s position with a pencil and use a level to ensure all panels are horizontally aligned.
Step 6: Install Hooks or Screws
- Light panels: Nails or adhesive hooks are sufficient.
- Heavy panels: Use wall plugs and screws for stability.
Step 7: Hang the Panels
Start with the middle panel, then install the left and right panels for better alignment.
Step 8: Final Check
Step back and view from different angles to ensure all panels are level and evenly spaced. Adjust as needed.
Pro Tips for Perfect Installation
- Color Coordination: Match the panels with furniture, curtains, and rugs for visual harmony.
- Dedicated Lighting: Use spotlights or LED accent lights to highlight the artwork.
- Matching Frames: Uniform frames ensure cohesive visual appeal.
- Symmetry: Panels should be centered on the wall or above furniture.
Common Mistakes When Installing Three-Piece Wall Art
- Panels not perfectly level
- Hanging too high or too low
- Incorrect spacing between panels
- Using weak hooks or nails
- Installing on damp or uneven walls
How to Hang Three-Piece Wall Art Without Drilling
- Special adhesive strips (Command™): Ideal for lightweight panels, no wall damage.
- Strong adhesive hooks: Suitable for small to medium panels.
- Decorative wall stands: Display panels without drilling.
Maintaining Three-Piece Wall Art
- Keep away from direct sunlight
- Dust regularly with a soft cloth
- Wrap in bubble wrap when moving to prevent damage
Creative Layout Ideas
- Horizontal Layout: Perfect above sofas or beds.
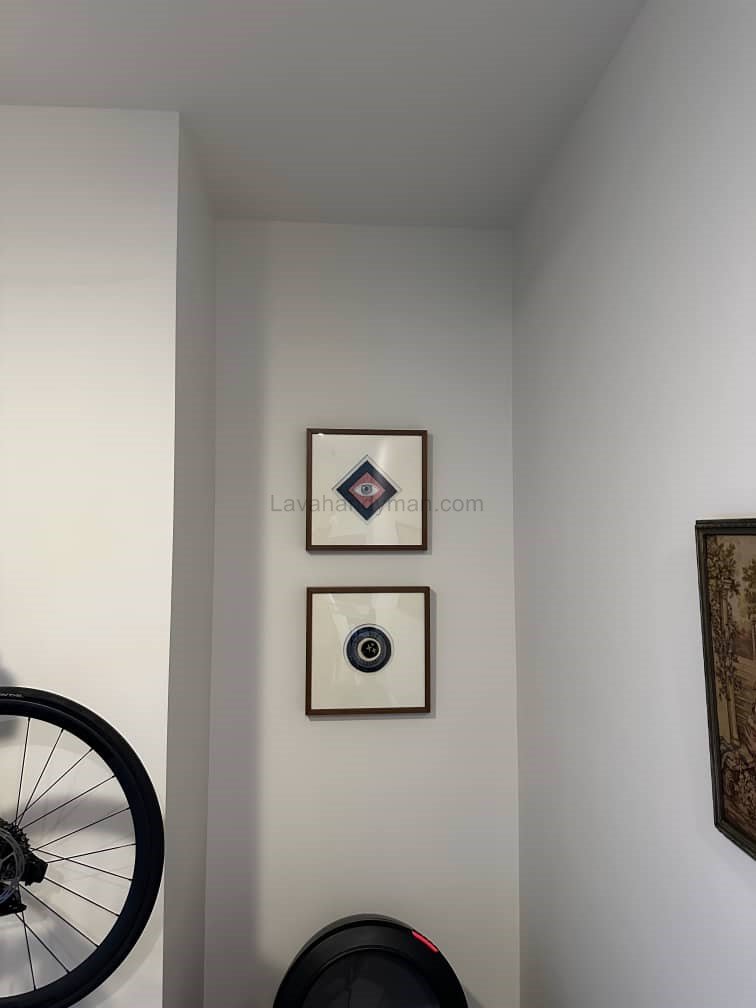
- Vertical Layout: Ideal for narrow walls or beside doors.
- Asymmetrical Layout: Modern and dynamic.
- Gallery Wall Mix: Combine with smaller frames to create a gallery effect.
Step-by-Step Guide to Installing Three-Piece Wall Art at Home
Target Keywords: three-piece wall art installation, decorative wall art, wall art installation guide, hanging wall art, home wall decor
Step 1: Choose the Right Wall for Installation
- Select the wall: Choose a wall with enough space that draws attention, such as above the sofa or bed.
- Lighting: Make sure the wall has natural light or the option to install spotlights for the artwork.
- Wall condition: The wall should be flat, dry, and clean for smooth installation.
Step 2: Determine the Center and Proper Height
- Measure and mark the center of the wall.
- The center of the wall art should be at eye level (~145 cm / 57 inches from the floor).
- If placing above a sofa, leave 20–30 cm (8–12 inches) between the bottom of the panels and the top of the sofa.
Step 3: Test Layout of the Panels
- Before final installation, arrange the panels on the floor or use temporary adhesive on the wall.
- Standard spacing between panels is 4–8 cm (1.5–3 inches); for continuous images, use less spacing.
- Check alignment and angle to ensure balance and visual harmony.
Step 4: Mark the Placement on the Wall
- Lightly mark the exact location of each panel with a pencil.
- Use a manual or laser level to ensure all panels are perfectly horizontal.
Step 5: Install Hooks, Nails, or Wall Plugs
- For lightweight panels, use nails or special adhesive hooks.
- For heavy panels, always use wall plugs and screws for secure installation.
- Ensure all hooks or screws are placed accurately and level.
Step 6: Hang the Panels on the Wall
- Start with the middle panel first.
- Then hang the left and right panels to maintain symmetry.
- Use a level to confirm all panels are on the same horizontal line.
Step 7: Final Check and Minor Adjustments
- View the panels from different angles to ensure they are aligned and balanced.
- Adjust spacing or height slightly if needed.
- Wipe dust off the wall and panels with a soft cloth.
Step 8: Add Final Details for Better Display
- Use LED lights or spotlights to enhance the visual effect of the wall art.
- Ensure frames are consistent and harmonious.
- Protect panels from sharp objects or accidental damage.
Important Tips for Professional Installation
Combining proper lighting with correct placement enhances the overall aesthetic.
Keep spacing and alignment precise.
For lightweight panels or rental homes, use adhesive strips that do not damage the wall.
Installing panels step-by-step ensures a professional and visually appealing result.
Types of Brackets and Hooks for Installing Three-Piece Wall Art
1. Wall Hooks / Picture-Frame Hooks
- Suitable for light to medium-weight frames
- Quick and easy installation
- Ideal for drywall or wooden walls
2. Adhesive Strips / Command Strips
- Perfect for lightweight panels
- No damage to the wall
- Ideal for rental homes or delicate wall surfaces
3. Anchors / Screw-In Anchors / Toggle Bolts
- Suitable for heavy and large frames
- Works on drywall, concrete, or brick walls
- Provides secure and stable installation
4. French Cleat / Gallery Cleat System
- Two pieces: one attaches to the wall, the other to the back of the frame
- Ideal for large and heavy wall art
- Ensures precise alignment and easy leveling
5. Cable Hanging Systems / Gallery Hanging Systems
- For gallery-style or artistic hanging
- Allows adjustable height and multiple frames in a linear or vertical arrangement
- Perfect for multiple or three-piece wall art panels
Key Tips for Choosing Brackets or Hooks
Rental homes or delicate walls: Adhesive strips are a safe and easy option.
Weight of the artwork: Choose a bracket that can support the frame’s weight.
Wall type: Select a bracket suitable for the wall material (drywall, concrete, or brick).
Multi-panel alignment: Ensure correct spacing and leveling for a professional look.
Ideal Height for Hanging Wall Art
1. General Rules for Wall Art Height
- Center at eye level: The center of the artwork should usually be 140–150 cm (55–59 inches) from the floor to be at eye level while standing or sitting.
- This rule works well for most artworks and general walls in living rooms, bedrooms, and hallways.
2. Hanging Wall Art Above a Sofa or Couch
- The distance between the bottom of the artwork and the top of the sofa should be 20–30 cm (8–12 inches).
- This ensures the artwork is neither too close nor too far from the furniture, maintaining visual harmony.
3. Height for Three-Piece or Multi-Panel Wall Art
- For three-piece wall art, the center of the main image (middle of the panels) should be at eye level (~145 cm / 57 inches from the floor).
- Standard spacing between panels is 4–8 cm (1.5–3 inches); for continuous images, smaller spacing works better.
- Panels should be arranged as a cohesive unit to create visual balance.
4. Hanging Art Above Tables, Consoles, or Shelves
- The recommended distance between the bottom of the artwork and the surface of the table/shelf is 10–20 cm (4–8 inches).
- For larger pieces, place the artwork slightly higher to maintain proportionality with the furniture and frame.
5. Key Tips for Leveling and Height
Rental homes or delicate walls: Use adhesive strips without drilling while following the height guidelines above.
Use a manual or laser level to ensure panels are perfectly horizontal.
Check from different angles in the room to determine the optimal height.
Multi-panel or gallery walls: Position the center of the collection at eye level for uniform viewing.
Conclusion
Installing three-piece wall art is an effective way to enhance home decor. By following key steps:
- Ensure panels are level
- Choose the proper height
- Maintain standard spacing
- Use appropriate lighting
You can create a professional and visually pleasing result, transforming your space without hiring a professional installer.
📞 Need Help?
Let us take care of the hard work while you sit back and relax.
📍 Serving: Austin, Round Rock, Cedar Park & more
📱 Call or Text: (737) 420-6992
🌐 Visit: https://lavahandyman.com
