
Installing Satin Curtains: Perfect Bedroom Design Ideas for a Modern Home
Introduction
The bedroom is the heart of comfort and relaxation in any home. Choosing the right curtains can completely change its look and feel. Among all types, satin and silk curtains stand out for their soft texture, natural shine, and luxurious appearance.
This guide explains everything you need to know about installing satin or silk curtains in your bedroom — from fabric selection and color coordination to installation, care, and common mistakes to avoid.
Why Choose Satin or Silk Curtains for the Bedroom?
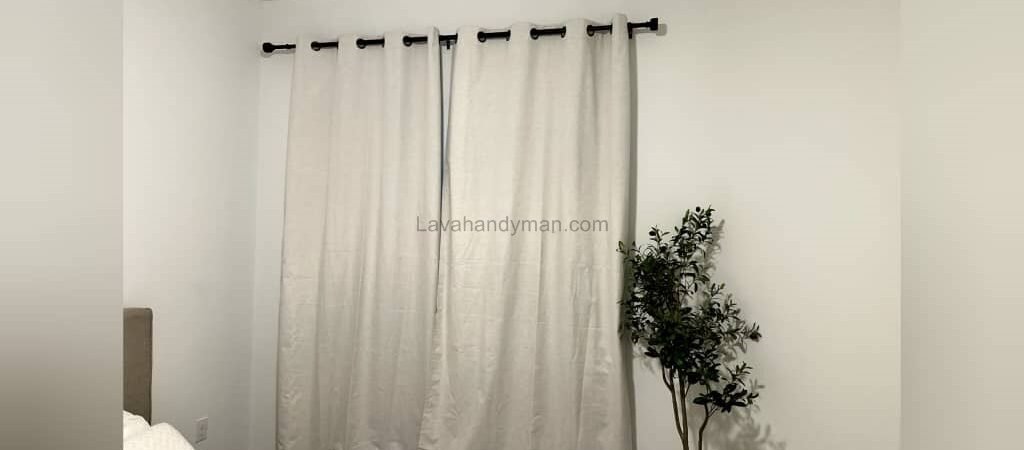
Installing Satin Curtains
1. Elegant and Luxurious Look
Both satin and silk reflect light beautifully, adding depth and brightness to the room. Their natural sheen brings a calm and sophisticated vibe.
2. Softness and Flow
The smooth texture of these fabrics moves gently with the breeze, creating a romantic and tranquil atmosphere perfect for a bedroom.
3. Light Control and Privacy
When paired with a proper lining (like blackout fabric), satin or silk curtains effectively block light and preserve privacy.
4. Thermal and Acoustic Insulation
Thicker silk or satin curtains help regulate room temperature and reduce outside noise, making your bedroom quieter and more comfortable.
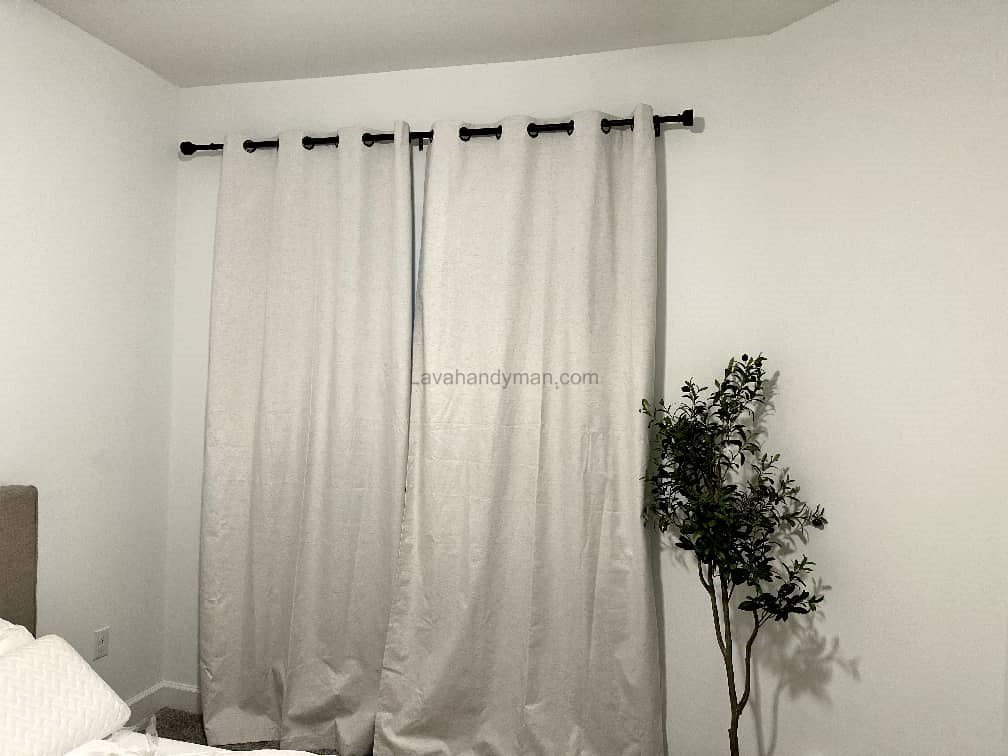
Installing Satin Curtains
Satin vs. Silk Curtains: What’s the Difference?
| Feature | Satin Curtains | Silk Curtains |
|---|---|---|
| Material | Synthetic (polyester or nylon) | Natural (silkworm fibers) |
| Sheen | Shiny on one side | Shiny and radiant on both sides |
| Price | More affordable | More expensive |
| Maintenance | Easier | Requires delicate care |
| Durability | High | Sensitive to sunlight and moisture |
✅ Tip: Choose polyester satin for an elegant yet budget-friendly option.
💎 For ultimate luxury, go with natural silk — ideal for premium bedroom designs.
Installing Satin Curtains
Choosing the Right Color for Satin or Silk Curtains
Light Colors
Shades like beige, ivory, cream, or light silver make small bedrooms appear brighter and more spacious.
Dark Colors
Deep tones like navy blue, charcoal, or forest green create a cozy, serene, and high-end look.
Pro Design Tip
If your walls have patterns or wallpapers, pick plain curtains.
If your decor is minimal, patterned or two-tone satin can add visual interest.
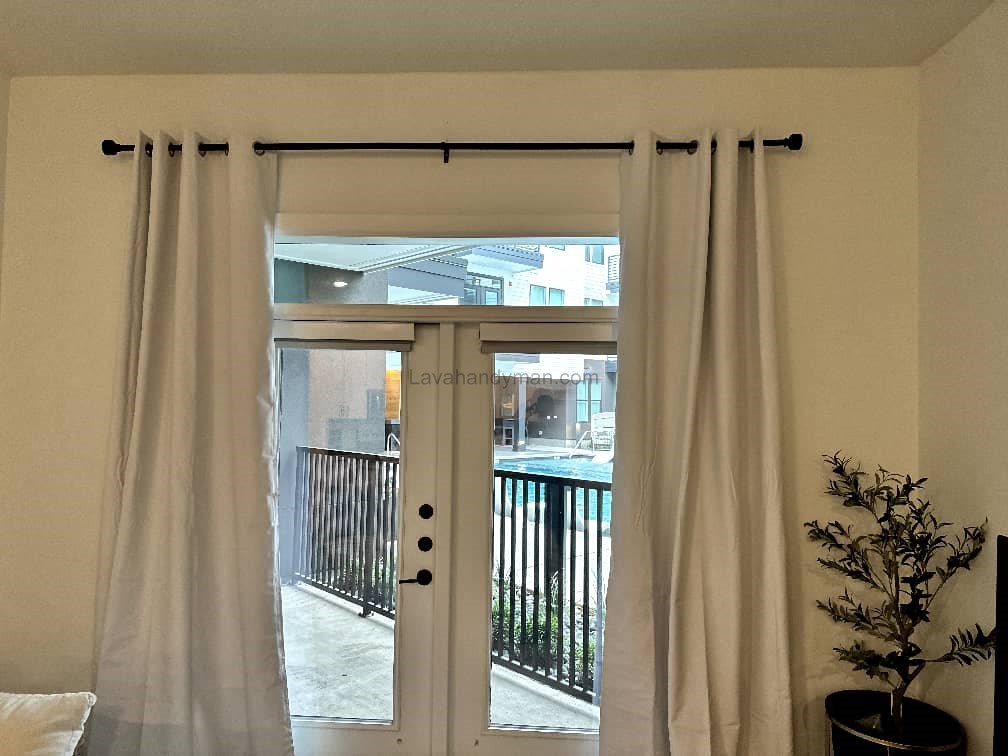
Installing Satin Curtains
How to Measure for Satin or Silk Curtains
Accurate measurements are crucial for a professional result.
- Measure the window width and add 20–30 cm (8–12 in) on each side.
- Measure the height from ceiling to floor — this makes the ceiling appear higher.
- For a luxurious effect, let the curtain puddle 5–10 cm (2–4 in) on the floor.
Installing Satin Curtains
Tools You’ll Need
Before installation, gather these tools:
- Curtain rod or track (strong metal or aluminum)
- Mounting brackets and screws
- Drill and screwdriver
- Measuring tape, pencil, and level
- Ladder or step stool
- Curtain rings or clips
👉 If you’re using a double-layer setup (sheer + satin or silk), choose a double curtain track.
Step-by-Step Guide: How to Install Satin or Silk Curtains
Step 1: Mark the Mounting Points
Install the curtain rod about 15 cm (6 in) above the window frame for a taller visual effect.
Step 2: Install the Brackets
Mark, drill, insert wall plugs, and secure the brackets with screws.
Step 3: Attach the Rod and Hang the Curtains
Place the rod on the brackets, thread the curtain rings, and make sure it’s level.
Installing Satin Curtains
Step 4: Adjust the Pleats
Arrange the pleats evenly — satin and silk look best with clean, symmetrical folds.
Step 5: Add the Second Layer
If using sheer or lining fabric, place the lighter layer in front and the heavier satin or silk behind.
Pro Tips for Hanging Silk Curtains
- Use a UV-blocking lining to prevent fading from sunlight.
- Wear cotton gloves while installing to avoid fingerprint stains.
- Use a low-heat steamer to remove wrinkles.
- Choose rubber-coated clips to avoid damaging the delicate fabric.
Mixing Fabrics for a Stylish Look
Combining fabrics enhances depth and character:
- Satin + White Sheer: Soft and romantic.
- Satin + Velvet: Rich and luxurious.
- Satin + Embroidered Lace: Classic elegance for traditional interiors.
Installing Satin Curtains
Cleaning and Maintenance of Satin and Silk Curtains
Caring for Satin Curtains
- Machine-wash in cold water (max 30°C / 86°F).
- Use mild detergent and avoid bleach.
- Iron on the reverse side using low heat.
Caring for Silk Curtains
- Dry clean only is recommended.
- If hand-washing, use cold water and a gentle shampoo.
- Never wring the fabric — blot gently with a towel.
- Refresh occasionally with a gentle steam session.
Installing Satin Curtains
Common Mistakes to Avoid When Installing Satin or Silk Curtains
- Installing the rod too low, which makes ceilings appear shorter.
- Using weak rods that can’t hold heavy fabrics.
- Ignoring sunlight exposure — no lining leads to fading.
- Cutting the fabric too short or uneven pleats.
- Poor color coordination with walls or furniture.
Bedroom Design Ideas Using Satin or Silk Curtains
Modern Minimalist Style
Neutral-tone satin or silk curtains (gray, beige, or ivory) without valances, using hidden ceiling tracks for a clean look.
Contemporary Classic Style
Glossy satin paired with white sheers and subtle decorative tiebacks.
Luxurious & Elegant Style
Thick silk curtains with rich pleats, ornate valances, and gold or silver tiebacks — ideal for large, high-ceiling bedrooms.
Installing Satin Curtains
Step-by-Step Guide to Installing Satin and Silk Curtains in the Bedroom
Prerequisites — Tools and Materials
- Curtain rod or track (double track for sheer + heavy curtains)
- Brackets and appropriate screws
- Drill, screwdriver, measuring tape, level, pencil
- Ladder or stable step stool
- Curtain rings or clips (padded for silk)
- Cotton gloves (for silk), hem weights if needed
- Lining (UV or blackout) and scissors/thread for adjustments
Step 1 — Choose the Type of Installation
- Rod installation: Classic look, ideal for valances
- Track installation: Smooth operation, suitable for heavy or double-layer curtains
- Ceiling or inside mount: Based on room height and design preference
Tip: For sheer + satin/silk combination, use a double track (sheer front, satin/silk back).
Installing Satin Curtains
Step 2 — Accurate Measurements
- Window width + 10–30 cm (4–12 in) on each side for the rod
- Height from ceiling or top of window frame + 5–10 cm for floor puddling
- Check wall space for bracket placement
Numeric Example:
- Window width = 120 cm
- Add 20 cm per side → Rod length = 120 + 20 + 20 = 160 cm
Step 3 — Determine Fabric Width (Fullness)
- Fullness factor: 1.5–2.5 (2–2.5 for luxurious look)
- Example: Window width = 150 cm, fullness factor = 2 → Total fabric = 300 cm
- For 2 panels: Each panel = 150 cm
Installing Satin Curtains
Step 4 — Prepare Fabric and Lining
- Attach UV or blackout lining
- Hem edges and add weights if needed
- Remove wrinkles:
- Satin: Iron on low heat from the back
- Silk: Steam gently, keep gloves on to avoid stains
Step 5 — Mark Bracket Placement
- Measure and mark bracket positions
- For a 160 cm rod, use brackets at each end, add a middle bracket for longer rods
- Use wall anchors suitable for drywall or concrete
Step 6 — Install Brackets and Rod
- Drill holes and insert wall plugs
- Fix brackets with screws
- Place rod/track on brackets and check for level
Installing Satin Curtains
Step 7 — Hang the Curtains
- Attach hooks/rings according to curtain design
- Slide onto rod or insert into track
- Silk tip: Use padded clips to avoid damaging fibers
Step 8 — Adjust Pleats and Symmetry
- Arrange pleats evenly and symmetrically
- Use pleat clips or cord if needed
- Check floor length and adjust as required
Step 9 — Install Lining or Second Layer
- For double-layer curtains: Sheer in front, satin/silk behind
- This allows soft light and maintains a luxurious look
Installing Satin Curtains
Step 10 — Safety and Quality Checks
- Ensure rod/track can handle curtain weight
- Use strong anchors for drywall
- Have a helper when using ladder
- Wear gloves for silk to prevent stains
Step 11 — Final Inspection
- Open and close curtains several times
- Check pleats, symmetry, and floor length
- Add hem weights if necessary to prevent curling
Expert Tips
- Silk: Sensitive to sunlight, dry clean recommended, use soft clips
- Satin: Durable, easy to wash, iron from back side
Common Issues and Solutions
- Rod bends → Use a middle bracket
- Pleats are uneven → Increase fullness or add hem weights
- Fabric damage → Use soft clips and secure brackets properly
- Fading → Use UV lining
Quick Checklist Before Installation
Color coordination and lining requirements checked
Measure width and height (calculations complete)
Purchase fabric with proper fullness factor
Choose rod/track with sufficient weight capacity
Prepare appropriate wall anchors
Cotton gloves for silk and safe ladder
Types of Brackets for Installing Satin and Silk Curtains
Choosing the right bracket is essential for installing curtains. The type of bracket depends on curtain weight, fabric type, rod or track type, and installation method.
1. Standard Rod Brackets
- Use: Lightweight to medium curtains (satin, sheer)
- Features:
- Simple and cost-effective
- Mounted directly on the wall
- Suitable for round or polygonal rods
- Tip: For heavy curtains like silk or double-layer curtains, use sturdy brackets with multiple support points.
2. Adjustable Brackets
- Use: When you need to change the distance of the curtain from the wall or ceiling
- Features:
- Adjustable angle and height
- Suitable for curtains with valances or decorative features
- Advantage: You can adjust curtain height and distance without moving the brackets entirely.
3. Ceiling Mount Brackets
- Use: Hanging curtains from the ceiling or for deep window recesses
- Features:
- Suitable for tall and luxurious curtains
- Compatible with rods or tracks
- Tip: For double-layer curtains (sheer + satin/silk), a double ceiling track is recommended.
4. Track Brackets
- Use: Specifically for curtain tracks
- Features:
- Ideal for heavy curtains
- Smooth curtain movement without damage
- Suitable for thick silk and satin curtains
- Advantage: Curtains open and close easily without snagging.
5. Hidden or Concealed Brackets
- Use: For minimalistic or luxury appearance
- Features:
- Bracket is hidden inside the frame or behind the curtain
- Only the rod or curtain is visible
- Perfect for modern styles or high ceilings
H2: 6. Double Brackets for Two-Layer Curtains or Valances
- Use: When you want a main curtain plus sheer or lining
- Features:
- Two brackets hold rods simultaneously
- Provides proper spacing between curtain layers
- Smooth movement without catching
Key Tips for Choosing Brackets
Material Quality: Metal brackets (aluminum or steel) ensure long life and prevent bending.
Curtain Weight: Heavy silk or thick satin requires sturdy metal brackets.
Installation Type: Wall-mounted, ceiling-mounted, or corner-mounted — choose based on window location.
Distance from Wall: Adjustable or double brackets are best for curtains with valances or layered designs.
Conclusion
Installing satin or silk curtains in your bedroom adds warmth, sophistication, and tranquility.
These fabrics not only enhance privacy and control light but also elevate the entire ambiance of the room.
By carefully choosing the right color, taking precise measurements, following proper installation steps, and maintaining your curtains well, you’ll enjoy their beauty and luxury for years.
📞 Need Help?
Let us take care of the hard work while you sit back and relax.
📍 Serving: Austin, Round Rock, Cedar Park & more
📱 Call or Text: (737) 420-6992
🌐 Visit: https://lavahandyman.com
