Kitchen Island Assembly | A Comprehensive Guide
Introduction
The kitchen is more than just a place to cook—it is the heart of every home. It is where family members gather, conversations happen, and daily routines take shape. In modern interior design, the kitchen island has become one of the most popular and functional features. This element combines style and practicality, and if properly executed, it can significantly increase the value of a home.
However, design alone is not enough. What brings the idea to life is the assembly of the kitchen island. In this guide, we will walk through every step—from planning and design to full assembly and finishing touches.
What Is a Kitchen Island?
A kitchen island is a freestanding cabinet or counter located at the center of the kitchen. It serves multiple purposes, such as:
- Providing extra workspace for meal preparation
- Housing a sink or cooktop
- Offering a space for dining or seating
- Adding additional storage with drawers and cabinets
- Acting as a decorative centerpiece in kitchen design
When properly designed and assembled, a kitchen island becomes both functional and aesthetically pleasing.
Kitchen Island Assembly
Advantages and Disadvantages of a Kitchen Island
Advantages
- Extra workspace for cooking and serving.
- Additional storage through drawers and cabinets.
- Improved interaction—family or guests can gather around while cooking.
- Flexible design options—install a sink, stove, pull-out fridge, or hidden power outlets.
- Visual appeal and added value—modern and stylish islands increase property value.
Disadvantages
- Requires ample space—not ideal for small kitchens.
- Higher costs due to extra materials and installation.
- Utility challenges—extending plumbing, gas, and electricity to the center can be difficult.
- Potential clutter if poorly sized or placed.
Planning Before Assembly
1. Accurate Measurements
- Standard clearance around the island: at least 120 cm (4 ft).
- Standard height: 90 cm (36 in) for work surfaces, or 110 cm (43 in) for bar seating.
2. Define the Island’s Purpose
- Simple prep surface?
- With sink and cooktop?
- Combination with seating and storage?
Kitchen Island Assembly
3. Choosing Materials
- Cabinet body: moisture-resistant MDF or natural wood.
- Countertop: granite, quartz, ceramic, or high-pressure laminate.
- Hardware: soft-close drawer slides, sturdy hinges, and ergonomic handles.
4. Plan Utility Routes
- Water and drainage for a sink.
- Gas line and ventilation for a cooktop.
- Electrical wiring and outlets for appliances.
5. Budget Estimation
Include materials, hardware, labor, and transport costs to avoid overspending.
Kitchen Island Assembly
Tools and Materials Required
Tools
- Measuring tape and laser level
- Drill and cordless screwdriver
- Circular saw or table saw
- Clamps and hammer
- Stone-cutting machine (for stone countertops)
Materials
- MDF or moisture-resistant wood
- Countertop (stone, quartz, or laminate)
- Screws, brackets, and wood adhesive
- Drawer slides and soft-close hinges
- Adjustable cabinet legs
Kitchen Island Assembly
Step-by-Step Assembly
1. Prepare the Space
- Ensure the kitchen floor is perfectly level.
- Check plumbing, electrical, and gas connections.
2. Build the Frame
- Construct the base with MDF panels or metal profiles.
- Reinforce joints with screws and brackets.
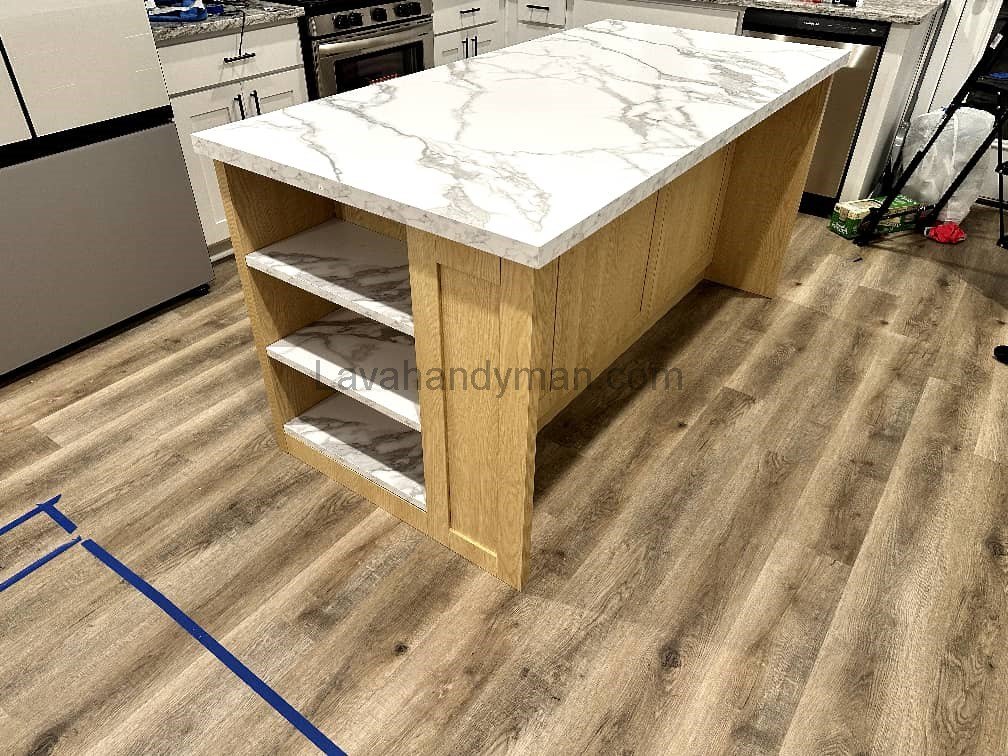
3. Install Side Panels and Cabinet Walls
- Attach side and back panels.
- Define compartments for drawers and storage.
Kitchen Island Assembly
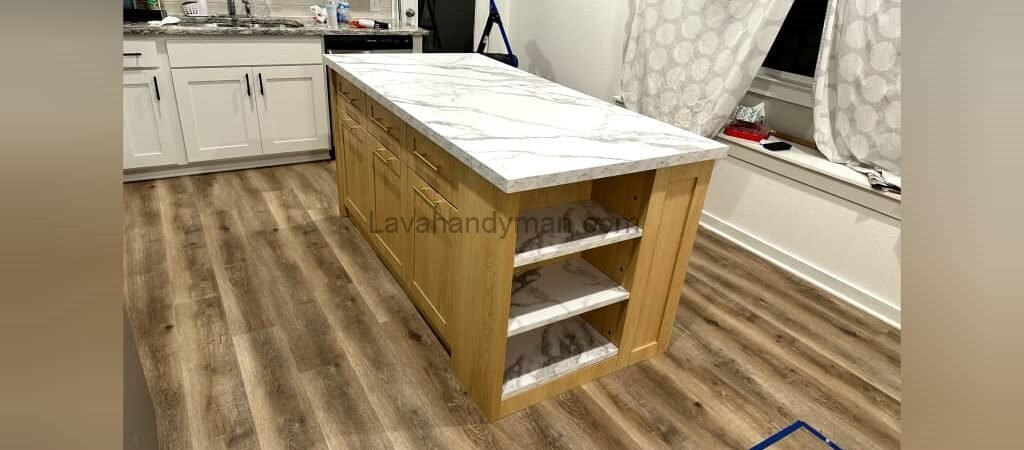
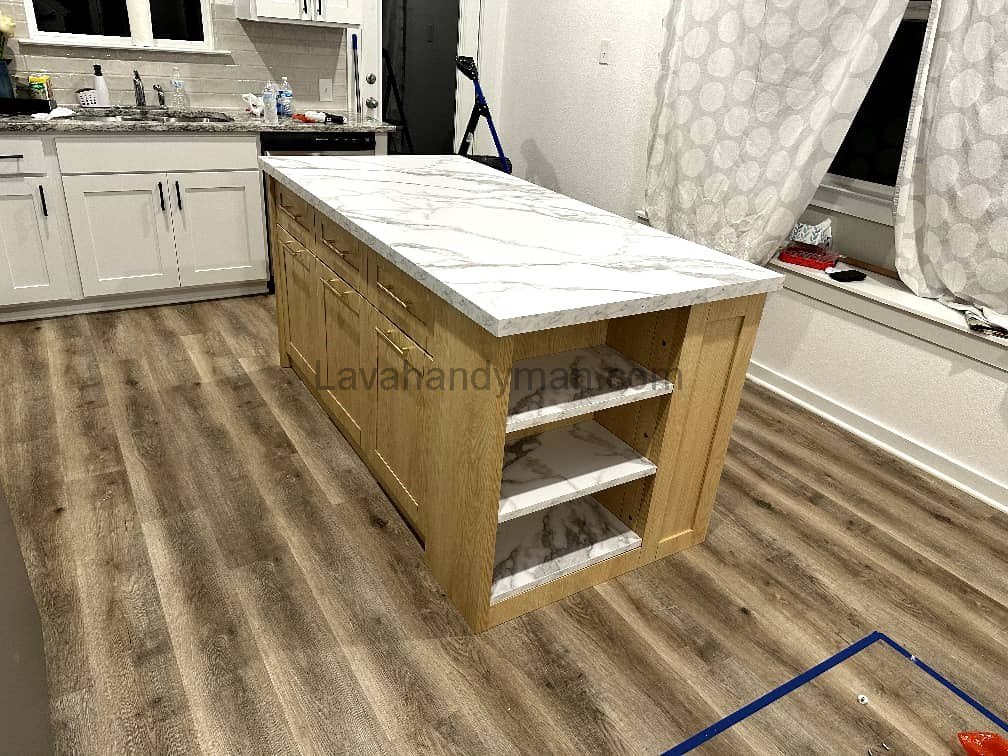
4. Fit Drawers and Doors
- Align and install drawer slides.
- Mount doors with soft-close hinges.
5. Install the Countertop
- Secure with adhesive and brackets.
- Cut openings for sink or cooktop as needed.
6. Install Appliances and Fixtures
- Sink, cooktop, electrical outlets, and a ceiling or island hood.
7. Final Adjustments and Testing
- Check alignment and leveling.
- Test drawer and door function.
- Inspect water and gas connections for safety.
Key Technical Tips
- Professional installation is recommended for gas and electrical connections.
- Durable countertops resistant to moisture, heat, and scratches are essential.
- Proper ventilation is required if a cooktop is installed.
- Precision leveling prevents long-term structural and functional issues.
Kitchen Island Assembly
Common Mistakes in Assembly
- Choosing the wrong island size for the space.
- Overlooking utility planning.
- Using low-quality materials.
- Misaligned drawer slides or hinges.
- Insufficient clearance around the island.
Design Enhancements
- Add pendant lighting above the island for both task and decorative purposes.
- Combine materials (e.g., wood + stone) for a luxurious look.
- Install hidden power outlets for charging devices and small appliances.
- Create a seating area with bar stools for multipurpose use.
Kitchen Island Assembly
Step-by-Step Guide to Kitchen Island Assembly
Step 1: Preparation and Planning
- Define the exact layout and dimensions (leave at least 120 cm clearance for traffic flow).
- Decide the island’s purpose: work surface only, with sink/cooktop, or combined.
- Check floor leveling and utility routes (water, electricity, gas).
- Safety note: electrical and gas work must be done by licensed professionals.
Step 2: Tools and Materials
Tools: tape measure, level, drill, circular saw, clamps, screwdriver, hammer.
Materials: moisture-resistant MDF or wood, countertop (stone/quartz/laminate), screws, drawer slides, soft-close hinges, silicone, adjustable legs.
Kitchen Island Assembly
Step 3: Frame and Base Assembly
- Build the main skeleton with MDF panels or metal profiles.
- Install adjustable legs under the frame.
- Attach side and back panels, and define spaces for drawers and cabinets.
- Seal or edge-band MDF surfaces to protect against moisture.
Step 4: Hardware Installation
- Install drawer slides and test their smooth operation.
- Mount doors with soft-close hinges and adjust alignment.
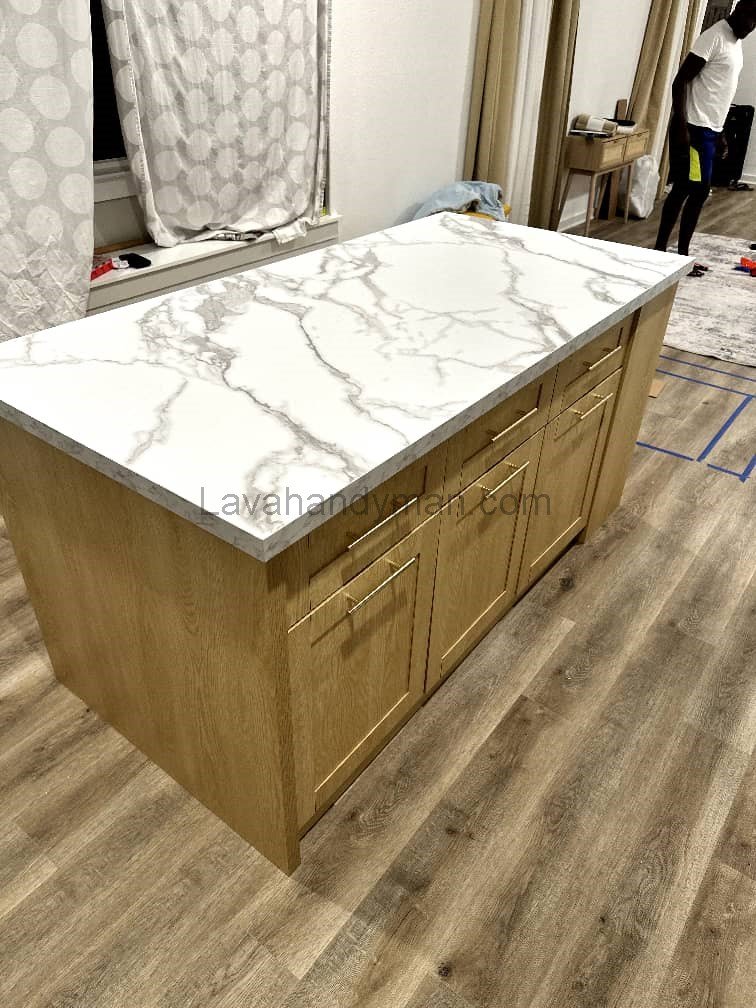
- Attach handles or finger pulls at the final stage to avoid damage.
Kitchen Island Assembly
Step 5: Leveling and Fixing the Island
- Use a laser or bubble level to adjust the island surface precisely.
- If heavy equipment (cooktop, dishwasher) is included, fix the frame securely to the floor.
Step 6: Countertop Installation
- Dry-fit the countertop before applying adhesives.
- Cut precise openings for sink and cooktop using a template.
- Secure the countertop with construction adhesive or brackets.
- Seal seams with epoxy or color-matched filler.
Step 7: Installing Fixtures and Utilities
- Sink: set in place, seal edges with sanitary silicone, and connect plumbing.
- Cooktop & hood: install as per manufacturer instructions; gas connections must be tested for leaks.
- Electrical outlets: installed by a certified electrician with proper safety checks.
Kitchen Island Assembly
Step 8: Final Adjustments and Testing
- Open and close drawers/doors multiple times to ensure smooth operation.
- Test all plumbing and gas connections for leaks.
- Apply final silicone sealing around sink and countertop edges.
- Clean surfaces thoroughly for a finished look.
Pro Tips
- Always dry-fit components before final installation.
- Use metal brackets or supports under heavy stone countertops.
- Allow at least 60 cm knee space if adding bar seating.
- Pendant lighting above the island adds both function and style.
Kitchen Island Assembly
Common Mistakes to Avoid
Using low-quality materials or hardware.
Oversizing the island for the available space.
Skipping proper frame leveling.
Poor sealing around the sink (leading to water damage).
Kitchen Island Assembly
Kitchen Island Assembly Timeline
| Step | Main Tasks | Approx. Time | Key Notes |
|---|---|---|---|
| 1. Preparation & Planning | Measure space, determine island purpose, check floor level and utility routes, coordinate with electricians and gas specialists | 4–6 hours | Accuracy at this stage prevents issues later |
| 2. Tools & Materials Setup | Gather tools, check inventory of hardware and materials | 1–2 hours | Ensure everything is ready to avoid delays |
| 3. Frame Construction | Cut MDF/metal profiles, assemble frame, install adjustable legs, initial leveling | 6–10 hours | Precision in angles and leveling is critical |
| 4. Panel & Body Installation | Attach side and back panels, define drawers and cabinet spaces, edge sealing | 4–6 hours | Protect edges against moisture |
| 5. Hardware Installation | Install drawer slides and doors, adjust spacing, attach handles | 3–5 hours | Proper alignment ensures smooth operation |
| 6. Leveling & Securing the Island | Final leveling, secure frame to floor if needed | 1–2 hours | Essential if heavy appliances like cooktops are installed |
| 7. Countertop Installation | Dry-fit, cut openings for sink/cooktop, fix and seal countertop | 4–8 hours | Accuracy in cutting and fixing is key |
| 8. Installing Fixtures & Utilities | Install sink, cooktop, hood, and outlets; connect plumbing and gas; safety testing | 3–6 hours | Electrical and gas work must be done by certified professionals |
| 9. Final Adjustments & Testing | Test drawers and doors, check for leaks, final silicone sealing, clean surfaces | 2–3 hours | Final quality check ensures long-term performance |
Overall Timeline Summary
Dry-fit all components before final installation
→ Can reduce overall project time by 20–30%
Total Estimated Time: 28–48 working hours
(approximately 4–6 days for a two-person team, including breaks and coordination)
Heavier projects (large stone countertops, multiple appliances) may take 6–8 days.
Kitchen Island Assembly
Time-saving tips:
Prepare tools and materials in advance
Coordinate with electricians and gas technicians
Types of Brackets for Kitchen Island Assembly
Using the right brackets is crucial when assembling a kitchen island, as the countertop and appliances can be heavy. Proper brackets ensure the island is stable, secure, and long-lasting. Here are the most common types and their uses:
1. L Brackets
- Shape: 90-degree angle, shaped like the letter L.
- Use: Connecting side panels to the frame or the frame to the floor.
- Features: Simple, resistant to twisting, excellent support for drawers and cabinets.
2. Corner / Angle Brackets
- Shape: 90-degree or polygonal with multiple screw holes.
- Use: Reinforcing corners and connecting vertical and horizontal panels.
- Features: High load capacity, suitable for heavy frames and stone countertops.
Kitchen Island Assembly
3. Under-Counter / Countertop Support Brackets
- Shape: Flat or small L-shaped, usually metal.
- Use: Supporting the countertop, especially overhangs or heavy sections.
- Features: Prevents sagging and ensures long-term stability.
4. Adjustable Brackets
- Shape: Includes screws or slots to adjust height.
- Use: Leveling the island on uneven floors or adjusting countertop height.
- Features: Allows precise adjustments without cutting or modifying materials.
5. Hidden / Floating Brackets
- Shape: Installed inside panels or frame, hidden from view.
- Use: Creating a “floating” appearance or islands without visible legs.
- Features: Sleek, modern look, supports medium to heavy weight when designed correctly.
Key Tips for Using Brackets
Integration with other connections: Always install brackets with appropriate screws and sometimes construction adhesive for maximum stability.
Material: Usually steel or aluminum with anti-rust coating.
Quantity: Depends on countertop weight and island length; for stone tops, typically one bracket every 40–50 cm.
Placement: Corners, under heavy drawers, and overhang sections are critical points.
Conclusion
Assembling a kitchen island is a blend of technical precision and design artistry. Though it requires tools, planning, and skill, the result is a highly functional and stylish centerpiece for the home. Choosing the right materials, ensuring proper leveling, and paying attention to utilities and safety are the keys to a successful installation.
A well-built island is more than just a large cabinet in the center of the kitchen—it is the hub of interaction, the focal point of design, and truly the heart of the modern home.
📞 Need Help?
Let us take care of the hard work while you sit back and relax.
📍 Serving: Austin, Round Rock, Cedar Park & more
📱 Call or Text: (737) 420-6992
🌐 Visit: https://lavahandyman.com