Installing Multi-Panel Wall Art Above a Bookshelf | Guide
Introduction
Interior decoration is not only about choosing wall colors or furniture; small details such as artworks can dramatically influence the atmosphere of a space. Among different types of wall art, multi-panel artworks (also known as split or modular wall art) have gained significant popularity for their dynamic appearance, versatility, and ability to cover large surfaces without overwhelming the room.
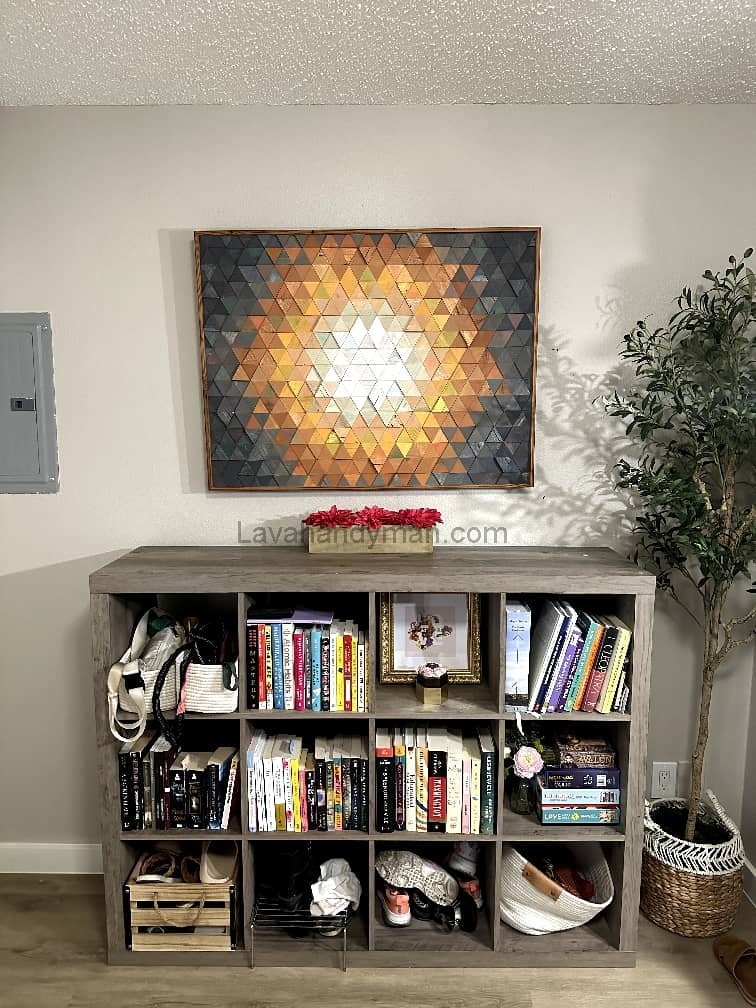
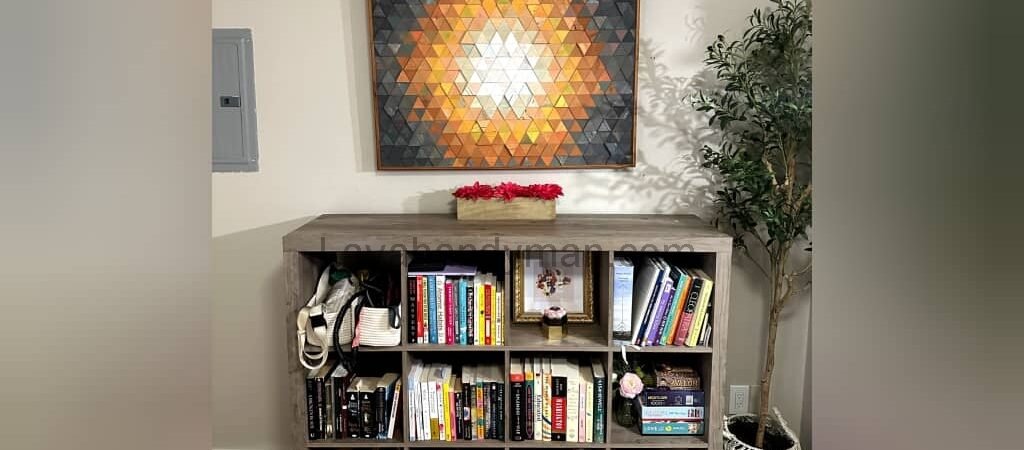
A bookshelf is one of the most prominent features in many homes, offices, or study rooms. Placing multi-panel artwork above a bookshelf not only enhances the overall beauty of the space but also creates balance, harmony, and a sense of calm that encourages concentration.
Understanding Multi-Panel Artwork

Installing Multi-Panel Wall Art Above a Bookshelf | Guide
Definition
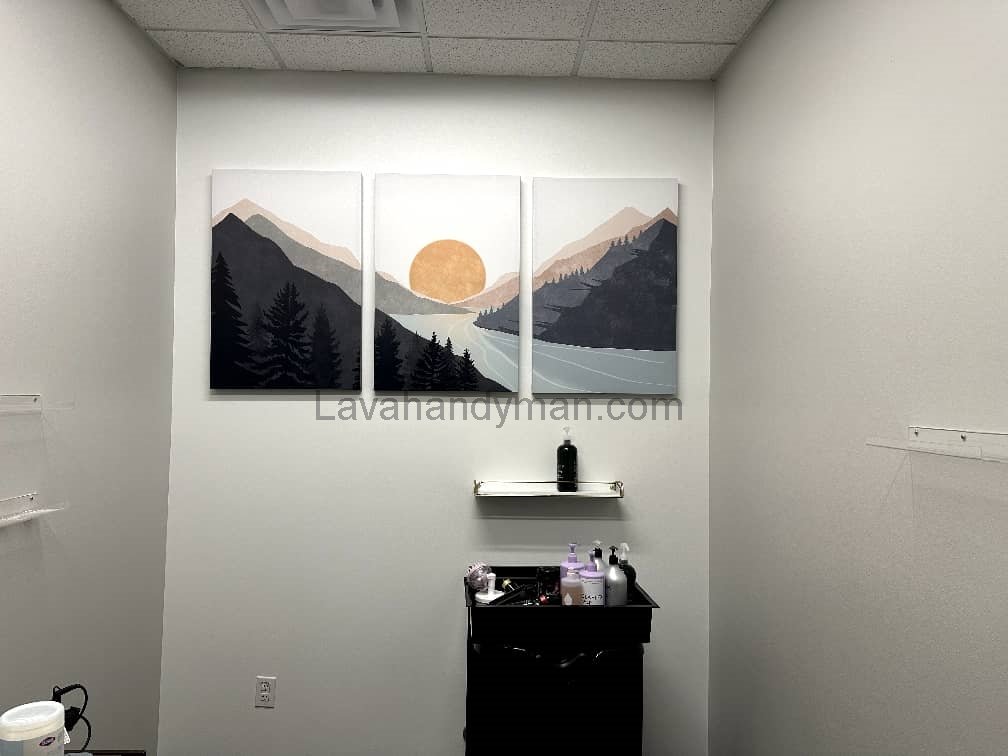
Multi-panel wall art consists of several framed sections that together form a complete image or a coherent visual composition. These panels are usually divided into two, three, or more segments, which may be arranged symmetrically or asymmetrically.
Common Types
- Three-piece linear sets: Three panels of equal size aligned in a row
- Asymmetrical sets: Panels of various sizes arranged creatively
- Vertical or horizontal panels: Ideal for narrow or elongated walls
- Geometric layouts: Circular, hexagonal, or abstract compositions for modern interiors
Advantages over single-panel artworks
- Broader wall coverage with a lighter visual effect
- Adds rhythm and variety to the room
- Better adaptability to different wall dimensions
- Prevents monotony and flatness in design
Installing Multi-Panel Wall Art Above a Bookshelf | Guide
The Role of Multi-Panel Art Above a Bookshelf
A bookshelf often symbolizes order, knowledge, and concentration. Installing artwork above it brings:
- Energy and vitality into the space
- A focal point that draws the eye naturally
- Balance between the visual weight of books and decorative elements
The Psychology of Colors
Installing Multi-Panel Wall Art Above a Bookshelf | Guide
- Blue & Green → Promote calmness and focus
- Soft Yellow → Boosts energy and motivation
- Brown & Earth tones → Harmonize with wooden bookshelves, creating stability
- Red & Orange → Best used sparingly to avoid overstimulation
Matching the Style of the Bookshelf
- Classic wooden shelves → Natural landscapes, traditional art, or vintage themes
- Modern minimalist shelves → Abstract, geometric, or contemporary pieces
Principles of Choosing the Right Artwork
- Proportions: The artwork should neither be too small to disappear visually nor too large to overpower the bookshelf.
- Theme consistency: Opt for peaceful, inspiring, or intellectually stimulating imagery.
- Quality & material: Canvas prints or original paintings are more durable and authentic.
- Color harmony: Choose colors that either complement the bookshelf or create a controlled contrast.
Installing Multi-Panel Wall Art Above a Bookshelf | Guide
Steps for Installing Multi-Panel Art
- Measurement & planning: Use a measuring tape and painter’s tape to map the layout before drilling.
- Height placement: The center of the artwork should sit around 20–30 cm (8–12 inches) above the top of the bookshelf.
- Spacing between panels: Ideally 3–7 cm (1–3 inches), depending on panel size.
- Tools required: Nails or screws, level, measuring tape, drill or hammer, and optional frame hangers.
- Execution: Mount the panels in order, then double-check alignment with a level.
Technical Considerations
- For drywall or delicate walls, use appropriate wall plugs or anchors.
- Heavy artworks require metal wall plugs and stronger screws.
- Consider lighting: avoid glare or awkward shadows.
- In rooms with high ceilings, vertical layouts look more balanced.
Installing Multi-Panel Wall Art Above a Bookshelf | Guide
Common Mistakes to Avoid
- Hanging panels without measuring properly
- Using overly busy or intense imagery in a study environment
- Incorrect spacing (too wide or too narrow)
- Ignoring lighting conditions
- Choosing artwork styles that clash with bookshelf design
Creative Ideas
- Combine multi-panel sets with single-piece artworks for variety
- Match frame material with the bookshelf (e.g., wooden frames with wooden shelves)
- Try 3D or textured wall art for modern spaces
- Add linear lights or small spotlights above the artwork for dramatic effect
Installing Multi-Panel Wall Art Above a Bookshelf | Guide
Step-by-Step Guide: Installing Multi-Panel Wall Art Above a Bookshelf
1. Choose the Location
- Select a wall with enough space.
- Make sure there are no wires or pipes behind the wall.
2. Measure and Plan
- Measure the length of the bookshelf and the total width of the artwork.
- Find the center of both the bookshelf and the artwork.
- Mark the placement using painter’s tape or a pencil.
Installing Multi-Panel Wall Art Above a Bookshelf | Guide
3. Set the Height
- The center of the artwork should be 20–30 cm (8–12 in) above the top of the bookshelf.
- For tall ceilings, you can place it slightly higher.
4. Panel Spacing
- Standard spacing: 3–7 cm (1–3 in)
- Smaller panels → less spacing
- Larger panels → more spacing
5. Tools You Need
Measuring tape, pencil, level, hammer or drill, nails or screws with wall plugs, painter’s tape.
6. Mark the Wall
- Mark the exact spot of each hanger or hook.
- Use a level to make sure all marks are straight.
7. Install the Mounts
- Drywall → use proper anchors.
- Brick or concrete → use screws with metal wall plugs.
- Secure the mounts firmly.
Installing Multi-Panel Wall Art Above a Bookshelf | Guide
8. Hang the Panels
- Start with the center panel, then work outward.
- Check alignment with a level after each panel.
9. Final Check
- Step back and view the whole set.
- Adjust slightly if any panel looks uneven.
10. Optional Lighting
Use soft, non-reflective lighting for the best effect.
Add a linear light or small spotlights above the artwork.
Types of Brackets for Installing Multi-Panel Wall Art
Installing Multi-Panel Wall Art Above a Bookshelf | Guide
1. Picture Hooks
- Ideal for light to medium-weight artwork
- Easy to install with nails or screws
- Suitable for drywall and wooden walls
2. Sawtooth Hangers
- Mounted on the back of the frame
- Great for multi-panel artwork because leveling is easier
- Best for light to medium-weight pieces
3. D-Rings
- Installed on both sides of the frame
- Can hang directly or with wire
- Suitable for medium to semi-heavy panels
Installing Multi-Panel Wall Art Above a Bookshelf | Guide
4. L-Brackets
- For large or heavy frames
- Strong and secure
- Best used on brick or concrete walls
5. Hidden Brackets (French Cleat / Z-Clips)
- Two-part system: one piece on the wall, one on the back of the frame
- Very secure and stable
- Ideal for heavy artwork or when you don’t want hardware visible
6. Wall Anchors / Toggle Bolts
- Designed for drywall or lightweight walls
- Expand inside the wall to create a secure hold
- Safe option for medium to heavy panels on drywall
Installing Multi-Panel Wall Art Above a Bookshelf | Guide
Quick Recommendation:
Heavy artwork / drywall → French cleat or wall anchors
Light artwork → Picture hooks or sawtooth hangers
Medium artwork → D-Rings or L-Brackets
Lighting Multi-Panel Wall Art Above a Bookshelf
1. Importance of Lighting
- Proper lighting enhances the colors and details of the artwork.
- Makes the artwork a focal point in the room.
- Correct lighting adds a sense of depth and dimension to the space.
Installing Multi-Panel Wall Art Above a Bookshelf | Guide
2. Recommended Light Types
- Warm Light (2700–3000K) → Creates a cozy, relaxing atmosphere; ideal for study areas and libraries.
- Neutral / Cool White Light (3500–4000K) → Shows the true colors of the artwork; suitable for modern interiors.
3. Light Angle
- Best angle: 30–45 degrees from above towards the artwork
- Proper angle prevents glare and unwanted shadows.
Installing Multi-Panel Wall Art Above a Bookshelf | Guide
4. Lighting Options
a) Linear LED Lights Above the Bookshelf
- Mounted directly above the artwork
- Provides uniform, soft illumination
- Energy-efficient and low-heat
b) Small Spotlights / Halogens
- Suitable for small to medium multi-panel artworks
- Angle can be adjusted to highlight each panel
c) Adjustable Wall Sconces
- Ideal for large or varied multi-panel pieces
- Light direction is adjustable, creating a subtle 3D effect
Installing Multi-Panel Wall Art Above a Bookshelf | Guide
5. Key Tips
- Avoid direct, harsh lighting: causes glare and color distortion.
- Use multiple soft light sources for natural shadows.
- Consider the wall and frame colors; dark walls absorb more light and may require higher intensity.
- For heavy or large artworks, use LED lights with low heat to avoid damage.
Choosing Artwork, Brackets, and Installation Time for Multi-Panel Wall Art Above a Bookshelf
1. Types of Multi-Panel Artwork
Multi-panel wall art comes in different styles, each with unique features and installation requirements:
a) Canvas Prints
- Lightweight and resistant to moisture and temperature changes
- Easy to install, suitable for bookshelves
- Works well with both modern and classic décor
b) Oil or Acrylic Paintings
Installing Multi-Panel Wall Art Above a Bookshelf | Guide
- Heavier and high-quality
- Artistic and classic appeal
- Require strong brackets for secure installation
c) 3D or Relief Art
- High visual impact
- Installation can be more complex
- Perfect for modern or unique bookshelf designs
d) Framed Art with Glass
- Protects the artwork and increases durability
- Heavier than canvas prints
- Requires sturdy and weight-appropriate brackets
2. Choosing the Right Bracket
Brackets should be selected based on artwork weight, wall type, and artwork type:
| Artwork Type | Weight | Recommended Bracket |
|---|---|---|
| Lightweight Canvas | Light | Picture Hook or Sawtooth Hanger |
| Medium Artwork | Medium | D-Ring or L-Bracket |
| Heavy Artwork | Heavy | French Cleat / Z-Clips |
| Drywall | Medium–Heavy | Wall Anchor / Toggle Bolt |
Tip: For large or heavy pieces, a hidden bracket (French Cleat) is recommended for maximum stability.
3. Estimated Installation Time
Installation time depends on:
- Number of panels
- Size and weight of the artwork
- Availability of tools
- Installer experience
Approximate Time Table:
| Installation Type | Estimated Time |
|---|---|
| Single lightweight piece | 10–15 minutes |
| Small multi-panel set (2–4 panels) | 20–30 minutes |
| Large multi-panel set (5–7 panels) | 45–60 minutes |
| Heavy or 3D artwork | 60–90+ minutes |
Note: This includes measuring, marking, drilling, and final alignment. Adding lighting above the artwork may take an extra 10–20 minutes.
4. Summary
Lighting: Enhances the overall visual appeal
Choose Artwork: Light, medium, or heavy, matching the bookshelf style
Select Brackets: According to weight and wall type
Installation Time: 15–90 minutes depending on size and complexity
Conclusion
When chosen thoughtfully and installed correctly, multi-panel artworks can transform a bookshelf area into a visually striking and inspiring corner. Proper sizing, color selection, thematic harmony, and precise installation are the keys to achieving balance.
Ultimately, wall art above a bookshelf is not just decoration—it’s part of creating an atmosphere that blends knowledge, aesthetics, and comfort.
📞 Need Help?
Let us take care of the hard work while you sit back and relax.
📍 Serving: Austin, Round Rock, Cedar Park & more
📱 Call or Text: (737) 420-6992
🌐 Visit: https://lavahandyman.com