Comprehensive Guide to Installing Decorative Art on Living Room Walls
The living room wall is one of the most important areas in a home, as it immediately draws the attention of guests. Installing decorative art on the living room wall not only enhances the space’s beauty but also reflects the personality and identity of your home. In this guide, we will cover the best methods for installing decorative art, choosing the right style, size, layout, and technical tips to transform your living room wall into an attractive and artistic space.
1. What is Decorative Art and Why is it Important in the Living Room?
Decorative art includes wall paintings, wall sculptures, decorative mirrors, photo frames, and 3D art pieces that enhance the visual appeal and texture of walls. The importance of installing decorative art on the living room wall includes:
- Creating a focal point in interior design
- Filling empty wall space to prevent monotony
- Harmonizing with furniture, curtains, and rugs
- Adding a sense of calm and positive energy
Installing Decorative Art
2. Analyzing the Wall Before Installation
Before installing decorative art, analyze your living room wall in terms of dimensions, ceiling height, material, and color.
2.1. Wall Size
- Large walls: Suitable for big paintings or a combination of smaller artworks
- Small walls: Ideal for minimalist or small decorative pieces
2.2. Ceiling Height
- High ceilings: Allow vertical and elongated decorative elements
- Low ceilings: Use horizontal or minimalist designs
2.3. Wall Material and Finish
- Materials like plaster, cement, brick, or drywall require specific installation tools
- If wallpaper or decorative stone is used, installation should be careful to avoid damage
3. Choosing Decorative Art Based on Interior Style
3.1. Modern Style
- Simple-line paintings, neutral or high-contrast colors
- Geometric mirrors and metal decor
3.2. Classic Style
- Wooden or gold-framed paintings
- Landscape paintings, carved mirrors
3.3. Minimalist Style
- Simple, single-color art
- One large painting is often enough
3.4. Industrial Style
- Metal, raw wood, concrete elements
- Urban-themed paintings
Installing Decorative Art
3.5. Rustic Style
- Natural wood and fiber decorations
- Warm, earthy tones
4. Size and Proportion of Decorative Art
4.1. Sizing Rules
- Decorative art should cover 60–75% of the wall width
- Above a sofa: width should be approximately 2/3 of the sofa length
- Gallery walls: spacing between artworks should be 2–5 cm
5. Choosing the Right Position on the Wall
5.1. Standard Height
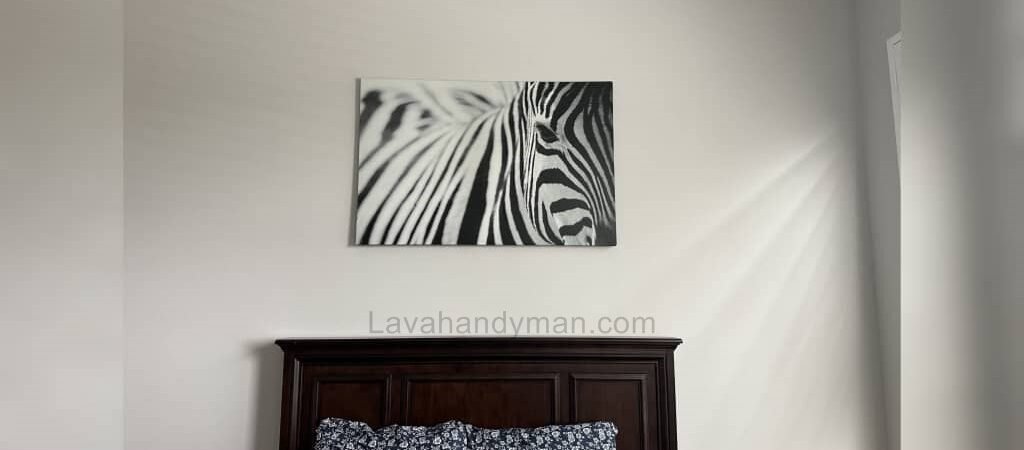
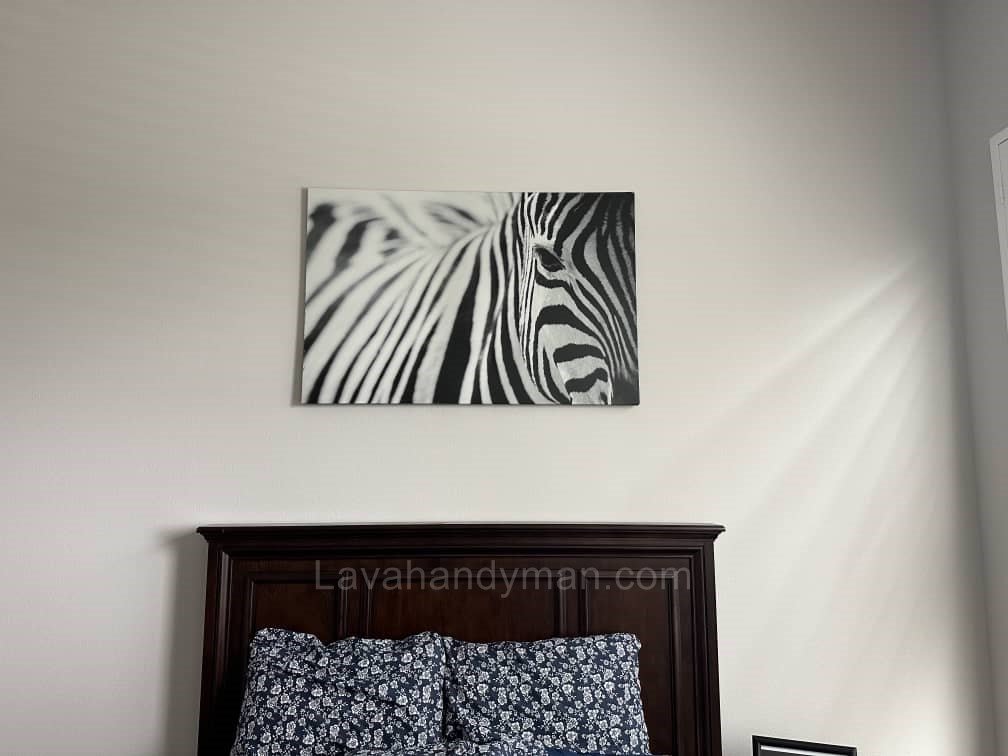
- Center of the artwork should be about 150 cm (59 inches) from the floor
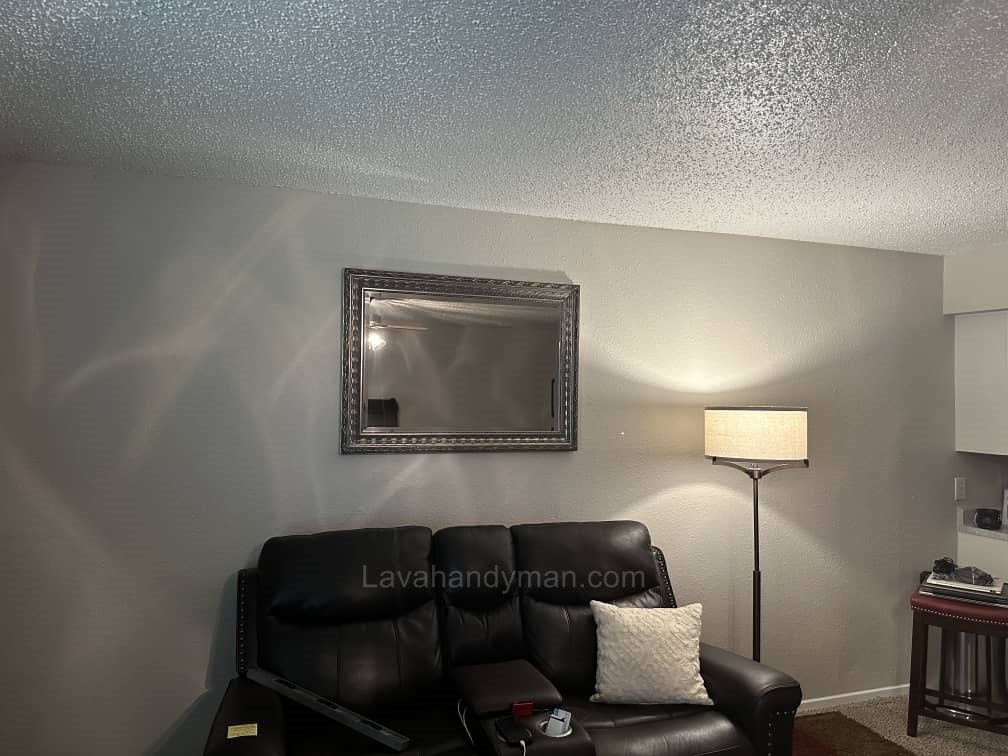
5.2. Wall Behind the Sofa
- Install artworks 20–30 cm above the sofa back
5.3. Wall Facing the Entrance
- Choose a focal decorative piece to make a strong first impression
Installing Decorative Art
6. Tools Needed for Installing Decorative Art
- Measuring tape, ruler, pencil
- Hammer and drill with suitable bits
- Wall plugs and screws
- Double-sided tape or specialized wall adhesive
- Level
- Wall hooks or hangers
- Masking tape for layout testing
Note: Lightweight decorations do not require drilling and can be installed with strong adhesive.
7. Methods to Install Decorative Art on Living Room Walls
7.1. Wall Paintings
- Use standard frame hangers
- Heavy paintings require screws and wall plugs
- Use a level to prevent tilting
Installing Decorative Art
7.2. 3D Decor
- Use screws and wall plugs for weight support
- Check attachment points carefully before installation
7.3. Wall Mirrors
- Use mirror-specific brackets or screws
- Clean fingerprints after installation
7.4. Lightweight Decor
- Use strong double-sided tape or wall-specific adhesive
8. Planning the Layout Before Installation
- Use masking tape to mark positions on the wall
- Create paper templates matching artwork sizes
- Visually check the layout before permanent installation
Installing Decorative Art
9. Lighting to Highlight Decorative Art
- Linear lights for large paintings
- Spotlights to emphasize key pieces
- Wall lamps for a classic style
- Hidden lighting for modern aesthetics
Tip: Use soft lighting for printed or oil paintings to avoid harsh reflections
10. Common Mistakes When Installing Decorative Art
- Hanging artwork too high or too low
- Choosing decor incompatible with the home style
- Overcrowding the wall
- Poor color coordination
- Using weak adhesives for heavy pieces
- Installing without precise measurements
- Selecting small paintings for large walls
11. Gallery Walls in the Living Room
- Combine multiple paintings or photo frames with a cohesive style
- Maintain color harmony and proportion
- Center the gallery at 150 cm height
- Test the layout before final installation
Installing Decorative Art
12. Color Coordination with Furniture and Other Elements
- Neutral furniture: use colorful paintings as focal points
- Colored walls: opt for simpler, matching decor
- Gold accents: suitable for luxurious and classic interiors
13. Safety Tips for Installing Decorative Art
- Avoid hanging heavy pieces above beds or high-traffic areas
- Ensure all attachments are secure
- Keep sharp or fragile pieces away from young children
Installing Decorative Art
14. Recommended Decorative Art for Living Room Walls
- Large mirrors for small spaces
- Triptych paintings for modern style
- Metal sculptures for industrial style
- Traditional calligraphy or paintings
- Nature-inspired art for a calming effect
Step-by-Step Guide to Installing Decorative Art on Living Room Walls
Installing decorative art on your living room wall is one of the best ways to enhance the space, create a focal point, and harmonize with your interior design. This step-by-step guide covers everything from planning and selecting art pieces to installation and lighting, so your living room wall becomes an attractive and artistic area.
Step 1: Analyze Your Living Room Wall
Before installing decorative art, assess your wall in terms of size, material, finish, and ceiling height:
- Wall Size: Measure width and height to choose the right size for paintings or 3D wall decor.
- Wall Material: Plaster, cement, brick, or drywall require different installation tools.
- Wall Finish: Painted, wallpapered, or decorative stone surfaces need careful installation to avoid damage.
- Ceiling Height: High ceilings allow vertical decor; low ceilings suit horizontal or minimalist pieces.
Installing Decorative Art
Step 2: Choose Your Style and Decorative Art Type
- Interior Style: Modern, classic, minimalist, industrial, or rustic.
- Decor Type: Wall paintings, wall sculptures, decorative mirrors, or a combination (gallery wall).
- Color and Coordination: Match with furniture, curtains, and rugs to create visual harmony.
Step 3: Determine Size and Placement
- Art Size: Cover 60–75% of the wall width; above a sofa: roughly 2/3 of sofa length.
- Installation Height: Center of art about 150 cm (59 in) from the floor; 20–30 cm above sofa back.
- Focal Point: Choose a prominent piece for walls facing the entrance or main seating area.
Step 4: Prepare Installation Tools
Essential tools for installing decorative art:
- Tape measure, pencil, and level
- Hammer and drill with appropriate bits
- Wall plugs and screws (for heavy art or sculptures)
- Double-sided tape or wall adhesive (for lightweight decor)
- Wall hooks and standard brackets
Note: Lightweight decor can often be installed without drilling using strong adhesive.
Step 5: Layout Design and Preview
- Use paper or cardboard templates to represent the size of your artwork.
- Stick templates on the wall with masking tape to test spacing and symmetry.
- Make adjustments before permanent installation to ensure a balanced visual arrangement.
Step 6: Install Decorative Art on the Wall
6.1. Wall Paintings
- Lightweight paintings: use simple hangers or adhesive strips.
- Heavy paintings: use screws and wall plugs for stability.
- Check with a level to prevent tilting.
6.2. 3D or Heavy Wall Decor
- Use screws and wall plugs for weight support.
- Ensure attachment points are secure before hanging.
6.3. Wall Mirrors
- Use mirror-specific brackets or screws.
- Wipe fingerprints after installation.
6.4. Lightweight Decor
- Use double-sided tape or wall-specific adhesive for small pieces.
Step 7: Lighting Your Decorative Art
- Linear lights or spotlights: Highlight large paintings or focal decor.
- Wall lamps: Create a warm, classic ambiance.
- Hidden lighting: Adds a modern and minimalist effect.
- Light reflection: Soft lighting works best for prints and oil paintings.
Step 8: Final Checks and Safety
- Ensure all decor is securely attached.
- Avoid hanging heavy pieces in high-traffic areas or above beds.
- Keep sharp or fragile pieces away from young children.
- Check spacing between artworks and other wall elements for a balanced look.
Step 9: Maintenance and Care
Periodically check connections for heavy pieces to prevent accidents.
Clean paintings and mirrors with a dry or suitable cloth.
Protect wooden or metal decor with wax or spray protectants.
Guide to Choosing the Right Bracket and Height for Hanging Art on Living Room Walls
1. Choosing the Right Bracket for Wall Art
The bracket or hanger plays a key role in keeping your artwork secure and level. The right bracket prevents tilting and reduces the risk of the piece falling.
1.1. Common Types of Brackets
- Nail Hook Brackets
- Suitable for light to medium-weight paintings
- Quick and easy to install
- Ideal for small frames and lightweight wall art
- Screw and Wall Plug Brackets
- Suitable for heavy or large artwork
- Requires drill and wall plugs for stability
- Works for plaster, concrete, and brick walls
- Wire Hanger Brackets
- For artworks with wire on the back of the frame
- Allows precise height adjustment after hanging
- Good for slightly uneven walls
- Special Brackets for Mirrors and 3D Wall Decor
- Strong enough for heavy pieces
- Includes specialized hooks and fasteners
- Provides maximum safety for large or heavy decor
1.2. Key Tips for Choosing a Bracket
- Measure the weight of your artwork and select a bracket rated for that weight.
- Ensure the bracket is compatible with the wall material (plaster, brick, concrete, drywall).
- For large paintings, use multiple brackets to distribute weight evenly.
2. Determining the Ideal Hanging Height
The height at which you hang your artwork significantly affects both aesthetics and comfort. Follow these guidelines for a polished look:
2.1. Standard Eye-Level Height
- The center of the artwork should be approximately 150 cm (59 in) from the floor.
- This provides optimal viewing when standing or sitting.
2.2. Above Sofas or Furniture
- Hang art 20–30 cm above the back of the sofa.
- Too close looks crowded; too far separates the artwork from the furniture.
2.3. Focal Walls or Walls Facing Entrances
- Key or statement pieces can be hung slightly higher to draw attention.
- Tall ceilings allow for elongated vertical artwork.
2.4. Gallery Walls
- Center the entire collection at 150 cm from the floor.
- Space between smaller frames should be around 2–5 cm.
3. Combining Bracket Choice and Height
To hang a painting or wall decor effectively:
Final installation → use screws, wall plugs, or adhesive according to weight and wall type
Artwork size and weight → choose the appropriate bracket
Wall height and furniture placement → determine the sofa-top clearance and center height
Visual layout → use a level and paper templates to ensure alignment and symmetry
Conclusion
Installing decorative art on living room walls is a combination of art, interior design, and technical skill. Choosing the right style, size, layout, lighting, and following safety guidelines can transform your wall into a beautiful, eye-catching, and artistic space. By following these steps, your living room wall will not only avoid looking empty but will become a small art gallery in your home.
📞 Need Help?
Let us take care of the hard work while you sit back and relax.
📍 Serving: Austin, Round Rock, Cedar Park & more
📱 Call or Text: (737) 420-6992
🌐 Visit: https://lavahandyman.com