Installing a TV at a Low Wall Height: Complete Guide to Standards, Benefits, and Design Tips
Introduction
Choosing the right TV mounting height plays a major role in your comfort, eye health, and the overall aesthetics of your home. Recently, more homeowners and interior designers have started installing TVs at a lower wall height, as it offers both ergonomic comfort and a modern, balanced look.
In this comprehensive educational article, we’ll explore everything you need to know about installing a TV at a low height on the wall—from international standards and mounting tips to design recommendations and safety precautions.

Standard TV Mounting Height
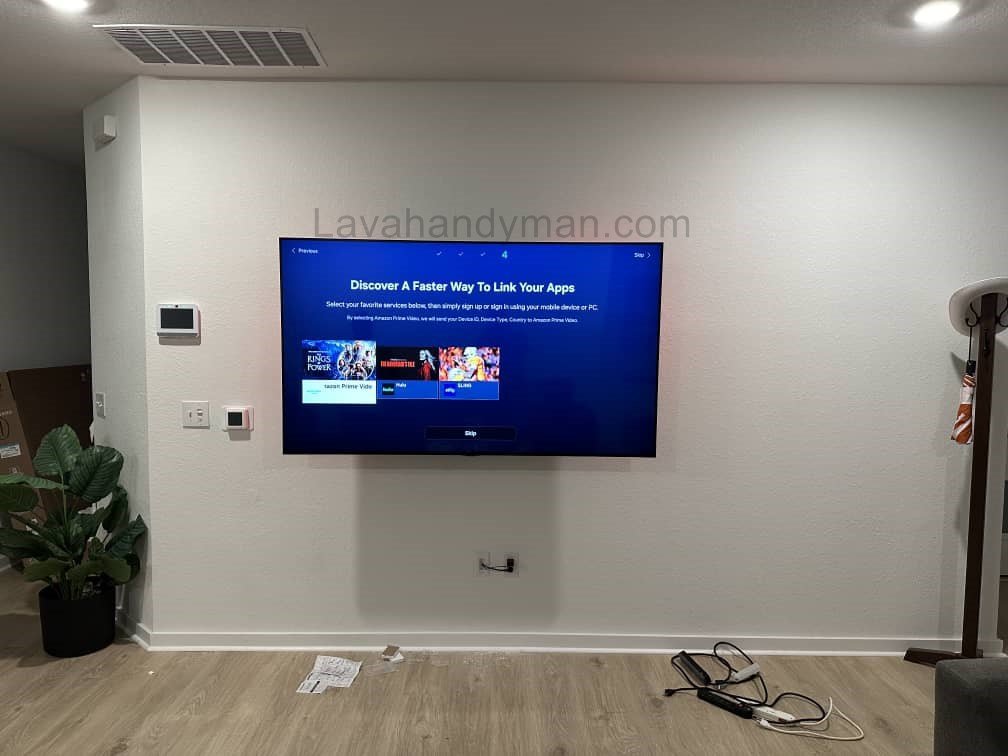
Installing a TV at a Low Wall Height
According to ergonomics and TV manufacturers’ recommendations, the center of the TV screen should be aligned with the viewer’s eye level when seated.
For an average adult (around 170 cm or 5’7″), eye level while seated is about 100–110 cm (39–43 inches) from the floor.
Therefore, for a 55-inch TV, the bottom edge of the screen should typically be 65–70 cm (25–28 inches) above the floor to maintain a natural viewing angle.
This rule forms the foundation for all standard TV wall mounting guidelines.
Why Many People Prefer Low Wall TV Installation
Here are the key reasons why installing a TV lower on the wall has become increasingly popular:
- Natural viewing angle: Your eyes look straight at the screen instead of tilting upward.
- Physical comfort: Less strain on the neck and shoulders during long viewing sessions.
- Modern interior aesthetics: Low-mounted TVs blend better with furniture and minimalist designs.
- Child safety: Reduces the risk of TVs falling from high mounts.
- Better alignment with TV stands or consoles: The overall setup appears cleaner and more balanced.
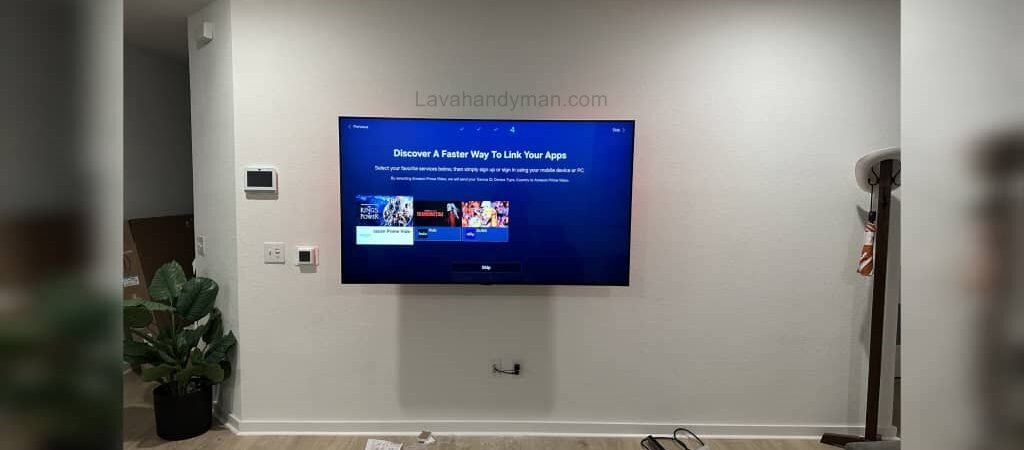
Installing a TV at a Low Wall Height
Benefits of Installing a TV at a Low Wall Height
1. Improved Comfort and Ergonomics
When the screen is too high, you have to tilt your neck upward, which can cause discomfort. Low wall mounting keeps the head and eyes in a relaxed, natural position.
2. Better Use of Small Spaces
In smaller apartments or rooms with low ceilings, a low-mounted TV helps make the space appear larger and more open.
3. Aesthetic Harmony
Low TV placement works perfectly with modern or Scandinavian interior designs, where the visual center aligns with the seated viewing level.
4. Easier Accessibility
Connecting HDMI cables, USB drives, or game consoles becomes much easier with a TV mounted lower on the wall.
5. Enhanced Stability and Safety
A low installation reduces the risk of the TV detaching from the wall or falling, providing extra safety in busy homes.
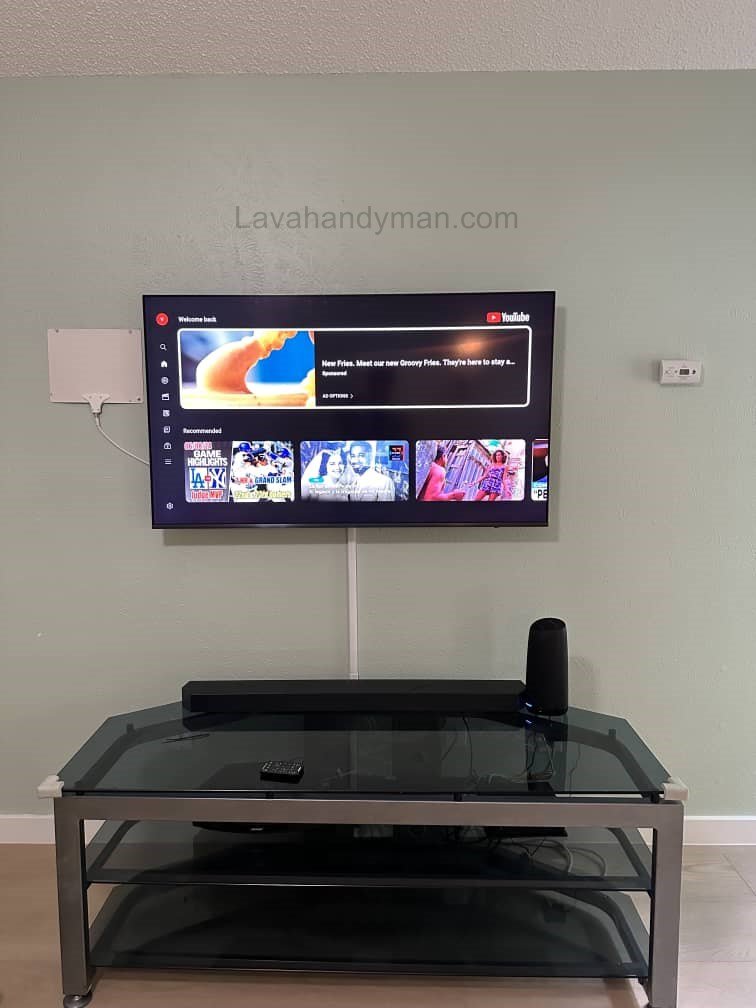
Installing a TV at a Low Wall Height
Potential Drawbacks of Low TV Installation
- More accessible to children or pets
- Possible light reflections from nearby windows or lamps
- Less decorative space above the TV for artwork or shelves
- Not suitable for standing viewing positions, such as in kitchens or retail spaces
Most of these issues can be solved by using an adjustable wall mount and controlling ambient light.
Installing a TV at a Low Wall Height
How to Calculate the Best TV Mounting Height
Use this simple formula to determine the optimal height for your specific TV:
Center height = Eye level height (e.g., 105 cm)
Bottom height = Center height - (TV screen height / 2)
For example, if your 55-inch TV has a screen height of 68 cm:
105 - (68 / 2) = 71 cm
So, the ideal mounting height is between 65 and 75 cm (25–30 inches) from the floor.
This ensures both a comfortable viewing experience and visual balance in your space.
Installing a TV at a Low Wall Height
Technical and Practical Tips for Low TV Wall Mounting
1. Choose the Right Wall Mount Bracket
Use a tilting wall mount that allows you to slightly angle the screen upward and adjust it easily.
2. Maintain Proper Ventilation
Leave at least 5–10 cm (2–4 inches) of space between the TV and the wall to prevent overheating.
3. Hide Cables for a Clean Look
Run cables through wall conduits or decorative channels to keep the setup neat and professional.
4. Control Lighting
Avoid direct sunlight or bright lamps reflecting off the screen. Soft, indirect lighting or LED backlights work best.
5. Consider Furniture Height
Ensure your sofa or chairs are at a height where the viewer’s eyes align with the center of the screen.
Installing a TV at a Low Wall Height
Common Mistakes When Installing a Low Wall TV
- Mounting the TV too low (below 50 cm / 20 inches)
- Ignoring vertical viewing angle (shouldn’t exceed 15°)
- Uneven installation or poor wall alignment
- Messy wiring that spoils the design
- Installing on weak drywall without reinforcement
Installing a TV at a Low Wall Height
Safety and Maintenance Tips
- Always use a certified wall mount that supports your TV’s weight.
- Avoid placing the TV near heat sources like fireplaces or radiators.
- Use a surge protector to protect against power fluctuations.
- If mounting on drywall, use metal anchors or back plates for stability.
Interior Design Ideas with Low-Mounted TVs
- Textured wall backgrounds (wood, stone, or concrete) to create visual depth.
- LED backlighting for eye comfort and an elegant look.
- Slim TV consoles or floating shelves for storage and symmetry.
- Frame TVs that resemble wall art when not in use.
- Recessed wall mounts to make the TV flush with the wall surface.
Step-by-Step Guide to Installing a TV at a Low Wall Height:
Installing a TV at a Low Wall Height
Tools and Equipment You’ll Need
Before you begin, prepare the following items:
- Standard TV wall mount (Fixed or Tilt type)
- Power drill and suitable drill bits
- Wall plugs or anchors (for brick, concrete, or drywall)
- Screwdriver and wrench
- Spirit level (bubble level)
- Measuring tape and pencil
- Stable ladder or stool
- Cable management kit or wall ducts
- Surge protector or power strip
Tip: Always check your TV’s weight and ensure your wall mount supports it properly to avoid accidents.
Step 1: Measure and Determine the Ideal TV Height
- Sit on your main couch or chair and measure eye level while seated (usually between 100–110 cm / 39–43 inches from the floor).
- Measure your TV’s height (e.g., a 55-inch TV ≈ 68 cm tall).
- Use this formula to find the ideal bottom height:
Bottom of TV = Eye level – (TV height ÷ 2)
🔹 Example: 105 – (68 ÷ 2) = 71 cm (≈ 28 inches)
That means the bottom of the TV should be about 70 cm (28 inches) from the floor.
Installing a TV at a Low Wall Height
Step 2: Check the Wall and Choose the Mounting Spot
- Identify your wall type:
- Brick or concrete: Ideal for direct installation using heavy-duty anchors.
- Drywall or plasterboard: Requires a metal backing plate or mounting on wall studs.
- Use a stud finder to ensure no electrical wires or pipes are behind the wall.
- Make sure there’s an electrical outlet near the installation point to hide cables neatly.
Step 3: Mark the Mounting Points
- Mark the center point of your TV on the wall.
- Hold the wall bracket against the wall and mark where the screw holes will go.
- Use a level to make sure your marks are perfectly straight.
- Optional: Tape a piece of cardboard the size of your TV on the wall to visualize the placement.
Step 4: Install the Wall Bracket
- Drill holes where you marked earlier.
- Insert the wall plugs or anchors.
- Attach the wall bracket using the provided screws and tighten them securely.
- Double-check the alignment using the level.
Safety Note: The wall mount must be firmly secured and level to safely hold the TV’s weight without wobbling.
Installing a TV at a Low Wall Height
Step 5: Attach the Mounting Arms to the TV
- Place the TV face-down on a soft, flat surface (like a blanket or box).
- Attach the mounting arms or brackets to the back of the TV using the screws provided.
- Tighten the screws but do not overtighten to avoid damaging the TV frame.
Step 6: Hang the TV on the Wall
- With someone’s help, lift the TV and hook it onto the wall bracket.
- Lock the bracket clips or safety latches.
- Check the TV’s alignment using a level.
- If your mount tilts, adjust the angle slightly to reduce screen glare or reflections.
Step 7: Manage and Hide the Cables
- Use wall ducts, raceways, or decorative covers to hide power and HDMI cables.
- Route all cables (power, HDMI, antenna) neatly through the channels.
- Avoid tight bends or tangled cables.
- If you plan to run cables inside the wall, follow local electrical codes or hire a certified installer.
Tip: Always use a surge protector to protect your TV from voltage fluctuations.
Installing a TV at a Low Wall Height
Step 8: Test and Adjust the Setup
- Connect all inputs (HDMI, USB, antenna, etc.) and test them.
- Check the picture and sound quality from different angles.
- If you see glare, slightly adjust the tilt or lighting in the room.
- Make sure all cables are secure and the mount feels stable.
Step 9: Safety and Maintenance Tips
- Inspect mounting screws and brackets every 6 months.
- Keep the TV away from heat sources like fireplaces or direct sunlight.
- Use cable clips to prevent tripping hazards.
- If you notice vibration or unusual noise, recheck all connections.
Common TV Mounting Mistakes
- Installing the TV too high or too low
- Ignoring the viewer’s eye level
- Using a low-quality wall mount
- Poor cable organization
- Mounting on weak drywall without reinforcement
Ignoring these details can damage both your TV and wall — and reduce viewing comfort.
🔩 Types of TV Wall Mounts and Installation Timeline for Low Wall TV Placement
Installing a TV at a Low Wall Height
🔧 Common Types of TV Wall Mounts
Selecting the right mount depends on TV placement, viewing angle, and wall height. Here are the most practical options:
1. Fixed Wall Mount
Features:
A fixed wall mount is the simplest and most common type. The TV stays flush against the wall and cannot move.
Advantages:
- Easy and quick installation
- High stability with no wobbling
- Clean and minimal look
- Affordable
Disadvantages:
- Viewing angle cannot be adjusted
- Accessing cables may require removing the TV
✅ Best choice for low wall TV installation, as the viewer’s eye level aligns with the screen and no tilting is needed.
Installing a TV at a Low Wall Height
2. Tilting Wall Mount
Features:
Allows the TV to tilt up or down up to about 15 degrees.
Advantages:
- Reduces glare and reflections
- Easier access to cables behind the TV
- Suitable for slightly higher mounting positions
Disadvantages:
- More expensive than a fixed mount
- Slightly larger distance from the wall
💡 Recommended when the TV is near a window or mounted around 100–120 cm (39–47 in) from the floor.
Installing a TV at a Low Wall Height
3. Full-Motion / Articulating Mount
Features:
Provides full motion: swivel left/right, tilt, and extend/retract. Ideal for corner placements or large rooms.
Advantages:
- Flexible viewing angles from multiple positions
- Full access to rear ports
- Suitable for large or multi-purpose spaces
Disadvantages:
- More complex installation
- Requires a strong wall (concrete or reinforced studs)
- Higher cost
🔧 Ideal if you want to view the TV from multiple areas in the room.
Installing a TV at a Low Wall Height
4. Ceiling Mount
Features:
TV hangs from the ceiling with adjustable height and tilt.
Advantages:
- Great for small or commercial spaces
- Flexible viewing angles
Disadvantages:
- More complicated installation
- Less suitable for home living rooms
🏢 Mostly used in stores, restaurants, or public spaces.
5. In-Wall / Recessed Mount
Features:
The TV is installed flush with the wall surface, creating a sleek, built-in appearance.
Advantages:
- Very modern and stylish
- Saves space
Disadvantages:
- Higher cost
- Time-consuming installation and requires wall modifications
🎯 Ideal for modern interior design or permanent low-wall installations.
Installing a TV at a Low Wall Height
🕒 Installation Timeline for Low Wall TV Mounting
The installation duration varies depending on mount type, wall material, and installer experience.
The table below shows approximate time for each step:
| Installation Step | Description | Approx. Time |
|---|---|---|
| 1. Preparation & Wall Inspection | Choose mount, check wall type (concrete, brick, drywall) | 15–30 min |
| 2. Measuring TV Height | Determine eye-level height and mark TV placement | 15–20 min |
| 3. Marking & Drilling Wall | Mark holes for the bracket and drill | 30 min |
| 4. Installing Wall Bracket | Secure screws, level bracket, test stability | 20 min |
| 5. Mounting Bracket on TV | Attach arms or mounting plate | 15 min |
| 6. Hanging TV on Wall Bracket | Lift TV and lock in place | 10 min |
| 7. Adjusting Angle & Managing Cables | Hide wires, set tilt angle, final check | 30 min |
⏱ Total Installation Time: ~2–3 hours
If mounting on drywall with internal wiring, installation may take up to 4 hours.
⚙️ Tips for Time Management and Safety
After installation, verify viewing angle and glare for optimal comfort.
Check power outlets and HDMI ports before starting to avoid rework.
Always have at least two people to lift the TV safely.
Use the original mount recommended by the TV manufacturer.
Installing a TV at a Low Wall Height
Conclusion
Installing a TV at a low wall height is both a stylish and ergonomic choice. It improves viewing comfort, enhances room design, and provides added safety—especially in modern homes.
Before drilling or mounting, always measure your eye level while seated and your TV dimensions to find the perfect spot.
If your living room design is minimalist or contemporary, a low-mounted TV will perfectly complement the clean and balanced aesthetic you’re aiming for.
📞 Need Help?
Let us take care of the hard work while you sit back and relax.
📍 Serving: Austin, Round Rock, Cedar Park & more
📱 Call or Text: (737) 420-6992
🌐 Visit: https://lavahandyman.com