
A Complete Guide to Hanging Wall Art at the Right Height
Introduction
Hanging wall art is one of the simplest yet most impactful ways to enhance the aesthetics of your home or workspace. But choosing the right artwork is only half the job — hanging it at the correct height is what makes all the difference. This guide will walk you through the essential principles of hanging art, the ideal height, key considerations, and common mistakes to avoid.
A Complete Guide to Hanging Wall Art at the Right Height
Why Is Hanging Height Important?
Wall art acts as a focal point in most spaces. If it’s placed too high or too low, it can disrupt the visual harmony of the room. But when properly positioned, it creates balance, adds depth, and gives your space a more refined and professional look.
What’s the Standard Height for Hanging Art?
Ideal center height: 57–60 inches (145–152 cm) from the floor
This is the average eye level and is widely used in galleries and design standards.
Example: If your artwork is 32 inches (80 cm) tall and you want the center at 60 inches (150 cm), the top of the artwork should be around 90 inches (230 cm) from the floor.
A Complete Guide to Hanging Wall Art at the Right Height
Hanging Art Above Furniture
- When hanging artwork above a sofa, headboard, or console table, leave 6 to 10 inches (15–25 cm) between the bottom of the frame and the top of the furniture.
- This helps visually connect the art to the furniture below it.
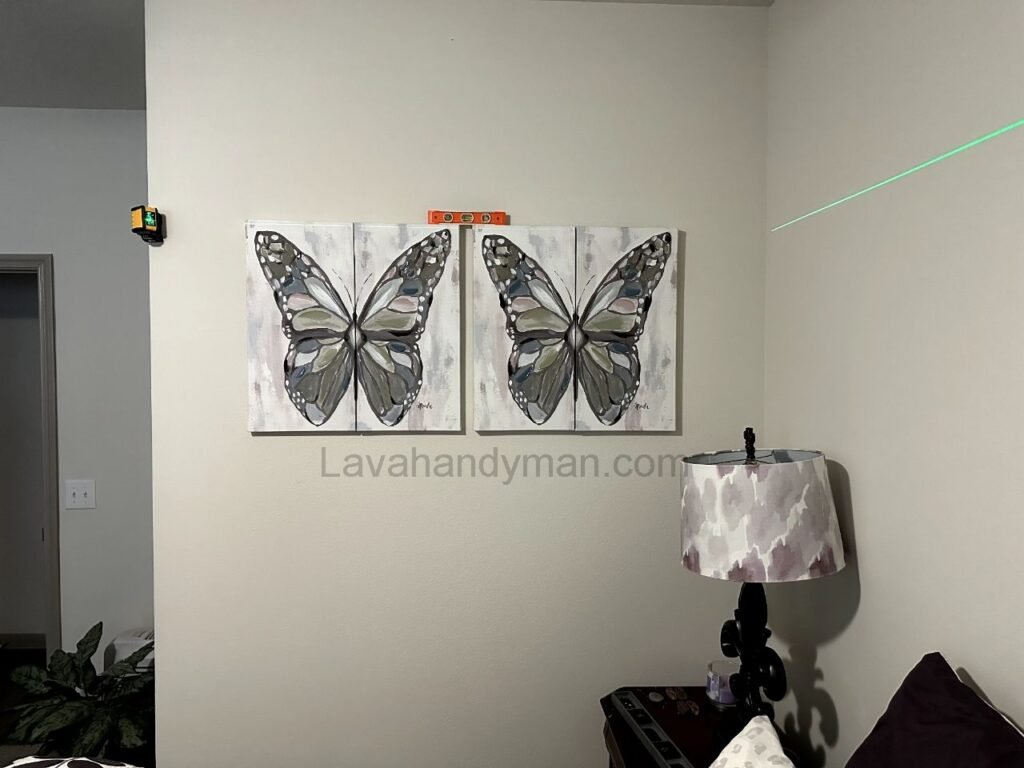
Tips for Gallery Walls (Multiple Frames Together)
- Keep the center of the entire arrangement at eye level (around 57–60 inches).
- Leave 2 to 4 inches (5–10 cm) between each frame, depending on size and layout.
- Try arranging the frames on the floor first to visualize the layout.
A Complete Guide to Hanging Wall Art at the Right Height
Factors That Affect Hanging Height
1. Ceiling Height
In rooms with high ceilings, art can be placed slightly higher to balance the empty wall space. In rooms with lower ceilings, keeping art at eye level is more important.
2. Type of Space
- Living Room: Art should relate visually to seated viewing height.
- Bedroom: Lower placement works better, matching the lying-down perspective.
3. Size of the Artwork
- Larger pieces often look better slightly lower.
- Smaller works can be grouped or hung higher if needed.
4. Interior Style
- Modern styles often favor slightly lower placement for a cozy feel.
- Classic styles stick to symmetry and formal balance.
A Complete Guide to Hanging Wall Art at the Right Height
How to Hang Artwork Properly
Tools You’ll Need:
- Measuring tape or laser meter
- Pencil for marking
- Spirit level
- Drill or hammer
- Anchors, screws, or nails
- Double-sided wall tape (for lightweight art)
A Complete Guide to Hanging Wall Art at the Right Height
Step-by-Step:
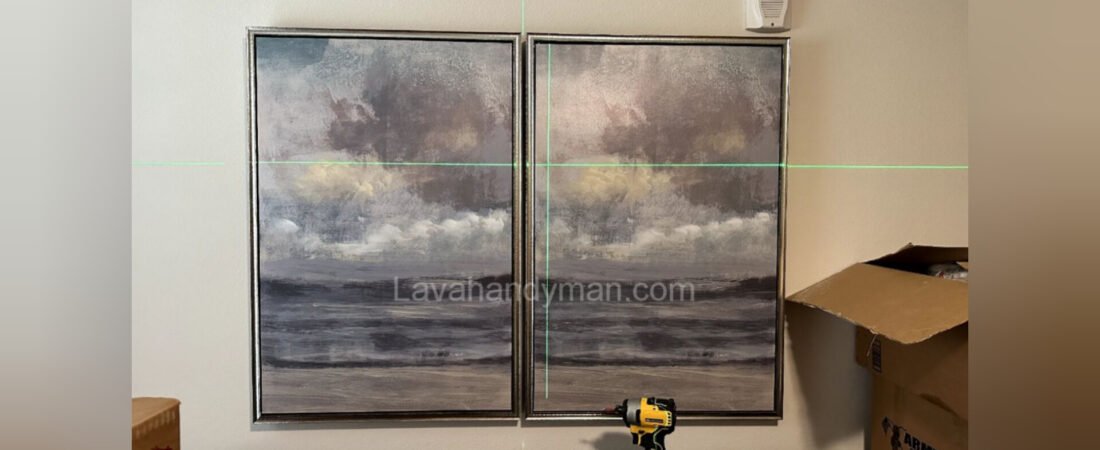
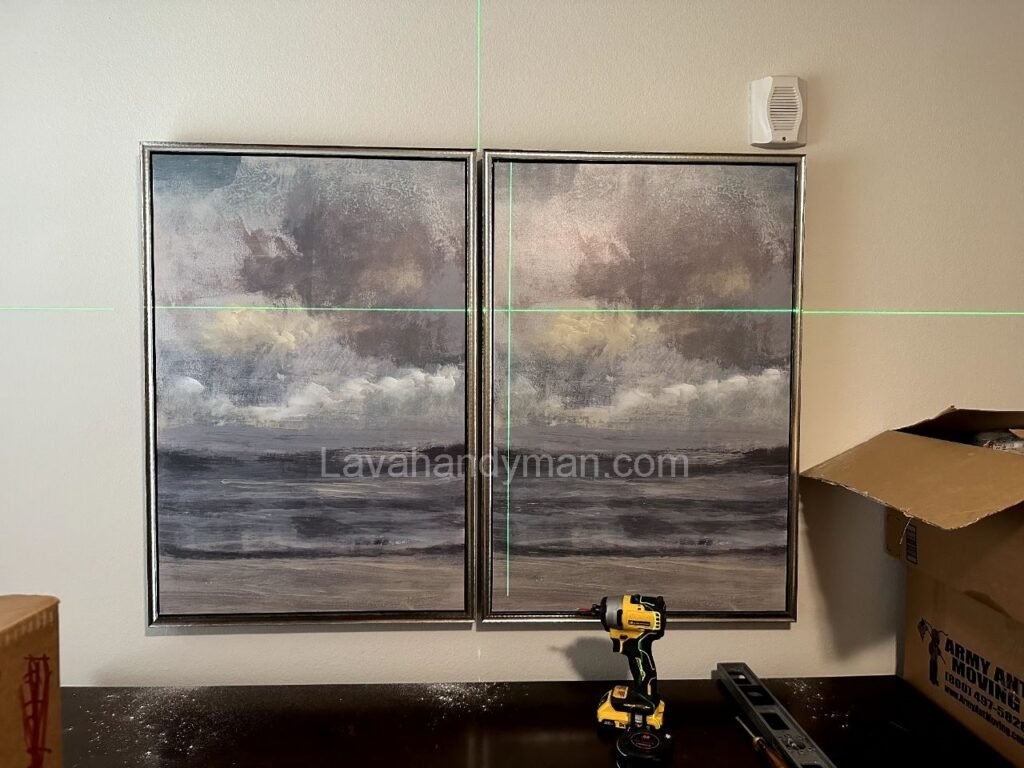
- Measure the artwork and determine the center height
Use the rule: center of the piece at 57–60 inches from the floor. - Mark the wall
Use a pencil and measure the spot where the nail or hook should go. - Use a level
Ensure the frame is perfectly straight before fixing it to the wall. - Drill or hammer the hook
Insert a screw, nail, or adhesive hook based on the frame’s weight. - Final check
Step back 6–8 feet to confirm the positioning feels right.
A Complete Guide to Hanging Wall Art at the Right Height
Best Practices by Room
Living Room
- Hang artwork around 60 inches from the floor or 8 inches (20 cm) above a sofa.
- The art should be about ⅔ the width of the furniture below.
Bedroom
- Art over the bed should sit 12–16 inches above the headboard.
- Grouped small frames above nightstands also work well.
Hallways & Entryways
- People are typically moving through these areas, so you can place art slightly higher than eye level.
- Tall vertical pieces work well here.
Kitchen
- Use small, simple, and moisture-resistant pieces.
- Hang art above countertops or next to cabinets without overcrowding.
A Complete Guide to Hanging Wall Art at the Right Height
Common Mistakes to Avoid
- Hanging too high or too low: Throws off the room’s visual flow.
- Ignoring wall or frame size: Tiny frames get lost on big walls.
- Not aligning with furniture: Art should feel visually connected to what’s beneath it.
- Skipping the level tool: Even slight tilt is noticeable and distracting.
Pro Tips for a Gallery-Like Look
1. Use Matching Frames for Series Pieces
Grouping similar artworks with consistent framing creates cohesion.
2. Add Spot Lighting
Install wall-mounted or directional lights at a 30-degree angle for a museum-quality glow.
3. Paper Templates Help
Cut paper in the size of your artwork and tape them to the wall to test the layout before making holes.
A Complete Guide to Hanging Wall Art at the Right Height
The Importance and Key Features of Proper Wall Art Installation
Installing artwork on the wall is one of the most effective ways to enhance an interior space. But it’s not just a decorative task—it plays a powerful role in shaping the atmosphere, visual harmony, and character of a room. Below, we explore the most important reasons why proper installation matters, along with the key features to consider when hanging wall art:
1. Creating a Visual Focal Point
Artwork naturally draws attention and can serve as a visual anchor in a room. It guides the viewer’s gaze and gives structure to the space.
Example: A large, colorful painting on a neutral wall quickly becomes the room’s center of attention.
A Complete Guide to Hanging Wall Art at the Right Height
2. Completing the Decor and Eliminating Emptiness
Bare walls can make a room feel cold or unfinished. Wall art fills that void, adding depth, vibrancy, and personality to the space through color, shape, and meaning.
3. Expressing Personal Taste and Identity
Art is a direct reflection of personality and interests. Whether it’s a painting, a family photo, or graphic design, each piece tells a story and brings a sense of life and individuality to the space.
4. Balancing Scale and Proportion
Wall art can visually balance room dimensions. Vertical pieces can reduce the feeling of overwhelming height in tall rooms, while horizontal artwork can make smaller spaces feel more open and wide.
A Complete Guide to Hanging Wall Art at the Right Height
5. Guiding the Eye and Concealing Flaws
Strategically placed artwork can direct attention away from imperfections like wall dents or cracks. It can also subtly guide the viewer’s focus toward the most visually appealing parts of a room.
6. Enhancing Professionalism and Visual Quality
In professional settings like offices, clinics, or lobbies, well-chosen wall art elevates the space. It promotes a sense of order, sophistication, and aesthetic value—creating a welcoming environment for clients or guests.
7. Psychological and Emotional Impact
Colors, themes, and styles of artwork can strongly affect mood. For example, natural landscapes or soft tones bring calm and serenity, while bold abstract art adds energy and vibrancy.
Key Features of a Proper Installation
Beauty alone is not enough. For artwork to have maximum impact, it must be installed correctly. The most important features include:
A Complete Guide to Hanging Wall Art at the Right Height
| Feature | Description |
|---|---|
| Correct Height | The center of the artwork should be around 145–152 cm (57–60 inches) from the floor to align with average eye level. |
| Proper Distance from Furniture | If hung above a sofa or bed, leave 15–25 cm (6–10 inches) between the frame and the furniture. |
| Proportional Sizing | Art should not be too small or too large compared to the wall size; visual balance is key. |
| Straight Alignment | A crooked frame disrupts the look—always use a level for accuracy. |
| Proper Lighting | Use natural or accent lighting to highlight details and enhance visibility. |
| Coordination with Other Art | When using multiple pieces, maintain proper spacing, symmetry, and layout consistency. |
A Complete Guide to Hanging Wall Art at the Right Height
📘 English Translation: Recommended Brackets for Hanging Wall Art
Choosing the right bracket is key to securely and beautifully mounting artwork on a wall. The best option depends on the weight of the piece, the wall material, and the desired aesthetic. Below are the most common bracket types:
1. Sawtooth Hanger
- Ideal for light frames.
- Easy to install with a single nail or screw.
- Common for photo frames and small artworks.
2. D-Ring Hanger
- Mounted on both sides of the frame.
- Used with or without a wire.
- Suitable for medium to heavy pieces.
A Complete Guide to Hanging Wall Art at the Right Height
3. Hanging Wire
- Wire strung between two D-rings.
- Hung from one or two nails.
- Adjustable and flexible.
4. French Cleat
- Two interlocking parts: one on the wall, one on the frame.
- Strong and secure for heavy items.
- Perfect for mirrors or large frames.
5. Invisible Hanger
- Hidden from view.
- Clean, minimalist appearance.
- Great for modern spaces.
6. Gallery Rail System
- A rail installed near the ceiling.
- Art hangs from wires attached to the rail.
- Allows easy rearrangement; ideal for galleries or offices.
7. Command Strips
- No drilling required.
- Best for lightweight and temporary use.
Bracket Choice by Wall Type
| Wall Type | Recommended Fastener |
|---|---|
| Drywall / Plasterboard | Toggle bolts or anchors for drywall |
| Concrete / Brick | Wall plugs and masonry screws |
| Wood | Direct screws or wood hooks |
Conclusion
Hanging art isn’t just about putting a nail in the wall — it’s about creating visual harmony. By following basic rules like placing the center at eye level, considering the furniture below, and using proper spacing and tools, you can dramatically enhance the look and feel of your space. Even the simplest artwork can feel sophisticated when placed in the right spot.
📞 Need Help?
Let us take care of the hard work while you sit back and relax.
📍 Serving: Austin, Round Rock, Cedar Park & more
📱 Call or Text: (737) 420-6992
🌐 Visit: https://lavahandyman.com
