A Complete Guide to Hanging Artwork on a Wall at the Correct Height
Hanging artwork on a wall may seem simple, but in practice it requires attention to principles that, if ignored, can diminish the beauty of even the finest pieces. The most important of these principles is choosing the correct height. An artwork hung too high can feel disconnected and difficult to view; hung too low, it loses harmony with the room’s visual balance. This article provides a concise, professional, and practical guide to installing artwork at the proper height.
1. Why the Height of Artwork Matters
Human eyesight naturally focuses within a specific vertical range. This average line of sight is typically between 140 and 150 centimeters (55–59 inches) from the floor. If artwork is installed outside this range, viewers must tilt their head up or down, which is aesthetically and ergonomically unfavorable. Interior design principles also emphasize “visual balance,” meaning the artwork should sit where the eye naturally rests and relate harmoniously to surrounding furniture.
2. The Global Standard Height for Hanging Art
The most widely accepted standard used in galleries, museums, and home interiors is:
The center of the artwork should be 145 centimeters (57 inches) above the floor.
This height aligns with the average line of sight while standing and sitting.
Important:
This measurement refers to the center of the artwork—not its top or bottom edge.
For households with taller residents, this height may be raised slightly (up to about 150 cm / 59 in).
Hanging Artwork
3. Hanging Art Above Furniture
One of the most common scenarios is placing artwork above sofas, consoles, fireplaces, or beds. In this case, use the following rule:
Distance between the bottom of the artwork and the top of furniture: 20–30 cm (8–12 inches).
This connection creates a visual relationship between the artwork and the furniture.
Another key rule:
- The width of the artwork should be 50–70% the width of the furniture below it.
For example, a 180 cm sofa pairs well with artwork 90–125 cm wide.
Hanging Artwork
4. Step-by-Step Method for Hanging Artwork Professionally
1. Tools Needed
- Measuring tape
- Pencil
- Level (manual or laser)
- Drill or hammer
- Wall anchors appropriate to the wall type
- Art hooks or screws
- Painter’s tape
2. Measuring the Correct Height
- Mark 145 cm on the wall.
- Measure the artwork’s height and divide by two.
- Subtract that number from 145 to find where the artwork’s top or bottom should align.
- Adjust based on the hanging hardware on the back of the frame.
3. Positioning the Screw or Hook
Depending on the artwork’s hanger:
- Sawtooth hanger: use the center point.
- Wire hanger: measure how far the wire stretches when pulled taut.
- Two side hooks: measure spacing to avoid tilt.
4. Leveling the Artwork
Using a level is essential— even slight misalignment makes the artwork appear amateurishly installed.
5. Installation Based on Wall Type
- Drywall (gypsum): use butterfly anchors.
- Plasterboard (knauf): use heavy-duty toggle anchors.
- Concrete: drill + plastic anchor.
- Brick: masonry drill bit + standard anchor.
Hanging Artwork
5. Creating a Gallery Wall
When hanging multiple pieces:
- Spacing between artworks → 5–10 cm (2–4 inches)
- Center point of the entire arrangement → 145 cm from the floor
- Effective arrangements include:
- Grid
- Square
- Stair-step
- Asymmetrical (Scandinavian style)
The whole group should read visually as one composition.
6. Tips for Different Room Types
6.1 Living Room
- Best for large statement artworks
- Accent lighting improves impact
- Hanging above the sofa is the most common arrangement
6.2 Bedroom
- Use softer, calming pieces
- Hang above the bed: 20–30 cm spacing
- Avoid heavy pieces for safety
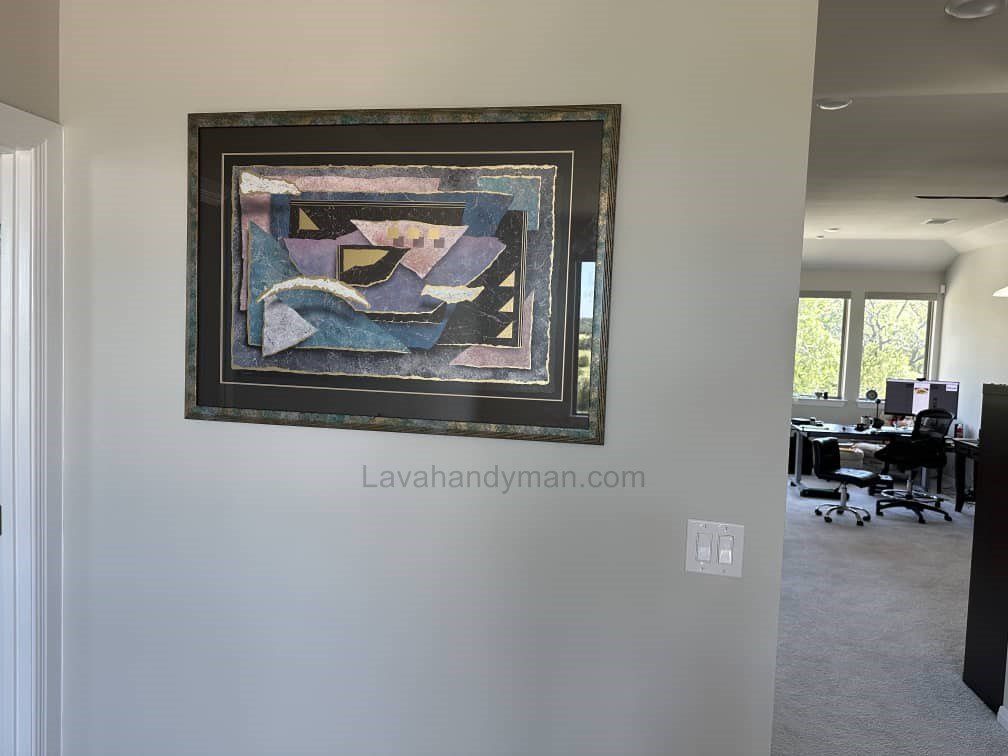
6.3 Hallways
- People pass while standing → ideal height: 150–160 cm
- Series or collections work best
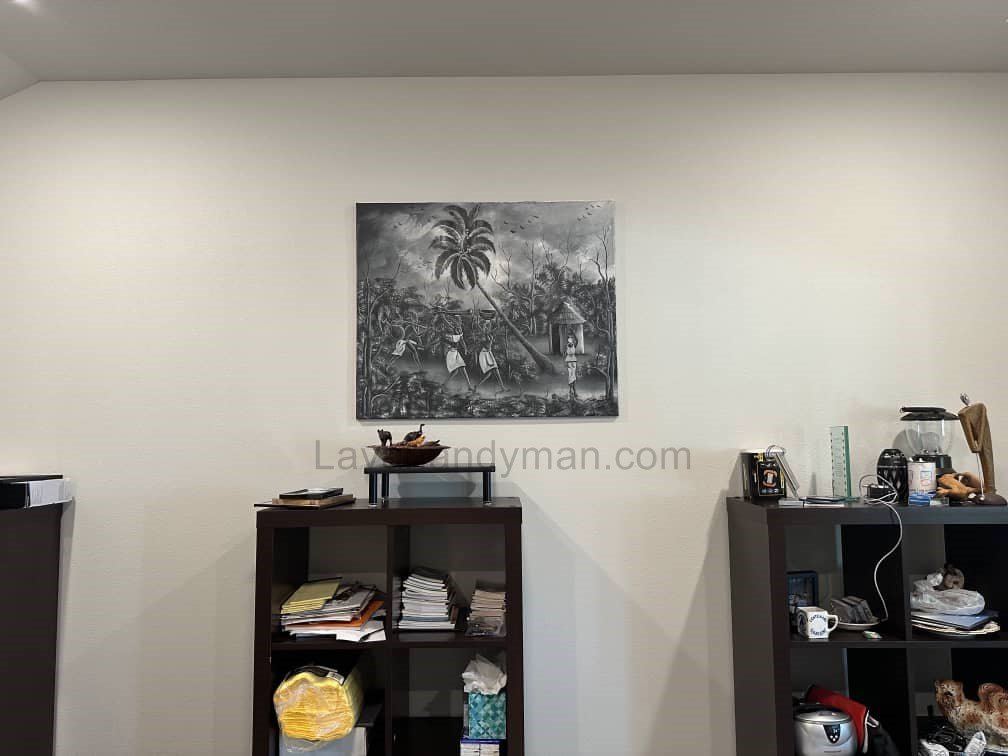
6.4 Home Office
- Lower height helps visibility while seated
- Soft lighting enhances focus
Hanging Artwork
7. The Importance of Lighting
Poor lighting can dull or distort artwork. Ideal lighting includes:
- UV-free LED lights
- A 30-degree light angle
- Medium brightness
- A blend of warm and neutral white tones
Avoid direct sunlight, which can cause fading.

8. Common Mistakes When Hanging Artwork
- Hanging too high — the most common mistake
- Not using a level
- Ignoring the line of sight
- Using nails for heavy frames — dangerous and unstable
- Choosing artwork that’s too small or too large for the furniture
Hanging Artwork
9. Real-World Examples
Example 1: Living Room Installation
- Center height: 145 cm
- Artwork width: 60% of sofa width
- Gap above sofa: 25 cm
Example 2: Four-Piece Hallway Arrangement
- Center height: 155 cm
- Spacing between frames: 7 cm
- Layout: Grid or stair-step
Example 3: Large Artwork in a Main Room
- Center height remains 145 cm, even if the artwork is very tall.
Hanging Artwork
Step-by-Step Guide to Installing Artwork on a Wall
1. Tools You’ll Need
- Measuring tape
- Pencil or painter’s tape
- Level
- Drill or hammer
- Wall anchors suitable for your wall type
- Screws or picture hooks
- A second person for larger or heavier artworks
2. Choose the Location and Standard Height
- Decide where the artwork will go (above a sofa, console table, bed, hallway, etc.).
- The standard viewing height for the center of the artwork is 145 cm (57″) from the floor.
- If installing above furniture:
→ Keep a 20–30 cm (8–12″) gap above the top edge of the furniture.
Hanging Artwork
3. Calculate the Exact Mounting Point
- Measure the height of the artwork.
- Subtract half of that height from the 145 cm center point to find the height of the upper edge.
- Measure the distance from the hanging hardware (wire or bracket) to the upper edge of the frame.
- Adjust the final measurement and mark the exact drilling point with a pencil.
4. Prepare the Wall
- Drywall: Use toggle anchors.
- Plasterboard / Gypsum: Use heavy-duty anchors.
- Concrete or Brick: Use a drill and plastic anchors.
- Heavy artworks should ideally be secured to a wall stud or reinforced anchor.
Hanging Artwork
5. Drill and Install the Hook
- Drill at the marked point.
- Insert the wall anchor firmly.
- Tighten the screw or hook securely.
- For large frames, always use two mounting points for stability.
6. Hang and Level the Artwork
- Hang the artwork on the hook(s).
- Use a level to ensure it’s perfectly straight.
- Adjust the hooks or the hanging wire if it tilts slightly.
7. Final Check
- Gently test the artwork to make sure it’s secure.
- Step back and check the height and alignment from multiple angles.
- Adjust lighting to enhance the display if needed.
Hanging Artwork
Quick Summary
Select anchors based on wall type
Artwork center = 145 cm (57″) from floor
Above furniture spacing = 20–30 cm
Use two hooks for large frames
Leveling is essential
Guide to Picture-Mounting Brackets:
Hanging Artwork
1. Sawtooth Hanger
- Best for light to medium-weight frames
- Quick installation with a single nail or screw
- Slightly sensitive to leveling; may tilt if not aligned perfectly
Ideal for: Posters, lightweight frames, small artwork
2. D-Ring Hanger
- Installed in pairs on both sides of the frame
- Strong and secure for heavier artwork
- Requires two mounting points on the wall
Ideal for: Large wooden frames, heavy artwork, mirrors
3. Hanging Wire System
- Consists of two D-Rings plus a steel wire
- Easy to install and flexible for adjusting height
- If the wire is too loose, the frame may tilt forward
Ideal for: Medium to large frames, gallery-wall setups
Hanging Artwork
4. French Cleat
- Two interlocking pieces: one on the wall, one on the back of the artwork
- Very strong, professional, and stable
- Provides perfect leveling and excellent weight support
Ideal for: Heavy artwork, large mirrors, valuable pieces
5. Z-Clip
- A slimmer, more modern version of the French Cleat
- Fast installation with high weight capacity
Ideal for: Modern art, metal or acrylic panels, gallery displays
6. Invisible Mount
- Hidden completely behind the artwork
- Clean, minimalist appearance
- Suitable for lighter weights
Ideal for: Frameless art, minimalist decorative pieces
Hanging Artwork
7. Anchor Kits for Weak Walls
- Includes toggle bolts, expansion anchors, and anti-slip types
- Designed for drywall and plasterboard
- Safe for supporting heavy frames
Ideal for: Mirrors, heavy artwork on drywall or plasterboard
How to Choose the Right Bracket
Based on Weight
- Light (1–5 kg): Sawtooth / D-Ring
- Medium (5–15 kg): D-Ring + Wire
- Heavy (15–50 kg): French Cleat or Z-Clip
Based on Wall Type
- Drywall / plasterboard: Anchor kits (toggle, molly, etc.)
- Concrete / brick: Standard anchors
- Wood: Direct screws
Based on Artwork Type
Multi-panel / gallery style: Wire system
Valuable artwork: French Cleat / Z-Clip
Regular wall art: Sawtooth
Hanging Artwork
Summary
Hanging artwork is more than simply placing a nail in the wall; it combines aesthetics, ergonomic principles, and interior design rules. Following a few essential guidelines can dramatically improve the presentation of any artwork:
- Center height = 145 cm (57 inches)
- Gap above furniture = 20–30 cm
- Use a level—always
- Artwork width = 50–70% the width of the furniture
- Proper lighting completes the display
These simple principles help any artwork become the focal point of a room, enhancing both visual appeal and overall harmony.
📞 Need Help?
Let us take care of the hard work while you sit back and relax.
📍 Serving: Austin, Round Rock, Cedar Park & more
📱 Call or Text: (737) 420-6992
🌐 Visit: https://lavahandyman.com