
Best Methods for Hanging a Picture Without Drilling or Damaging the Wall
Hanging a picture without drilling holes has become an important topic in modern interior design. Many people prefer to install frames and décor items without using nails, screws, or a drill—whether to protect the wall, avoid damaging wallpaper, or because they live in a rental home.
Why Hanging Pictures Without Drilling Matters
- Prevents wall damage
- Ideal for rental homes
- Easy to reposition or remove
- No need for tools or drilling
- Safe for painted walls and wallpaper
These benefits are why many people search for methods to hang pictures safely and without visible marks.
Hanging a Picture Without Drilling
Top Methods for Hanging Pictures Without Drilling (Tested & Recommended)
Below are the most effective, practical, and damage-free options.
1. Heavy-Duty Double-Sided Adhesive Strips (Command Strips)
One of the most popular solutions, often searched as “no-drill picture hanging strips.”
These strips allow you to mount frames without screws or nails.
Advantages
- Strong hold
- Easy removal without leaving marks
- Works on painted walls, tiles, wood, and laminate
Best for
- Lightweight frames
- Small photo frames
- Canvas prints
This is one of the safest methods for damage-free wall mounting.
Hanging a Picture Without Drilling
2. Nano Gel Tape – A Popular and Affordable Choice
Nano tape has become a highly searched option for adhesive mounting.
Advantages
- High stickiness
- Washable and reusable
- Perfect for smooth and flat surfaces
Limitations
- Not recommended for heavy frames
- May damage delicate wallpaper
3. Adhesive Hooks – Great for Heavier Frames
Hanging a Picture Without Drilling
If you need to hang a heavier picture without drilling, adhesive hooks are ideal.
Advantages
- Holds 5–10 kg depending on type
- Works on painted walls, glass, tiles, and wood
- Long-lasting adhesive power
4. Micro Nails (Pin Nails) – Almost No Wall Damage
These special micro nails make tiny, barely visible holes.
Why They’re Popular
- Nearly invisible
- Provides strong support
- Ideal for gypsum or drywall
Hanging a Picture Without Drilling
5. Liquid Wall Adhesives – Best for Concrete or Cement Walls
If you don’t need to reposition the picture later, liquid adhesives are a strong option.
Best for
- Concrete walls
- Cement walls
- Large or heavy frames
Limitations
- Hard to remove
- May require repainting afterward
Hanging a Picture Without Drilling
6. Leaning Frames or Using Shelves
A zero-damage approach that requires no adhesive at all.
Advantages
- Perfect for large frames
- Safe and stable
- A clean and modern décor style
Best Hanging Method Based on Wall Type
Choosing the right adhesive depends heavily on the wall material.
Hanging Pictures on Drywall Without Drilling
Best options:
- Double-sided strips
- Nano tape
- Adhesive hooks
Hanging a Picture Without Drilling
Hanging Pictures on Concrete or Cement Walls
Best options:
- Heavy-duty adhesive hooks
- Liquid wall glue
Hanging Pictures on Wallpaper Without Damage
⚠️ Wallpaper is delicate.
Best options:
- Micro nails
- Leaning frame methods
Avoid nano tape or permanent adhesives.
Hanging a Picture Without Drilling
Hanging Pictures on Tile Without Drilling
Best options:
- Nano gel tape
- Double-sided strips
- Waterproof adhesive hooks
Tips to Prevent Frames From Falling
To ensure your picture stays secure:
- Make sure the wall surface is clean and dry
- Use enough adhesive for the frame’s weight
- Press firmly for several seconds
- Allow adhesive curing time if required
Comparison of No-Drill Picture Hanging Methods
Hanging a Picture Without Drilling
| Method | Weight Capacity | Works Best On | Wall Damage |
|---|---|---|---|
| Double-sided strips | Light–Medium | Painted walls, tile | None |
| Nano tape | Light | Smooth surfaces | Very low |
| Adhesive hooks | Medium–Heavy | Most walls | None |
| Liquid adhesive | Heavy | Concrete & cement | Possible |
| Micro nails | Light | Drywall | Very minimal |
Step-by-Step Guide: How to Hang a Picture on the Wall
Hanging a picture on the wall—whether with nails, screws, or no-drill methods—requires following a few simple but important steps. In this complete guide, you’ll learn the most accurate and practical step-by-step method for hanging pictures on all wall types, including drywall, concrete, painted walls, and wallpaper.
Step 1: Choose the Exact Placement
Proper placement is the foundation of a professional installation.
- Standard height for the picture’s center: 140–150 cm from the floor
- Above a sofa or table: leave 15–20 cm of space
- Use a paper template or lightly lean the frame against the wall to preview
- Mark the center point with a light pencil dot
Hanging a Picture Without Drilling

Step 2: Choose the Right Installation Method (Based on Weight & Wall Type)
Before drilling or hanging, decide which method is safest for your frame.
Light frames (up to 5 kg)
- Small nails
- Heavy-duty double-sided strips
- Nano gel tape
- Lightweight adhesive hooks
Medium frames (5–15 kg)
- Wall plugs (anchors) and screws
- Metal picture hooks
Heavy frames (over 15 kg)
- Locate a stud behind the wall
- Use heavy-duty anchors or expansion plugs
Delicate surfaces
- Wallpaper
- Soft drywall
→ Use no-drill methods or micro-pins to avoid damage.
Hanging a Picture Without Drilling
Step 3: Measure and Mark Accurately
- Measure the distance between the hanging points on the back of the frame.
- Transfer these measurements to the wall from the marked center point.
- Use a level to ensure the marks are perfectly aligned.
This step prevents crooked installation.
Step 4: Prepare the Wall Surface
Preparation improves strength and prevents adhesive failure.
- Clean the surface with alcohol or a dry cloth
- Remove any dust or grease
- If drilling, check for electrical cables or pipes
Hanging a Picture Without Drilling
Step 5: Install the Hook/Screw/Nail (Depending on Method)
A) Using wall plugs and screws
- Drill a hole using the correct bit size
- Insert the wall plug
- Screw in the hook or screw (leave a few millimeters exposed)
Ideal for concrete, cement, and medium-to-heavy frames.
B) Using nails or micro-pins
- Insert the nail at a slightly upward angle
- Use micro-pins for drywall to reduce damage
Best for lightweight frames.
Hanging a Picture Without Drilling
C) Hanging pictures without drilling
Recommended options:
- Heavy-duty command strips
- Nano gel tape
- Industrial adhesive hooks
Steps:
- Clean the wall
- Apply the adhesive according to product instructions
- Press firmly for 10–30 seconds
- Allow curing time (usually up to 1 hour)
Perfect for renters or walls you don’t want to damage.
Hanging a Picture Without Drilling
Step 6: Hang the Picture & Adjust
- Place the frame onto the hook or screw
- Check alignment with a level
- Adjust the hook or back wire if needed
- Ensure the frame sits securely
Step 7: Final Safety Check
To prevent falling:
- Gently push the frame to check stability
- Use a secondary safety holder for large frames
- Confirm the wire or hanging hardware behind the frame is secure
Hanging a Picture Without Drilling
Pro Tips for Better Results
Always use the correct type of wall plug for concrete walls
Use two mounting points for large frames
Slightly angle screws upward to prevent slipping
Avoid strong adhesives on wallpaper
Standard Picture Hanging Height :
Hanging a Picture Without Drilling
1. Standard Picture Hanging Height for Homes & Galleries
Designers and art galleries follow one golden rule:
The center of the picture should be 140–150 cm (55–59 inches) from the floor.
Why this height works:
- It aligns with the natural eye level
- The artwork is easily visible when standing
- It creates consistency and visual balance in any room
For most homes, 145 cm (57 inches) is the ideal center height.
2. Hanging Pictures Above a Sofa, Console, or Bed
When installing artwork above furniture, the vertical spacing becomes essential.
Recommended distance: 15–30 cm (6–12 inches) above the top of the furniture
This spacing ensures:
- The artwork doesn’t look awkwardly high
- It doesn’t sit too close to the furniture
- The composition remains visually unified and comfortable
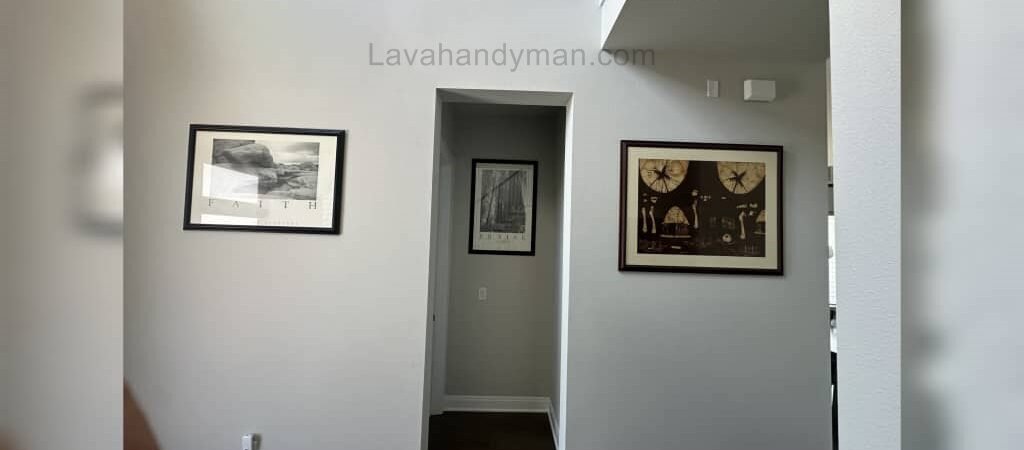
3. Ideal Picture Height in Hallways or Passage Areas
In hallways people are usually walking, so the picture should be slightly lower.
Recommended height: picture center at 130–140 cm (51–55 inches)
This keeps the piece at eye level while moving through the space.
4. Hanging Pictures Above a TV or Media Wall
Here, the artwork shouldn’t visually compete with the TV.
Best distance: 20–25 cm (8–10 inches) above the TV or console
If you’re installing multiple frames, treat them as one visual unit.
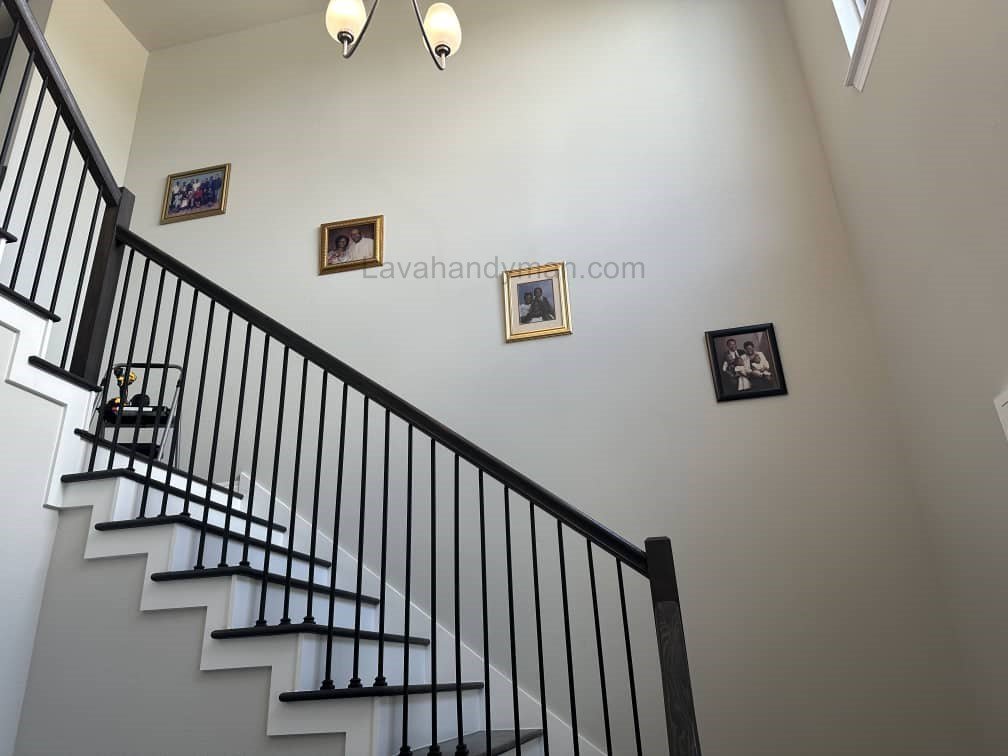
5. Correct Height for Multi-Frame Arrangements (Gallery Walls)
When hanging several pictures together:
The center of the entire arrangement should still be around 140–145 cm (55–57 inches).
Additional tips:
- Spacing between frames: 4–7 cm (1.5–3 inches)
- For vertical layouts: align around the central axis
- For horizontal layouts: keep a shared top or middle line
6. Picture Hanging Height for Kids’ Rooms
In children’s rooms, adjust the height based on the child’s eye level.
Recommended height: picture center at 100–120 cm (39–47 inches)
This makes the artwork visible and meaningful to the child.
7. Hanging Pictures in Living Rooms (Seated Eye Level)
In areas where people mostly sit—like living rooms—set the height slightly lower.
Center height: 130–140 cm (51–55 inches)
This aligns with the natural sightline when seated.
Quick Formula to Find the Exact Hanging Height
Use this simple method for accurate installation:
- Divide the total frame height by 2 → this gives the center point
- Subtract that number from 145 cm (standard center height)
- The result = the height at which you should install the hook or screw
Example:
Frame height: 60 cm
Half: 30 cm
145 − 30 = 115 cm
→ The hook should be installed at 115 cm from the floor.
Conclusion
Hanging a picture without drilling is not only possible but also easier and safer thanks to modern adhesive products like nano tape, double-sided strips, and adhesive hooks.
By choosing the right method based on the weight of your frame and the type of wall surface, you can mount your artwork securely while keeping your walls perfectly intact.
📞 Need Help?
Let us take care of the hard work while you sit back and relax.
📍 Serving: Austin, Round Rock, Cedar Park & more
📱 Call or Text: (737) 420-6992
🌐 Visit: https://lavahandyman.com
