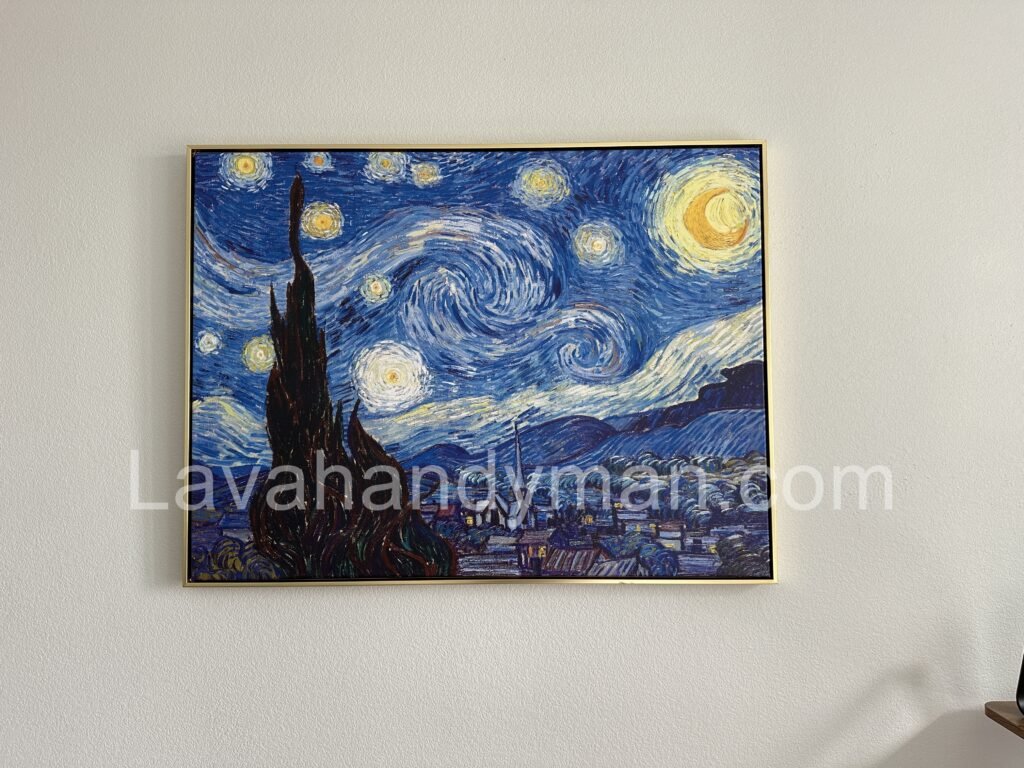
Complete Guide to Hanging a Painting on the Wall Properly
Hanging a painting on the wall is one of the best ways to enhance interior décor. By following the right techniques, you can elevate the aesthetic appeal of your home or office while avoiding damage to the walls. In this article, we will go through the essential steps for hanging wall art correctly.
1. Choosing the Best Spot for Hanging a Painting
Before anything else, it’s crucial to select the right location for hanging artwork. Keep these key points in mind:
- Standard Height: The best height for hanging a painting is at eye level (approximately 145–155 cm from the floor).
- Furniture Alignment: If placing the painting above a sofa or bed, position it 15–20 cm above the furniture.
- Proper Lighting: Avoid direct sunlight to prevent colors from fading over time.

💡 Pro Tip: For expert guidance and professional installation services, visit Lava handyman.com.
Complete Guide to Hanging a Painting on the Wall Properly
2. Choosing the Right Hanging Method
The best method for hanging a painting on the wall depends on its weight and type. Here are some common options:
✅ Nails and Hammer: Ideal for lightweight paintings.
✅ Screws and Wall Anchors: Best for heavier paintings to ensure stability.
✅ Strong Double-Sided Tape: Great for hanging a painting without drilling holes.
3. Step-by-Step Guide to Hanging a Painting
- Measure and Mark: Use a pencil to mark the exact spot before drilling or hammering.
- Use a Level: To ensure the painting is perfectly straight, always use a spirit level.
- Secure the Painting Properly: For heavier artwork, use two hooks or nails to evenly distribute the weight.
🔹 Expert Tip: If you need assistance with installation, Lava handyman.com offers professional hanging services.
Complete Guide to Hanging a Painting on the Wall Properly
4. Professional Layout Ideas for Multiple Paintings
If you plan to hang multiple pieces, consider these layouts for a stylish look:
🎨 Linear Arrangement: Best for hallways and narrow spaces.
🖼 Grid Layout: Aligning multiple frames of the same size in a square or rectangular pattern.
🖌 Asymmetrical Layout: Mixing frames of different sizes for a modern, artistic touch.

5. Additional Tips and Creative Tricks
✔ Use Adhesive Hooks for damage-free hanging.
✔ Enhance with Spotlights using wall-mounted or ceiling track lights.
✔ Match the Colors of the artwork with your décor for a cohesive look.
For safe and professional installation, consider hiring experts from Lava handyman.com.
1. Choosing the Right Spot:
First, decide where you want to hang the picture. The wall should be clean, dry, and smooth. A standard height for hanging is about 145 cm (57 inches) from the floor to the center of the artwork, but you can adjust it based on your furniture or the space.
2. Marking the Installation Point:
Use a pencil or painter’s tape to mark the exact spot for the nail or hook. If the picture is heavy, it’s better to use two points to distribute the weight evenly and keep the frame straight.
3. Selecting the Right Tools:
For lightweight frames, you can use nails or adhesive wall hooks. For heavier pieces, be sure to use wall plugs and screws. On plaster or brick walls, you’ll need a drill to make proper holes.
4. Hanging and Leveling the Picture:
After inserting the nail or screw, hang the picture and use a level (or a leveling app) to ensure it’s perfectly straight. If needed, adjust it slightly for the best result.
At LavaHandyman.com, we don’t just help you understand TV tech — we also offer expert TV installation services, making sure your home entertainment setup looks and performs at its best.
📞 Need Help?
Let us take care of the hard work while you sit back and relax.
📍 Serving: Austin, Round Rock, Cedar Park & more
📱 Call or Text: (737) 420-6992
🌐 Visit: https://lavahandyman.com