
Best Way to Install Eyelet Curtains in the Living Room: Key Tips
Introduction
The living room is the heart of every home; it is not only a place for everyday use but also the main space for welcoming guests. In designing and decorating this area, curtains play a vital role. Curtains are not just functional in controlling light and maintaining privacy, they also add character and style to the overall décor.
Among the many curtain styles available, eyelet curtains (also known as grommet curtains) have become increasingly popular thanks to their modern look, easy installation, and compatibility with different interior styles. This article provides a comprehensive and practical guide to installing eyelet curtains in the living room — covering fabric and color choices, installation steps, common mistakes, care tips, and even creative design ideas.
What Are Eyelet Curtains?
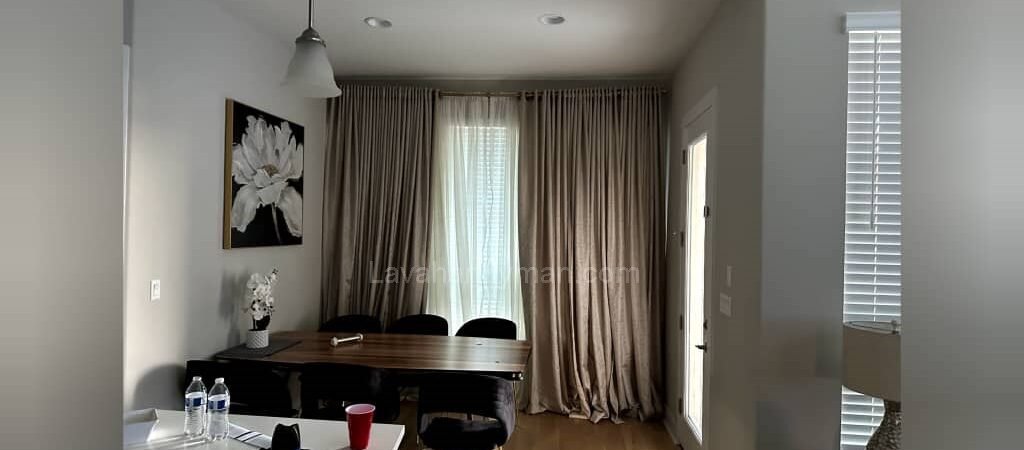
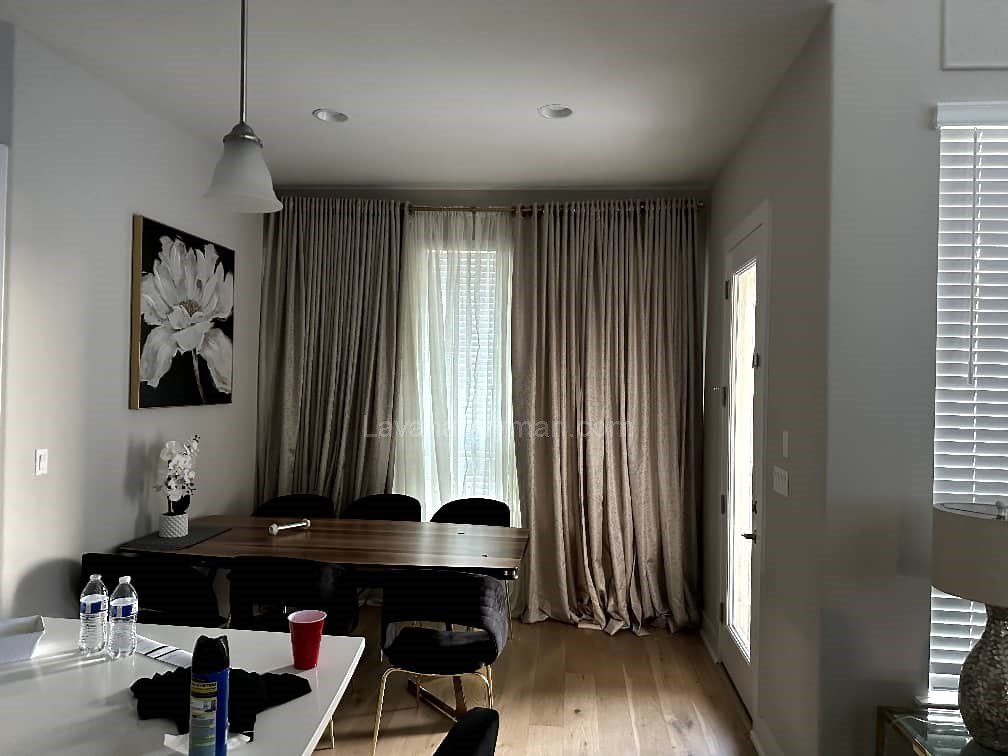
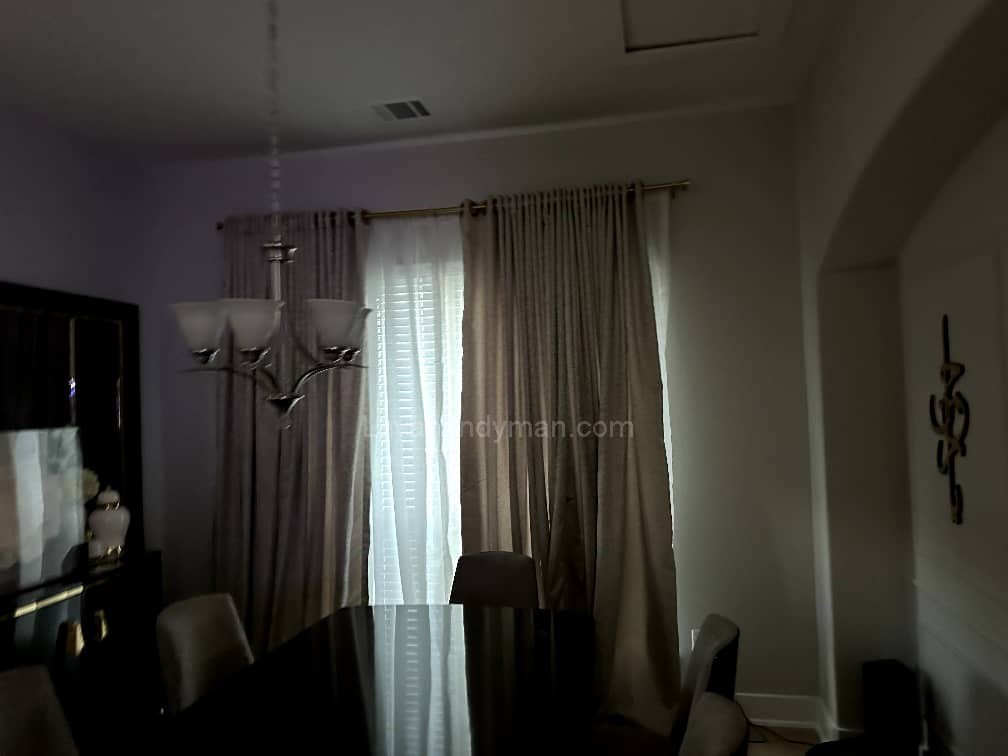
Eyelet curtains feature evenly spaced metal or plastic rings (grommets) at the top. These rings slide directly onto a curtain rod, creating smooth, uniform folds when hung.
Key Features of Eyelet Curtains
Best Way to Install Eyelet Curtains in the Living Room
- Modern and minimalist design
- Quick and hassle-free installation
- Available in a wide variety of fabrics (sheer, velvet, cotton, etc.)
- Easy to clean and maintain
- Suitable for both classic and contemporary interiors
Why Are Eyelet Curtains Ideal for the Living Room?
- Modern elegance: Simple yet stylish appearance.
- Effortless installation: No need for additional accessories like valances or hooks.
- Versatility: Blends well with different types of furniture and rugs.
- Light control: Depending on the fabric, they can filter soft daylight or block it completely.
- Cost-effective: Usually more affordable than heavy, elaborate curtain styles.
Steps to Install Eyelet Curtains in the Living Room
1. Choosing the Right Placement
- Position the curtain rod about 15–20 cm (6–8 inches) above the window frame.
- The rod should extend at least 30 cm (12 inches) wider than the window.
- For floor-to-ceiling windows, the curtain should extend all the way down to just above the floor.
2. Preparing the Tools
- Measuring tape
- Pencil or marker for markings
- Drill and suitable drill bits
- Wall plugs and screws
- Brackets for the curtain rod
- A sturdy curtain rod (metal or wood)
- Ready-made eyelet curtains
Best Way to Install Eyelet Curtains in the Living Room
3. Marking and Installing the Brackets
- Measure and mark the spots for the brackets.
- Drill holes and insert wall plugs.
- Secure the brackets firmly with screws.
4. Hanging the Curtains
- Slide the curtain’s eyelets onto the rod.
- Place the rod onto the brackets.
- Adjust the curtains so they hang evenly and symmetrically.
Choosing the Right Fabric for Eyelet Curtains
- Sheer and voile: Perfect for bright, modern spaces.
- Velvet: Ideal for large and luxurious living rooms.
- Cotton or linen: Great for simple and natural styles.
- Jacquard or brocade: Suitable for classic interiors.
Best Way to Install Eyelet Curtains in the Living Room
Selecting the Right Color
- Light shades (white, beige, cream): Make the space appear larger.
- Dark shades (navy, burgundy, brown): Add a sense of luxury and coziness.
- Patterned curtains: Work well in minimalist or plain settings.
- Solid colors: Best for already busy or colorful interiors.
Common Mistakes to Avoid
- Mounting the rod too low, which makes walls look shorter.
- Curtains that are too short compared to the window size.
- Choosing overly sheer fabrics for very sunny rooms.
- Poor color coordination with furniture and rugs.
- Installing brackets without proper leveling.
Care and Maintenance of Eyelet Curtains
- Sheer and voile fabrics can usually be machine washed.
- Velvet and jacquard fabrics are better cleaned through dry-cleaning.
- Wash every 3–4 months to avoid dust build-up.
- Use protective covers or wash bags to prevent damage to grommets during cleaning.
Creative Décor Ideas with Eyelet Curtains
- Combine two contrasting colors for a bold look.
- Use double-layered curtains (sheer + blackout fabric).
- Choose decorative rods with stylish finials.
- Match curtain colors with cushions or rugs.
- Opt for extra-long curtains to create an illusion of higher ceilings.
Step-by-Step Guide to Installing Eyelet Curtains in the Living Room
Tools and Materials You’ll Need
- Measuring tape and pencil for marking
- Spirit level or laser level
- Drill, drill bits, wall plugs, and screws
- Curtain rod and brackets (metal or wood)
- Ready-made eyelet curtains
- Screwdriver, hammer, and ladder
Steps for Installing Eyelet Curtains
1. Choose the Installation Spot
- Mount the curtain rod 15–20 cm (6–8 inches) above the window frame.
- The rod should be at least 30 cm (12 inches) wider than the window frame.
- For floor-to-ceiling windows, make sure the curtain reaches close to the floor.
2. Mark and Prepare
- Use a tape measure and level to mark the exact bracket positions.
- For longer rods (over 2 meters), add a center support bracket.
3. Drill and Install Brackets
- Drill holes at the marked points and insert wall plugs.
- Secure the brackets with screws and check alignment with the level.
4. Thread the Curtains onto the Rod
- Lay the curtain flat on the floor and slide the rod through the eyelets.
- Attach decorative finials to the rod ends.
5. Mount the Rod onto the Brackets
- Place the rod with the curtain onto the brackets.
- If there’s a center bracket, make sure it’s locked in place.
6. Adjust the Pleats and Curtain Length
- Arrange the folds evenly with your hands.
- Ensure the curtain hangs straight and symmetrical.
- If it’s too long, hem or gather the extra fabric.
Pro Tips for a Better Finish
- For heavy fabrics (like velvet), use sturdy brackets and a strong rod.
- Avoid short curtains — full-length curtains make the room look taller and more elegant.
- Match curtain colors with furniture and rugs for cohesive décor.
- Clean or steam the curtains every 3–4 months to maintain shape and freshness.
Types of Curtains and Suitable Brackets for Installation
Choosing the right curtain and bracket is key to a professional installation and a beautiful living room décor. Below is a clear and practical guide to different types of curtains and brackets.
1. Types of Curtains
A) By Style and Design
- Simple Curtains (Single/Double Layer): Minimalist, one or two layers.
- Valance Curtains: With extra fabric at the top for decorative effect.
- Roman Curtains: Horizontally folded, modern and stylish.
- Roller/Sheer Curtains: Roll up and down easily, great for light control and privacy.
- Zebra Curtains: Alternating opaque and sheer stripes for adjustable light.
- Venetian/Vertical Blinds: Aluminum, wood, or PVC, adjustable.
- Eyelet/Grommet Curtains: Metal rings at the top, easy to hang with neat pleats.
- Pleated Curtains: Folded fabric, classic and compact look.
- Louvre/Drapery Curtains: Usually vertical, commonly used in offices.
- Sheer Curtains: Thin and semi-transparent, soft light, elegant look.
B) By Fabric Material
- Sheer and voile: Light, transparent, lets soft light in.
- Velvet: Heavy, luxurious, suitable for large living rooms.
- Cotton and Linen: Natural, simple, great for minimalist or modern styles.
- Jacquard and Satin: Patterned, classic and stylish décor.
- Polyester: Durable, cost-effective, easy to clean.
2. Types of Curtain Brackets
Brackets hold the curtain rod and should be chosen based on curtain type and weight.
1. Standard Bracket
- Suitable for light to medium-weight curtains.
- Quick and easy wall installation.
2. Extended/Projection Bracket
- Positions the rod away from the wall.
- Ideal for valance curtains or windows with radiators/handles in front.
3. Center Support Bracket
- Prevents sagging in long rods or heavy curtains.
- Installed in the middle of the rod or at specified intervals.
4. Ceiling Mount Bracket
- The rod is mounted on the ceiling.
- Suitable for floor-to-ceiling windows or spaces where wall mounting isn’t possible.
5. Adjustable Bracket
- Rod distance from the wall can be changed.
- Ideal for thick curtains or when height adjustment is needed.
Key Tips for Choosing Brackets
Installation Location: Wall, ceiling, or limited spaces — choose the appropriate bracket.
Curtain Weight: The bracket must support the fabric’s weight.
Rod Length: For long rods, a center support bracket is essential.
Curtain Type:
Eyelet or Roman → Standard or ceiling bracket
Valance or heavy curtains → Extended or adjustable bracket
Final Tips for Installing Eyelet Curtains
Installing eyelet curtains may seem simple, but to achieve a neat and professional look, it’s important to follow these key tips:
1. Level the Brackets
- Ensure all brackets are completely horizontal so the curtain pleats hang evenly.
- Use a spirit level or laser level before drilling.
2. Choose the Right Rod and Brackets
- Heavy curtains like velvet or double-layered fabrics require sturdy rods and strong brackets.
- For long rods, always install a center support bracket to prevent sagging.
3. Height and Distance from the Wall
- Mount the rod about 15–20 cm (6–8 inches) above the window frame to make the window appear taller and the room more spacious.
4. Adjust Pleats and Curtain Length
- Arrange pleats evenly by hand.
- Choose curtain length according to décor:
- Short: just to the window frame, for small windows
- Floor-length: standard for living rooms
- Puddle: slightly on the floor for a luxurious, formal look
5. Color Coordination
- Match curtain color with furniture, rugs, and walls.
- Light curtains → make the space look bigger and brighter
- Dark curtains → create a luxurious, formal feel
6. Maintenance and Cleaning
- Dust or steam curtains every few months to keep pleats neat.
- Light fabrics can be machine washed; heavy fabrics are better dry-cleaned.
- Check rods and brackets periodically to ensure the curtains remain straight and secure.
7. Safety During Installation
- Wear gloves and safety glasses when drilling.
- Check that there are no wires or pipes inside the wall before drilling.
💡 Summary:
By following these tips, your eyelet curtains will hang evenly and neatly, your living room will look organized and stylish, and the rod and curtain will last longer. Even without professional experience, you can achieve a beautiful and professional installation.
Conclusion
Eyelet curtains are a perfect choice for living rooms thanks to their simplicity, ease of installation, and variety of designs. With the right fabric and color, they can enhance the atmosphere of your living space and complement your existing décor beautifully. By following the steps outlined in this guide, you can easily install them yourself and give your living room a modern, stylish upgrade without hiring a professional.
📞 Need Help?
Let us take care of the hard work while you sit back and relax.
📍 Serving: Austin, Round Rock, Cedar Park & more
📱 Call or Text: (737) 420-6992
🌐 Visit: https://lavahandyman.com
