A Comprehensive Guide to Drawer Assembly | Guide
Introduction
The drawer is one of the most practical and frequently used pieces of furniture in home and office interior design. Many drawers are sold as flat-pack products that require assembly. This approach helps reduce transportation costs and storage space but requires proper and accurate assembly by the user.
This article provides a complete, step-by-step guide to drawer assembly, including necessary tools, safety tips, technical notes, and maintenance advice.
Chapter 1: Understanding Drawers and Their Components
What is a Drawer?
A drawer is a furniture unit with several compartments (drawers) used to store clothes, documents, personal items, and more. It is designed to make efficient use of available space.
Main Components of a Drawer
- Main Body: Side panels, bottom, top, and back panel
- Drawers: Drawer body, bottom, front panel, and handles
- Drawer Rails: For smooth sliding in and out
- Screws and Connectors: To hold parts together
- Legs or Wheels: To support the base
A Comprehensive Guide to Drawer Assembly | Guide
Chapter 2: Types of Drawers by Design and Use
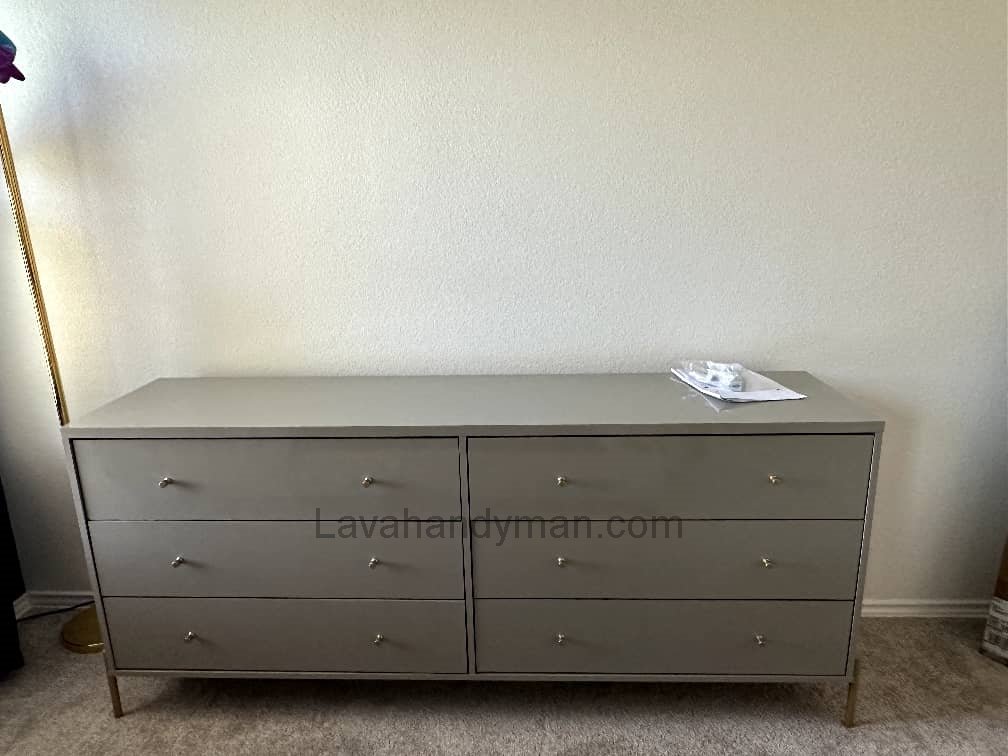
1. Home Drawers
- Simple or classic design
- Suitable for bedrooms and kids’ rooms
- Multiple drawers for organizing clothes or personal items
2. Office Drawers
- Industrial design with deeper compartments
- Designed for document storage
- Often equipped with locks
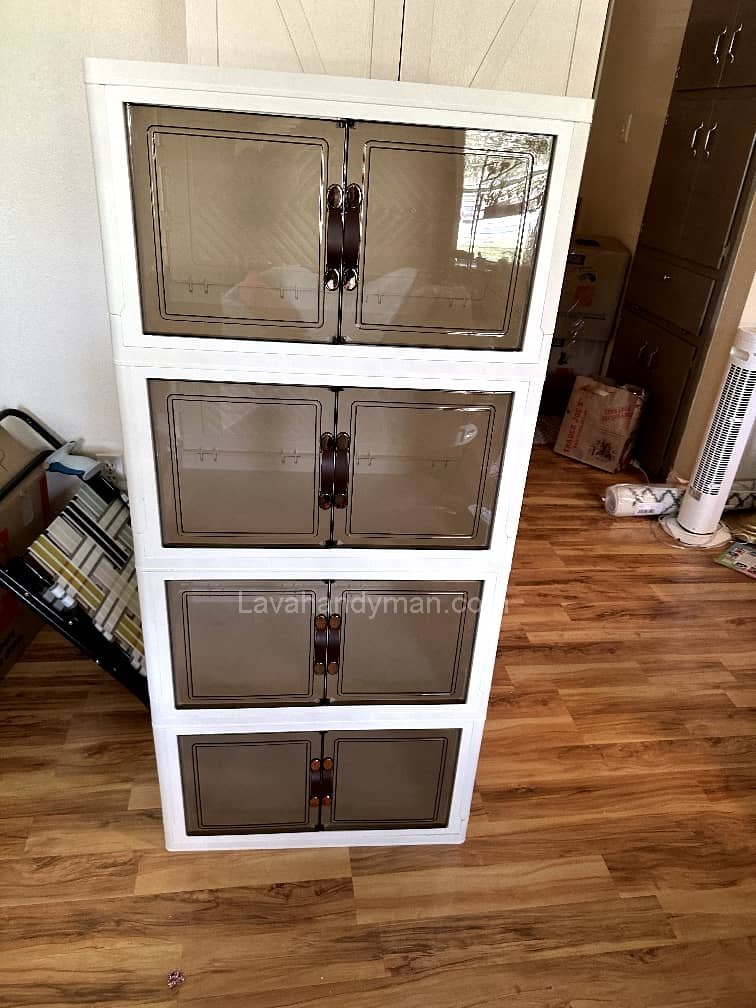
3. Multi-Purpose Drawers
- A combination of drawers and cabinets
- Used in kitchens or small spaces
4. Modular Drawers
- Detachable and configurable units
- Ideal for minimal or modern layouts
A Comprehensive Guide to Drawer Assembly | Guide
Chapter 3: Tools Required for Assembly
To assemble a drawer correctly and efficiently, the following tools are recommended:
- Flathead and Phillips screwdrivers
- Electric screwdriver or driver (optional but useful)
- Rubber or wooden mallet
- Spirit level for balance
- Allen wrench (usually included)
- Measuring tape or ruler
- Wood glue (if needed)
Chapter 4: Step-by-Step Drawer Assembly
Step 1: Prepare the Workspace
- Choose a clean, flat, well-lit space
- Unbox and organize all components
- Read the instruction manual carefully
Step 2: Assemble the Main Body
- Attach side panels to the bottom and top boards
- Secure the back panel using nails or brackets
- Check alignment with a spirit level
Step 3: Assemble the Drawers
- Connect the drawer’s side panels to the front and back
- Insert the drawer base into the designated slot
- Attach the front panel and install the handle(s)
Step 4: Install the Drawer Rails
- Mount the rails to the inner sides of the main frame
- Attach the moving rail parts to each drawer
- Slide drawers into place and test for smooth movement
Step 5: Attach Legs or Wheels (If Applicable)
- Screw the legs or wheels into the bottom
- Ensure they are secure and evenly balanced
A Comprehensive Guide to Drawer Assembly | Guide
Chapter 5: Safety and Technical Tips During Assembly
- Follow the instructions carefully: Each model may vary
- Work patiently and carefully: Rushing can lead to damage
- Use the correct tools: Improper tools can damage screws or MDF panels
- Avoid excessive force: MDF parts are prone to cracking under pressure
Chapter 6: Common Assembly Mistakes
| Error | Possible Cause | Solution |
|---|---|---|
| Drawer sticks or jams | Misaligned rails or frame | Realign and check with level |
| Drawer wobbles | Loose screws or unstable legs | Re-tighten all screws |
| Extra parts remain | Skipped a step in assembly | Recheck the manual step-by-step |
| Damaged edges | Dragging or tool mishandling | Use a soft surface under components |
A Comprehensive Guide to Drawer Assembly | Guide
Chapter 7: Post-Assembly Care and Maintenance
- Regular Cleaning: Use a dry or slightly damp cloth
- Avoid Moisture: Prevent warping or swelling
- Lubricate Rails: If drawers become stiff
- Avoid Overloading: Do not exceed drawer capacity
- Minimal Movement: Repeated relocation can damage joints
Chapter 8: DIY or Professional Assembly?
Although drawer assembly is generally simple and manageable with basic tools, some cases — such as large, heavy, or complex units — may benefit from professional assistance.
Advantages of Professional Assembly
- Time-saving
- Reduced risk of damage
- Guaranteed correct installation
A Comprehensive Guide to Drawer Assembly | Guide
Step-by-Step Guide to Assembling a Drawer
Assembling a drawer can be simple and enjoyable—if done carefully and patiently. Below is a clear, practical, and professional guide to help you complete the assembly successfully.
1. Prepare Your Workspace
Goal: Create a clean and safe environment for assembly
- Choose a flat, clean, and well-lit surface (preferably over a carpet or soft mat).
- Unpack all components and organize them neatly.
- Keep the necessary tools within reach:
- Flathead and Phillips screwdrivers
- Allen key (usually included in the box)
- Rubber mallet
- Spirit level
- Measuring tape or ruler
- Read the instruction manual thoroughly before starting.
A Comprehensive Guide to Drawer Assembly | Guide
2. Assemble the Main Frame
Goal: Build the outer structure of the drawer unit
- Connect the side panels to the bottom and top boards using the provided screws or fittings.
- Attach the back panel (usually a thin MDF board) using nails or pins.
- Use a spirit level to ensure the frame is straight and properly aligned.
3. Install the Drawer Rails
Goal: Set up a smooth sliding mechanism for the drawers
- Drawer rails typically have two parts:
- Fixed section: mounts inside the drawer frame
- Sliding section: attaches to the drawer sides
- Install both parts according to the manual, making sure they are aligned evenly on both sides.
A Comprehensive Guide to Drawer Assembly | Guide
4. Assemble the Drawers
Goal: Build each drawer box
- Connect the side, back, and front panels of the drawer.
- Slide the bottom panel into the designated groove and secure it.
- Attach the handle to the front panel using screws.
- Ensure the drawer is sturdy, aligned, and square.
5. Insert the Drawers
Goal: Place the drawers into the main unit
- Gently slide each drawer into the mounted rails inside the frame.
- If the rails include locking tabs, press them as instructed to lock the drawer in place.
- Test the drawer: it should slide in and out smoothly and without wobble.
A Comprehensive Guide to Drawer Assembly | Guide
6. Attach Legs or Wheels (If Applicable)
Goal: Finalize the base or mobility of the drawer unit
- If the drawer has legs, screw them into the bottom of the unit.
- For wheeled models, follow the manual to install the casters securely.
- After installation, check that the unit is level and stable.
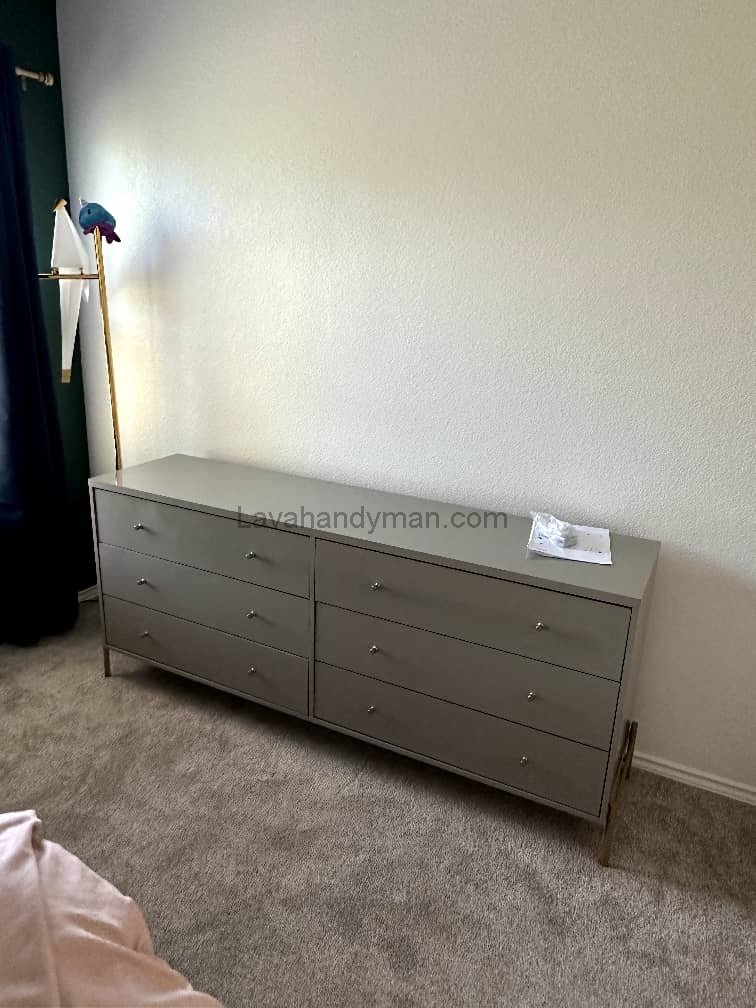
7. Final Check and Cleaning
Goal: Ensure quality and readiness for use
- Recheck all screws and fittings and tighten if necessary.
- Verify the unit is balanced and drawers function correctly.
- Clean the surface with a soft cloth and place the drawer in its intended location.
A Comprehensive Guide to Drawer Assembly | Guide
Additional Tips
Avoid over-tightening screws, especially in MDF panels, to preven
Take your time — careful assembly leads to a stronger, longer-lasting piece.
If any parts are left over, recheck the manual to ensure nothing was skipped.
If a drawer is hard to move or misaligned, inspect the rails and adjust accordingly.
A Comprehensive Guide to Drawer Assembly | Guide
🛠 Tools Needed for Drawer Assembly
1. Screwdriver (Flathead and Phillips)
- The most common tool for assembly
- Used for tightening and loosening various screws
- A magnetic screwdriver is recommended to prevent dropping screws
2. Electric Screwdriver or Cordless Driver (Optional but useful)
- Speeds up the assembly process
- Reduces hand fatigue during long tasks
- Be careful not to overtighten, especially with MDF parts
3. Allen Key (Hex Key)
- Often included in the packaging
- Used for tightening special bolts or hex screws
4. Rubber Mallet
- Helps to gently tap parts into place without damage
- Especially useful for attaching the thin MDF back panel
5. Spirit Level
- Ensures the frame and drawers are perfectly level
- Prevents leaning, imbalance, or misalignment of drawers
A Comprehensive Guide to Drawer Assembly | Guide
6. Measuring Tape or Ruler
- For precise alignment of rails, handles, or legs
- Helps avoid installation errors
7. Wood Glue (for certain models)
- Adds extra strength to wooden joints
- Only use if recommended in the instruction manual
8. Nail Puller or Small Pliers
- Useful for adjusting or removing nails
- Commonly used during back panel installation
A Comprehensive Guide to Drawer Assembly | Guide
✅ Additional Tips
Always use the correct tool for each type of screw or joint to avoid damaging the MDF or components.
Keep all tools within reach before starting the assembly.
Manual assembly is completely possible if you don’t have electric tools—just work patiently.
🔍 Comparison: Manual Assembly vs. Power Tool Assembly for Drawer Installation
| Feature | Manual Assembly (Basic Tools) | Assembly with Power Tools (Driver, Electric Screwdriver) |
|---|---|---|
| Speed | Relatively slow; takes more time | Much faster; ideal for assembling multiple units |
| Screw Tightening Accuracy | More precise (if done carefully) | May overtighten screws (requires some skill) |
| Hand Fatigue | High during long sessions | Low; great for repetitive screwdriving |
| Skill Level Required | Low; suitable for beginners | Moderate; requires basic familiarity with power tools |
| Risk of Damaging MDF | Lower; manual force is more controlled | Higher; risk of cracking if torque is not properly set |
| Tool Cost | Low; uses affordable, simple tools | Higher; requires buying electric tools |
| Tool Availability | Common in most households | May need to be purchased separately |
| Precision for Fine Work | Better; especially useful in delicate steps | Moderate; best for simple, repetitive tasks |
| Best for Whom? | Home users, beginners, occasional assembly | Professionals or frequent DIYers needing efficiency |
✅ Conclusion:
But if you’re assembling multiple pieces or want to save time, power tools offer greater speed and convenience—as long as they are used carefully.
If you’re assembling a single drawer and not in a hurry, manual tools are more than sufficient.
Conclusion
Drawer assembly can be a rewarding and useful experience. With proper preparation, the right tools, and careful execution, you can successfully assemble your drawer at home without specialized help.
Understanding the components, following the instructions, and adhering to safety measures are the keys to a successful assembly process.
Before you start, always review the manual, verify all parts are present, and ensure you have enough space and time. If at any point you feel overwhelmed, don’t hesitate to consult a professional to prevent costly mistakes.
📞 Need Help?
Let us take care of the hard work while you sit back and relax.
📍 Serving: Austin, Round Rock, Cedar Park & more
📱 Call or Text: (737) 420-6992
🌐 Visit: https://lavahandyman.com