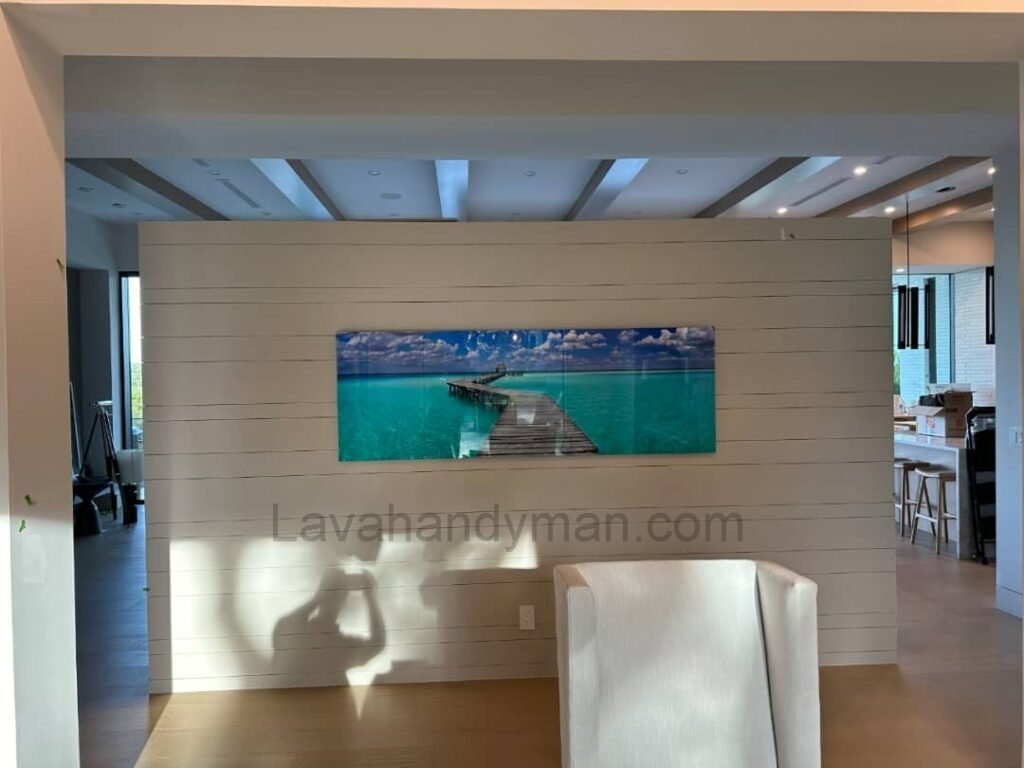
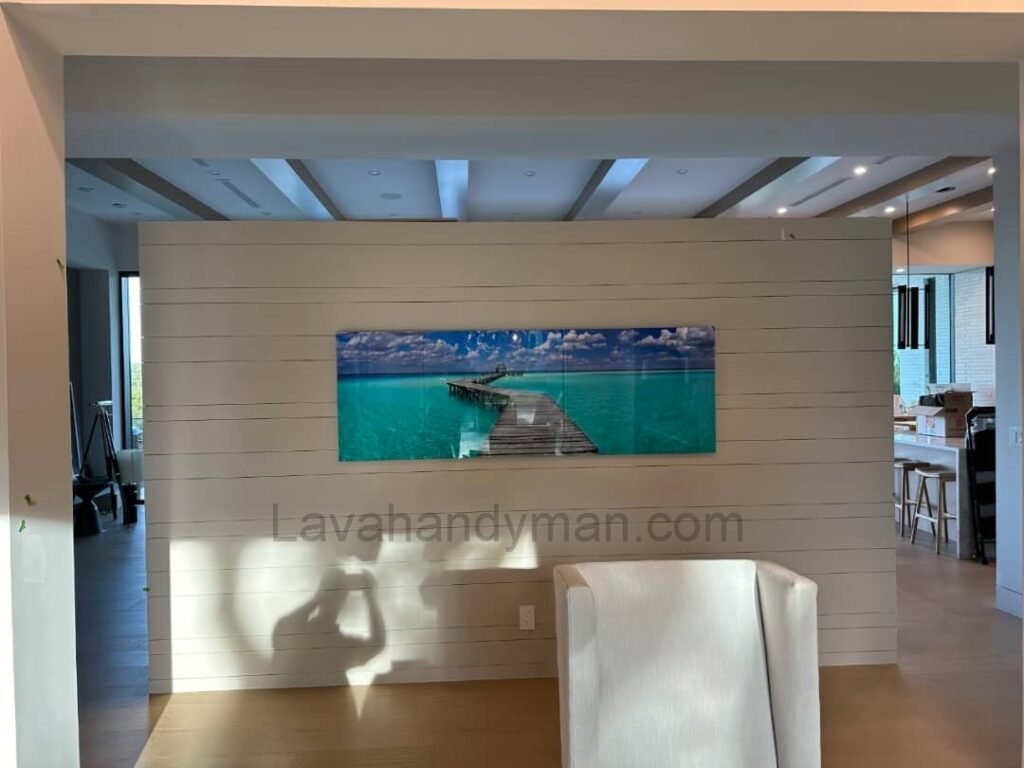
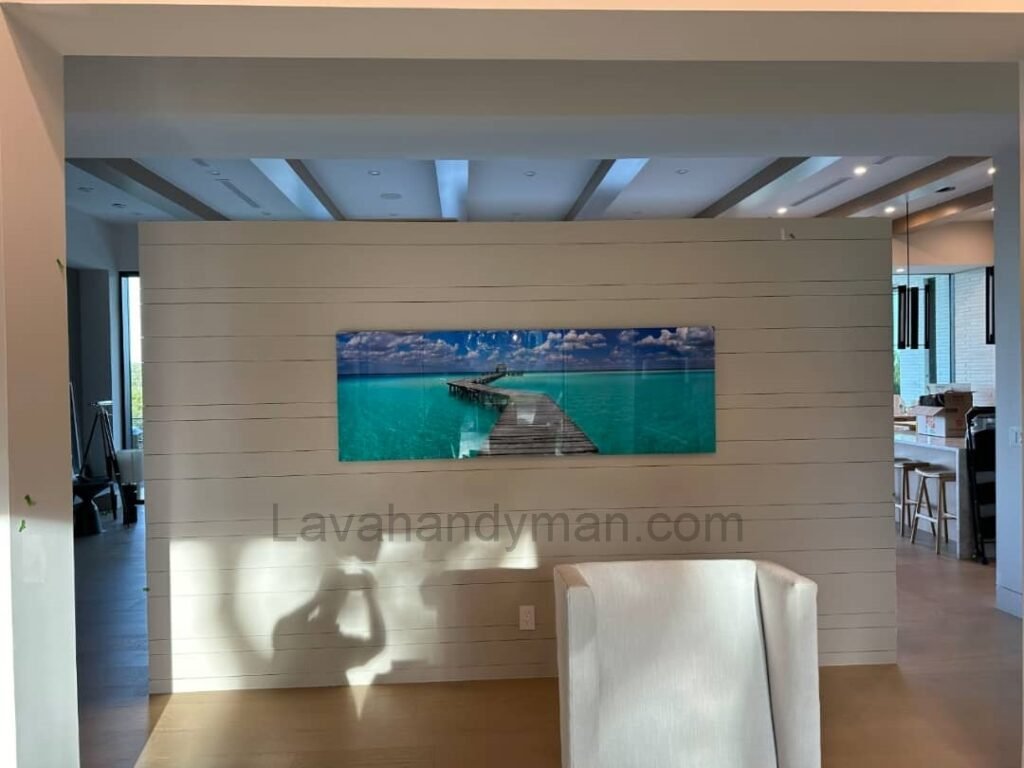
A Complete Guide to Hanging a Painting on a Brick Wall
Mounting artwork on a brick wall can be challenging, but with the right approach and tools, it becomes a simple and rewarding task. This article provides a step-by-step guide for securely and beautifully hanging your painting on a brick surface.
1. Initial Preparation
Inspecting the Brick Wall
Before installation, check the wall for structural soundness. Look for cracks, loose bricks, or weak points. Light tapping with a tool or your knuckles can help detect hollow or unstable areas.
Choosing the Right Location
The center of the artwork should ideally be at eye level—typically between 145 and 155 cm (57–61 inches) from the floor. Avoid placing paintings near heat sources or moisture-prone areas like radiators or bathrooms.

2. Tools and Equipment You’ll Need
To hang a painting on a brick wall, prepare the following tools:
- Hammer drill with a masonry bit
- Wall plugs (anchors) and screws for hard surfaces
- Spirit level or laser level
- Pencil or marker for marking holes
- Hammer and screwdriver (manual or electric)
Tip: For heavier artworks, use metal or toggle anchors designed for brick or concrete for greater weight support.
3. Step-by-Step Installation Process
Step 1: Marking the Position
Use a level to determine the proper alignment and mark the drilling points on the wall with a pencil.
Step 2: Drilling the Holes
Drill into the marked points using a masonry drill bit. Make sure the hole is slightly deeper than the wall plug to ensure a tight fit.
Step 3: Inserting Wall Plugs and Screws
Insert wall plugs into the drilled holes and tap them gently with a hammer. Then screw in the screws, leaving a few millimeters protruding for the painting to hang on.
Step 4: Hanging the Painting
Carefully hang the painting on the screws or hooks. Use a level again to ensure it’s straight.
4. Key Tips for Safety and Longevity
- Heavy Paintings: Use two or more anchor points for better weight distribution.
- Clean the Surface: Remove dust or debris from the wall before drilling to ensure proper grip.
- Routine Check: Inspect the painting occasionally to make sure the screws haven’t loosened.
- Special Hooks: Consider using specially designed brick hooks for easier installation and minimal damage.
🎯 Preparation and Choosing the Right Spot for Hanging a Painting on a Brick Wall
Hanging a painting on a brick wall isn’t just a technical task — it’s a key element of smart interior design. Choosing the right location ensures visual appeal, structural safety, and long-term durability. Below are the essential steps to properly prepare and select the ideal position before installation.
✅ 1. Identify the Type of Brick Wall
Before starting, determine what kind of brick wall you’re working with:
- Solid Brick Wall: Ideal for supporting heavy artwork.
- Hollow Brick or Clay Block Wall: Requires special anchors like butterfly toggles or industrial-strength adhesive.
🔍 How to tell the difference?
Tap the wall gently with your knuckles or a tool handle. A hollow sound indicates a lightweight or perforated wall; a dense thud suggests a solid wall.
✅ 2. Clean the Wall Surface
Ensure the surface is clean, dry, and free of dust or grease. This helps tools and hardware grip better.
- Use a damp cloth or a soft brush to remove dirt.
- Let the surface dry completely before drilling or applying adhesive.
✅ 3. Determine the Proper Hanging Height
Proper height creates visual harmony in the room:
- Standard height: The center of the painting should be about 145 to 155 cm (57 to 61 inches) from the floor.
- Above furniture: Leave 20 to 30 cm (8 to 12 inches) between the bottom of the frame and the top of the furniture.
📌 Pro tip: Avoid placing paintings too high or too low — this disrupts visual balance.
✅ 4. Consider Lighting Conditions
Good lighting dramatically enhances the impact of your artwork:
- Avoid direct sunlight, which can fade colors over time.
- If using artificial lighting (like spotlights or wall-mounted lamps), ensure it does not create harsh reflections on glass surfaces.
✅ 5. Avoid Moisture and Heat Sources
Never hang artwork near heaters, radiators, or in humid environments like bathrooms:
- Moisture can damage the frame and the painting.
- Screws and hardware may rust or loosen over time.

✅ 6. Test Placement with a Template
Before drilling into brick, test your layout visually:
- Use a paper template the same size as your painting.
- Tape it to the wall using painter’s tape and step back to review placement.
- Adjust until you find the most balanced and pleasing position.
✅ 7. Match the Painting with the Room Layout
If you’re hanging multiple pieces:
Always use a spirit level or laser level to maintain alignment.
Use gallery wall layouts such as grid, linear, or salon-style arrangements.
Keep 5 to 10 cm (2 to 4 inches) of spacing between frames.
🔩 Complete Guide to Choosing the Right Screws and Wall Anchors for Hanging a Painting on a Brick Wall
✅ 1. Why Are Wall Anchors Important?
Wall anchors (also called plugs or expansion anchors) are small cylindrical inserts that go into the drilled hole in the wall. They expand as the screw is driven in, distributing the weight of the item across a wider area and preventing the screw from loosening or pulling out.
✅ 2. Types of Wall Anchors for Brick Walls
🔹 Standard Plastic Anchors
- Ideal for solid brick walls
- Affordable and easy to use for lightweight to medium-weight paintings
- Common sizes: 6mm, 8mm, and 10mm diameter
🔹 Toggle Anchors (for Hollow Walls)
- Designed for hollow or perforated brick walls (like clay blocks)
- Expand behind the wall using metal or plastic wings for strong grip
- Suitable for moderately heavy paintings
🔹 Metal Sleeve Anchors
- Provide maximum strength for brick or concrete surfaces
- Perfect for large frames, mirrors, or high-value artwork
- Require more precision during installation but offer superior hold
✅ 3. Choosing the Right Size
Matching the anchor and screw size to the weight of your painting is critical. Use the chart below as a quick reference:
| Painting Weight | Anchor Diameter | Anchor Length | Recommended Type |
|---|---|---|---|
| Up to 3 kg (6.6 lbs) | 6 mm | 30–40 mm | Standard plastic anchor |
| 3–8 kg (6.6–17.6 lbs) | 8 mm | 40–60 mm | Heavy-duty plastic anchor |
| 8–15 kg (17.6–33 lbs) | 10 mm | 60–80 mm | Toggle or metal anchor |
| Over 15 kg (33+ lbs) | 10–12 mm | 80 mm or longer | Industrial metal anchor |
🪛 Tip: The screw should be about 10 mm longer than the anchor to ensure a firm grip.
✅ 4. Key Tips for Safe Installation
- Always match the anchor type with the wall material and artwork weight.
- Use galvanized or stainless steel screws in humid or outdoor environments.
- Drill with a hammer drill and use masonry bits for clean, accurate holes.
- For artworks with two hanging points, use two equal anchors and screws to distribute weight evenly.
🧰 Essential Tools and Equipment for Installing a Painting on a Brick Wall
Installing artwork on a brick wall is simple and secure when you use the right tools. The following is a complete and practical list of the essential tools you’ll need for a safe and precise installation:
🔧 1. Wall Anchors (Plugs)
- Purpose: Hold screws firmly in the drilled holes
- Types: Plastic, metal, or toggle anchors
- Tip: Choose the diameter based on the weight of the painting (e.g., 6mm, 8mm, or 10mm)
🔩 2. Screws
- Purpose: Connect the painting to the wall via the wall anchor
- Features: Durable, rust-resistant, at least 10 mm longer than the anchor
- Tip: Flat-head screws are preferred for stronger grip and flush finish
🛠 3. Hammer Drill
- Purpose: Drilling holes into brick walls
- Tip: Use with the appropriate masonry bit for brick or concrete
- Advantage: The hammer action allows efficient and clean penetration into tough materials
🌀 4. Masonry Drill Bit
- Purpose: Create precise holes in brick or mortar
- Type: Diamond-tipped or SDS masonry bits
- Recommended Sizes: Match with the plug — usually 6mm, 8mm, or 10mm
🔨 5. Lightweight Hammer
- Purpose: Tap wall plugs firmly into drilled holes
- Tip: Use gentle taps to avoid damaging the brick
🔧 6. Screwdriver or Cordless Drill
- Purpose: Drive screws into wall plugs
- Recommendation: Use a cordless drill with a screwdriver bit for faster installation
📏 7. Spirit Level or Laser Level
- Purpose: Ensure the painting is installed straight
- Tip: Especially important for frames with two hanging points or for gallery-style layouts
✏️ 8. Pencil or Marker
- Purpose: Mark precise drill points on the wall
- Tip: Use light markings to avoid leaving permanent marks
📐 9. Measuring Tape or Metal Ruler
- Purpose: Measure distances and center points
- Tip: Helps position the painting symmetrically on the wall
🧤 10. Optional but Recommended Safety Gear
| Safety Item | Purpose |
|---|---|
| 🧤 Work gloves | Protect hands while using tools |
| 😷 Dust mask | Prevent inhalation of brick dust |
| 🕶 Safety goggles | Shield eyes from flying debris |
Conclusion
Hanging a painting on a brick wall is entirely doable with proper preparation and the right tools. By following these steps, you’ll enhance your space’s aesthetics while ensuring safety and durability.
At LavaHandyman.com, we don’t just help you understand TV tech — we also offer expert TV installation services, making sure your home entertainment setup looks and performs at its best.
📞 Need Help?
Let us take care of the hard work while you sit back and relax.
📍 Serving: Austin, Round Rock, Cedar Park & more
📱 Call or Text: (737) 420-6992
🌐 Visit: https://lavahandyman.com


