
“Simple and Practical Steps for Proper Bed Assembly at Home”
Introduction
The bed is one of the most essential pieces of furniture in any bedroom. It directly affects comfort, sleep quality, and even the aesthetic of the space. Proper assembly ensures the bed functions well, remains sturdy, and avoids common issues like noise, instability, or early wear and tear.
This article offers a step-by-step, detailed guide to assembling different types of beds, covering tools, procedures, safety tips, common mistakes, and maintenance advice.
1. Why Proper Bed Assembly Matters
Incorrect or rushed assembly can lead to several problems:
- Reduced bed lifespan
- Annoying creaking or shaking
- Risk of structural collapse
- Damage to flooring or walls during movement
Correct assembly ensures a safe, stable, and comfortable bed you can rely on.
“Simple and Practical Steps for Proper Bed Assembly at Home”

2. Essential Tools for Assembly
Before getting started, gather the following tools:
- Allen wrench (usually included in the box)
- Flathead and Phillips screwdrivers
- Electric drill or powered screwdriver (optional but helpful)
- Rubber or wooden mallet
- Spirit level
- Measuring tape
- Assembly manual or product image for reference
“Simple and Practical Steps for Proper Bed Assembly at Home”
3. Common Bed Types and Assembly Differences
Each type of bed has its own assembly method. Know your bed type first:
3.1. Basic Single/Double Bed
Simple frame structure; usually the easiest to assemble.
3.2. Gas-Lift Storage Bed (Hydraulic)
Includes a lift mechanism for under-bed storage; more complex to assemble.
3.3. Bed with Drawers
Has drawers built into the lower frame; drawers must be installed separately.
3.4. Bunk Bed or Trundle Bed
Involves extra parts like ladders, guards, and possibly pull-out beds.
“Simple and Practical Steps for Proper Bed Assembly at Home”
4. Step-by-Step Bed Assembly Instructions
Step 1: Prepare the Room
- Clear the room and clean the floor.
- Roll back any carpet or rug.
- Lay out all parts and match them with the instructions.
Step 2: Assemble the Main Frame
- Connect the side rails with the headboard and footboard.
- Tighten all screws or bolts using your tools.
- Use a level to ensure the frame is straight and balanced.
Step 3: Install the Slats or Base
- Metal bases can be placed directly.
- Wooden slats usually need to be installed piece by piece.
- For gas-lift beds, install the lift mechanism carefully.
Step 4: Attach the Headboard and Footboard
- Secure the headboard to the frame.
- Then attach the footboard using bolts or screws.
Step 5: Install Additional Components
- If the bed includes drawers, install them in their respective tracks.
- Test drawers for smooth sliding motion.
“Simple and Practical Steps for Proper Bed Assembly at Home”
5. Safety Tips During Assembly
- Don’t overtighten screws; it may crack wood or MDF parts.
- Keep children and pets away during assembly.
- Ask for help when lifting heavy parts.
- After finishing, gently shake the bed to test stability.
6. Common Assembly Mistakes
6.1. Using the Wrong Screws
Many screws look similar but are designed for specific parts. Always double-check.
6.2. Ignoring Leveling
An uneven frame causes rocking and long-term stress on joints.
6.3. Loose Fittings
Even slightly loose bolts can lead to annoying noise and frame instability.
6.4. Skipping Small Parts
Minor-looking brackets or washers are often crucial to long-term durability.
“Simple and Practical Steps for Proper Bed Assembly at Home”
7. What If There’s No Assembly Manual?
If the manual is missing:
- Visit the manufacturer’s website for a downloadable PDF.
- Contact the seller for guidance.
- Search online for images of similar models.
- Be patient and assemble in logical steps, identifying matching parts first.
8. Post-Assembly Maintenance Tips
8.1. Regular Tightening
Every few months, check and tighten screws to prevent loosening.
8.2. Avoid Moisture
Keep beds, especially MDF or wooden ones, away from humidity and water.
8.3. Don’t Jump on the Bed
Jumping weakens the joints and frame, especially on cheaper models.
8.4. Use Floor Protectors
Rubber pads under the legs prevent squeaks and protect flooring.
“Simple and Practical Steps for Proper Bed Assembly at Home”
“Simple and Practical Steps for Proper Bed Assembly at Home”
9. Should You Hire a Professional Installer?
If you don’t have time, tools, or confidence, consider professional installation:
Benefits:
- Fast and hassle-free setup
- Reduced risk of damage or errors
- Safe and secure installation
- Some companies offer service guarantees
🛏️ Step-by-Step Guide to Assembling a Bed
Proper bed assembly increases the lifespan of your bed, prevents wobbling and noise, and ensures safe and comfortable use. In this guide, we’ll walk you through clear and practical steps for assembling most types of beds — from simple to storage or gas-lift models.
“Simple and Practical Steps for Proper Bed Assembly at Home”
✅ Required Tools
Before starting, gather these basic tools:
- Allen wrench (usually included in the box)
- Phillips and flathead screwdrivers
- Power drill (optional, for faster setup)
- Spirit level
- Rubber mallet
- Measuring tape
- Product manual or a photo of the assembled model
🧩 Step 1: Prepare Your Space
- Clear the room and clean the floor.
- Lay out all the parts from the packaging and sort them.
- Group all screws and fittings based on size and type.
Tip: Use cardboard or a soft surface under the pieces to avoid scratches.
“Simple and Practical Steps for Proper Bed Assembly at Home”
🪚 Step 2: Assemble the Bed Frame
- Start by connecting the two side rails to the headboard and footboard.
- Insert the screws or bolts and tighten using the Allen wrench or screwdriver.
- Use the spirit level to ensure the frame is straight and even.
🪵 Step 3: Install the Bed Base or Support Slats
- If the bed uses a solid base board: simply place it onto the inner ledges.
- If it comes with metal or wooden slats: insert each piece into the correct slots.
- For gas-lift (hydraulic) beds: carefully mount the lifting mechanism, then attach the base board. Handle springs with caution.
“Simple and Practical Steps for Proper Bed Assembly at Home”
🧺 Step 4: Install Drawers or Extra Components (if applicable)
- Fix the drawer rails beneath the bed using screws.
- Assemble the drawer boxes according to instructions and slide them into place.
- Test to make sure the drawers open and close smoothly.
🔍 Step 5: Final Tightening and Safety Check
- Recheck and tighten all bolts and screws to ensure nothing is loose.
- Gently shake the bed to check for movement or instability.
- Use anti-slip or noise-dampening pads under the legs for better stability and silence.
“Simple and Practical Steps for Proper Bed Assembly at Home”
🧼 Step 6: Clean Up and Final Setup
- Remove packaging and dispose of it properly.
- Move the bed into its desired position in the room.
- Place the mattress on top — and you’re done!
⚠️ Safety Tips
- Avoid over-tightening screws to prevent damage to wood or MDF.
- Do not assemble the bed in a cramped area — it limits movement.
- Always get help when lifting large or heavy components.
- Keep children away during assembly.
🛠️ Final Notes
If you don’t have an instruction manual:
Look up similar models and use them as a reference.
Search for the brand and model online.
Contact the seller or customer support.
“Simple and Practical Steps for Proper Bed Assembly at Home”
🪵 Comparison of Wood Types Used in Bed Construction
| Wood Type | Appearance & Color | Strength & Durability | Moisture Resistance | Weight | Price | Common Uses |
|---|---|---|---|---|---|---|
| Beech | Light pinkish tone | Very strong | Medium | Relatively heavy | High | High-quality and luxury beds |
| Walnut | Dark brown with beautiful grain | Very high | High | Heavy | Very high | Luxury and classic beds |
| Oak | Yellow to light brown | Very high | Good | Heavy | High | Classic and durable beds |
| Alder | Reddish brown | Medium | Low | Light | Medium | Simple or painted beds |
| Pine | Light with natural knots | Medium | Low to medium | Light | Cheap | Affordable, lightweight beds |
| MDF | Painted or laminated surface | Low to medium | Low | Heavy | Cheap | Economical beds |
| Particleboard | Coated surface | Weak | Very low | Very light | Very cheap | Very cheap, low-durability beds |
✅ Important Notes for Choosing Wood:
Walnut is a luxurious and special wood often used in classic-style furniture.
For high durability and quality, Beech or Oak are excellent choices.
If you have a limited budget but want good appearance, MDF with a quality finish is an economical option.
For children’s beds or temporary use, Pine or Particleboard may be sufficient but are not recommended for long-term use.
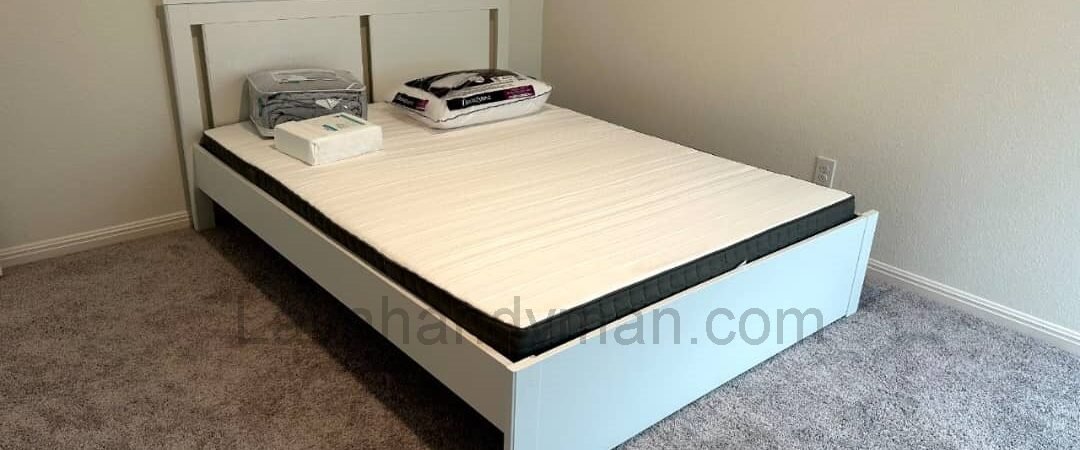
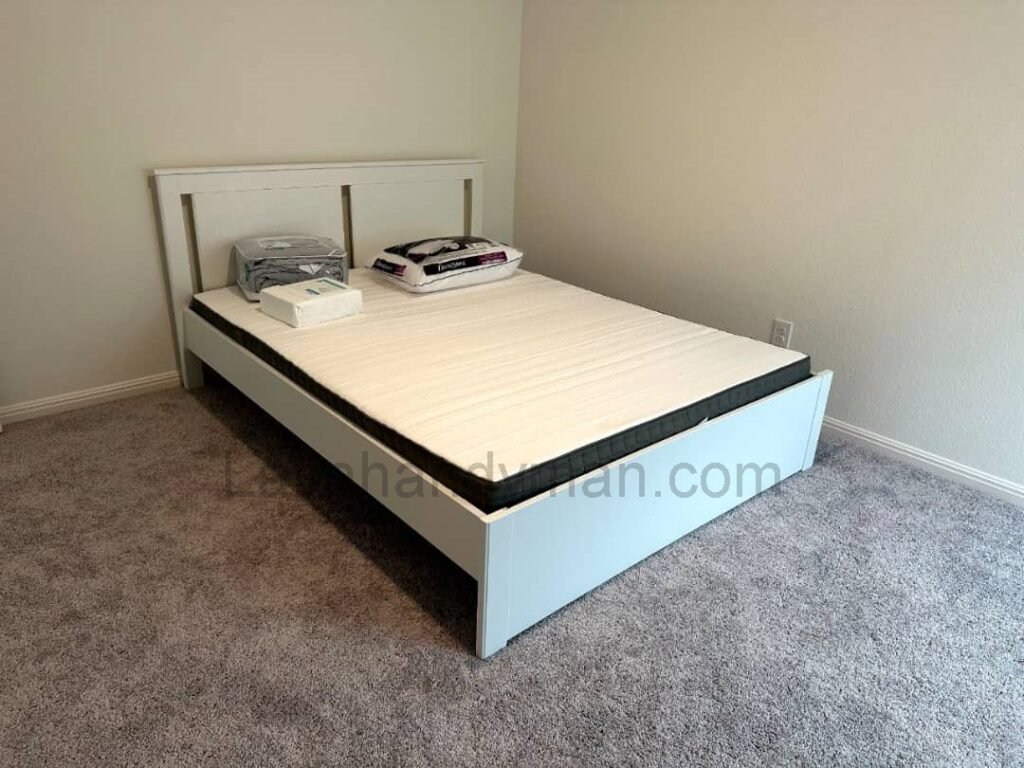
White Wooden Beds: A Perfect Blend of Beauty, Calmness, and Functionality
White wooden beds are among the most popular choices for bedroom interior design. The color white brings a sense of cleanliness and brightness to the space and easily complements various styles such as modern, classic, minimalist, and Scandinavian.
Advantages of White Wooden Beds:
- Warmth and Natural Feel: Natural wood adds a unique warmth to the room, while white balances that warmth with brightness and calmness.
- Excellent Color Coordination: White, as a neutral color, easily harmonizes with different wall colors, curtains, and flooring.
- Creates a Sense of Space and Makes Rooms Look Larger: White makes smaller rooms appear more spacious and open.
- Easy Maintenance: By choosing high-quality, scratch-resistant finishes, caring for a white bed becomes easier, and the color stays fresh longer.
Important Tips When Choosing a White Wooden Bed:
Simple, minimalist designs with clean lines create a more modern and attractive look for white beds.
Using durable woods like beech, oak, or walnut enhances the bed’s strength and longevity.
The quality of paint and finish is crucial; scratch-resistant and chip-resistant coatings increase the bed’s lifespan.
Final Thoughts
Bed assembly is a manageable task if you take your time, follow the correct steps, and use the right tools. Whether it’s a basic model or a storage bed with drawers, careful assembly pays off in durability, comfort, and peace of mind.
Following this guide allows you to take full control of the process — and enjoy the satisfaction of building something essential with your own hands.
📞 Need Help?
Let us take care of the hard work while you sit back and relax.
📍 Serving: Austin, Round Rock, Cedar Park & more
📱 Call or Text: (737) 420-6992
🌐 Visit: https://lavahandyman.com
