Bed Frame Assembly and Hanging Art on the Wall
🛋️ Introduction
Interior design is a blend of aesthetics and functionality. In any bedroom, two key elements that define both style and practicality are the bed frame and wall art. A properly assembled bed ensures safety and durability, while artistic wall decorations add warmth and personality to your space.
This detailed, step-by-step guide will walk you through assembling a bed frame and then cover how to hang art correctly on the wall, all in a clear and practical format.
Bed Frame Assembly and Hanging Art on the Wall
🛏️ Part One: Assembling the Bed Frame Correctly
🔧 1. Preparation Before You Begin
Before you start:
- Check the package contents: Make sure all parts and the instruction manual are included.
- Choose the right space: Assemble the bed in the room where it will be used to avoid moving large pieces later.
- Gather your tools: You’ll need a screwdriver, Allen wrench, drill (if necessary), spirit level, and a rubber mallet.
Bed Frame Assembly and Hanging Art on the Wall
🧩 2. Understand the Bed Components
Most bed frames include the following parts:
- Headboard
- Footboard
- Two side rails
- Central support bar(s) or legs
- Slats or a bed base (wooden or metal)
- Screws, bolts, and various fasteners
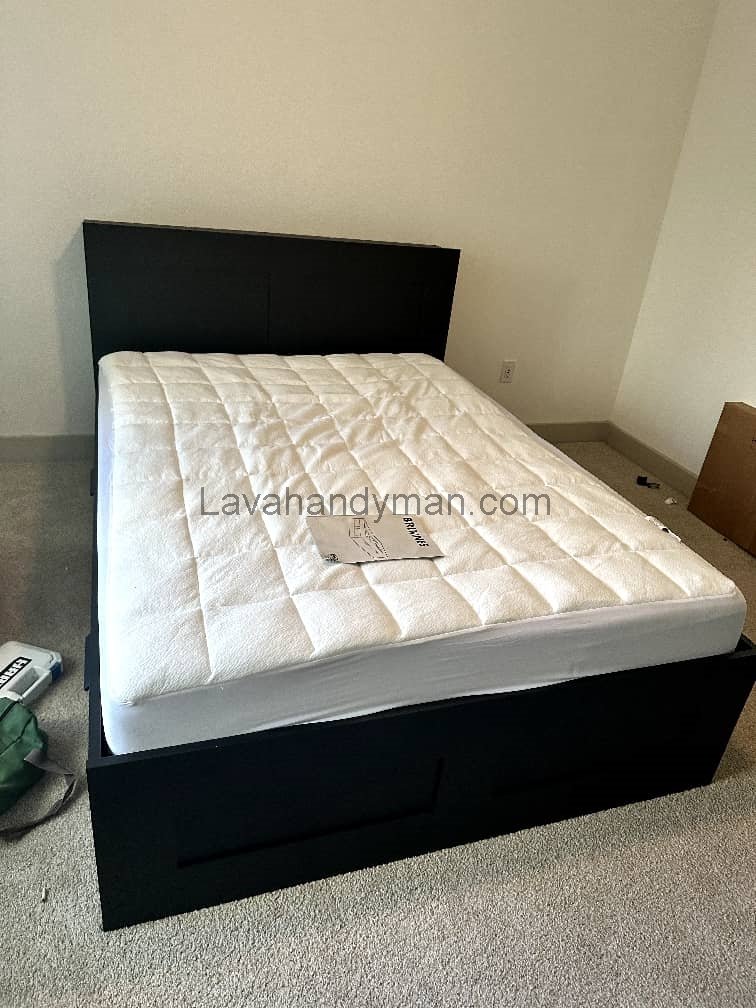
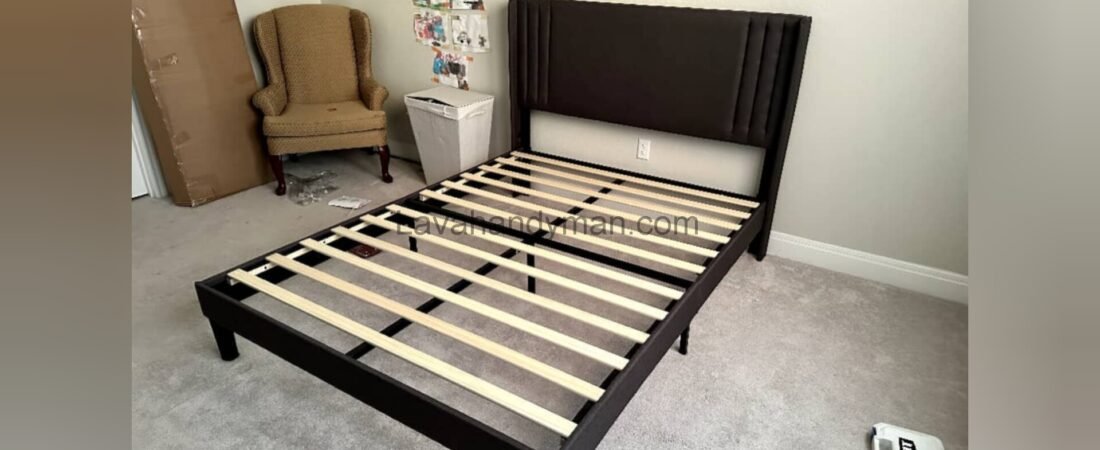
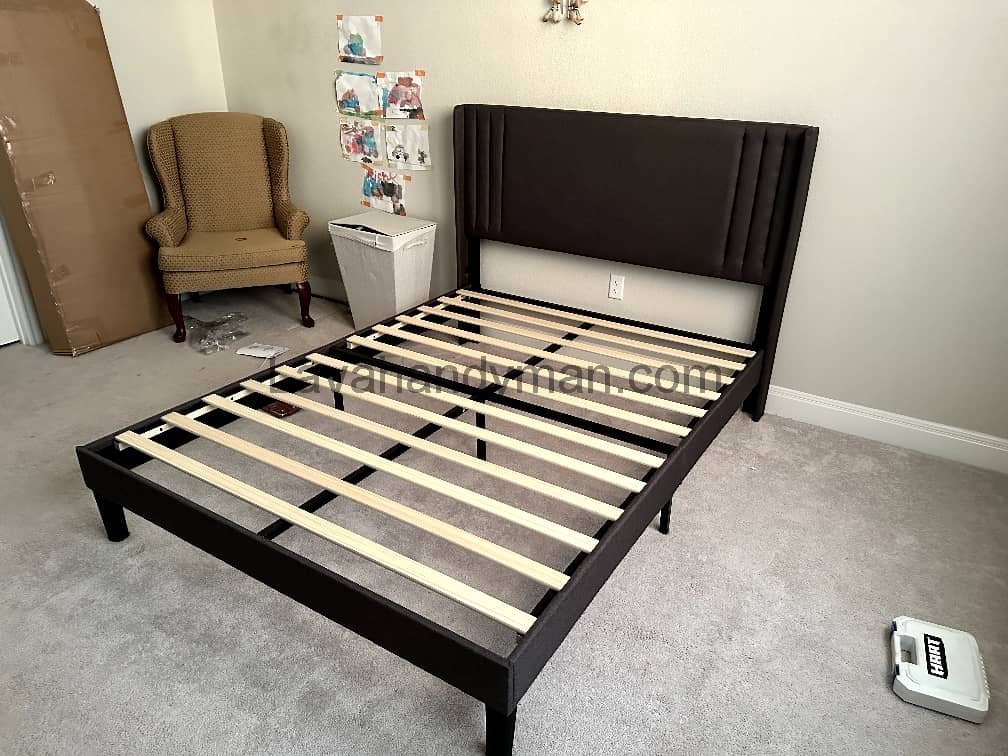
⚙️ 3. Step-by-Step Assembly
🪛 Step 1: Attach the Headboard and Footboard
Stand the headboard upright where the bed will be. Connect the side rails to it using screws or metal brackets. Repeat the same for the footboard.
Bed Frame Assembly and Hanging Art on the Wall
🪚 Step 2: Connect the Side Rails
Make sure the rails are level and aligned correctly. Use a spirit level to confirm they’re straight.
🔩 Step 3: Install the Center Support
Most full or queen/king beds require a center support bar or legs for extra stability.
🪵 Step 4: Place the Slats or Base
Lay the wooden or metal slats across the side rails. Some frames require the slats to be screwed down or clipped in place.
⚠️ 4. Safety and Best Practices
- Don’t overtighten screws, as this may crack the wood.
- If you hear squeaks, check for loose fittings.
- For gas-lift or storage beds, carefully follow the instructions for mechanical parts.
- Recheck all connections and ensure the bed does not wobble.
Bed Frame Assembly and Hanging Art on the Wall
🛠️ 5. Common Problems and Fixes
| Issue | Cause | Solution |
|---|---|---|
| Bed is wobbly | Loose screws or missing support | Tighten all bolts and add center legs |
| Squeaky noises | Loose metal joints or wood-on-wood friction | Apply felt pads between contact points |
| Drawers won’t open | Incorrect rail installation | Reverse or adjust the rail direction |
| Broken parts | Mishandling or shipping damage | Contact customer support for replacements |
Bed Frame Assembly and Hanging Art on the Wall
🖼️ Part Two: Hanging Art on the Wall
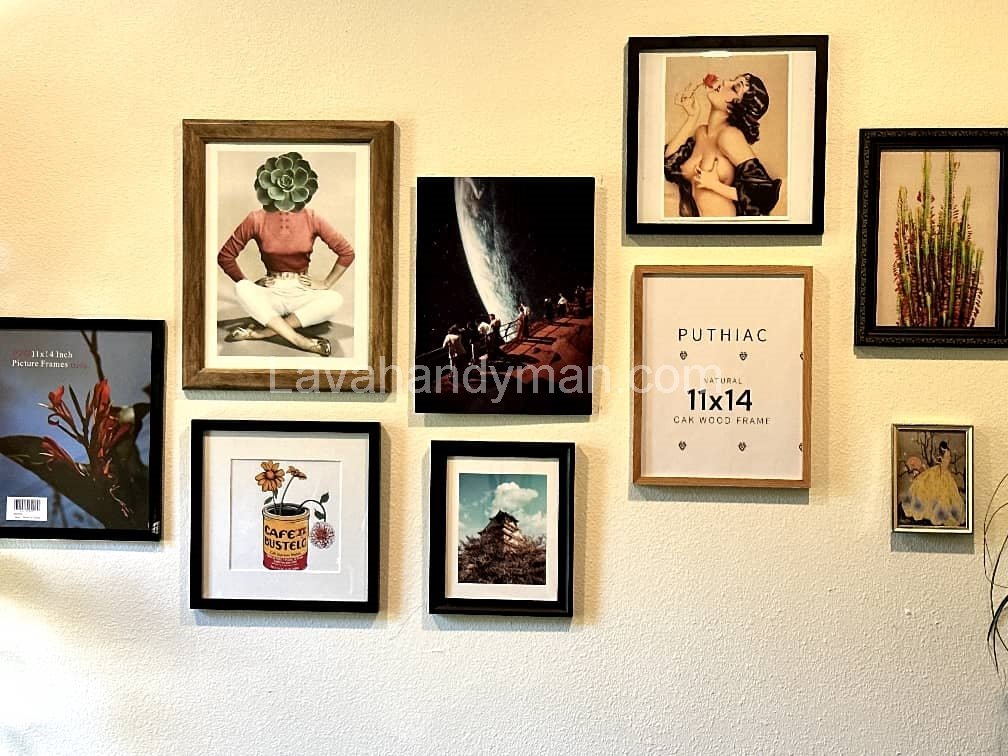
🎨 1. Choosing the Right Artwork
To create visual harmony in your bedroom:
- Size matters: Match the artwork size to your wall and bed dimensions.
- Subject and color: Choose calming themes for bedrooms — nature scenes, abstract art, or personal photos.
- Personal style: Let the artwork reflect your taste and mood.
Bed Frame Assembly and Hanging Art on the Wall
📌 2. Choosing the Right Spot on the Wall
Ideal locations for hanging art in a bedroom:
- Above the headboard – the most common and stylish location.
- Across from the bed – to enjoy the view while lying down.
- Next to mirrors or wardrobes – to balance the space visually.
Tip: Leave about 8 to 12 inches (20–30 cm) between the headboard and the bottom of the frame.
Bed Frame Assembly and Hanging Art on the Wall
🧰 3. Tools You’ll Need
- Measuring tape and level
- Pencil or marker for marking
- Hammer or drill (for hard surfaces)
- Anchors and screws or picture-hanging hooks
- Painter’s tape (to test layout on the wall)
🪜 4. Step-by-Step Art Installation
✅ Step 1: Measure and Mark
For a clean look, the center of the artwork should be about 57 to 60 inches (140–150 cm) from the floor — roughly eye level.
✅ Step 2: Choose Hanging Method
- Lightweight frames: Use adhesive strips or small nails.
- Heavier frames: Use wall anchors and screws.
✅ Step 3: Drill and Install the Hooks
For drywall, brick, or concrete, use appropriate anchors. Make sure to use a drill bit suited for your wall type.
✅ Step 4: Hang and Level the Artwork
Hang the artwork and use a level to make sure it’s straight. You can also use smartphone apps for leveling.
Bed Frame Assembly and Hanging Art on the Wall
🖼️ 5. Art Hanging Styles
🖼️ Solo Piece (Single Large Frame)
A bold statement piece centered over the bed creates a strong focal point.
🖼️ Gallery Wall (Multiple Frames)
Arrange several smaller pieces in a balanced composition. Test your layout using paper cutouts or painter’s tape first.
🖼️ Grid Layout
Use same-sized frames arranged in a grid pattern — ideal for minimalist or modern decor.
Bed Frame Assembly and Hanging Art on the Wall
💡 6. Advanced Tips and Creative Ideas
✨ Lighting Your Artwork
Add spotlights or LED track lighting to highlight the artwork. Use warm white light in bedrooms for a cozy feel.
🧷 No-Drill Hanging Solutions
For renters or those avoiding wall damage:
- Adhesive picture strips (e.g., Command strips)
- Hook-and-loop hanging systems
- Place art on floating shelves and lean it against the wall
🪞 Creative Decor Pairings
- Combine framed art with mirrors to reflect light and space
- Mount fabric or wood panels behind artwork for extra texture
- Use complementary colors that match bedding or curtains
Bed Frame Assembly and Hanging Art on the Wall
🛠️ Professional Tools for Bed Assembly and Wall Art Installation
Using professional tools enhances accuracy, speed, safety, and durability during furniture assembly and wall mounting. Here’s a categorized list of essential tools used by professional installers and carpenters:
🛏️ Professional Tools for Bed Assembly
| Tool | Purpose | Note |
|---|---|---|
| Cordless Drill/Driver | Fastening and loosening screws efficiently | Adjustable torque, much faster than manual screwdrivers |
| Torque Wrench | Tightening screws to precise pressure | Prevents over-tightening, ideal for high-end beds |
| Laser Level | Ensures bed surfaces and rails are perfectly level | Especially useful for large or uneven floors |
| Clamps | Holds bed components together during assembly | Helps align parts precisely before tightening screws |
| T-Handle or Ratchet Allen Wrench | Faster and more ergonomic than regular Allen keys | Provides better grip and speed |
| Rubber Mallet | Gently taps wooden or metal parts into place | Prevents damage compared to metal hammers |
| Laser Distance Measurer | Measures room and bed dimensions accurately | Great for layout planning and spacing |
Bed Frame Assembly and Hanging Art on the Wall
🖼️ Professional Tools for Hanging Art on Walls
| Tool | Purpose | Note |
|---|---|---|
| Cross-Line Laser Level | Projects horizontal and vertical laser lines | Ideal for aligning multiple frames or gallery walls |
| Stud Finder (Wall Scanner) | Detects studs, wires, and pipes inside walls | Reduces risk of drilling into unsafe areas |
| Hammer Drill or SDS Rotary Drill | Drills through concrete, brick, or stone | Needed for heavy-duty wall types |
| Special Drill Bits (e.g., Masonry or Glass Bits) | Tailored to specific wall materials | Essential for drilling clean holes in hard surfaces |
| Adjustable Picture Hanging Hooks | Allow minor adjustments after hanging | Used in museums and galleries for precise alignment |
| Heavy-Duty Adhesive Strips (e.g., 3M Command Pro) | No-drill hanging option for lighter frames | More durable than standard adhesive solutions |
| Wall Anchors with Hooks (Gallery-Grade) | Support heavy artwork securely | Prevents long-term sagging or falling frames |
Bed Frame Assembly and Hanging Art on the Wall
🎒 General Support Tools for Both Tasks
- Professional Tool Box – Organized for fast access to tools
- Work Light or Headlamp – For precision in dim areas
- Non-slip Gloves – Better grip and hand safety
- Portable Vacuum or Dust Extractor – For cleaning debris after drilling or assembly
✅ Quick Guide to Picture Hanging Brackets
Choosing the right bracket depends on the weight of the artwork, wall type, and frame design. Below are the 5 most common picture hanging systems, with their uses, pros, and limitations:
Bed Frame Assembly and Hanging Art on the Wall
1. D-Ring Bracket
- Weight Capacity: Light to heavy
- Description: Installed on both sides of the frame; can be hung directly on screws or with wire
- Pros: Secure, compatible with most wall types
- Ideal For: Heavy or professional art pieces
2. Sawtooth Hanger
- Weight Capacity: Light to medium
- Description: Center-mounted on the back of the frame; allows easy leveling
- Pros: Quick installation, no wire required
- Limitations: Not suitable for heavy frames
- Ideal For: Small to medium-sized artwork and everyday decor
Bed Frame Assembly and Hanging Art on the Wall
3. French Cleat (Z Bracket)
- Weight Capacity: Medium to very heavy
- Description: Two interlocking pieces—one on the wall, one on the frame
- Pros: Extremely secure, clean look, precise leveling
- Ideal For: Large mirrors, heavy frames, or fine art installations
4. Gallery Hook with Picture Rail
- Weight Capacity: Light to medium
- Description: Artwork hangs from a ceiling or wall-mounted rail using cords or wires
- Pros: No wall damage, easy to adjust or rearrange
- Ideal For: Museums, galleries, or traditional homes with picture rails
Bed Frame Assembly and Hanging Art on the Wall
5. Adhesive Hooks / Command Strips
- Weight Capacity: Very light (under 4–5 kg)
- Description: Stick directly to the wall and back of frame—no tools needed
- Pros: Fast, clean, perfect for renters
- Limitations: Only suitable for lightweight frames and smooth surfaces
📊 Comparison Table
| Bracket Type | Weight Capacity | Drilling Required | Stability | Best Wall Types |
|---|---|---|---|---|
| D-Ring | Light to heavy | Yes | High | All wall types |
| Sawtooth | Light to medium | Yes | Moderate | Drywall, wood |
| French Cleat | Medium to very heavy | Yes | Very high | Concrete, brick, drywall |
| Gallery Hook/Rail | Light to medium | Requires rail | High | Walls with picture rails |
| Command Strips | Very light | No | Low to moderate | Smooth, clean surfaces |
Bed Frame Assembly and Hanging Art on the Wall
🎯 Final Thoughts
Whether you’re furnishing a new home or refreshing your current space, properly assembling your bed and thoughtfully placing wall art can transform the feel and functionality of your bedroom. Prioritize:
- Sturdy, safe assembly
- Cohesive and personal decoration
- Balance between design and comfort
📞 Need Help?
Let us take care of the hard work while you sit back and relax.
📍 Serving: Austin, Round Rock, Cedar Park & more
📱 Call or Text: (737) 420-6992
🌐 Visit: https://lavahandyman.com