
Comprehensive Guide: Assembling and Installing a Wall Clock + Maintenance Tips
Introduction
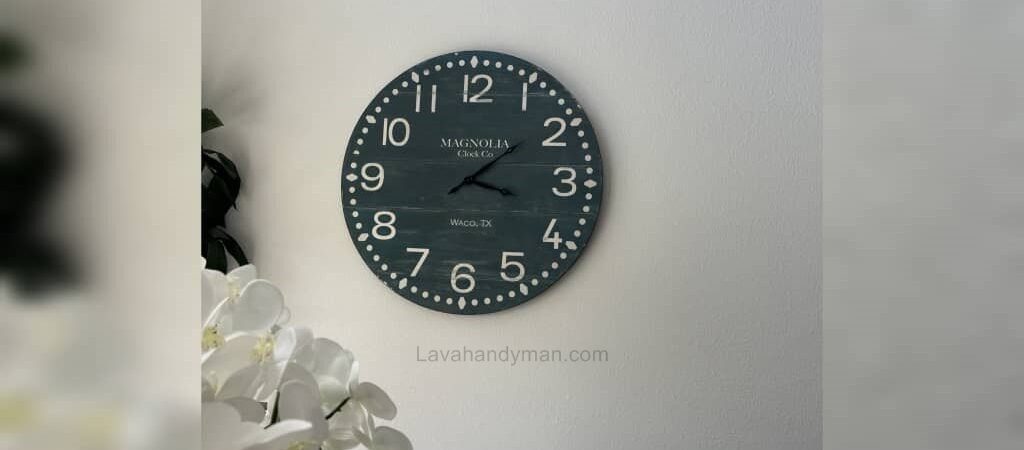
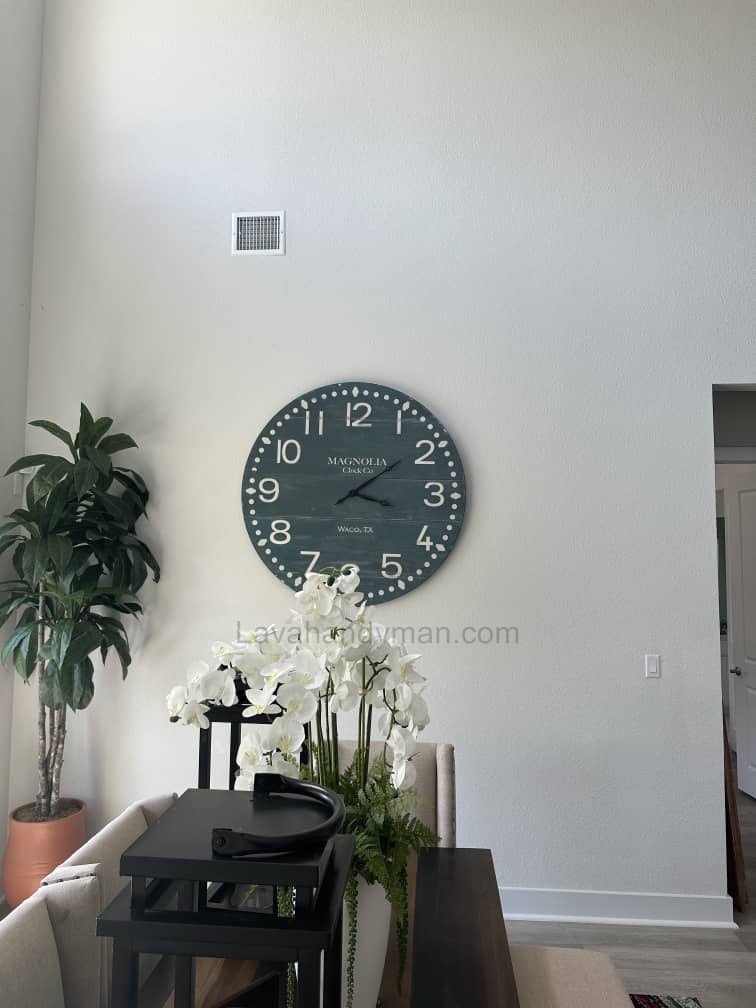
A wall clock is one of the most practical and decorative items in homes and offices. Properly installing a wall clock not only ensures accurate timekeeping but also enhances the visual appeal of the environment, adding harmony and style to interior design.
In this article, we provide a step-by-step guide for assembling a wall clock, installing it on the wall, and maintaining it. We also include important tips for selecting the right clock and safely installing it on different types of walls.

Assembling and Installing a Wall Clock
Section 1: Tools Required for Installing a Wall Clock
Before starting, it is essential to have the right tools. These include:
- Screwdrivers and electric screwdrivers: For securing the clock motor and body
- Nails, screws, and wall plugs: Depending on the wall type
- Level or spirit level: To ensure the clock is perfectly straight
- Measuring tape, ruler, and pencil: For marking height and center
- Hammer: For driving nails into hard walls
- Batteries and motor accessories: For battery-operated clocks
Assembling and Installing a Wall Clock
Section 2: Choosing the Right Wall Clock
Selecting the right clock is the first step for a successful installation. Important factors include:
1. Size and Scale
The clock should match the wall size. A large clock on a small wall looks overwhelming, and a small clock on a large wall looks insignificant.
2. Design Style
Clocks come in classic, modern, minimalistic, and fancy designs. Choosing a style that matches your interior decor is essential.
3. Material and Weight
Wood, metal, glass, or plastic clocks have different weights, affecting installation method and support requirements.
4. Type of Movement and Hands
- Silent clocks are ideal for bedrooms.
- Ticking clocks suit high-traffic areas.
5. Power Source
- Battery-operated or digital
- Digital clocks may require electricity and have a different installation method
Assembling and Installing a Wall Clock
Section 3: Types of Wall Clocks and Installation Tips
1. Mechanical Clocks
- Require precise adjustment and careful handling
- Need accurate leveling and motor inspection during installation
2. Quartz (Battery-operated) Clocks
- Most common wall clocks
- Easy to install without specialized tools
3. Digital Clocks
- Require electricity
- Usually installed with screws or mounting brackets
Assembling and Installing a Wall Clock
Section 4: Assembling a Wall Clock
1. Unpacking
Carefully remove and check all parts: body, motor, hands, and mounting hook.
2. Installing the Motor
- Place the motor in its designated position
- Secure it with screws
- Ensure the motor spindle is centered and can rotate freely
3. Installing the Hands
- First, attach the hour hand
- Then the minute hand
- Finally, attach the second hand
- Ensure hands do not touch each other and rotate smoothly
4. Installing Batteries and Checking Operation
Insert the battery and check that the hands move correctly and the time is accurate.
Assembling and Installing a Wall Clock
Section 5: Preparing the Wall
- Choose the installation spot: Visible and compatible with interior decor
- Clean the wall: For better adhesion or screw mounting
- Determine proper height: Typically 1.5 meters from the floor
- Mark screw or nail locations: Using a level and pencil
Assembling and Installing a Wall Clock
Section 6: Installing a Wall Clock on Different Wall Types
1. Plaster Walls
- Use short screws or small wall plugs for heavy clocks
2. Wooden Walls
- Direct screws work; use strong screws for heavier clocks
3. Concrete or Brick Walls
- Use a drill and wall plugs
- Ensure screws are of suitable diameter to hold the clock securely
Assembling and Installing a Wall Clock
Section 7: Safety and Practical Tips
- Check the clock’s weight before installation
- Install in a safe location away from children
- Adjust hands manually instead of forcing the motor
- Inspect screws and mounts periodically
Assembling and Installing a Wall Clock
Section 8: Wall Clock Maintenance
- Clean the clock body with a soft, dry cloth
- Replace batteries on time
- Keep away from humidity and extreme heat
- Prevent impacts or dropping the clock
Section 9: Troubleshooting Common Problems
- Hands not moving correctly: Check hand installation and motor
- Clock loose or falling: Use appropriate screws and wall plugs
- Unusual noises: Check hand clearance and motor alignment
Step-by-Step Guide to Assembling and Installing a Wall Clock
This guide provides step-by-step instructions for assembling a wall clock, installing it on the wall, and adjusting the hands, making it easy even for beginners.
wall clock assembly, wall clock installation, clock installation guide, step-by-step clock assembly
Step 1: Unpack and Check the Parts
- Carefully open the clock package.
- Check all components to ensure nothing is broken or missing:
- Clock body
- Clock motor
- Hands (hour, minute, second)
- Mounting hook or bracket
- Battery (if provided)
Step 2: Install the Clock Motor
- Place the clock motor in the designated position on the back of the clock.
- Secure it with the screws or locking mechanism provided.
- Ensure the motor spindle is centered and can rotate freely.
Step 3: Attach the Hands
The order of installation is important:
- Hour hand: Install first.
- Minute hand: Install second.
- Second hand: Install last.
Tip: Make sure the hands do not touch each other and can move freely.
Tip 2: Avoid applying excessive force to prevent motor damage.
Step 4: Insert Battery and Test
- Insert the appropriate battery into the motor.
- Check that the hands move correctly and the clock shows the correct time.
- If the hands are stuck or not moving correctly, readjust them.
Step 5: Install the Hook or Bracket
- If the clock has a hook on the back, securely attach it to the motor or body.
- For clocks with a separate bracket or screws, follow the manufacturer’s instructions.
Tip: The hook or bracket must be strong enough to support the weight of the clock.
Assembling and Installing a Wall Clock
Step 6: Prepare the Wall and Mount the Clock
- Choose the location and clean the wall surface.
- Mark the position for the screw or nail with a pencil.
- Use a level to ensure the marks are straight.
- Hang the clock on the screw, wall plug, or nail, and double-check that it is level.
Step 7: Final Adjustments
- Set the clock to the correct time.
- Ensure the hands move smoothly without obstruction.
- If necessary, slightly rotate the clock left or right to ensure it hangs perfectly straight.
Tip: Precise adjustment ensures correct operation and prolongs motor life.
Assembling and Installing a Wall Clock
Important Tips for Assembling a Wall Clock
- Install the hands carefully without applying excessive pressure.
- Make sure the motor and clock body are stable.
- For heavy clocks, use appropriate wall plugs.
- Periodically check screws and hooks to prevent the clock from falling.
Guide to Choosing and Installing Wall Clock Brackets
Assembling and Installing a Wall Clock
Types of Wall Clock Brackets and Hooks
1. Simple Metal Hook
- The most common type for light to medium-weight clocks.
- Usually integrated into the back of the clock and hangs on a nail or screw.
- Suitable for wooden, plaster, and lightweight walls.
2. L-Shaped or Screw-In Bracket
- Designed for large and heavy clocks.
- Shaped like an “L”: one side attaches to the wall, the other side supports the clock’s weight.
- Provides extra stability and safety.
3. Anchored / Wall Plug Bracket
- Suitable for concrete, brick, and masonry walls.
- Used with wall plugs to transfer the clock’s weight securely to the wall.
- Ideal for heavy and oversized clocks.
Assembling and Installing a Wall Clock
4. Magnetic Bracket
- Found in modern clocks with magnetic backs.
- Suitable for mounting on metal surfaces or special panels.
- Quick and tool-free installation, but not recommended for standard walls.
Tips for Choosing the Right Bracket
- Based on Clock Weight:
- Light clocks → simple hook bracket
- Heavy clocks → screw-in or wall-plug bracket
- Based on Wall Type:
- Wooden or plaster walls → simple hook or screw bracket
- Concrete or brick walls → wall-plug or L-shaped bracket
- Stability and Safety:
- The bracket must be strong enough to prevent the clock from falling due to bumps or vibrations.
- Level Installation:
- The bracket should ensure the clock hangs perfectly straight and level.
Assembling and Installing a Wall Clock
How to Install Brackets
Simple Hook
- Install a screw or nail into the wall.
- Hang the clock’s back hook onto the screw or nail.
- Use a level to ensure the clock is straight.
L-Shaped Bracket
- Attach the L-shaped part to the wall with screws and plugs.
- Place the clock on the other side of the bracket.
- Make sure the clock is secure and level.
Wall Plug Bracket
- Insert the wall plug into the masonry wall.
- Screw the bracket into the wall plug.
- Hang the clock and check that it is level.
Assembling and Installing a Wall Clock
Important Tips When Using Brackets
- Always choose a bracket that supports the clock’s weight.
- Screws and wall plugs should be the correct diameter and length.
- Check the bracket’s stability before hanging the clock.
- Periodically inspect screws and brackets after installation.
Assembling and Installing a Wall Clock
Conclusion
By following the steps for selecting the right clock, precise assembly, wall preparation, safe installation on different wall types, and proper maintenance, you can enjoy a beautiful and fully functional wall clock for years. Adhering to technical and safety tips ensures longevity and adds aesthetic value to your space.
📞 Need Help?
Let us take care of the hard work while you sit back and relax.
📍 Serving: Austin, Round Rock, Cedar Park & more
📱 Call or Text: (737) 420-6992
🌐 Visit: https://lavahandyman.com
