Assembling a Smart Bike with Touchscreen and Internet Connectivity
Introduction
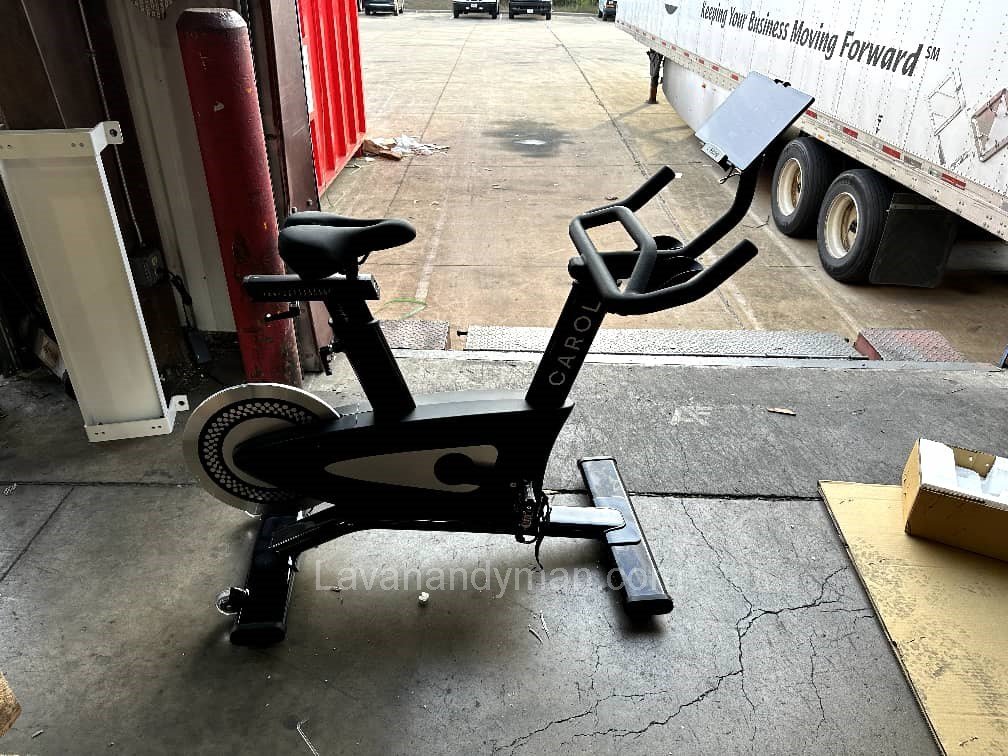
Smart bikes with touchscreen displays and internet connectivity are among the most innovative tools for home fitness. These stationary bikes allow you to perform professional cardio workouts, join online classes, and analyze your performance with high accuracy. Assembling a smart bike requires familiarity with both mechanical and electronic components, and safety precautions are crucial.
1. Understanding the Main Components of a Smart Bike
1.1. Frame of the Smart Bike
- Material: Usually steel or aluminum for high strength and lightweight construction.
- Design Types: Upright, spinning, or recumbent. The frame design directly affects user comfort and bike stability.
1.2. Resistance System
- Magnetic Resistance: Silent, contact-free, low maintenance.
- Mechanical Resistance: Friction brakes, more common in budget models.
Assembling a Smart Bike with Touchscreen and Internet Connectivity
1.3. Pedals and Power Transmission
- Pedals equipped with straps or locks for safety.
- Chain or belt drive depending on the bike type.
- Some pedals include pressure sensors for precise power measurement.
1.4. Seat and Handlebars
- Seat: Adjustable height and angle for comfort and to prevent knee or back injuries.
- Handlebars: Some include heart rate sensors.
1.5. Touchscreen Display and Internet System
- Displays speed, resistance, heart rate, and workout programs.
- Internet connectivity allows online classes, software updates, and performance analysis.
- Smart system can adjust workouts based on user goals.
Assembling a Smart Bike with Touchscreen and Internet Connectivity
2. Steps to Assemble a Smart Bike with Touchscreen
2.1. Prepare Workspace and Tools
- Clean and dry workspace.
- Required tools: Allen wrench, screwdriver, adjustable wrench, lubricant, manufacturer instructions.
2.2. Assemble the Frame
- Connect frame components according to the instructions.
- Temporarily tighten screws, then make final adjustments for stability.
2.3. Install the Resistance System
Assembling a Smart Bike with Touchscreen and Internet Connectivity
- Magnetic: install magnets and adjust the gap from the flywheel.
- Mechanical: attach brakes to the shaft and secure them.
2.4. Install Pedals and Chain/Belt
- Secure pedals and adjust belt or chain tension.
2.5. Install Seat and Handlebars
- Adjust seat height and angle.
- Mount handlebars and connect heart rate sensors if available.
2.6. Install Touchscreen Display and Internet System
- Mount the display on the bracket.
- Connect power and data cables, then launch the internal software.
- Check internet connection and software updates.
Assembling a Smart Bike with Touchscreen and Internet Connectivity
3. Safety Tips and Performance Testing
- Tighten all screws.
- Test resistance system at minimum level.
- Ensure pedals and seat are stable.
- Verify touchscreen and internet functionality.
- Wear proper athletic shoes and ensure a safe environment around the bike.
4. Maintenance and Longevity of Your Smart Bike
- Monthly check of frame and screws.
- Lubricate belt or chain.
- Keep touchscreen and sensors clean.
- Keep software updated for optimal performance.
Assembling a Smart Bike with Touchscreen and Internet Connectivity
5. Benefits of a Smart Stationary Bike with Touchscreen
- Personalized and advanced workouts.
- Participation in online classes and competition with other users.
- Precise performance analysis, calorie tracking, and heart rate monitoring.
- Suitable for all fitness levels: beginner to professional.
Step-by-Step Guide to Assembling a Smart Bike with Touchscreen and Internet Connectivity
Introduction
Assembling a smart bike with a touchscreen display and internet connectivity is a crucial step to have a fully functional smart stationary bike for home workouts. By following this guide, even users with no technical experience can professionally assemble their smart bike and enjoy advanced smart workouts.
Assembling a Smart Bike with Touchscreen and Internet Connectivity
Step 1: Prepare Your Workspace and Tools
Before starting the assembly of your smart bike:
- Choose a clean and flat workspace.
- Gather the necessary tools: Allen wrenches, flathead and Phillips screwdrivers, adjustable wrench, lubricant, cloth, and the manufacturer’s instruction manual.
- Ensure the area is dry and dust-free to prevent damage to components.
Step 2: Assemble the Main Frame
- Lay out all frame parts on the floor and check that all screws are included.
- Connect the two main frame sections using screws, but only tighten them temporarily for final adjustments.
- Make sure the frame is level and stable.
Assembling a Smart Bike with Touchscreen and Internet Connectivity
Step 3: Install the Resistance System
Smart bikes typically use either magnetic or mechanical resistance.
Magnetic Resistance
- Mount the magnetic module onto the shaft.
- Adjust the distance between the magnets and the flywheel.
- Tighten all screws securely.
Mechanical Resistance
- Attach the friction brake to the shaft.
- Secure all screws and test pedal movement.
Assembling a Smart Bike with Touchscreen and Internet Connectivity
Step 4: Install Pedals and Power Transmission System
- Attach the pedals to the shafts, ensuring correct left and right orientation.
- Place the belt or chain drive over the flywheel and resistance system.
- Adjust belt or chain tension so it’s neither too loose nor too tight.
- Connect any pedal pressure sensors if available.
Step 5: Install the Seat and Handlebars
- Mount the seat onto its shaft and adjust height and angle.
- Install the handlebars and tighten all screws.
- Connect any heart rate sensors on the handlebars.
Assembling a Smart Bike with Touchscreen and Internet Connectivity
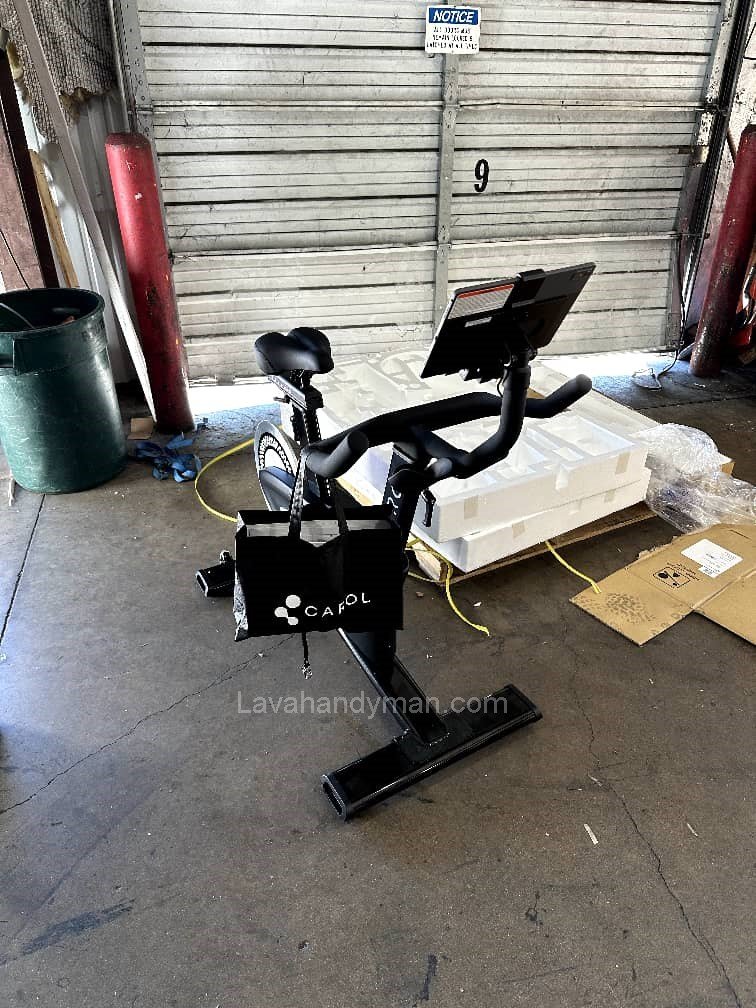
Step 6: Install the Touchscreen Display and Internet System
- Mount the touchscreen display onto its bracket.
- Connect power and data cables, then launch the internal software.
- Test the internet connection and update the software.
- Verify that heart rate sensors and resistance display correctly.
Assembling a Smart Bike with Touchscreen and Internet Connectivity
Step 7: Final Safety Check and Testing
- Retighten all screws and connections.
- Test the seat and handlebars to ensure stability.
- Check pedal movement and resistance system.
- Confirm internet connectivity and touchscreen functionality.
- Keep the surrounding area safe and wear appropriate athletic shoes.
Step 8: Initial Maintenance After Assembly
- Lubricate the belt or chain for smooth operation.
- Keep the frame and touchscreen clean.
- Update the bike software regularly.
- Recheck screws after one week to ensure none have loosened.
Assembling a Smart Bike with Touchscreen and Internet Connectivity
Types of Stationary Bikes | Complete Home Bike Guide
Stationary bikes are popular for home and gym cardio workouts. Each type has unique features and is suitable for specific fitness goals. In this guide, we explain the main types of stationary bikes, their advantages, disadvantages, and best uses.
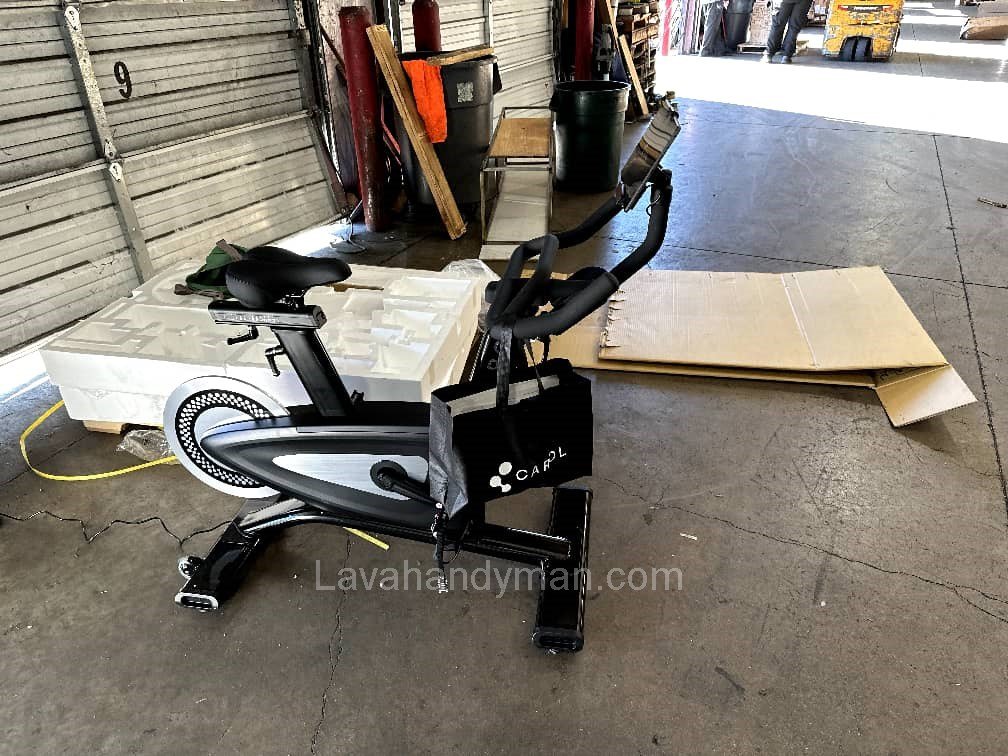
1. Spin Bike
Features:
- Designed like a professional road bike
- Adjustable pedals and resistance
- Suitable for high-intensity and strength workouts
Advantages:
- Efficient cardiovascular training
- Can simulate flat roads or hilly terrains
- Ideal for gyms and professional use
Disadvantages:
- Small, less comfortable seat
- May be challenging for beginners
2. Upright Bike
Features:
- Pedals positioned under the body, similar to a city bike
- Adjustable seat
- Compact design for home use
Advantages:
- Suitable for light to moderate cardio workouts
- Requires less space
- Comfortable for home workouts
Disadvantages:
- Less intense workout compared to spin bikes
- May put pressure on knees and back
3. Recumbent Bike
Features:
- Large seat with full back support
- Pedals positioned in front of the body
- Comfortable, supportive design for the back
Advantages:
- Less pressure on knees and back
- Suitable for seniors and people with physical issues
- Comfortable for long workout sessions
Disadvantages:
- Requires more space
- Less suitable for high-speed training
4. Smart Bike
Features:
- Touchscreen display
- Internet and app connectivity
- Access to online classes
- Performance tracking, heart rate, and calorie monitoring
Advantages:
- Personalized and interactive workouts
- Motivating with challenges and online classes
- Software updates and advanced workout programs
Disadvantages:
- Higher cost
- Requires stable internet connection
5. Folding / Compact Bike
Features:
- Foldable design for small spaces
- Simple resistance and basic features
Advantages:
- Ideal for small apartments
- Easy to move and store
Disadvantages:
- Limited features
- Less suitable for professional training
Summary Comparison
| Bike Type | Advantages | Disadvantages | Best For |
|---|---|---|---|
| Spin Bike | High-intensity cardio, terrain simulation | Small seat, challenging for beginners | Gym, professional training |
| Upright Bike | Comfortable, space-saving | Less intense | Home, light to moderate workouts |
| Recumbent Bike | Comfortable, less joint pressure | Takes more space, less speed-oriented | Seniors, people with physical issues |
| Smart Bike | Interactive workouts, online classes | Expensive, needs internet | Professional home use, personalized training |
| Folding Bike | Space-saving, easy to move | Limited features | Small homes, light use |
Final Tips for Assembling a Smart Bike | Complete Safety and Assembly Guide
Proper assembly of a smart bike with a touchscreen display and internet connectivity is key to having a safe and professional home workout experience. Here are the most important final tips for assembling, using, and maintaining your smart stationary bike.
1. Check All Components Before Assembly
- Inspect all parts, including the frame, pedals, seat, handlebars, and display, for cracks or defects.
- Ensure all screws and necessary tools are available.
2. Follow the Manufacturer’s Instructions
- Always follow the instruction manual step by step.
- The assembly order and screw placement are crucial to prevent damage.
3. Tighten Screws Properly Without Over-Tightening
- Secure all screws but avoid excessive force to prevent thread damage.
- Recheck and tighten all connections after one week of use.
4. Adjust Seat and Handlebars Correctly
- Seat height and angle should match the user’s height and comfort.
- Handlebars should be stable and wobble-free for safe workouts.
5. Test Resistance and Pedal Function
- Test the resistance at the lowest level before full use.
- Pedals should rotate smoothly without unusual noise.
6. Install and Test the Touchscreen Display
- Check all power and data connections and ensure the software powers on.
- Confirm heart rate, speed, resistance, and calorie readings are accurate.
- Test internet connectivity to enable online classes and software updates.
7. Ensure Safety During Use
- Always wear proper athletic shoes.
- Keep the area around the bike clear and safe.
- Keep children and pets away from the bike during workouts.
8. Initial Maintenance
- Lubricate the belt or chain for smooth operation.
- Keep the frame and touchscreen clean.
- Update the bike’s software regularly to maintain optimal performance.
9. Record Settings for Future Use
- Save user profiles and initial adjustments if the bike allows.
- Keep a record of assembly and maintenance for quick troubleshooting later.
Conclusion
Assembling a smart bike with touchscreen and internet connectivity, while requiring precision and familiarity with its components, takes home fitness to a professional level. Following the assembly steps and safety guidelines ensures longer device lifespan and maximum workout efficiency.
📞 Need Help?
Let us take care of the hard work while you sit back and relax.
📍 Serving: Austin, Round Rock, Cedar Park & more
📱 Call or Text: (737) 420-6992
🌐 Visit: https://lavahandyman.com