Assembling a Grill in the Patio: A Complete Installation and Safety Guide
Introduction
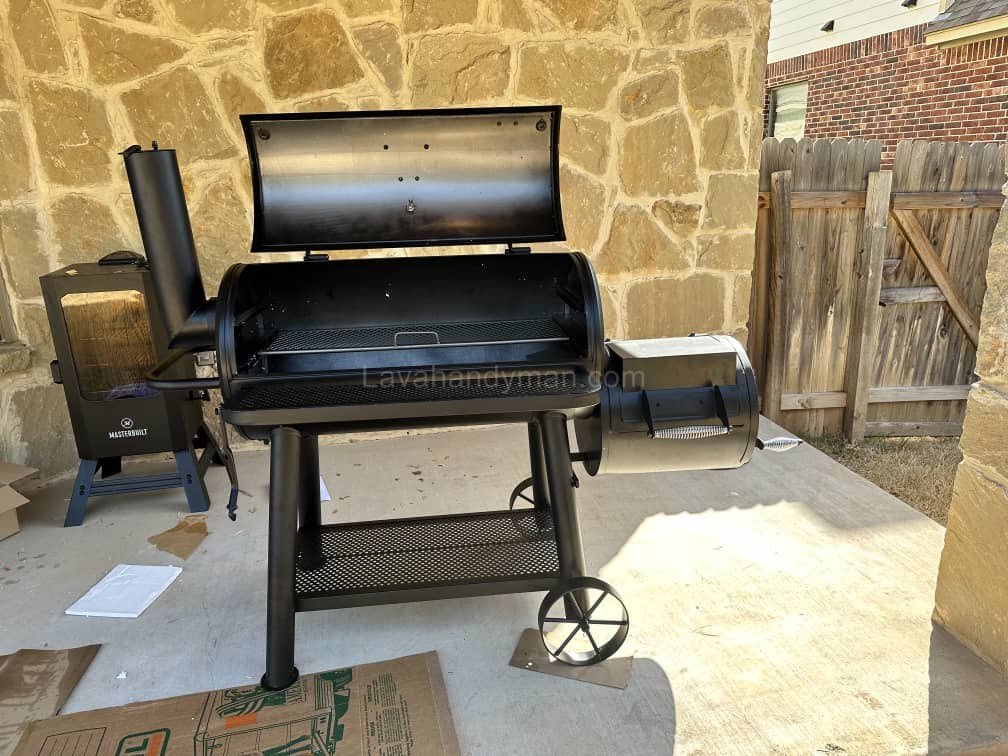
Assembling a grill in the patio is one of the most important steps for having a safe and enjoyable outdoor cooking experience. The patio, as a semi-open space, provides an ideal setting for family gatherings and friendly parties. Proper installation of a patio grill enhances device efficiency and extends its lifespan.
This article provides a comprehensive guide for assembling and installing a grill in your patio, covering essential safety tips, maintenance practices, and common mistakes, ensuring you get the most out of your outdoor cooking experience.
Assembling a Grill in the Patio
Understanding Grill Types

What is a Grill?
A grill is a device used for cooking food with direct or indirect heat. It is commonly used for grilling meat, chicken, fish, vegetables, and even some desserts. Grills come in various types, each with unique features and advantages.
Grill Types for Patios
- Charcoal Grill: Popular for its natural smoky flavor, requiring more experience to control heat.
- Gas Grill: Ideal for patios, offers quick ignition, easy temperature control, and simple cleaning.
- Electric Grill: Suitable for smaller patios and apartment balconies, safe but with lower heat output.
- Combination Grill: Allows using gas and charcoal either simultaneously or separately, offering flexibility but more complex assembly and maintenance.
Choosing the right grill for your patio enhances your cooking experience and improves safety.
Choosing the Right Location in Your Patio
Selecting the proper location for installing a patio grill is crucial for both safety and performance. Patios are often close to the house interior, and improper placement can pose hazards.
Assembling a Grill in the Patio
Key Placement Tips
- Maintain a safe distance from walls and windows
- Ensure proper ventilation to remove smoke and gas
- Place on a flat, heat-resistant surface
- Keep away from flammable materials like curtains or wooden furniture
Correct placement of your grill ensures a safe and enjoyable patio cooking experience.
Preparing Your Patio for Assembly
Cleaning and Surface Check
Clear the patio floor of dust, grease, and obstacles. The surface must be flat and heat-resistant. Using heatproof flooring or metal sheets is recommended.
Infrastructure Preparation
For gas or electric grills, ensure safe and standard gas or electrical supply. Gas hoses and wiring must be intact and positioned away from walkways.
Assembling a Grill in the Patio
Tools and Equipment Needed for Assembly
- Appropriate wrenches and screwdrivers
- Heat-resistant safety gloves
- Level tool to ensure grill stability
- Special wrench for gas connections
- Main screws and bolts provided with the grill
Using the right tools ensures professional and safe assembly of your patio grill.
Step-by-Step Grill Assembly
1. Read the User Manual
Assembling a Grill in the Patio
Each grill model has a unique design. Following the manufacturer’s instructions is key to correctly installing a grill in your patio.
2. Assemble the Base and Main Body
Ensure the base is securely fastened with all screws tightened.
3. Install the Heat Chamber and Grill Grates
These parts are in direct contact with heat, so precise installation is essential.
4. Connect the Power Source
- Gas grill: Connect the gas hose and regulator, checking for leaks
- Electric grill: Connect the power cable safely and according to standards
5. Final Inspection and Test
After assembly, conduct a full inspection and test the grill to ensure it functions properly.
Safety Tips for Assembly and Use
Assembling a Grill in the Patio
- Never operate the grill in a fully enclosed space
- Wear gloves and safety equipment during assembly
- Regularly check gas or electrical connections
- Keep children away from the grill
- Turn off the grill and let it cool after use
Safety precautions are an integral part of using a grill safely in your patio.
Grill Maintenance and Longevity
- Clean grates and parts regularly
- Protect the grill from moisture and direct sunlight
- Use a dedicated grill cover when not in use
Proper maintenance extends your grill’s lifespan and preserves food quality.
Assembling a Grill in the Patio
Common Assembly Mistakes
- Not tightening screws completely
- Incorrectly installing components
- Ignoring proper ventilation
- Using improper tools
Awareness of these mistakes prevents damage and accidents.
In Which Spaces Can a Grill Device Be Used?
Choosing the right space for using a grill device plays a key role in safety, cooking quality, and the lifespan of the appliance. Many users ask where a grill device can be safely used and which environments have limitations or restrictions. This guide clearly explains the most suitable locations for using a grill device.
Suitable Spaces for Using a Grill Device
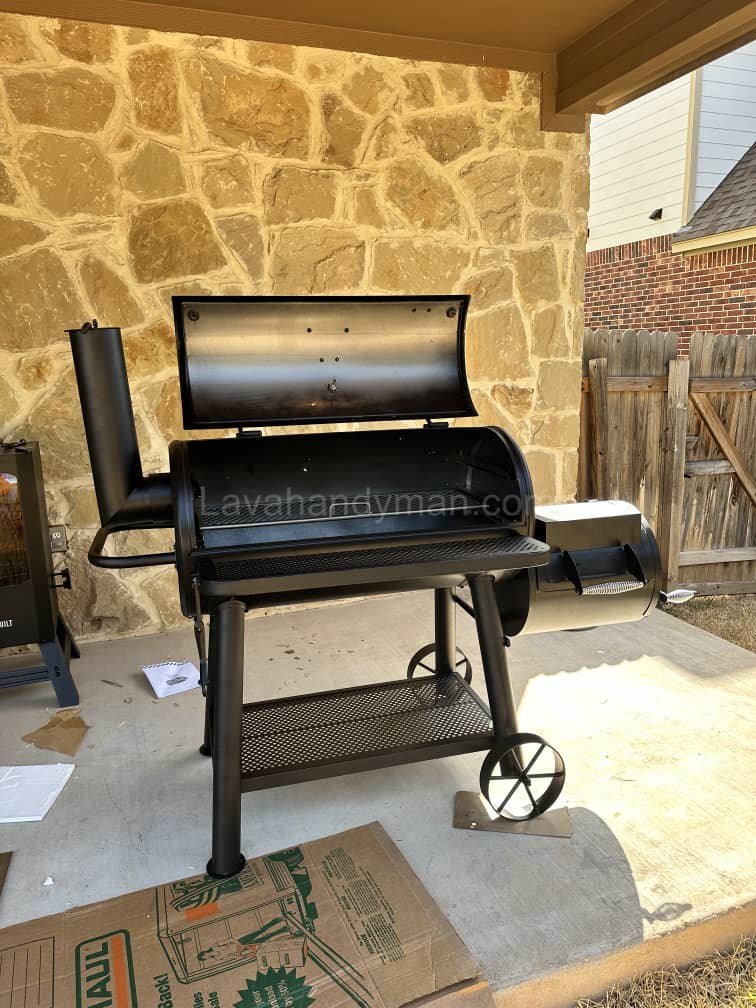
Using a Grill Device in a Patio
A patio is one of the most ideal spaces for using a grill device because it is usually semi-open and provides natural ventilation.
Assembling a Grill in the Patio
Advantages:
- Proper air circulation
- Ideal for family gatherings
- Suitable for gas, electric, and in some cases charcoal grill devices
Safety Tips:
- Keep a safe distance from walls and ceilings
- Use heat-resistant or fireproof flooring
Using a Grill Device in a Yard or Open Space
Yards, gardens, and villas are considered the safest environments for operating a grill device.
Why these spaces are suitable:
- Excellent ventilation
- Freedom to choose different grill device types
- Reduced risk of smoke and gas buildup
Important Notes:
- Place the grill device on a flat, stable surface
- Keep it away from trees and flammable materials
Assembling a Grill in the Patio
Using a Grill Device on a Balcony or Terrace
Balconies and terraces have more limitations, and using a grill device in these spaces requires extra caution.
Recommended options:
- Electric grill devices
- Compact and low-smoke models
Limitations:
- Building regulations
- Sensitivity of neighbors to smoke and odors
Assembling a Grill in the Patio
Using a Grill Device in an Outdoor Kitchen
Purpose-built outdoor kitchens are a professional and long-term solution for using a grill device.
Key features:
- Dedicated ventilation systems
- Standard and durable work surfaces
- High safety levels
Using a Grill Device in Commercial Spaces
In restaurants, cafés, and food courts, using a grill device is only permitted when all safety and legal standards are met.
Required conditions:
- Industrial ventilation hoods
- Official permits and compliance
- Grill devices designed for indoor or commercial use
Assembling a Grill in the Patio
Spaces Not Suitable for Using a Grill Device
❌ Fully enclosed areas without ventilation
- Rooms
- Enclosed garages
- Storage areas
❌ Areas close to flammable materials
- Curtains
- Wooden furniture
- Chemical or fuel materials
Key Tips for Choosing the Right Location for a Grill Device
Follow building and local regulations
Consider the type of grill device (electric, gas, or charcoal)
Assembling a Grill in the Patio
Ensure adequate ventilation
Maintain safe distances from walls and structures
Grill Device Assembly | A Step-by-Step Practical Guide
Assembling a grill device is a crucial step before safe and proper use, especially for outdoor cooking. Correct assembly not only improves safety but also has a direct impact on cooking performance and the overall lifespan of the device. This guide explains the grill device assembly process in a clear, step-by-step, and practical manner.
Step 1: Checking Components and Initial Preparation
Before starting the assembly, remove all parts from the packaging and inspect them carefully.
Required actions:
- Match all components with the user manual
- Check screws, legs, and body parts for damage
- Prepare necessary tools such as screwdrivers and wrenches
🔹 This step helps prevent errors during the assembly process.
Assembling a Grill in the Patio
Step 2: Assembling the Base and Frame
At this stage, the main structure of the grill device is formed.
Key points:
- Attach the legs to the main frame according to the instructions
- Tighten screws evenly and securely
- Use a level tool to ensure the grill device is stable
⚠️ An unstable base can compromise safety during use.
Step 3: Installing the Main Body and Cooking Chamber
Once the frame is complete, install the main body of the grill device.
Installation steps:
- Place the body onto the frame
- Secure all connection points
- Check that the cooking chamber is level
🔹 This section is essential for proper heat distribution.
Assembling a Grill in the Patio
Step 4: Installing the Heating System (Burners or Heating Element)
This step varies depending on the type of grill device.
- For gas models, install the burners and gas tubes correctly
- For electric models, place the heating element in its designated position
⚠️ Incorrect installation of the heating system may reduce efficiency and increase risk.
Step 5: Installing the Grill Grates and Grease Tray
These components are directly related to cooking performance.
Assembling a Grill in the Patio
Steps involved:
- Place the grill grates over the cooking chamber
- Install the grease collection tray underneath
- Ensure all parts are stable and properly positioned
🔹 These parts should be easy to remove for cleaning.
Step 6: Connecting the Power Source
Connecting the energy source must be done with great care.
Gas Grill Device
- Connect the gas hose to a standard regulator
- Check for gas leaks using soapy water
- Ensure all fittings are tightly secured
Electric Grill Device
- Plug into a standard electrical outlet
- Avoid using damaged cables or unsafe extensions
- Keep the power cord away from hot surfaces
Assembling a Grill in the Patio
Step 7: Installing Additional Accessories
Many grill devices include optional or supplementary parts.
Such as:
- Grill lid
- Thermometer
- Side shelves
- Handles
🔹 Proper installation of accessories improves usability and convenience.
Step 8: Final Inspection and Initial Test
Before cooking, perform a full inspection of the grill device.
Final checklist:
- All screws are tightened
- The device is level and stable
- Heating system functions correctly
- No gas leaks or electrical issues
✅ Turn on the grill device for a few minutes without food to ensure proper operation.
Safety Tips After Assembly
Inspect connections periodically
Never operate the grill device in a fully enclosed area
Allow the device to cool completely after use
Conclusion
Assembling a grill in your patio requires precision, adherence to technical standards, and safety measures. By selecting the right grill, preparing your patio, using proper tools, and following manufacturer guidelines, you can create a safe and enjoyable outdoor cooking area.
📞 Need Help?
Let us take care of the hard work while you sit back and relax.
📍 Serving: Austin, Round Rock, Cedar Park & more
📱 Call or Text: (737) 420-6992
🌐 Visit: https://lavahandyman.com