
Step-by-Step Guide to Assembling a Dining Table
1. Introduction
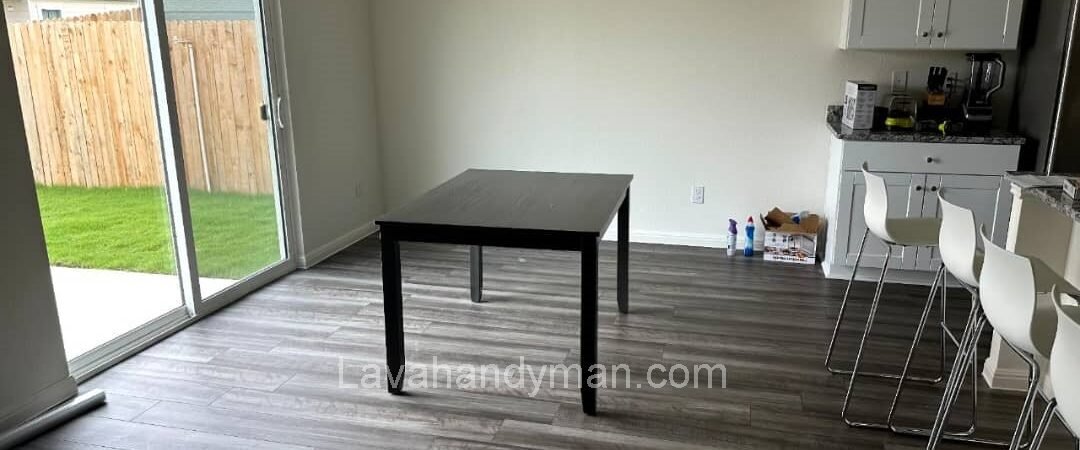
Assembling a dining table is one of the most common DIY or workshop projects. While it may appear simple, a proper assembly requires attention to detail, patience, and following technical guidelines. This guide walks you through every step—from part inspection to final touches and maintenance—so you can confidently complete the process, even without prior experience.
2. Types of Dining Tables
Understanding the type of table you’re assembling is crucial, as each has unique steps:
- Classic Wooden Table: Simple joints, suited for traditional spaces
- Metal-Wood Hybrid: Metal legs with a wooden or MDF top
- Extendable or Foldable Models: With rails, hinges, or sliding mechanisms
- Modular or Sectional Tables: Adaptable for different spaces

Step-by-Step Guide to Assembling a Dining Table
3. Required Tools and Equipment
| Tool | Purpose |
|---|---|
| Screwdrivers (flathead & Phillips) | Tightening screws |
| Allen wrench / Adjustable wrench | Securing bolts |
| Spirit or laser level | Checking for balance |
| Wood glue | Reinforcing joints |
| Work gloves | Hand protection |
| Rubber mallet | Gentle adjustments |
| Clamps | Holding glued parts in place |
Step-by-Step Guide to Assembling a Dining Table
4. Initial Preparation
- Work Surface: Assemble the table on a clean, flat surface (preferably carpet or padded area)
- Organize Parts: Unpack and sort all components by type and size
- Read the Manual: Go through the assembly instructions carefully
- Safe Environment: Make sure no children or pets are nearby during assembly
5. Step 1: Reviewing Parts and Instructions
- Check all wooden and metal pieces for defects
- Match parts with diagrams in the manual or packaging
- Make sure all fasteners are included; contact the seller if any are missing
Step-by-Step Guide to Assembling a Dining Table
6. Step 2: Assembling the Table Legs
- Lay the legs flat on the ground and attach them to the central support structure
- Tighten screws loosely at first for easier adjustments
- Once leveled, fully tighten all screws
- Use washers for metal parts to prevent damage
7. Step 3: Attaching the Tabletop
- Place the tabletop upside-down on a padded surface
- Carefully position and attach the leg assembly to the underside
- Use Allen wrench or screwdriver to fasten all screws properly
- Apply wood glue at joints if needed for extra strength
Step-by-Step Guide to Assembling a Dining Table
8. Step 4: Final Stabilization
- Check and retighten all fasteners
- Wipe off any excess glue immediately
- If your table includes mechanical parts (like drawers or sliding panels), install and test them now
- Ensure there’s no wobbling or unwanted noise
9. Quality Check and Leveling
- Use a level to ensure a balanced surface
- Fix any instability with felt pads or wedges under the legs
- Test stability by placing a heavy object (e.g., a stack of books) on the table
Step-by-Step Guide to Assembling a Dining Table
10. Safety Tips
- Always wear gloves when working with tools
- Use adhesives in well-ventilated areas
- Don’t overtighten screws to avoid splitting wood
- Keep sharp tools away from children
- Lift large parts with assistance to avoid injury
11. Regular Maintenance
- Check and tighten screws every 3–6 months
- Use a damp cloth and mild detergent for cleaning
- For natural wood tables, apply wood wax twice a year
- Avoid placing hot or wet items directly on the surface
- Protect from direct sunlight or excessive moisture
Step-by-Step Guide to Assembling a Dining Table
12. Common Problems and Solutions
| Problem | Cause | Solution |
|---|---|---|
| Table wobbling | Loose screws or uneven legs | Retighten screws; use floor pads |
| Clicking noise when used | Loose joints | Add glue and retighten connections |
| Warped tabletop | Poor storage or humidity | Add weight for a period to correct shape |
| Surface damage during assembly | Friction with tools or floor | Always use a soft base while working |
🛠 Step-by-Step Guide to Assembling a Dining Table | Practical & Complete Manual
Assembling a dining table may seem challenging at first, but with the right tools and a little attention to detail, it becomes a straightforward task. Below is a step-by-step guide to help you complete the process accurately and safely.
Step-by-Step Guide to Assembling a Dining Table
1️⃣ Prepare the Workspace
Before you begin, make sure the work area is ready:
- Choose a flat, soft, and clean surface (e.g., carpet, mat, or rug)
- Ensure proper lighting and enough space to move around
- Gather your tools: screwdriver, Allen wrench, wood glue, level, gloves
- Unpack all parts and organize them by type and number
2️⃣ Review the Manual and Parts
- Carefully read the instruction manual or assembly diagram
- Verify that all components and hardware are included
- Check for damage: cracks, chips, or dents
- If anything is missing or damaged, contact the seller before proceeding
Step-by-Step Guide to Assembling a Dining Table
3️⃣ Assemble the Legs
- Lay out the legs according to the instructions
- Connect them using the center support beam if required
- Begin by loosely tightening the screws for easier adjustments later
- After proper alignment, securely tighten all connections
4️⃣ Attach the Legs to the Tabletop
- Place the tabletop face-down on a soft surface to protect it
- Position the leg frame on the designated mounting points
- Secure the legs with screws using a screwdriver or Allen wrench
- For extra durability, apply a small amount of wood glue at the joints
Step-by-Step Guide to Assembling a Dining Table
5️⃣ Final Stabilization and Tightening
- Recheck all connections and tighten any remaining loose screws
- Use clamps or C-clamps if needed to hold glued areas in place
- Wipe off any excess glue immediately with a damp cloth
- Ensure the entire frame feels sturdy and secure
6️⃣ Leveling and Final Adjustments
- Flip the table upright and place it on a flat surface
- Use a level to check that the tabletop is even from all sides
- If the table wobbles, apply felt pads, foam shims, or leg levelers as needed
- For models with drawers, sliders, or extensions, make sure all moving parts work properly
📝 Pro Tips:
Never drag the table across the floor—lift and move to avoid damaging the legs
Always wear gloves and, if using glue, ensure good ventilation
Avoid over-tightening screws to prevent splitting the wood
If the table is large or heavy, ask someone to assist you
🧰 Essential Tools for Assembling a Dining Table
Depending on the type of dining table (wooden, metal, foldable, modular), different tools may be required. Below is a list of the most commonly used tools for table assembly, along with their functions:
| Tool | Purpose |
|---|---|
| Screwdriver (Flathead or Phillips) | Tightening standard screws (most commonly used) |
| Allen Wrench (Hex Key) | Tightening hex bolts found in most modern furniture |
| Adjustable or Ring Wrench | Securing metal nuts in industrial or hybrid tables |
| Rubber or Plastic Mallet | Gentle tapping to fit parts without damaging the wood |
| Spirit Level or Laser Level | Ensuring the table is level and stable |
| Clamps (C-Clamps or Bar Clamps) | Holding parts in place during gluing or tightening |
| Wood Glue (optional) | Strengthening joints for better durability |
| Cordless Drill / Electric Screwdriver (optional) | Speeding up screw installation in tables with many screws |
| Measuring Tape or Ruler | Precise alignment of legs or mounting points |
| Work Gloves | Protecting your hands while handling tools and metal parts |
| Soft Cloth or Damp Rag | Cleaning off excess glue or fingerprints on wood surfaces |
Step-by-Step Guide to Assembling a Dining Table
🛠 Additional Tips:
For a faster and cleaner assembly, using a power screwdriver or drill with a hex bit is highly recommended.
Most flat-pack tables come with a basic Allen key in the box, but having a sturdier one is helpful.
Some tables with hidden or special joints (like cam locks or angle brackets) may require specific bits or tools.
🔩 Brackets in Dining Table Assembly | Types, Uses, and Installation Tips
When assembling a dining table, brackets play a critical role in ensuring structural stability and durability. Though small in size, they are essential for reinforcing connections and securing different components of the table. Below, you’ll find everything you need to know about the types and uses of brackets in furniture assembly.
Step-by-Step Guide to Assembling a Dining Table
🛠 What Is a Bracket and What Does It Do?
A bracket is a metal or reinforced plastic component used to join or support two separate surfaces or parts. In dining tables, brackets are commonly installed beneath the tabletop, around the legs, or at structural joints.
Main Functions of Brackets in Dining Tables:
- Firmly connecting table legs to the tabletop
- Reinforcing corners and preventing wobble
- Adding structural support in large or foldable tables
- Stabilizing sliding or extendable mechanisms
🔧 Common Types of Brackets
| Type of Bracket | Shape & Features | Primary Use |
|---|---|---|
| L Bracket | 90-degree angle | Attaching legs to tabletop, corner support |
| Z Bracket | Zigzag or dual-plane design | Joining uneven or offset surfaces |
| Flat Bracket | Straight metal strip with holes | Directly connecting two flat surfaces |
| Corner Brace | Thick angled bracket | Preventing warping or corner movement |
| Folding Bracket | Hinged design | Used in foldable or space-saving tables |
| Heavy-Duty Bracket | Extra thick and strong | Ideal for industrial or heavy tables |
📝 Installation Tips for Brackets
For foldable or movable tables, invest in high-quality brackets with locking features to ensure safety and function.
Use screws that match the thickness of your wood—long enough to hold, but not so long that they protrude through the surface.
Apply metal washers between the bracket and screw to distribute pressure and avoid damage to the wood.
For added strength, use wood glue at the contact points before screwing the bracket in place.
Make sure the brackets do not interfere with legroom—especially important for household or children’s tables.
Conclusion
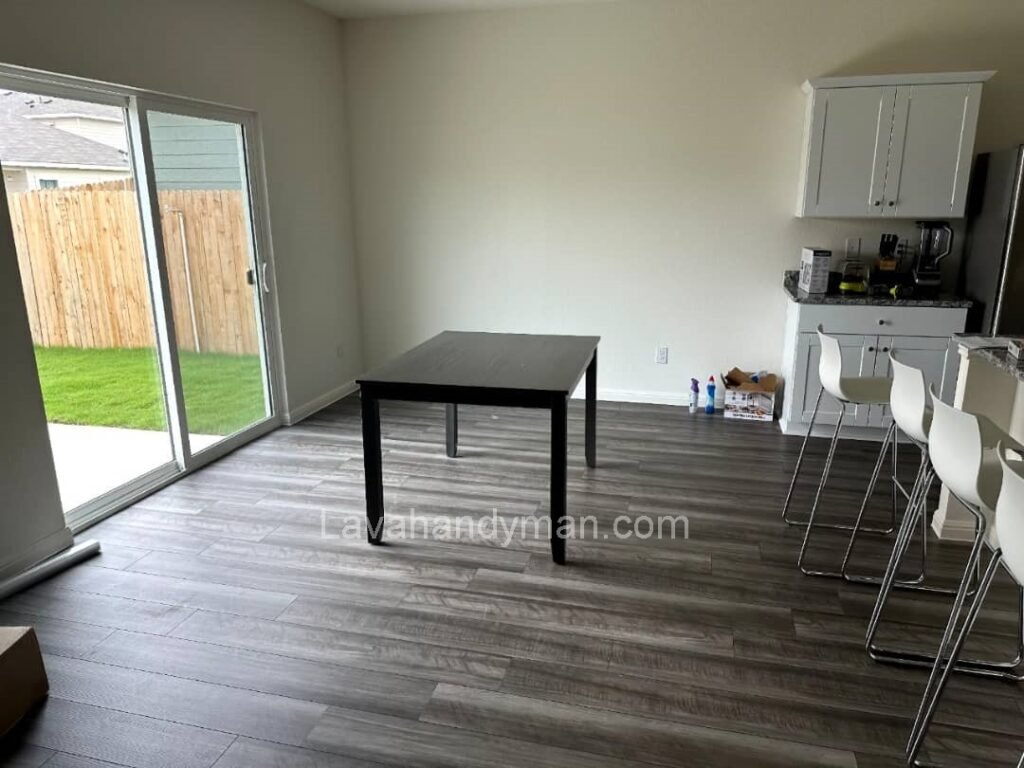
Dining table assembly may seem overwhelming at first, but with the right tools, careful preparation, and step-by-step approach, it becomes an enjoyable and satisfying DIY task. Following this guide ensures your table is both sturdy and stylish, ready to serve for years to come.
📞 Need Help?
Let us take care of the hard work while you sit back and relax.
📍 Serving: Austin, Round Rock, Cedar Park & more
📱 Call or Text: (737) 420-6992
🌐 Visit: https://lavahandyman.com
