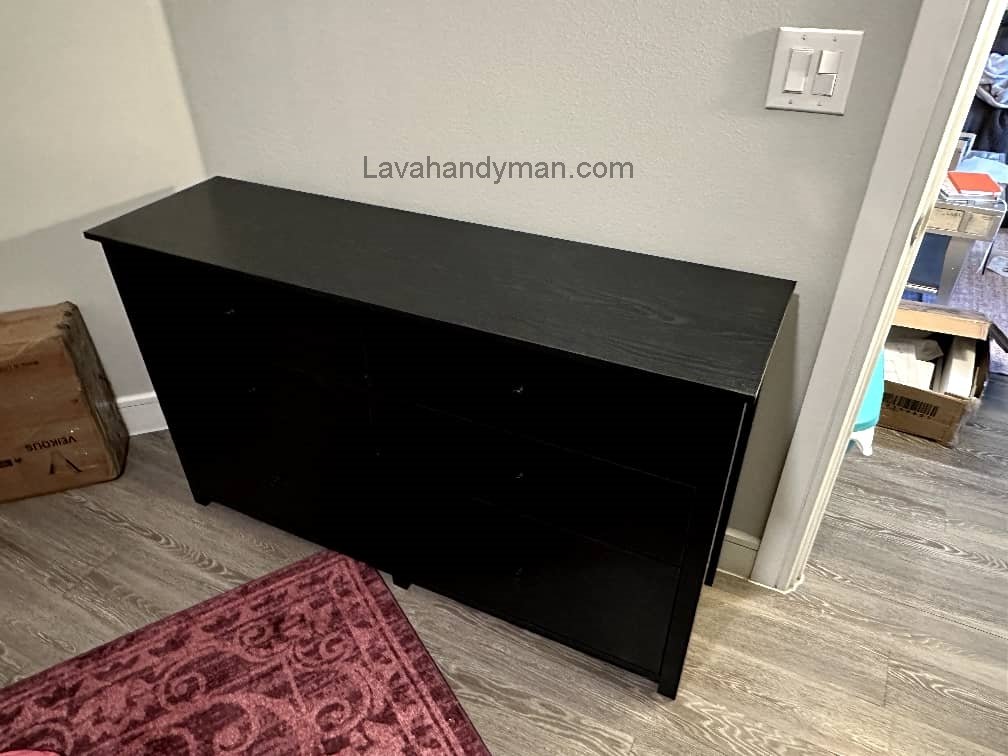
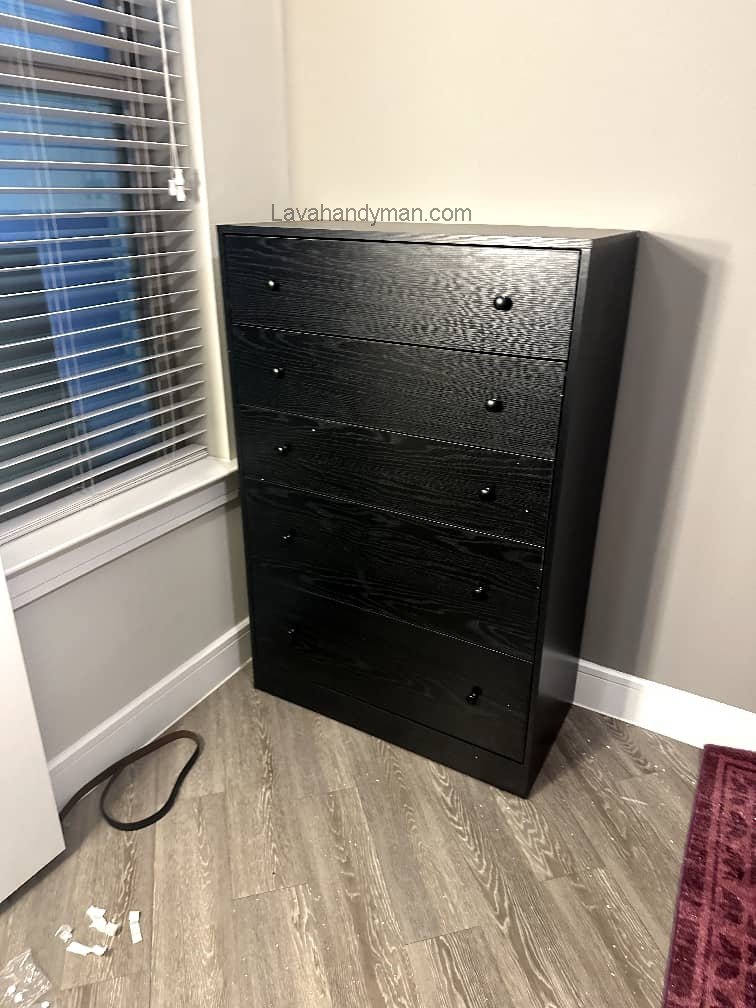
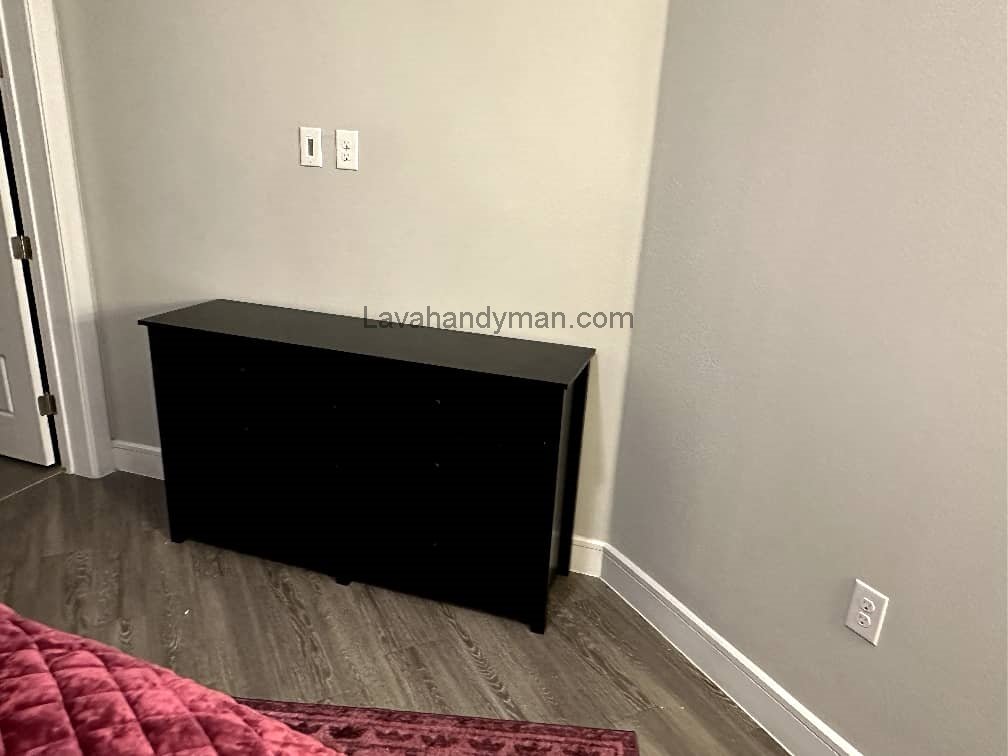
Guide to Assembling a Desk and Dresser in the Bedroom
1. Introduction
The bedroom is a personal and calming space, and proper arrangement plays a major role in providing comfort and order. Among the essential items in this space, the desk (for writing, makeup, or study) and the dresser (drawer cabinet) hold a special place. These two pieces of furniture not only serve a functional purpose for storage but also enhance the beauty and harmony of the room’s décor.
One important step after purchasing these items is correct assembly. When done properly, it ensures durability, functionality, and saves on installation costs.
2. Importance of Proper Assembly
Properly assembling a desk and dresser offers several advantages:

- Extends the lifespan of the furniture
- Ensures stability and safety
- Prevents issues like wobbling or misalignment
- Creates a clean and flawless appearance
On the other hand, poor assembly may cause technical problems, shorten the item’s lifespan, or even pose safety risks.
Guide to Assembling a Desk and Dresser in the Bedroom
3. Required Tools and Equipment
To assemble successfully, the following tools should be prepared:
- Flathead and Phillips screwdrivers – For different screw types
- Allen wrench (hex key) – Often included in the packaging
- Rubber or plastic mallet – To fit pieces together without scratches
- Measuring tape or ruler – For accurate measurements
- Hand level – To ensure surfaces are even
- Work gloves – To protect your hands from cuts or abrasions
- Assembly manual – The most important reference for correct steps
Guide to Assembling a Desk and Dresser in the Bedroom
4. Preparing the Workspace and Parts
Before starting:
- Prepare a clean, spacious work area.
- Remove all parts from the packaging and arrange them according to their labels or numbers.
- Read the assembly manual thoroughly.
- Check all parts and fittings for any damage.
5. Steps for Assembling a Desk
Step 1: Attaching the legs
Guide to Assembling a Desk and Dresser in the Bedroom
- Place the desk surface upside down on a soft base, like a blanket.
- Attach the legs to the marked points using screws.
Step 2: Installing drawers or compartments (if applicable)
- Fix the drawer slides onto the designated spots on the body.
- Assemble the drawers according to the manual, then insert them into the slides.
Step 3: Level and inspect
- Turn the desk upright and check with a level to ensure it is straight.
Guide to Assembling a Desk and Dresser in the Bedroom
6. Steps for Assembling a Dresser
Step 1: Assemble the main body
- Connect the side panels to the bottom and back panels.
Step 2: Install the slides
- Attach the drawer slides to both the main body and the drawers.
Step 3: Assemble the drawers
- Insert the drawer bottoms into their grooves and secure them with nails or fasteners.
Step 4: Insert the drawers
- Slide the drawers into the body and ensure smooth movement.
Guide to Assembling a Desk and Dresser in the Bedroom
7. Safety Tips During Assembly
- Use appropriate tools to avoid damaging the parts.
- Do not overtighten screws to prevent stripping threads.
- Get assistance when moving heavy furniture.
Guide to Assembling a Desk and Dresser in the Bedroom
8. Tips for Increasing Durability
- Clean regularly with a soft cloth.
- Avoid direct contact with moisture.
- Periodically check and tighten screws.
- Do not overload surfaces with excessive weight.
9. Common Problems and Solutions
- Loose drawers → Tighten the slide screws.
- Misaligned structure → Adjust and level the legs.
- Stiff drawer movement → Lubricate the slides.
Guide to Assembling a Desk and Dresser in the Bedroom
Complete Guide to Assembling a Desk and a Dresser
Part One: Desk Assembly
1. Initial Preparation
- Workspace: Clear and clean an area of at least 2×2 meters.
- Required tools: Flathead and Phillips screwdrivers, Allen wrench, rubber mallet, level, measuring tape, and work gloves.
- Sort the parts: Lay out all components on the floor and match them with the checklist in the assembly manual.
2. Attaching the Legs
- Place the desktop upside down on a soft surface (such as a blanket) to avoid scratches.
- Position the legs in their designated spots and hand-tighten the screws.
- Fully tighten the screws with the appropriate tool, avoiding excessive force to prevent thread damage.
Guide to Assembling a Desk and Dresser in the Bedroom
3. Installing Compartments or Side Panels (if applicable)
- Connect the side panels to the top panel.
- Use the designated fasteners and screws as indicated in the manual.
4. Installing Drawer Slides
- Identify the mounting points for the slides on the desk body.
- Attach the slides, ensuring left and right sides are positioned correctly.

5. Assembling the Drawers
- Attach the side panels of the drawer to the front and back panels.
- Insert the drawer bottom into the groove and secure it with nails or clips.
Guide to Assembling a Desk and Dresser in the Bedroom
6. Inserting the Drawers
- Slide the drawers gently into the slides until they click or lock into place.
7. Leveling and Final Check
- Turn the desk upright and check its level using a spirit level.
- Adjust the legs if they have height-adjustment screws to eliminate any wobble.
Part Two: Dresser Assembly
1. Initial Preparation
- Prepare tools and organize parts according to numbers or labels.
2. Assembling the Main Body
- Place the two side panels parallel on the floor.
- Fit the bottom panel between them and secure with screws or fasteners.
- Insert the thinner back panel into its groove and fix it with small nails.
3. Installing the Slides
- Attach the body slides inside the side panels and the drawer slides onto the drawer bodies.
4. Assembling the Drawers
- Connect the side panels to the front and back panels of each drawer.
- Insert the drawer bottom into the groove and secure it in place.
5. Installing the Drawers
- Slide the drawers onto the rails and push forward until fully seated.
6. Adjustment and Final Inspection
- Open and close each drawer several times to ensure smooth operation.
- If drawers are loose or stuck, recheck the screws on the slides.
Guide to Assembling a Desk and Dresser in the Bedroom
Key Tips for Both Pieces of Furniture
- Retighten all screws a few days after initial use.
- For heavy furniture, secure it to the wall with safety brackets to prevent tipping.
- Avoid direct exposure to moisture.
The Importance of Professional Installation vs. DIY Furniture Assembly
Advantages of a Professional Installer
- High Precision and Quality
- Experienced in reading manuals and using tools correctly
- Standard assembly ensures durability and safety
- Time Efficiency
- Fast assembly even for complex furniture
- Minimizes disruption and mess at home
- Better Safety
- Moves and installs heavy pieces without damaging the item or causing injury
- Follows safety practices such as securing tall furniture to walls
- Warranty and Support
- Post-installation service and troubleshooting if issues arise
- Maintains the product’s warranty when installed by an authorized technician
Guide to Assembling a Desk and Dresser in the Bedroom
Advantages of DIY Assembly
- Cost Savings
- No installer fees, especially beneficial for multiple items
- Skill Development
- Learn to use tools and understand furniture construction
- Flexibility in Timing
- Work at your own pace without scheduling constraints
Challenges of DIY Assembly
- Higher risk of errors that can reduce durability
- Time-consuming for inexperienced individuals
- Possible damage to parts or personal injury if safety rules aren’t followed
Important Tips for Furniture Assembly (Desk and Dresser)
1. Prepare Your Workspace and Tools
- Make sure your work area is clean, spacious, and well-lit.
- Have all necessary tools ready before you start: screwdrivers, Allen wrench, rubber mallet, level, and measuring tape.
Guide to Assembling a Desk and Dresser in the Bedroom
2. Check All Parts and the Manual
- Inspect all parts and match them with the parts list in the manual before beginning.
- Ensure no pieces are broken or missing.
- Read the instructions carefully and review the steps.
3. Follow the Assembly Order
- Always follow the steps in the manual sequentially.
- Assemble the main structure (frame and legs) first, then move on to drawers and details.
4. Attach Legs and Frame Securely
- Attach the legs firmly but don’t overtighten screws to avoid damaging wood or threads.
- Place the desk top on a soft surface to prevent scratches.
5. Assemble Drawers and Install Rails Properly
- Install the drawer rails correctly on the left and right sides to ensure smooth movement.
- Assemble the drawers carefully and secure their bottoms firmly.
6. Level the Desk and Dresser
- Use a level after assembly to make sure the desk or dresser is even and not tilted.
- Adjust the legs if necessary to achieve perfect balance.
7. Safety and Maintenance
- Wear gloves to protect your hands during assembly.
- Secure heavy dressers to the wall with safety brackets to prevent tipping.
- Retighten screws after a few days of use to ensure stability.
8. Use Proper Tools and Techniques
- Use the correct screwdriver or tool for each type of screw.
- Use a rubber mallet instead of a metal hammer to avoid damaging the wood.
Guide to Assembling a Desk and Dresser in the Bedroom
Conclusion
Assembling a desk and dresser is a simple yet delicate process that, when done with proper technique, can be both enjoyable and cost-effective. Careful attention to the steps, using the right tools, and focusing on detail will ensure safety, beauty, and durability for years to come.
📞 Need Help?
Let us take care of the hard work while you sit back and relax.
📍 Serving: Austin, Round Rock, Cedar Park & more
📱 Call or Text: (737) 420-6992
🌐 Visit: https://lavahandyman.com


