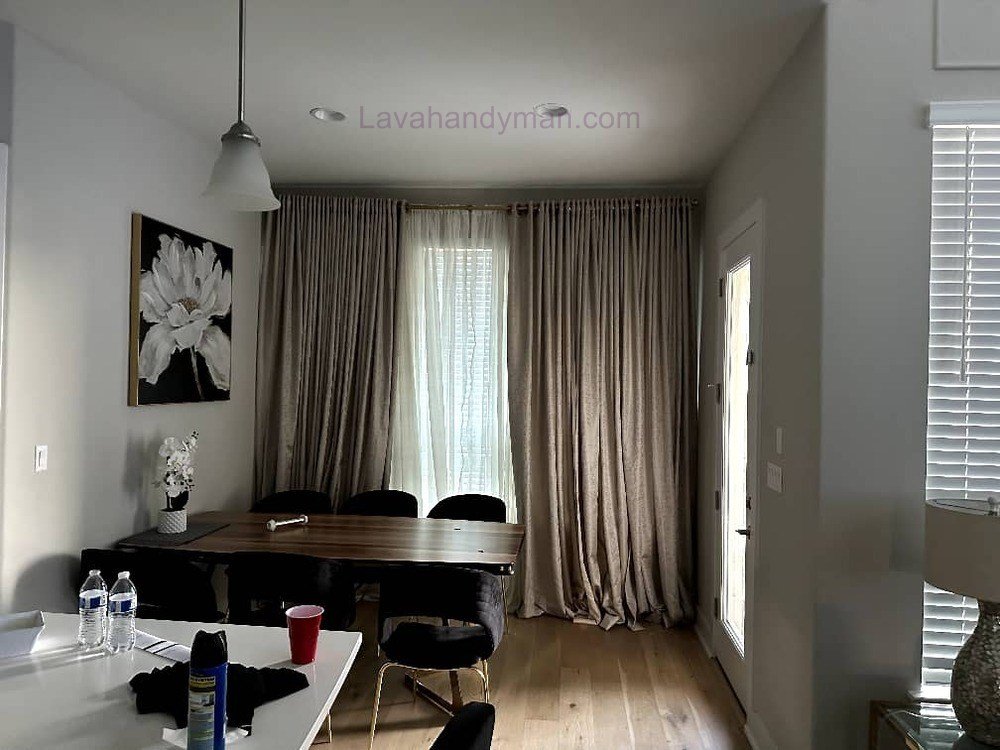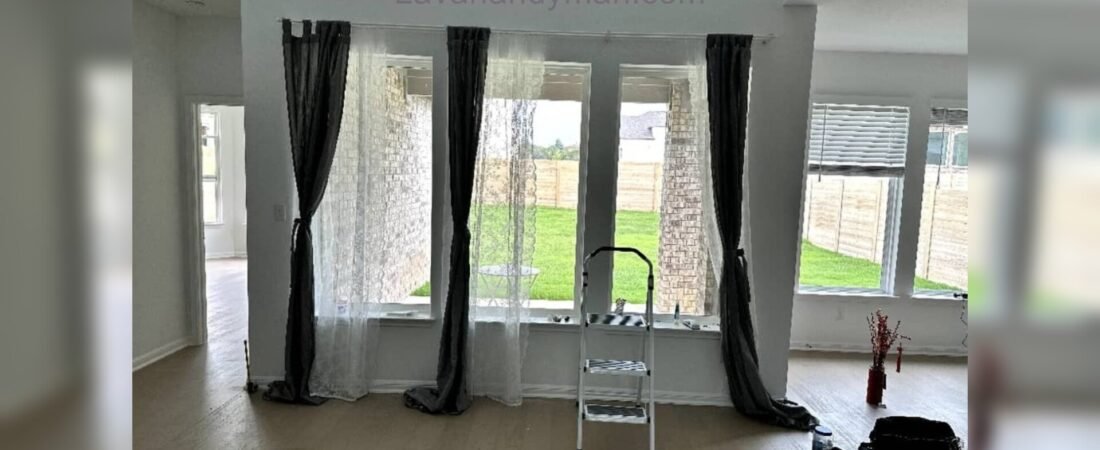
Step-by-Step Guide to Installing Curtains at Home: How to Install Curtains Easily for a Stylish and Neat Look
Installing curtains at home is one of the most important steps in creating a beautiful and organized interior. Even if you have chosen the best and most expensive curtains, improper installation can prevent them from looking their best. Incorrect measurements, choosing the wrong installation height, installing the curtain rod unevenly, or using unsuitable mounting hardware are some of the common problems that can occur during curtain installation.
If you want to learn how to install curtains and install them at home without unnecessary hassle, this guide covers everything from measuring the window to installing the curtain rod and arranging the curtains. By following these tips, you can install your curtains securely, properly, and beautifully.
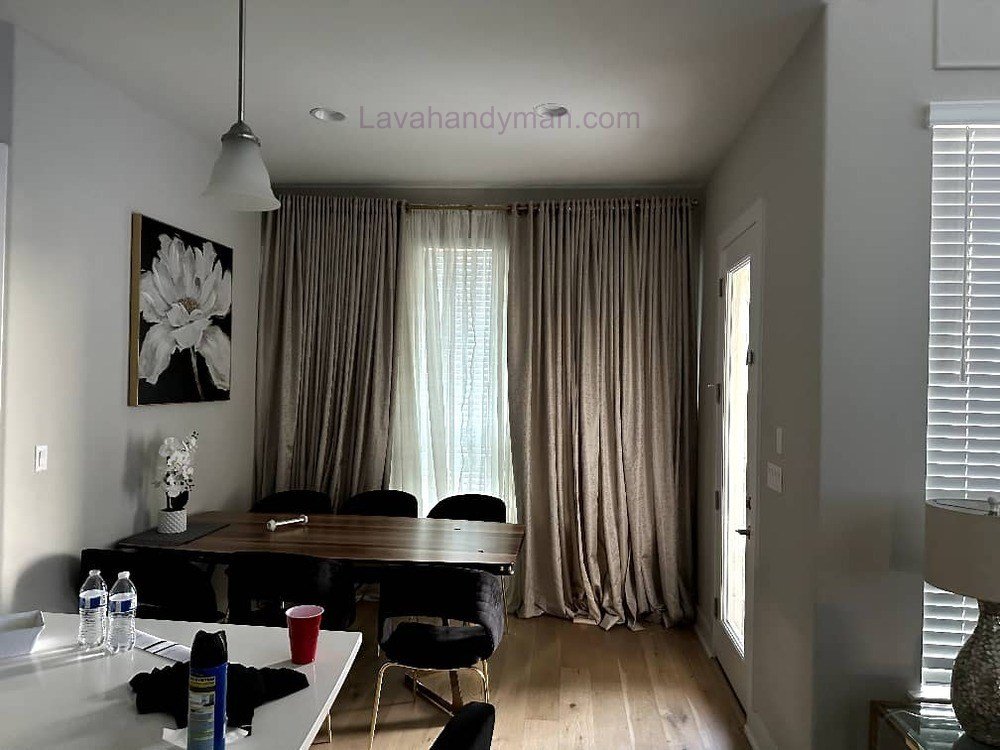
Step-by-Step Guide to Installing Curtains at Home
Where Should You Start When Installing Curtains?
Before reaching for the drill and screws, you need to determine the correct location for installing the curtains. Many curtain installation mistakes happen because people rush into the installation process without taking proper measurements.
Before installing curtains at home, determine the following:
- What is the width of the window?
- How far down should the curtains extend?
- At what height should the curtain rod be installed?
- Where should the curtain rod brackets be positioned?
- What type of wall do you have?
- How heavy are the curtains?
- Will the curtains open from one side or both sides?
Answering these questions will give you a clear idea of how the curtain installation should be done.
Tools Needed for Installing Curtains at Home
Step-by-Step Guide to Installing Curtains at Home
You do not need complicated equipment to install most household curtains. A few basic tools are usually enough.
The tools required for curtain installation at home include:
- Measuring tape
- Pencil
- Level
- Drill
- Appropriate drill bit
- Screws and wall anchors
- Screwdriver
- Sturdy ladder or step stool
- Curtain rod
- Curtain rod brackets
- Curtain rings or clips
Choosing the right screws and wall anchors is important. These components should be selected according to the type of wall and the weight of the curtains. For heavier curtains, using strong and suitable mounting hardware becomes even more important.
Step-by-Step Guide to Installing Curtains at Home
Step 1: Measure the Window for Curtain Installation
One of the most important steps in learning how to install curtains is measuring the window correctly.
Start by measuring the width of the window. It is better not to measure only the inside of the frame. You should also consider the space around the window.
In many cases, the curtain rod is installed slightly wider than the window. This allows the curtains to move farther to the sides when opened, leaving more of the window uncovered and allowing more natural light into the room.
After measuring the width, determine the desired curtain height. If the curtains are intended to reach the floor, measure the distance from the planned curtain rod position to the floor.
It is also a good idea to check the height at several points because the floor or ceiling may not be perfectly level.
What Is the Best Height for Installing Curtains?
The installation height has a significant effect on the final appearance of the curtains. If the curtain rod is installed too low, the window may appear shorter.
Step-by-Step Guide to Installing Curtains at Home
In many interior designs, installing the curtain rod slightly above the window frame can make the window appear taller and create a more elongated look.
However, there is no single height that works for every home. When choosing the curtain installation height, consider factors such as the distance between the ceiling and the window, room height, curtain style, and any obstacles above the window.
If there is a cabinet, air conditioner, decorative frame, or another object above the window, the installation position should be adjusted accordingly.
Step 2: Mark the Curtain Rod Bracket Positions
Once you have determined the installation height, the next step is to mark the positions of the curtain rod brackets.
For a standard curtain rod, the brackets are usually installed on both sides of the window. If the curtain rod is particularly long or the curtains are heavy, a center support bracket may also be necessary.
Step-by-Step Guide to Installing Curtains at Home
The bracket positions should be symmetrical. To determine the exact locations, measure and mark one side first, then use the same measurement on the other side.
Do not start drilling immediately. Check all measurements again to make sure the bracket positions are correct.
Step 3: Use a Level When Installing the Curtain Rod
One of the easiest ways to prevent the curtain rod from being crooked is to use a level.
Place the level along the intended installation line and make sure it is perfectly horizontal. Even a small difference in the height of the brackets can become noticeable after the curtain rod is installed.
For this reason, using a level is an important part of proper curtain installation.
Step 4: Check the Type of Wall
Before drilling, you should determine what type of wall you are working with.
Step-by-Step Guide to Installing Curtains at Home
Walls can be made of plaster, brick, concrete, wood, or other materials. Each type of wall may require different drill bits, screws, and wall anchors.
The screws and anchors should be suitable for the wall material and the weight of the curtains.
You should also make sure there are no electrical wires or pipes behind the area where you plan to drill.
If you are unsure about the wall material or the location of hidden utilities, it is better to ask an experienced professional for help.
Step 5: Drill the Wall and Install the Curtain Brackets
Once you have determined the exact bracket positions, you can begin drilling.
Choose the appropriate drill bit and create the holes at the marked locations. Then insert the wall anchors and position the curtain rod brackets.
Step-by-Step Guide to Installing Curtains at Home
Tighten the screws enough to keep the brackets firmly in place, but avoid applying excessive force.
After installing the first bracket, install the second one and check the curtain rod position again using a level.
Step 6: Install the Curtain Rod
Once the brackets are securely attached, it is time to install the curtain rod.
The way the rod attaches to the brackets depends on the design of the brackets and the type of curtain rod.
In some models, the rod simply rests on the brackets, while others use screws or special locking mechanisms.
Before completing the installation, make sure the curtain rod is properly positioned on both brackets.
Step-by-Step Guide to Installing Curtains at Home
If the curtains use rings, you can place the rings on the rod before securing the rod in its final position. This can make the installation process easier.
Step 7: Attach the Curtains to the Curtain Rod
Now you can attach the curtains to the rod.
The installation method depends on the type of curtains. Curtains may have grommets, rings, clips, or curtain tape, and each type has a slightly different installation method.
While attaching the curtains, move them gently to avoid damaging the fabric and to keep the folds evenly distributed.
Once the curtains are installed, open and close them several times to make sure they move smoothly.
Step-by-Step Guide to Installing Curtains at Home
Step 8: How to Arrange Curtain Folds Properly
After installing the curtains, arranging the folds is an important step.
If the folds are tightly gathered in one area and spread out in another, the curtains may look uneven and messy. After installation, fully open the curtains and distribute the folds evenly along the rod.
For two-panel curtains, try to keep the folds on both sides as symmetrical as possible.
This simple step can make a significant difference in the final appearance of the curtains.
Best Way to Install Curtains for Small Windows
For small windows, you should pay particular attention to how far the curtains move to the sides.
If the curtain rod is exactly the same width as the window, a large portion of the glass may remain covered even when the curtains are open.
For this reason, choosing a curtain rod that extends slightly beyond the window can often be a better option. This allows the curtains to move farther to the sides.
Choosing an appropriate installation height can also make a small window appear larger and taller.
Step-by-Step Guide to Installing Curtains at Home
How to Install Curtains for Large Windows
Large windows usually require stronger mounting hardware.
The wider the curtain rod and the heavier the fabric, the more pressure is placed on the brackets. Therefore, a center support bracket may be necessary for large or heavy curtains.
Before installing these types of curtains, make sure the wall, screws, wall anchors, and brackets can safely support the total weight.
Should Curtains Be Installed on the Wall or Ceiling?
Step-by-Step Guide to Installing Curtains at Home
Depending on the room, curtains can be mounted either on the wall or on the ceiling.
Wall mounting is one of the most common options for standard windows. In this method, the curtain rod brackets are attached to the wall above the window.
In some situations, ceiling mounting can be a better choice. For example, it may be useful when there is very little space between the top of the window and the ceiling or when the design calls for the curtains to start higher up.
The best installation method depends on the curtain style, room structure, ceiling height, and window position.
Common Curtain Installation Mistakes
One of the most common mistakes is inaccurate measuring. If the width or height is measured incorrectly, even high-quality curtains may not look right.
Another common mistake is installing the brackets without using a level. This can cause the curtain rod to appear crooked.
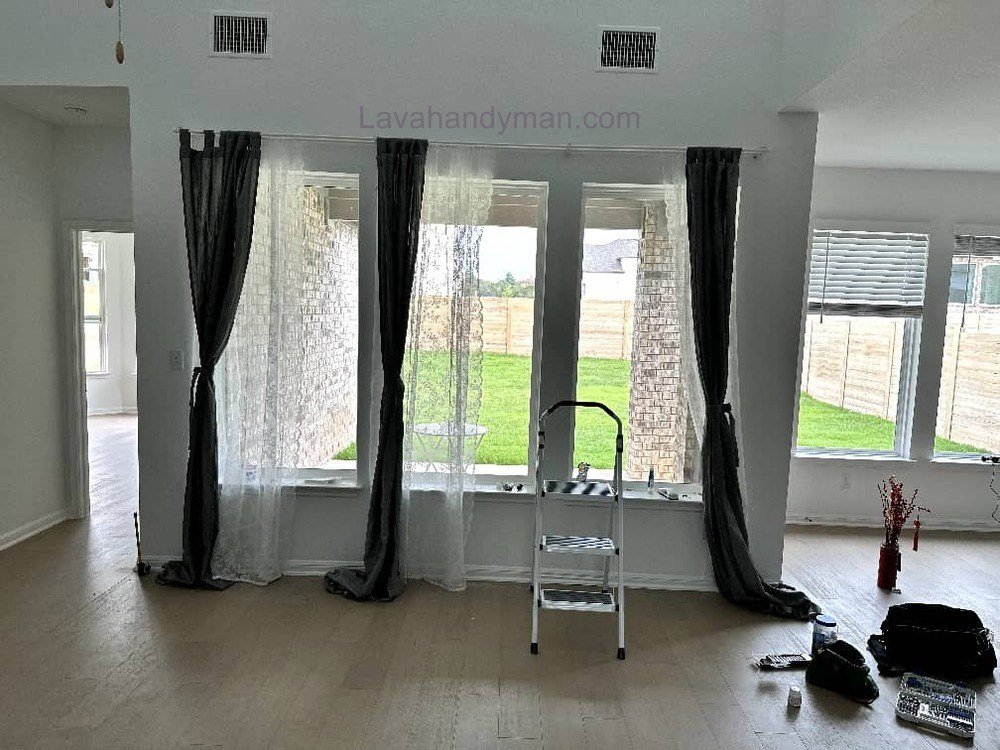
Step-by-Step Guide to Installing Curtains at Home
Using unsuitable screws and wall anchors is another important problem. Weak mounting hardware can cause the brackets to move or even detach from the wall.
You should also consider more than just the appearance of the curtains. The weight of the fabric, curtain rod size, wall material, and ease of opening and closing should all be taken into account.
Is Installing Curtains at Home Difficult?
For standard curtains, installing them at home is generally manageable if you have the right tools and follow the correct steps.
Step-by-Step Guide to Installing Curtains at Home
However, if the curtains are very heavy, the window is particularly large, or the installation area is high off the ground, it may be safer and more practical to hire a professional installer.
Likewise, if you are unsure about the wall material or the presence of pipes or electrical wiring behind the wall, professional assistance is recommended.
Important Tips After Installing Curtains
After completing the curtain installation at home, check a few important things.
First, make sure the brackets are firmly secured. Then open and close the curtains to make sure they move smoothly.
Adjust the folds and check the distance between the bottom of the curtains and the floor.
It is also a good idea to inspect the mounting hardware periodically. If the screws become loose or the brackets start moving, fix the issue before continuing to use the curtains regularly.
Step-by-Step Guide to Installing Curtains at Home
How to Make Curtains Look Stylish and Neat
A beautiful result depends on more than simply choosing the right fabric. The installation position, curtain rod height, curtain width, and arrangement of the folds all affect the final appearance.
One important tip is to avoid installing the curtain rod too low. The rod should also not be so short that the curtains remain over the window when they are fully opened.
Keeping the curtain rod level, maintaining symmetry on both sides, and arranging the folds evenly can make the installation look much more professional.
Choosing the Right Curtains Before Installation
Choosing the right curtains is an important part of a successful curtain installation. Before installing a curtain rod or drilling into the wall, consider the type, weight, length, and purpose of the curtains.
Step-by-Step Guide to Installing Curtains at Home
Different curtain styles require different installation methods. For example, eyelet curtains are designed to slide directly onto a curtain rod, while pinch-pleat curtains usually require hooks, rings, or specialized curtain hardware.
If you want to install two layers of curtains, such as sheer and blackout curtains, a double curtain rod can be a practical solution. It allows both curtain layers to move independently and gives you greater control over privacy and natural light.
Before beginning the installation, check the manufacturer’s recommendations and make sure the curtain hardware is compatible with the type of curtains you have chosen.
How to Install Curtains for Better Light Control
Step-by-Step Guide to Installing Curtains at Home
One of the main reasons people install curtains is to control natural light. The position and width of the curtain rod can have a significant effect on how much sunlight enters the room.
For bedrooms, blackout curtains can help reduce incoming light and create a darker environment. In living rooms and other common areas, sheer curtains can soften sunlight while maintaining a bright and comfortable atmosphere.
For better light control, consider installing the curtain rod slightly wider than the window. When the curtains are opened, the fabric can move farther away from the glass, allowing more natural light to enter.
When the curtains are closed, the additional width also helps cover the edges of the window and reduce unwanted gaps.
Curtain Installation for Better Privacy
Privacy is another important consideration when planning window curtain installation.
Step-by-Step Guide to Installing Curtains at Home
If a window faces a busy street, neighboring buildings, or another area where privacy is important, the curtains should provide sufficient coverage when closed.
Before installing the curtain rod, check the width and position of the window carefully. The curtain panels should be wide enough to cover the window without leaving large gaps at the sides.
A combination of sheer and heavier curtains can also provide greater flexibility. Sheer curtains can filter daylight during the day, while thicker curtains can be closed when additional privacy is required.
How to Choose the Correct Curtain Length
Step-by-Step Guide to Installing Curtains at Home
Choosing the right curtain length is essential for achieving a neat and professional result.
Curtains that are too short can make the window treatment look unfinished, while excessively long curtains may create unnecessary fabric buildup on the floor.
Before purchasing or ordering curtains, measure the distance from the planned curtain rod installation point to the desired endpoint. Take measurements from more than one location to make sure the floor is reasonably level.
The required curtain length can also depend on the type of curtain hardware. Curtains attached with rings, hooks, or other systems may hang at slightly different heights.
If you are ordering custom curtains, provide accurate measurements and clearly specify whether you want the curtains to end above the floor, touch the floor, or extend slightly beyond it.
Step-by-Step Guide to Installing Curtains at Home
Installing Curtains in Rooms With High Ceilings
High ceilings can provide an excellent opportunity to create a more elegant window treatment.
Instead of positioning the curtain rod only according to the window frame, consider the proportions of the entire room. In some interiors, installing curtains higher on the wall can create a stronger vertical effect and make the room feel more balanced.
However, high curtain installation requires additional attention to safety. Working at significant heights with a drill or other tools can be dangerous.
Always use a stable ladder or suitable access equipment. Avoid standing on unstable furniture or improvised surfaces to reach the installation point.
If the curtain rod must be installed at a difficult height, professional curtain installation may be the safer option.
Step-by-Step Guide to Installing Curtains at Home
How Furniture Affects Curtain Installation
Furniture placement is another factor that should be considered before installing curtains.
A sofa, bed, desk, cabinet, or other piece of furniture positioned close to the window can interfere with the movement of the curtains.
Before permanently installing the brackets, consider how the curtains will move when they are fully opened and closed. Make sure the fabric does not become trapped behind furniture or interfere with doors, windows, or other objects.
Planning the curtain installation around the furniture can make the finished window treatment much more practical.
Best Curtain Installation Ideas for Different Rooms
Step-by-Step Guide to Installing Curtains at Home
The best curtain setup depends on the purpose and design of each room.
Curtain Installation for the Living Room
Living rooms usually require a balance between decoration, privacy, and natural light. Layered curtains, decorative panels, or sheer curtains can provide both functionality and visual appeal.
When installing curtains in the living room, consider the colors and materials already used in the space so the window treatment complements the rest of the interior.
Curtain Installation for the Bedroom
For bedrooms, privacy and light control are often major priorities. Blackout curtains can be combined with sheer curtains to provide greater flexibility.
Step-by-Step Guide to Installing Curtains at Home
Make sure the curtain panels are wide enough to cover the window completely when closed.
Curtain Installation for the Kitchen
Kitchen curtains should be practical and easy to maintain. Avoid installing long or loose fabric too close to cooking areas, heat sources, or appliances.
Choose a curtain style that can be cleaned easily and does not interfere with normal kitchen activities.
Curtain Installation for Children’s Rooms
When installing curtains in a child’s room, secure mounting is particularly important. The curtain rod and brackets should be firmly attached, and accessible cords or other hanging components should be arranged carefully.
Step-by-Step Guide to Installing Curtains at Home
Choose a curtain system that is practical, stable, and suitable for the room.
How to Check Your Curtain Installation After Several Days
A curtain installation should be checked again after several days of regular use.
Open and close the curtains several times and make sure the curtain rod remains stable. Check the brackets for movement and make sure the curtains slide smoothly.
If you notice that a bracket has shifted, a screw has become loose, or the curtain rod is no longer level, address the problem promptly.
This is especially important for heavy curtains because their weight places greater stress on the brackets and mounting points.
Step-by-Step Guide to Installing Curtains at Home
How to Make Your Curtain Installation Look Professional
A professional-looking curtain installation does not necessarily require expensive materials or complicated techniques. Good preparation is often the most important factor.
Start by measuring the window carefully. Choose the correct curtain rod length and make sure the mounting hardware is suitable for the wall and curtain weight.
Use a level to align the brackets, maintain symmetry on both sides of the window, and check the curtain length before completing the installation.
You should also consider the overall interior design. The curtain height, fabric, color, folds, and distance from the wall should work together with the furniture and proportions of the room.
Step-by-Step Guide to Installing Curtains at Home
Conclusion: How to Install Curtains at Home Without Hassle
Learning how to install curtains may seem simple, but achieving a professional result requires careful measuring and choosing the right installation position. If you accurately measure the window width and height, choose an appropriate installation height, and use a level to position the brackets, you can significantly reduce the chance of installation problems.
Choosing screws and wall anchors that are suitable for the wall material and curtain weight is equally important. After installation, check the curtain movement, bracket stability, and arrangement of the folds.
Step-by-Step Guide to Installing Curtains at Home
If the curtains are lightweight and the installation conditions are simple, you can install them yourself using basic tools. However, for heavy curtains, large windows, or high installations, hiring a professional can be a safer option.
Ultimately, proper curtain installation does more than simply secure the curtains in place. It can also improve the appearance of the window and create a more balanced and attractive interior design.
Frequently Asked Questions About Curtain Installation
What is the best height for installing curtains?
The ideal height depends on the window size, ceiling height, curtain style, and room layout. In many rooms, installing the curtain rod slightly above the window frame can create a taller and more elongated appearance.
Step-by-Step Guide to Installing Curtains at Home
What tools are needed to install curtains?
Common tools include a measuring tape, pencil, level, drill, appropriate drill bit, screws, wall anchors, screwdriver, and a sturdy ladder or step stool.
Why does the curtain rod become crooked after installation?
Uneven brackets, inaccurate measurements, or installing the brackets at different heights can cause the curtain rod to appear crooked.
Can I install curtains myself?
Yes. Many standard curtains can be installed at home if you have the appropriate tools and follow the correct installation steps. However, professional assistance is recommended for very heavy curtains, large windows, or high installations.
Should the curtain rod be wider than the window?
In many cases, using a curtain rod that extends beyond the window allows the curtains to move farther to the sides when opened, leaving more of the window exposed.
Step-by-Step Guide to Installing Curtains at Home
What is most important when installing heavy curtains?
Strong and suitable mounting hardware is essential. The brackets, screws, and wall anchors should be selected according to the wall material and the total weight of the curtains.
Is ceiling mounting or wall mounting better for curtains?
There is no single option that is best for every room. The choice depends on the room structure, ceiling height, distance between the ceiling and window, curtain style, and available installation space.
📞 Need Help?
Let us take care of the hard work while you sit back and relax.
📍 Serving: Austin, Round Rock, Cedar Park & more
📱 Call or Text: (737) 420-6992
🌐 Visit: https://lavahandyman.com