TV Wall Mount Installation Guide: Using a Laser Level for Perfect Alignment
How to Install a TV Wall Mount Using a Laser Level
Installing a TV wall mount is one of the best ways to improve your home entertainment setup while creating a clean, modern look. Whether you’re mounting a 43-inch LED TV or an 85-inch OLED television, proper TV wall mount installation ensures better viewing angles, increased safety, and a more organized living space.
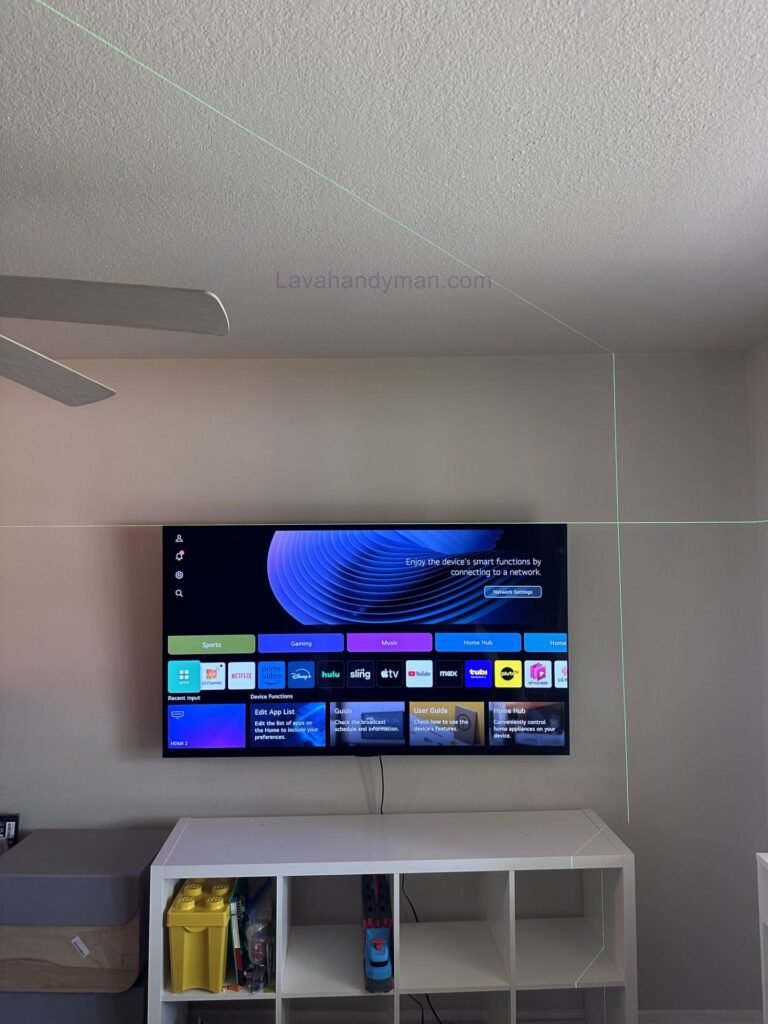
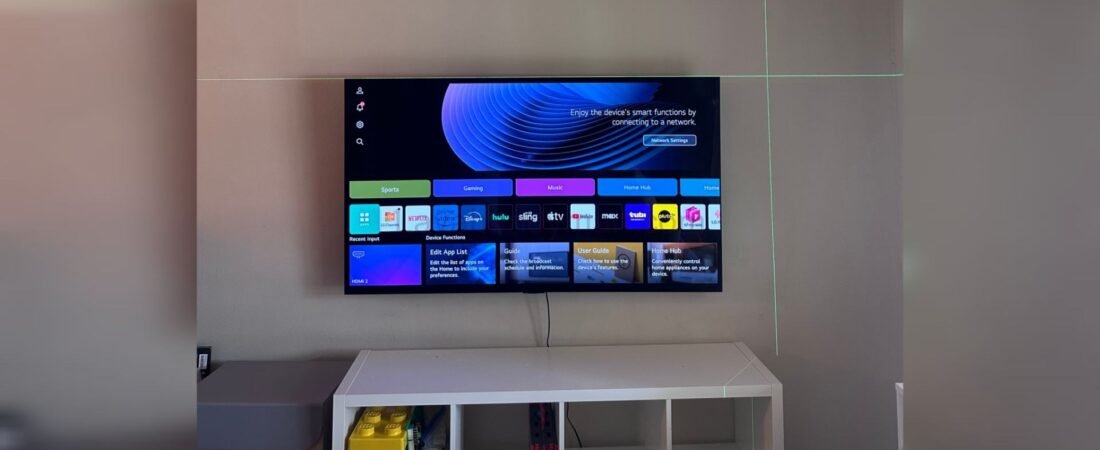
One of the biggest challenges during a TV wall mount installation is achieving perfect alignment. Even a slight tilt can make the television appear crooked, affecting both aesthetics and viewing comfort. This is why professional installers rely on a laser level instead of a traditional spirit level. A laser level projects a perfectly straight horizontal line across the wall, making it easy to position the mounting bracket accurately before drilling.
In this complete TV Wall Mount Installation Guide, you’ll learn how to choose the right wall mount, locate wall studs, use a laser level for perfect alignment, drill safely, install the mounting bracket, and securely mount your television like a professional.
TV Wall Mount Installation Guide
Whether you’re installing a fixed TV wall mount, a tilting TV mount, or a full-motion TV wall mount, this guide covers every step required for a safe and accurate installation.
Why Use a Laser Level for TV Wall Mount Installation?
TV Wall Mount Installation Guide
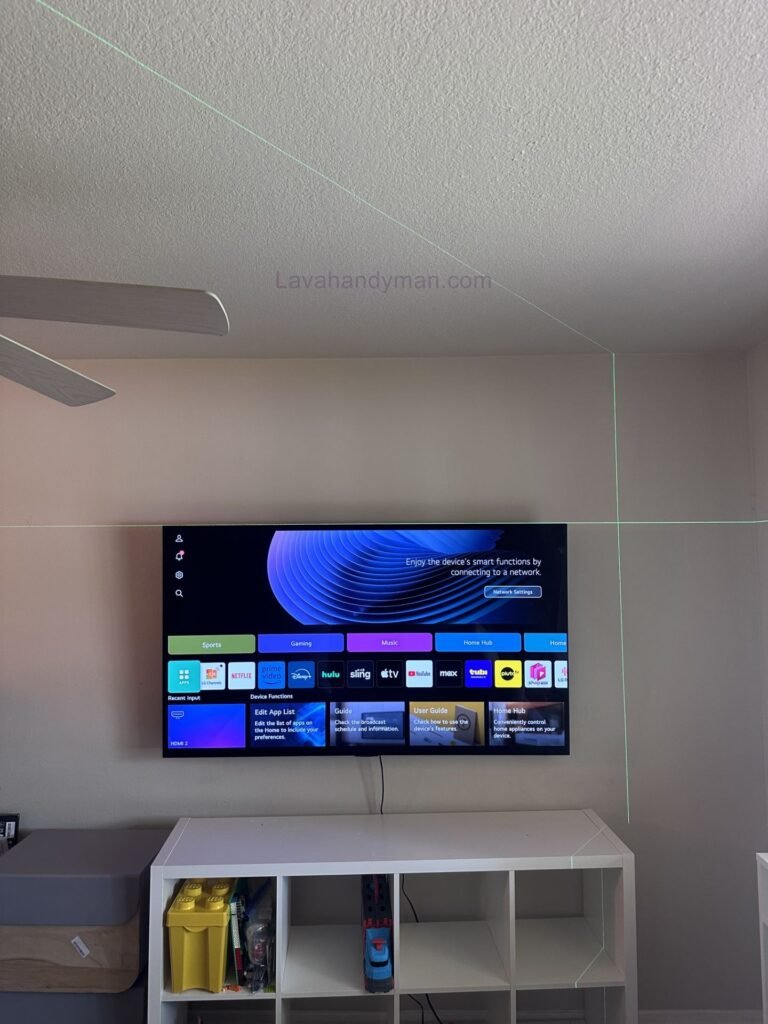
Using a laser level is one of the easiest ways to achieve a perfectly level TV wall mount installation. While a traditional bubble level only measures a short section of the wall, a laser level projects a continuous reference line, allowing you to align the entire mounting bracket with professional accuracy.
If you’re wondering how to mount a TV on the wall without making alignment mistakes, a laser level is the most reliable tool available.
Benefits of Using a Laser Level
Perfect Alignment Every Time
A laser level helps ensure your TV wall mount is installed perfectly straight, preventing the screen from appearing crooked after installation.
Benefits include:
- Professional-looking TV installation
- Accurate wall bracket positioning
- Perfect alignment with furniture
- Improved room aesthetics
TV Wall Mount Installation Guide
Faster TV Wall Mount Installation
A visible laser line allows you to mark multiple mounting holes without repeatedly checking a spirit level.
This means:
- Faster installation
- Fewer measurement errors
- More accurate drilling
- Less time spent making adjustments
TV Wall Mount Installation Guide
Better for Large TVs
Large televisions make installation mistakes more noticeable. A 65-inch, 75-inch, or 85-inch TV must be mounted with precise alignment to avoid an uneven appearance.
Using a laser level ensures:
- Straight horizontal alignment
- Balanced positioning
- Accurate center placement
- Professional installation results
How to Find Wall Studs for a Secure TV Wall Mount Installation
Before you drill the first hole, locating the wall studs is the most important step in any TV wall mount installation. A properly mounted TV depends on a strong structural connection. Installing a TV wall mount directly into drywall without securing it to wall studs or using the correct anchors can lead to an unstable installation, wall damage, or even a fallen television.
Professional installers always begin by identifying the strongest mounting points before positioning the TV wall mount bracket. Taking the time to locate studs accurately will make the installation safer, stronger, and more durable.
TV Wall Mount Installation Guide
Step 1: Locate Wall Studs Before Installing a TV Wall Mount
Most residential walls are built with wooden or metal studs hidden behind drywall. These studs provide the structural support needed to safely hold the weight of your television.
If you’re wondering how to mount a TV on the wall safely, fastening the mounting bracket directly into wood studs is considered the industry standard.
Use a Stud Finder for Accurate Results
A high-quality electronic stud finder is the fastest and most reliable way to locate wall studs before beginning your TV wall mount installation.
TV Wall Mount Installation Guide
Follow these steps:
- Turn on the stud finder and calibrate it according to the manufacturer’s instructions.
- Slowly move the stud finder horizontally across the wall.
- Mark both edges of the stud using a pencil.
- Measure between the two marks to locate the exact center of the stud.
- Repeat the process to locate the second stud required for the wall mount.
Most wall studs are spaced 16 inches (406 mm) or 24 inches (610 mm) apart, although spacing may vary depending on local building codes.
Verify the Stud Locations
Even the best stud finder can occasionally produce inaccurate readings. Professional TV installers always verify stud locations before drilling.
You can confirm the stud position by:
TV Wall Mount Installation Guide
- Scanning the wall multiple times
- Measuring standard stud spacing
- Checking electrical outlets, which are often attached to studs
- Using a small finish nail if additional confirmation is needed
Spending a few extra minutes verifying the stud location can prevent expensive installation mistakes later.
Installing a TV Wall Mount on Different Wall Types
Not every home has standard wood-stud walls. Before installing your TV wall mount, determine the type of wall you’re working with.
Common wall materials include:
- Wood studs
- Metal studs
- Concrete
- Brick
- Concrete block
TV Wall Mount Installation Guide
Each wall type requires different mounting hardware.
For example:
- Concrete walls require masonry drill bits and concrete anchors.
- Brick walls require heavy-duty masonry anchors.
- Metal stud walls typically require toggle bolts or additional reinforcement.
Choosing the correct hardware is essential for a safe and long-lasting TV wall mount installation.
Step 2: Choose the Best TV Mounting Height
One of the biggest mistakes homeowners make is mounting the television too high.
For the most comfortable viewing experience, professional installers recommend positioning the center of the TV screen at approximately eye level when seated.
TV Wall Mount Installation Guide
Recommended TV Mounting Height
In most living rooms, the center of the television should be approximately:
42–48 inches (107–122 cm) above the finished floor.
The ideal height depends on:
- TV screen size
- Seating position
- Sofa height
- Viewing distance
Proper TV mounting height reduces neck strain and creates a more comfortable viewing experience.
TV Wall Mount Installation Guide
Recommended Viewing Distance by TV Size
Choosing the correct installation height also depends on how far you’ll sit from the screen.
| TV Size | Recommended Viewing Distance |
|---|---|
| 43-inch TV | 5.5–7 ft |
| 55-inch TV | 7–10 ft |
| 65-inch TV | 8–11 ft |
| 75-inch TV | 9–12 ft |
| 85-inch TV | 10–14 ft |
Maintaining the proper viewing distance improves picture quality while reducing eye fatigue.
TV Wall Mount Installation Guide
Step 3: Mark the Center Position for Your TV Wall Mount
Before setting up your laser level, determine exactly where the television should be centered.
Most homeowners align the TV with:
- The center of a media console
- The primary seating area
- A feature wall
- A fireplace (only if the viewing height is comfortable)
Mark the center point lightly with a pencil. This reference mark will be used throughout the TV wall mount installation.
TV Wall Mount Installation Guide
Step 4: Set Up the Laser Level for Perfect Alignment
A laser level is one of the most valuable tools for achieving a perfectly straight TV wall mount installation.
Unlike a traditional spirit level, a laser level projects a continuous horizontal reference line across the wall, allowing you to position the mounting bracket with exceptional accuracy.
Position the Laser Level Correctly
Place the laser level on a:
- Tripod
- Stable work surface
- Laser mounting pole
- Magnetic wall mount (if supported)
Ensure the laser line is clearly visible across the entire installation area.
TV Wall Mount Installation Guide
Using a Self-Leveling Laser Level
Most modern laser levels automatically level themselves within a few seconds.
After turning the device on:
- Allow the laser to self-level.
- Wait until the blinking stops.
- Confirm the laser line remains steady before marking the wall.
If the laser continues flashing, reposition the device until it reaches a level position.
TV Wall Mount Installation Guide
Using a Manual Laser Level
If your laser level requires manual adjustment:
- Use the built-in bubble vial.
- Fine-tune the position carefully.
- Confirm the projected laser line is perfectly horizontal before continuing.
TV Wall Mount Installation Guide
Step 5: Align the TV Wall Mount Bracket
Hold the TV wall mount bracket against the wall and align it precisely with the horizontal laser line.
This is where a laser level provides a significant advantage over a bubble level.
Instead of checking only a few inches at a time, you can instantly verify that the entire TV wall mount is perfectly level across its full width.
Before marking the holes, confirm:
- The bracket is centered.
- The mounting holes align with the wall studs.
- The installation height is correct.
- The laser line remains perfectly level.
Only then should you proceed to mark the drilling points.
TV Wall Mount Installation Guide
Step 6: Mark and Drill the Pilot Holes
With the wall bracket held firmly against the laser line, mark each mounting hole using a sharp pencil.
Next, drill pilot holes using a drill bit slightly smaller than the supplied lag bolts.
When drilling:
- Keep the drill perpendicular to the wall.
- Drill slowly to avoid damaging the stud.
- Drill to the recommended depth.
- Remove dust from each hole before installing the lag bolts.
Proper pilot holes make the TV wall mount installation easier while improving the strength of the final installation.
TV Wall Mount Installation Guide
Common TV Wall Mount Installation Mistakes to Avoid
Avoid these common mistakes to ensure a secure and professional installation:
- Mounting the bracket directly into drywall.
- Ignoring wall stud locations.
- Skipping the laser level.
- Installing the TV too high.
- Using incorrect drill bits.
- Failing to verify measurements.
- Tightening lag bolts before confirming alignment.
- Using hardware that doesn’t match your wall type.
By avoiding these mistakes, you’ll achieve a safer, straighter, and more professional TV wall mount installation.
Step 7: Install the TV Wall Mount Bracket Securely
After drilling the pilot holes and verifying all measurements, it’s time to install the TV wall mount bracket. This is one of the most important stages of the entire TV wall mount installation because the wall plate supports the full weight of your television.
Before securing the bracket, remove any dust or debris from the pilot holes. Clean pilot holes allow the lag bolts to seat properly and create a stronger connection with the wall studs.
TV Wall Mount Installation Guide
Secure the TV Wall Mount to the Wall
Position the TV wall mount bracket over the pilot holes and insert the lag bolts by hand to prevent cross-threading.
Using a socket wrench or impact driver, tighten each lag bolt gradually rather than fully tightening one bolt at a time. Tightening the bolts evenly helps keep the TV wall mount properly aligned with the laser level.
After installation, verify that:
- The wall plate sits flush against the wall.
- All lag bolts are fully tightened.
- The bracket remains perfectly level.
- There is no movement or flex.
A securely mounted wall plate is the foundation of a safe and long-lasting TV wall mount installation.
TV Wall Mount Installation Guide
Test the Wall Mount Before Hanging the TV
Professional installers never skip this step.
Apply firm pressure to the wall bracket in multiple directions to ensure it is securely fastened.
Check for:
- Loose lag bolts
- Wall movement
- Bracket shifting
- Unusual sounds
If the wall mount moves at all, inspect the installation before mounting the television.
TV Wall Mount Installation Guide
Step 8: Attach the TV Mounting Brackets
Every TV wall mount kit includes two mounting rails or arms that attach directly to the back of the television.
Before attaching the brackets:
- Place the TV face down on a soft blanket.
- Protect the screen from scratches.
- Never rest the television directly on a hard surface.
TV Wall Mount Installation Guide
Select the Correct TV Mounting Screws
Different TV manufacturers use different mounting screw sizes.
The most common VESA screw sizes are:
- M4
- M5
- M6
- M8
Always use the screws recommended by the television manufacturer or included with the TV wall mount.
Using screws that are too long can permanently damage the television.
TV Wall Mount Installation Guide
Install Spacers When Necessary
Many modern TVs feature curved backs or recessed VESA mounting holes.
If required, install the supplied spacers between the mounting rails and the television.
Proper spacing prevents stress on the mounting points and keeps the TV wall mount bracket aligned correctly.
Step 9: Mount the TV on the Wall
Now you’re ready to complete the TV wall mount installation.
TV Wall Mount Installation Guide
Large televisions should always be lifted by two people.
Carefully raise the TV and hook the mounting rails onto the wall plate.
Most modern TV wall mounts use a hook-and-lock system that automatically supports the television while you secure the safety locks.
Lower the television slowly until both mounting rails are fully engaged.
Lock the Safety Mechanism
Most premium TV wall mounts include locking screws or safety clips that prevent accidental removal.
After mounting the TV:
- Tighten both locking screws.
- Engage all safety clips.
- Verify both mounting rails are locked securely.
Never leave the television unsecured.
TV Wall Mount Installation Guide
Step 10: Check TV Alignment Using the Laser Level
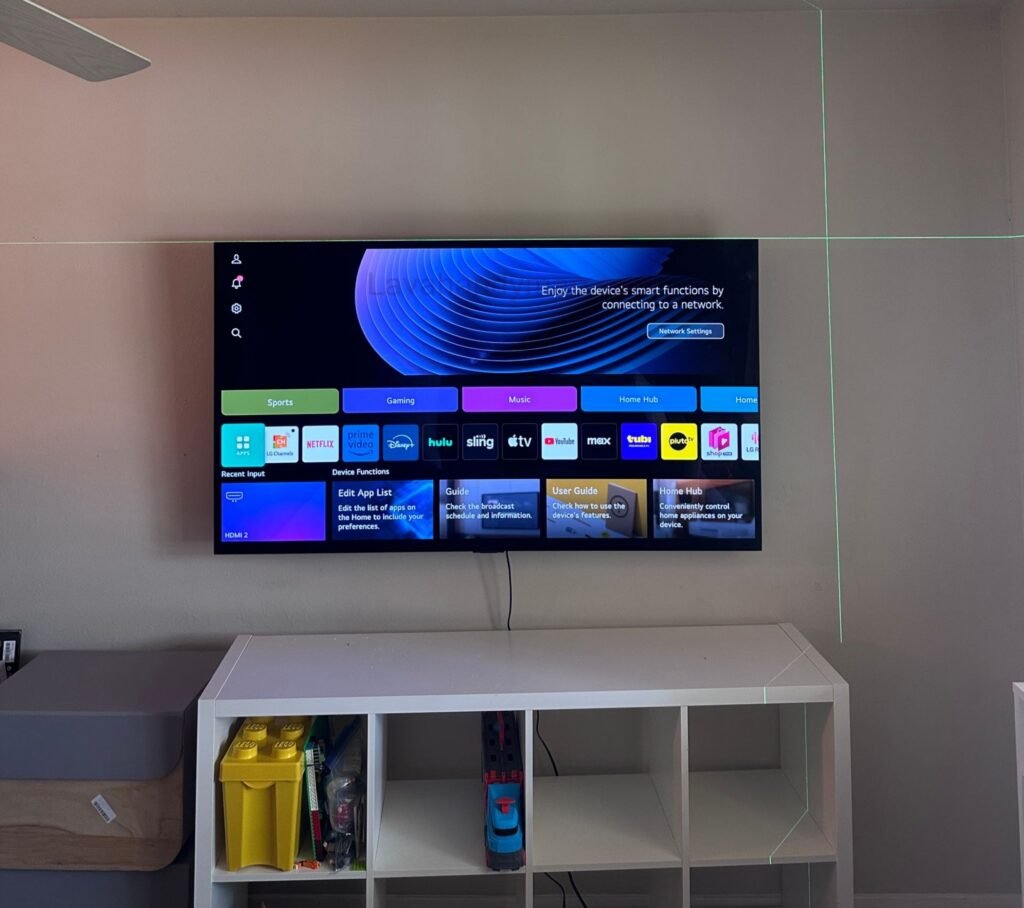
Turn the laser level back on and project the horizontal laser line across the top edge of the television.
This final inspection confirms that your TV wall mount installation is perfectly level.
Verify:
- The television is perfectly horizontal.
- The wall mount remains centered.
- Equal spacing exists on both sides.
- The viewing angle is comfortable.
If your wall mount supports post-installation adjustment, make small corrections until the television aligns perfectly with the laser line.
TV Wall Mount Installation Guide
Organize TV Cables for a Professional Finish
A clean cable setup is an important part of every professional TV wall mount installation.
Messy wires can ruin the appearance of an otherwise perfectly installed television.
Popular cable management solutions include:
- In-wall cable management kits
- Cable raceways
- Cable sleeves
- Velcro cable straps
If you’re installing a full-motion TV wall mount, leave enough slack for the television to move freely without pulling on the cables.
TV Wall Mount Installation Guide
Final TV Wall Mount Installation Checklist
Before considering the installation complete, perform one final inspection.
Wall Mount
✔ Wall plate securely attached
✔ Lag bolts fully tightened
✔ Bracket firmly anchored into wall studs
✔ No movement under pressure
TV Wall Mount Installation Guide
Television
✔ TV mounting brackets securely attached
✔ Safety locks engaged
✔ Television fully seated on the wall mount
Alignment
✔ TV perfectly level
✔ Correct mounting height
✔ Centered on the wall
✔ Comfortable viewing angle
TV Wall Mount Installation Guide
Cable Management
✔ Cables organized
✔ No pinched wires
✔ HDMI and power cables connected securely
Common TV Wall Mount Installation Mistakes
Avoid these common mistakes during your TV wall mount installation.
Mounting Directly Into Drywall
Drywall alone cannot safely support most televisions.
Always install the TV wall mount into wall studs or use anchors specifically rated for your wall type.
Choosing the Wrong TV Wall Mount
Before installation, verify:
- TV screen size compatibility
- Maximum weight capacity
- VESA mounting pattern
Selecting the correct TV wall mount is essential for long-term safety.
Not Using a Laser Level
One of the most common DIY mistakes is relying only on visual alignment.
A laser level ensures your TV wall mount installation is perfectly straight before drilling.
Mounting the TV Too High
Improper TV height reduces viewing comfort and can cause neck strain.
For most living rooms, position the center of the screen at seated eye level.
Over-Tightening the Mounting Screws
Applying excessive torque may strip the threads or damage the TV’s VESA mounting holes.
Tighten all screws firmly but avoid over-tightening.
Frequently Asked Questions About TV Wall Mount Installation
Can I Install a TV Wall Mount Without a Stud Finder?
Yes, but a stud finder is the safest and most accurate tool for locating wall studs before beginning a TV wall mount installation.
Should I Use a Laser Level or a Bubble Level?
A laser level is significantly more accurate because it projects a continuous horizontal reference line across the wall, making alignment easier than a traditional bubble level.
Can You Mount a TV Directly on Drywall?
Only if you use heavy-duty drywall anchors specifically rated for the TV’s weight. For most installations, mounting directly into wall studs is strongly recommended.
What Is the Ideal TV Mounting Height?
For most living rooms, position the center of the screen approximately 42–48 inches (107–122 cm) above the floor, depending on seating height and viewing distance.
Conclusion
A successful TV wall mount installation requires careful planning, accurate measurements, and the right tools. By locating wall studs, choosing the correct TV wall mount, using a laser level for perfect alignment, and following professional installation techniques, you can achieve a safe, secure, and visually flawless result.
Whether you’re installing a fixed, tilting, or full-motion TV wall mount, following the steps in this guide will help ensure your television is perfectly level, securely mounted, and ready to provide years of reliable performance.
📞 Need Help?
Let us take care of the hard work while you sit back and relax.
📍 Serving: Austin, Round Rock, Cedar Park & more
📱 Call or Text: (737) 420-6992
🌐 Visit: https://lavahandyman.com