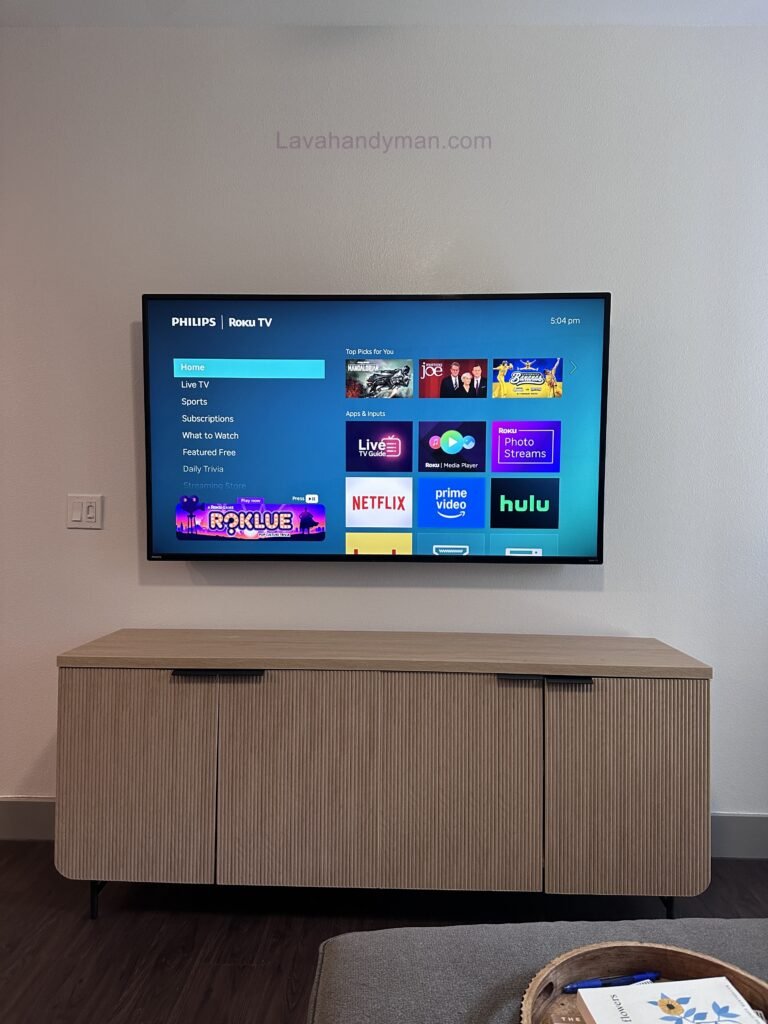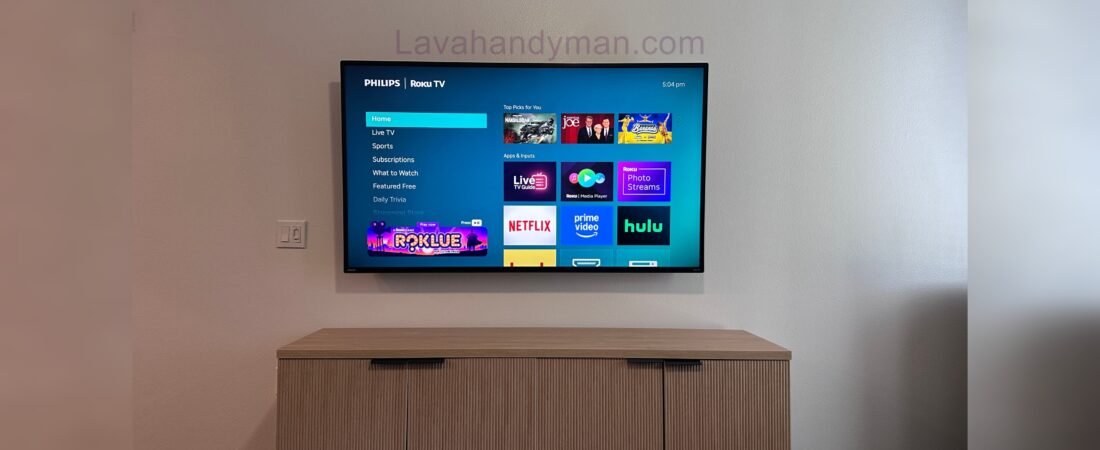
Roku TV Wall Mount Installation: Common Mistakes to Avoid
Wall mounting a TV not only gives your living space a cleaner, more modern look but also saves valuable floor space and improves the overall viewing experience. If you own a Roku TV, installing it on the wall can help you make the most of its smart features while creating an organized entertainment setup. However, many people underestimate the importance of proper installation. Mounting a TV involves much more than simply attaching a bracket to the wall. Choosing the wrong wall mount, installing the TV at an incorrect height, or overlooking basic safety guidelines can lead to poor viewing angles, damage to your television, or even a dangerous fall.
In this guide, we’ll explore the most common mistakes people make when wall mounting a Roku TV and provide practical tips to help you avoid them.
Roku TV Wall Mount Installation
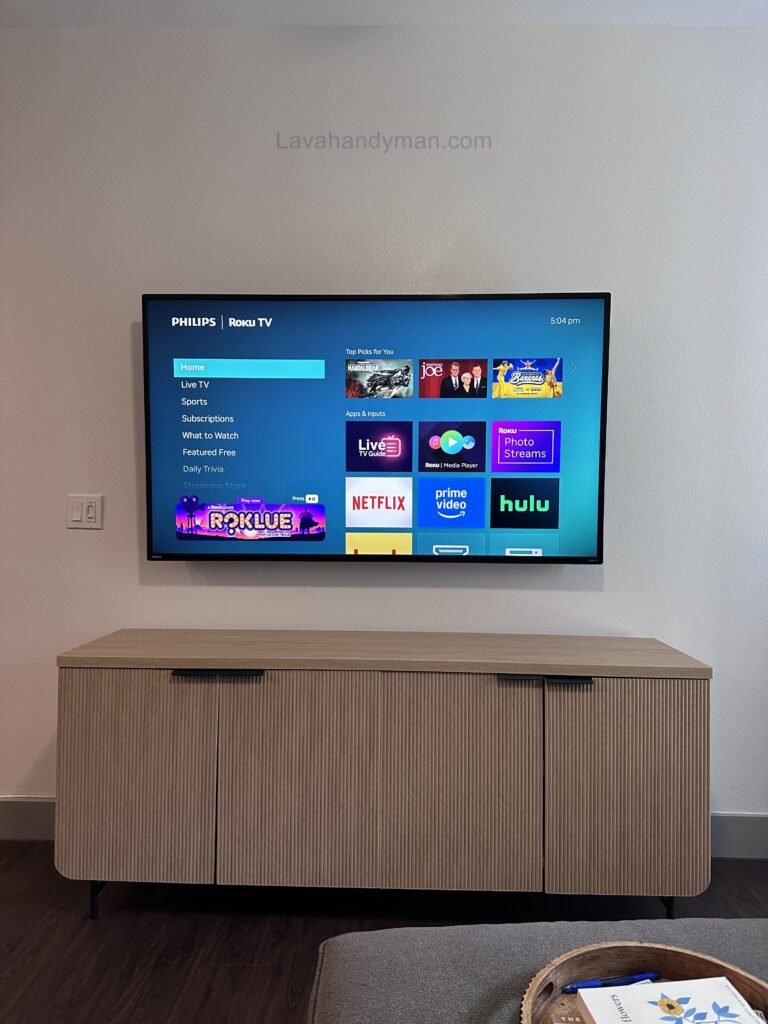
Why Proper Roku TV Wall Mount Installation Matters
Roku TVs are available from several manufacturers, including TCL, Hisense, Sharp, Philips, and Onn. While they all run the Roku operating system, their sizes, weights, and VESA mounting patterns may differ. That’s why proper installation is essential—not only for aesthetics but also for safety and long-term performance.
A correctly installed Roku TV offers several advantages:
- Improved safety and reduced risk of the TV falling
- A comfortable viewing angle
- Better cable management
- Longer lifespan for your television
- Easier access to HDMI, USB, and other ports
- A cleaner, more organized entertainment area
On the other hand, poor installation can result in loose brackets, damaged walls, pressure on the TV panel, or even complete failure of the mounting system.
Roku TV Wall Mount Installation
Mistake #1: Choosing the Wrong Wall Mount
One of the most common mistakes is assuming that any wall mount will work with any Roku TV. In reality, selecting the right mount requires careful consideration of several factors.
TV Size
Wall mounts are designed to support specific screen size ranges, such as:
- 32–55 inches
- 55–75 inches
- 75 inches and larger
Using a mount that isn’t designed for your TV size can compromise safety and stability.
TV Weight
Every wall mount has a maximum weight capacity. If your Roku TV exceeds that limit, the mount could bend, loosen, or fail over time.
VESA Mounting Pattern
The VESA standard refers to the distance between the mounting holes on the back of your TV. Common VESA sizes include:
- 200 × 200 mm
- 300 × 300 mm
- 400 × 400 mm
- 600 × 400 mm
If your wall mount doesn’t support your TV’s VESA pattern, installation won’t be possible without an adapter.
Types of Wall Mounts
There are three primary wall mount styles:
Fixed Mount
Ideal when the TV will remain in a single viewing position.
Tilting Mount
Roku TV Wall Mount Installation
Allows vertical angle adjustment, making it a good choice for higher wall installations.
Full-Motion Mount
Offers maximum flexibility by allowing the TV to tilt, swivel, and extend away from the wall.
How to Avoid This Mistake
- Check your Roku TV model specifications.
- Verify the TV’s weight.
- Confirm the correct VESA mounting pattern.
- Choose a wall mount with a higher weight capacity than your TV.
- Purchase a high-quality mount from a reputable manufacturer.
Mistake #2: Mounting the TV on an Unsuitable Wall
Many homeowners begin drilling without considering whether the wall is strong enough to support the TV.
Different wall types require different installation methods.
Roku TV Wall Mount Installation
Concrete Walls
Concrete walls are among the safest and strongest options for mounting a Roku TV.
Brick Walls
Brick walls also provide excellent support when appropriate anchors and masonry hardware are used.
Drywall
One of the biggest mistakes is attaching a TV mount directly to drywall.
Drywall alone cannot safely support the weight of most televisions.
Instead, the mount should be secured to the wall studs behind the drywall using appropriate lag bolts.
Plaster Walls
Plaster walls require additional care and often need specialized anchors depending on their construction.
Best Practice
Before installation:
- Identify the wall type.
- Use a stud finder to locate wall studs.
- Select anchors and fasteners designed for your wall material.
Mistake #3: Installing the TV at the Wrong Height
Improper mounting height is one of the leading causes of neck and eye strain.
Many people install their Roku TV too high, forcing viewers to constantly look upward.
For the most comfortable viewing experience, the center of the screen should generally be at eye level when seated.
In most living rooms, this places the center of the TV approximately 39–43 inches (100–110 cm) above the floor, although the ideal height depends on your seating arrangement and TV size.
What About Mounting Above a Fireplace?
Installing a Roku TV above a fireplace has become increasingly popular, but it isn’t always the best choice.
Potential drawbacks include:
- Uncomfortable viewing angles
- Excessive heat exposure
- Reduced lifespan of internal components
- Increased glare from surrounding light
If mounting above a fireplace is your only option, consider using a tilting or full-motion wall mount to improve viewing comfort.
Roku TV Wall Mount Installation
Mistake #4: Using the Wrong Screws and Anchors
Another common mistake is using whatever screws happen to be available instead of the hardware designed for the wall type and mounting bracket.
Improper hardware can cause the bracket to loosen over time or even fail completely.
For a secure installation:
- Use the screws provided with the wall mount whenever possible.
- Choose anchors that match your wall material.
- Use the correct lag bolts for stud installation.
- Tighten all hardware securely without overtightening.
Roku TV Wall Mount Installation
Mistake #5: Ignoring Cable Management
Many installations look unfinished because cable management is overlooked.
Power cords, HDMI cables, Ethernet cables, and antenna wires hanging beneath the TV not only create visual clutter but can also place unnecessary strain on the TV’s ports.
To create a clean, professional installation, consider using:
- Wall cable raceways
- Cable sleeves
- Cable clips or ties
- In-wall cable management systems (where permitted by local building codes)
Common Roku TV Wall Mount Installation Mistakes and How to Avoid Them
If you’re planning a Roku TV wall mount installation, avoiding a few common mistakes can save you time, money, and frustration. From improper leveling to poor ventilation and incorrect cable planning, these issues can affect both your TV’s safety and your overall viewing experience.
Below are the most common Roku TV wall mounting mistakes and the best ways to prevent them.
Roku TV Wall Mount Installation
6. Not Leveling Your Roku TV Wall Mount Correctly
One of the most common complaints after a Roku TV wall mount installation is discovering that the television is slightly crooked. Even a small tilt becomes noticeable while watching movies, sports, or gaming.
Many DIY installers rely on eyesight instead of proper measuring tools, leading to uneven installation.
How to Avoid This Mistake
- Use a spirit level or laser level.
- Measure twice before drilling.
- Check that the wall mount bracket is perfectly level.
- Verify the TV remains level after tightening all bolts.
- Recheck alignment after hanging the Roku TV.
A properly leveled TV creates a cleaner appearance and improves your viewing experience.
7. Ignoring Ventilation Around Your Roku TV
Proper airflow is often overlooked during Roku TV wall mount installation.
Although Roku TVs are energy-efficient, they still generate heat during everyday use. Without adequate ventilation, excessive heat can reduce performance and shorten the lifespan of internal components.
Best Practices
- Leave several inches of clearance between the TV and the wall.
- Never block ventilation openings.
- Avoid installing the TV inside enclosed cabinets.
- Keep the TV away from fireplaces, heaters, and direct sunlight.
Proper ventilation helps your Roku TV perform efficiently for years.
Roku TV Wall Mount Installation
8. Forgetting About Cable Management Before Mounting
Many homeowners complete their Roku TV wall mount installation only to realize they can no longer access the HDMI or USB ports.
This mistake often requires removing the TV from the wall just to connect another device.
Before Mounting Your Roku TV
Connect any devices you plan to use regularly, including:
- Streaming devices
- HDMI cables
- Gaming consoles
- Soundbars
- Ethernet cables
- USB accessories
Also, leave enough slack in your cables to allow future adjustments.
Using wall cable raceways or in-wall cable management systems creates a cleaner and more professional installation.
9. Buying a Cheap Roku TV Wall Mount
Choosing the cheapest wall mount isn’t always the smartest decision.
Low-quality mounts may use thin steel, weak hardware, or unreliable locking mechanisms that can compromise safety.
What to Look for in a Roku TV Wall Mount
Choose a mount that offers:
- Heavy-duty steel construction
- Certified weight capacity
- Full VESA compatibility
- Smooth tilt and swivel functions
- Corrosion-resistant hardware
- Easy installation instructions
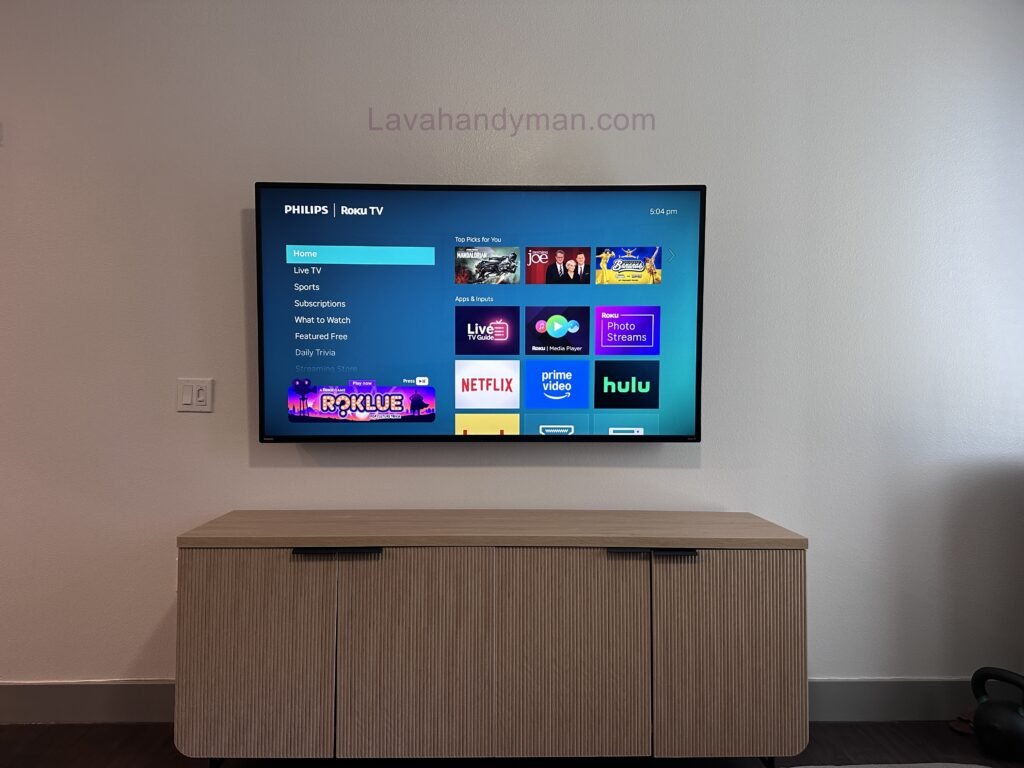
A high-quality Roku TV wall mount provides greater stability and long-term reliability.
Roku TV Wall Mount Installation
10. Drilling Without Checking for Electrical Wiring or Pipes
One of the biggest installation mistakes is drilling into a wall without first checking for hidden utilities.
Behind the wall may be:
- Electrical wiring
- Water pipes
- Gas lines
- HVAC components
Accidentally drilling into these systems can lead to costly repairs and serious safety hazards.
How to Prevent This
Before drilling:
- Use a wall scanner.
- Locate studs and hidden wiring.
- Turn off electrical power if working near outlets.
- Contact a professional if you’re unsure.
Taking a few extra minutes can prevent expensive damage.
Roku TV Wall Mount Installation
11. Installing a Large Roku TV Without Assistance
A 65-inch or 75-inch Roku TV is much heavier than many people expect.
Attempting to mount it alone increases the risk of:
- Dropping the TV
- Damaging the display
- Personal injury
- Improper wall mount alignment
Professional Recommendation
Always ask someone to help lift the TV during installation.
Two people can safely align the television with the wall mount while reducing the risk of accidental damage.
Roku TV Wall Mount Installation
12. Ignoring the Roku TV Manufacturer’s Installation Instructions
Not every Roku TV is designed the same.
Different manufacturers—including TCL, Hisense, Sharp, Philips, and Onn—may recommend different screw lengths, VESA patterns, and installation procedures.
Ignoring these instructions can lead to improper installation.
Best Practice
Always:
- Read the user manual.
- Verify the correct VESA pattern.
- Confirm screw size compatibility.
- Follow the manufacturer’s wall mount recommendations.
Pro Tips for a Safe Roku TV Wall Mount Installation
For the best results:
- Measure twice before drilling.
- Install the wall mount directly into wall studs whenever possible.
- Choose the correct Roku TV wall mount for your TV size.
- Keep cables organized and accessible.
- Maintain proper viewing height.
- Allow adequate ventilation.
- Test all connected devices before final installation.
- Recheck all mounting hardware after a few days.
Following these recommendations will help you achieve a safe, professional, and long-lasting Roku TV wall mount installation.
Roku TV Wall Mount Installation FAQs, Maintenance Tips, and Best Practices
Once your Roku TV wall mount installation is complete, the job isn’t entirely finished. Regular maintenance, routine inspections, and proper care will help keep your television secure while extending the lifespan of both the TV and the wall mount.
In this section, we’ll answer the most frequently asked questions about wall mounting a Roku TV, provide essential maintenance tips, and review the best practices for keeping your installation safe and reliable.
How to Maintain Your Roku TV After Wall Mount Installation
Proper maintenance is just as important as the initial Roku TV wall mount installation. Performing a quick inspection every few months can help identify minor issues before they become expensive repairs.
Inspect Your Roku TV Wall Mount Regularly
Every three to six months, check your wall mount for signs of wear or movement.
Look for:
- Loose mounting screws
- Rust or corrosion
- Cracks in the wall mount bracket
- Movement between the bracket and the wall
- Loose tilt or swivel mechanisms
If you notice any issues, tighten the hardware or replace damaged components immediately.
Keep Your Roku TV Clean and Well Ventilated
Dust buildup can reduce airflow and increase internal temperatures.
To keep your Roku TV in excellent condition:
- Clean the screen with a microfiber cloth.
- Never spray liquid directly onto the display.
- Remove dust from the ventilation openings.
- Avoid placing decorative items around the TV that block airflow.
Good ventilation helps maintain optimal performance and extends the life of your Roku TV.
Avoid Adding Extra Weight to the Wall Mount
Some homeowners attach soundbars, shelves, or streaming devices directly to the Roku TV wall mount.
Unless the mount is specifically designed for additional accessories, this extra weight can reduce stability.
Instead:
- Mount accessories separately.
- Follow the manufacturer’s weight limits.
- Never modify the mounting bracket.
Inspect HDMI and Power Cables Regularly
Cable management doesn’t end after installation.
Check all connected cables for:
- Wear or damage
- Loose HDMI connections
- Pinched wires
- Bent connectors
Replacing damaged cables early helps prevent signal loss and electrical issues.
Roku TV Wall Mount Installation FAQs
Can Every Roku TV Be Wall Mounted?
Most modern Roku TVs support VESA wall mounting, making them compatible with a wide variety of wall mounts.
However, always verify your TV’s:
- Screen size
- Weight
- VESA mounting pattern
before purchasing a wall mount.
What Is the Best Height for a Roku TV Wall Mount?
The ideal height depends on your seating position.
For most living rooms, the center of the screen should be approximately at eye level while seated.
Installing the TV too high may lead to neck strain during extended viewing sessions.
Which Roku TV Wall Mount Is Best?
There is no single “best” wall mount for every installation.
The right option depends on your room layout and viewing preferences.
- Fixed Wall Mount – Best for a clean, low-profile installation.
- Tilting Wall Mount – Helps reduce glare.
- Full-Motion Wall Mount – Offers maximum flexibility for multiple viewing angles.
Can I Install a Roku TV Wall Mount Myself?
Yes.
Many homeowners successfully complete a DIY Roku TV wall mount installation using the proper tools and following the manufacturer’s instructions.
However, professional installation is recommended for very large TVs or complex wall types.
Should I Mount My Roku TV Into Wall Studs?
Whenever possible, yes.
Installing the wall mount directly into wall studs provides the strongest and safest support for drywall installations.
Concrete and brick walls require heavy-duty masonry anchors instead.
How Much Weight Can a Roku TV Wall Mount Support?
Every wall mount has a certified weight capacity.
Choose a mount that exceeds your Roku TV’s weight to provide an additional safety margin.
Never exceed the manufacturer’s maximum load rating.
Can I Hide Roku TV Cables Inside the Wall?
Yes—but only by following local electrical codes.
Use approved in-wall cable management systems rather than running standard power cords inside the wall.
Roku TV Wall Mount Installation Checklist
Before considering your installation complete, make sure you’ve completed the following checklist.
✔ Wall mount securely fastened
✔ Correct VESA compatibility confirmed
✔ TV perfectly level
✔ All screws tightened
✔ HDMI and power cables connected
✔ Proper ventilation maintained
✔ Cable management completed
✔ Comfortable viewing height
✔ Streaming devices tested
✔ Roku TV functioning correctly
Final Thoughts on Roku TV Wall Mount Installation
A successful Roku TV wall mount installation involves much more than attaching a television to the wall.
Choosing the correct wall mount, confirming VESA compatibility, installing the TV at the proper height, maintaining adequate ventilation, and using high-quality mounting hardware all contribute to a safer and more professional installation.
By avoiding the common installation mistakes covered in this guide, you’ll improve safety, maximize viewing comfort, and protect your investment for years to come.
Whether you’re mounting a Roku TV in your living room, bedroom, office, or home theater, careful planning and proper installation techniques will ensure excellent results.
Conclusion
Installing a Roku TV wall mount is one of the easiest ways to create a modern, organized, and space-saving entertainment setup.
By selecting the right wall mount, following the manufacturer’s recommendations, and applying the installation tips covered in this guide, you can enjoy a secure installation and the best possible viewing experience.
📞 Need Help?
Let us take care of the hard work while you sit back and relax.
📍 Serving: Austin, Round Rock, Cedar Park & more
📱 Call or Text: (737) 420-6992
🌐 Visit: https://lavahandyman.com