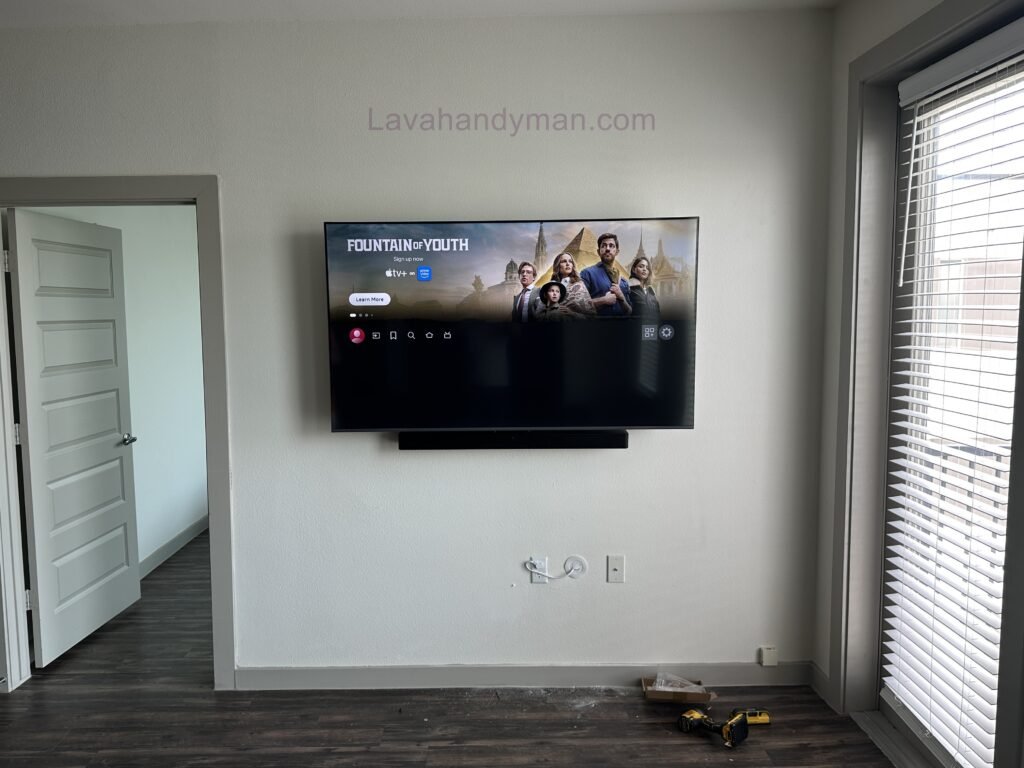
Installing a TV on the wall from scratch; professional training, tools, and practical tips
Wall mounting a TV is one of the best ways to create a modern, organized, and functional living space. Whether you’re installing a television in your home, office, retail store, or hotel, mounting it on the wall not only enhances the room’s appearance but also improves safety, saves valuable floor space, and provides a better viewing experience.
Today, more homeowners are choosing TV wall mount installation instead of using traditional TV stands. A properly mounted TV offers a clean, minimalist look while reducing the risk of accidental tipping or damage. However, installing a TV on the wall requires more than simply attaching a bracket. Choosing the right wall mount, selecting a suitable location, using the proper tools, and following professional installation techniques are all essential for a secure and long-lasting setup.
In this comprehensive guide, you’ll learn everything about TV wall mount installation, including the benefits of wall mounting, how to choose the right TV bracket, the tools you’ll need, important safety precautions, and professional tips for achieving a flawless installation.
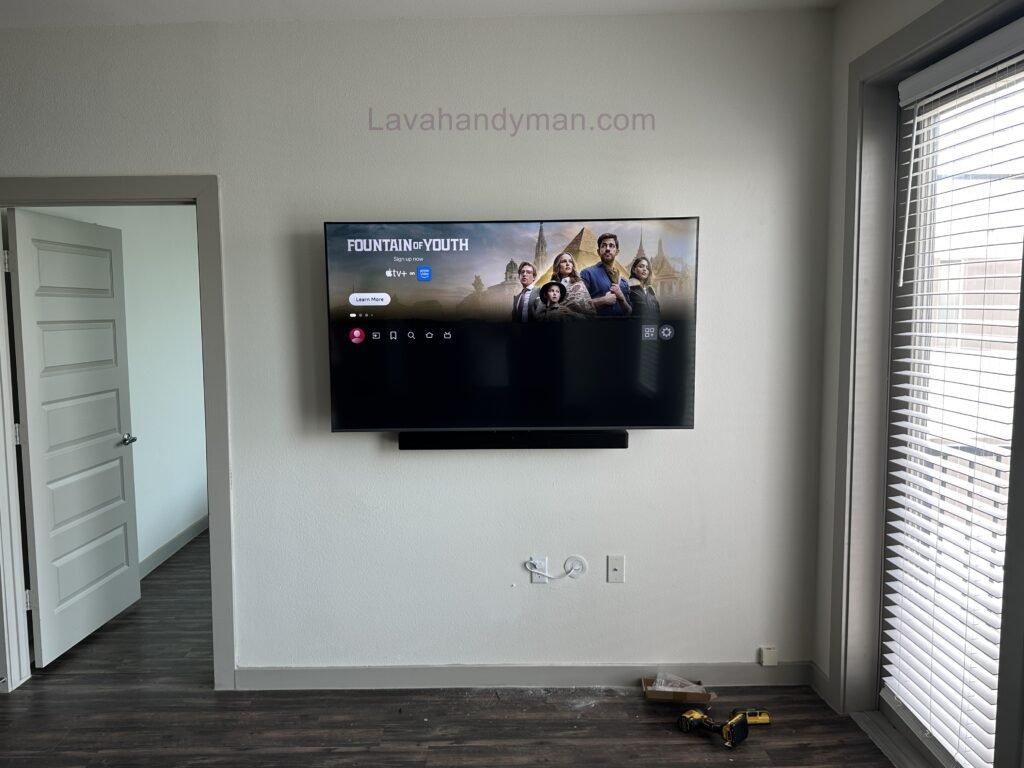
Installing a TV on the wall from scratch
Why Should You Mount Your TV on the Wall?
Installing a television on the wall isn’t just about improving your home’s appearance. It offers several practical advantages that make it a worthwhile investment.
1. Modern and Stylish Interior Design
A wall-mounted TV instantly creates a clean and contemporary look. Removing a bulky TV stand makes your living room feel larger and more organized while giving you greater flexibility when arranging furniture.
Benefits include:
- A modern, minimalist appearance
- Reduced clutter around the entertainment area
- Easier cable management
- Better use of available space
Installing a TV on the wall from scratch
2. Improved Safety
If you have young children or pets, mounting your TV on the wall significantly reduces the risk of the television tipping over.
A professionally installed TV wall mount keeps the television securely attached to the wall, helping prevent accidents and protecting your investment.
3. Save Valuable Space
Wall mounting frees up floor space, making it an excellent solution for apartments, small homes, bedrooms, and offices where every square foot matters.
Installing a TV on the wall from scratch
4. Better Viewing Angle
Installing your television at the proper height improves viewing comfort by reducing strain on your neck and eyes.
If you choose a full-motion or tilting TV wall mount, you can easily adjust the viewing angle to achieve the best possible experience.
Things to Consider Before Mounting Your TV
Before drilling your first hole, there are several important factors to evaluate.
Proper planning helps ensure a safe installation while preventing unnecessary damage to your walls.
Choosing the Right Location
The ideal installation location should:
- Face your primary seating area
- Avoid direct sunlight on the screen
- Be close to electrical outlets
- Allow easy access to internet or antenna cables
- Have sufficient structural strength to support the TV’s weight
- Provide adequate ventilation behind the television
Installing a TV on the wall from scratch
Understanding Your Wall Type
Different wall materials require different installation methods.
Concrete Walls
Concrete walls are the strongest option for mounting televisions.
They provide excellent support for both medium and large TVs.
Brick Walls
Brick walls are also suitable for TV installation, provided that high-quality wall anchors and screws are used.
Drywall
Drywall requires extra care.
For heavier televisions, the wall mount should be secured directly into wall studs rather than drywall alone.
Plasterboard (Gypsum Board)
Installing a TV on plasterboard walls requires specialized anchors or attachment to the underlying metal or wooden framework.
For large TVs, professional installation is strongly recommended.
Installing a TV on the wall from scratch
Essential Tools for TV Wall Mount Installation
Using the proper tools is critical for a secure installation.
Poor-quality hardware or incorrect tools are among the most common reasons TV mounts become loose over time.
| Tool | Purpose |
|---|---|
| Hammer Drill | Drilling into concrete or brick |
| Appropriate Drill Bit | Creating mounting holes |
| Spirit Level or Laser Level | Ensuring the bracket is perfectly level |
| Measuring Tape | Accurate measurements |
| Pencil or Marker | Marking drilling locations |
| Socket Wrench | Tightening bolts |
| Screwdriver | Installing mounting hardware |
| Wall Anchors | Securing the mount to the wall |
| Mounting Screws | Fastening the bracket |
| Stud Finder (Optional) | Locating wall studs and avoiding electrical wiring |
Installing a TV on the wall from scratch
Types of TV Wall Mounts
Selecting the right TV wall mount is just as important as installing it correctly.
1. Fixed TV Wall Mount
A fixed mount keeps the television close to the wall without allowing any movement.
Advantages:
- Affordable
- Strong and reliable
- Easy to install
- Slim profile
Disadvantages:
- No adjustment after installation
Installing a TV on the wall from scratch
2. Tilting TV Wall Mount
A tilting mount allows you to angle the television slightly upward or downward.
Benefits:
- Reduces glare
- Improves viewing comfort
- Ideal for higher wall installations
3. Full-Motion TV Wall Mount
This is the most versatile and professional mounting option.
It allows you to:
- Rotate the TV left and right
- Extend and retract the television
- Tilt the screen
- Access rear cables more easily
Full-motion mounts are ideal for large living rooms, offices, conference rooms, and commercial spaces.
Installing a TV on the wall from scratch
How to Choose the Right TV Wall Mount
Selecting the proper wall mount ensures maximum safety and long-term reliability.
1. TV Size Compatibility
Choose a mount that matches your television’s screen size.
Common size ranges include:
- 32–43 inches
- 43–55 inches
- 55–75 inches
- 75 inches and larger
Installing a TV on the wall from scratch
2. Weight Capacity
Always select a wall mount that supports more weight than your television.
For example, if your TV weighs 25 kg (55 lbs), choose a mount rated for at least 35–40 kg (77–88 lbs) to provide a safe margin.
3. VESA Compatibility
VESA standards define the mounting hole pattern on the back of your television.
Common VESA patterns include:
- 200 × 200 mm
- 300 × 300 mm
- 400 × 400 mm
- 600 × 400 mm
Your wall mount must match your TV’s VESA pattern for proper installation.
Installing a TV on the wall from scratch
Preparing for Installation
Before beginning the installation process:
- Carefully unpack the television.
- Remove the factory stand.
- Measure and mark the installation location.
- Position the wall bracket against the wall.
- Mark all drilling points accurately.
- Use a level to ensure perfect alignment.
- Verify that your power, HDMI, internet, and antenna cables are long enough.
- If possible, use a stud finder or wire detector to avoid drilling into electrical wiring or plumbing.
Taking the time to prepare properly will make the installation faster, safer, and more accurate while helping prevent costly mistakes.
How to Mount a TV on the Wall
After choosing the ideal location, preparing the necessary tools, and purchasing a high-quality TV wall mount, it’s time for the most important part of the process—mounting your TV on the wall. When done correctly, a properly installed television can remain securely mounted for many years. In this section, you’ll learn the complete TV wall mount installation process step by step, following professional standards and safety guidelines.
Installing a TV on the wall from scratch
Step 1: Determine the Ideal TV Mounting Height
One of the most important aspects of TV wall mount installation is selecting the correct mounting height. Installing the television too high or too low can cause neck strain and reduce viewing comfort.
As a general rule, the center of the TV screen should be positioned at eye level when you are seated. For most living rooms, the center of the screen should be approximately 100–110 cm (39–43 inches) from the floor, although this may vary depending on the size of the television, seating distance, and furniture height.
Tips for Choosing the Right Height
- Mount the TV directly in front of the main seating area.
- Avoid installing the television above a fireplace whenever possible.
- In bedrooms, a slightly higher mounting position may be more comfortable.
- Larger televisions require greater viewing distances for the best experience.
Installing a TV on the wall from scratch
Step 2: Measure and Mark the Mounting Position
Before drilling any holes, carefully measure and mark the exact location where the TV wall mount bracket will be installed. Accurate measurements ensure that your television will hang perfectly level.
To do this:
- Hold the wall bracket against the wall.
- Measure all distances carefully using a tape measure.
- Mark the drilling points with a pencil.
- Use a spirit level or laser level to ensure perfect alignment.
Even a small measuring error can result in a crooked installation.
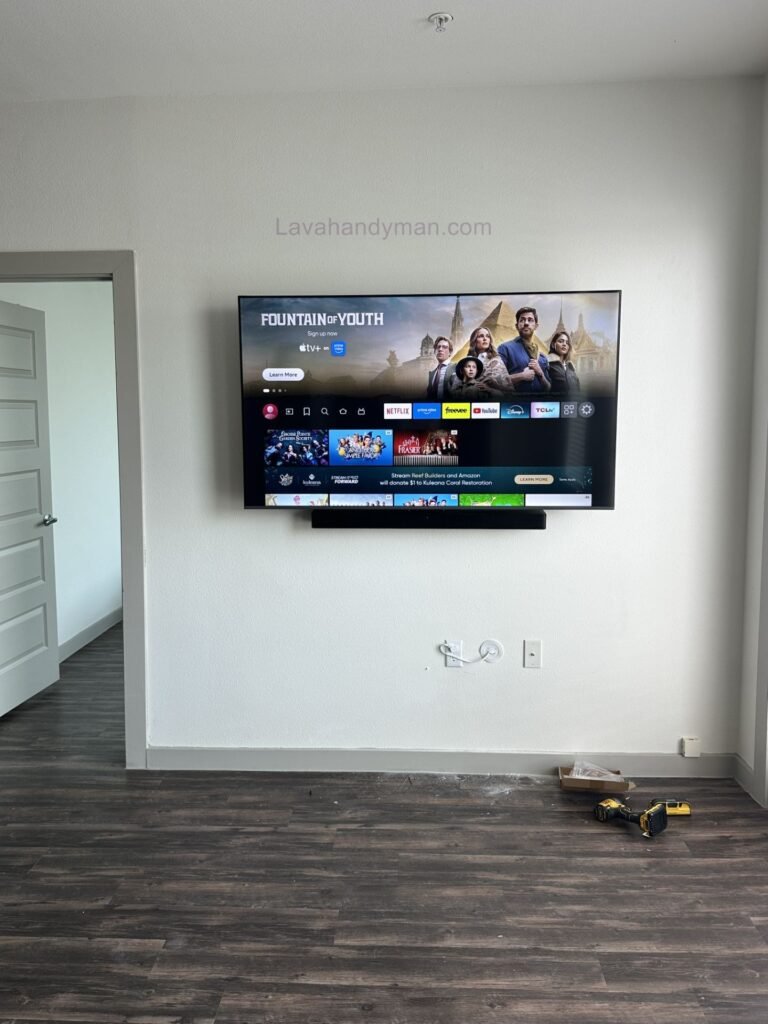
Installing a TV on the wall from scratch
Step 3: Drill the Mounting Holes
Once the mounting points have been marked, it’s time to drill the holes.
Choose a drill bit that matches the size of your wall anchors. The holes should be slightly deeper than the anchors to allow proper installation.
Important Drilling Tips
- Use the correct drill bit for concrete, brick, drywall, or plaster walls.
- Keep the drill perpendicular to the wall.
- Check for electrical wiring and plumbing before drilling.
- Remove dust from the holes to ensure the wall anchors fit securely.
Installing a TV on the wall from scratch
Step 4: Install the TV Wall Mount Bracket
Insert the wall anchors into the drilled holes and position the wall bracket correctly.
When fastening the bracket:
- Tighten all screws evenly.
- Check the alignment again using a level.
- Avoid over-tightening the screws, as this may damage the wall or the mounting bracket.
Installing a TV on the wall from scratch
Step 5: Attach the Mounting Arms to the TV
Next, attach the mounting arms or brackets to the back of your television.
For a secure installation:
- Use the correct screws supplied with the mounting kit.
- Install the included washers where required.
- Tighten the screws firmly, but do not over-tighten them.
Using screws that are too short can make the installation unsafe, while screws that are too long may damage the television’s internal components.
Installing a TV on the wall from scratch
Step 6: Mount the TV onto the Wall Bracket
This step should ideally be performed by two people.
Carefully lift the television and hook it onto the wall bracket. Once it is in place, engage the safety lock or locking mechanism to prevent accidental movement.
Finally, gently test the installation to ensure the TV is securely mounted.
Step 7: Connect the Cables and Perform a Final Inspection
After completing the TV wall mount installation, connect all necessary cables, including:
- Power cable
- HDMI cable
- Antenna cable
- Ethernet or network cable
If you are using a full-motion TV wall mount, leave enough slack in the cables so they won’t become stretched when adjusting the TV’s position.
Installing a TV on the wall from scratch
How to Mount a TV on Different Types of Walls
Mounting a TV on a Concrete Wall
Concrete walls provide the strongest and most secure mounting surface.
For concrete installations:
- Use a hammer drill.
- Install heavy-duty concrete wall anchors.
- Use high-strength steel mounting screws.
Concrete walls are ideal for supporting large and heavy televisions.
Installing a TV on the wall from scratch
Mounting a TV on a Brick Wall
When mounting on brick, always drill into the solid brick itself rather than the mortar joints, as this provides significantly greater strength and stability.
Mounting a TV on Drywall
Installing a TV on drywall requires extra care.
For the safest installation:
- Use heavy-duty toggle bolts or drywall anchors.
- Whenever possible, secure the wall mount directly into the wall studs.
- For heavier televisions, additional reinforcement may be necessary.
Mounting a TV on Plaster Walls
If the plaster wall lacks sufficient structural support, mounting a large television is not recommended.
Whenever possible, attach the wall mount directly to the wall studs or structural framing behind the plaster.
Installing a TV on the wall from scratch
Essential Safety Tips for TV Wall Mount Installation
Following proper safety procedures helps protect both your television and your home.
- Use a high-quality, certified TV wall mount.
- Verify that the mount supports your TV’s weight.
- Use the correct screws and wall anchors.
- Ensure the bracket is perfectly level.
- Check for electrical wiring and plumbing before drilling.
- Never lift a large television by yourself.
- Double-check that every screw is fully tightened after installation.
Common Mistakes to Avoid When Mounting a TV
Avoiding these common installation mistakes will improve both safety and durability.
Mounting the TV Too High
Installing the television too high can cause neck discomfort and reduce viewing comfort.
Choosing the Wrong Wall Mount
Using a mount that isn’t designed for your TV’s size or weight increases the risk of failure.
Ignoring VESA Compatibility
Always verify that your TV’s VESA mounting pattern matches the wall mount.
Drilling Without Checking the Wall
Drilling without locating electrical wires or plumbing can cause serious damage.
Installing a TV on the wall from scratch
Over-Tightening the Screws
Excessive tightening may damage the mounting hardware or the TV itself.
Poor Cable Management
Loose or improperly routed cables can create a messy appearance and may become damaged over time.
Hiding TV Cables, Installation Costs, and Frequently Asked Questions About TV Wall Mount Installation
After completing your TV wall mount installation, the next important step is creating a clean, organized, and professional-looking setup by properly managing and hiding your TV cables. Many people install the wall mount correctly but overlook cable management, leaving power cords, HDMI cables, and antenna wires exposed, which negatively affects the overall appearance of the room.
In this section, you’ll learn the best methods for hiding TV cables, the ideal TV viewing distance, maintenance tips for wall-mounted TVs, the factors that affect TV wall mount installation costs, and answers to the most frequently asked questions.
Installing a TV on the wall from scratch
The Best Ways to Hide TV Cables
One of the biggest advantages of mounting a TV on the wall is achieving a clean and modern appearance. Proper cable management plays a major role in creating that seamless look.
1. Use Cable Raceway Covers
Plastic cable raceways are one of the easiest and most affordable ways to hide TV cables.
Benefits include:
- Easy installation
- Affordable cost
- Available in multiple colors and sizes
- Easy access for future cable replacement
Installing a TV on the wall from scratch
2. Route the Cables Inside the Wall
If you’re renovating your home or designing a modern entertainment area, running the cables inside the wall is the best solution.
Advantages:
- Completely clean appearance
- No visible wires
- Improved interior design
Important Note:
This method should be performed by a qualified professional to avoid damaging electrical wiring or the wall structure.
Installing a TV on the wall from scratch
3. Use a Cable Management Box
Cable management boxes help organize and protect cables from bending, pulling, and accidental damage. They are an excellent solution for homes, offices, and commercial spaces.
The Ideal TV Viewing Distance
Maintaining the proper TV viewing distance improves picture quality while reducing eye strain and providing a more comfortable viewing experience.
Recommended Viewing Distance by TV Size
| TV Size | Recommended Distance |
|---|---|
| 43 inches | 1.5–2 meters (5–6.5 ft) |
| 50 inches | 2–2.5 meters (6.5–8 ft) |
| 55 inches | 2.2–2.8 meters (7–9 ft) |
| 65 inches | 2.5–3.2 meters (8–10.5 ft) |
| 75 inches | 3–4 meters (10–13 ft) |
Installing a TV on the wall from scratch
How to Maintain a Wall-Mounted TV
Once your TV wall mount installation is complete, following a few simple maintenance practices will help extend the lifespan of both your television and the mounting bracket.
Maintenance Checklist
- Inspect the mounting screws every few months and tighten them if necessary.
- Avoid leaning on or placing pressure on the television.
- Clean the screen with a soft microfiber cloth.
- Never spray cleaning solutions directly onto the screen.
- Keep cables neatly organized to prevent excessive tension or bending.
- If you move to a new home, carefully remove the TV from the wall mount before transportation.
What Affects the Cost of TV Wall Mount Installation?
The cost of TV wall mount installation depends on several factors and varies depending on the complexity of the project.
| Factor | Impact on Cost |
|---|---|
| TV Size | Larger TVs generally cost more to install. |
| Wall Type | Drywall or plasterboard installations may require additional hardware and labor. |
| Mount Type | Full-motion wall mounts usually cost more to install than fixed mounts. |
| Cable Concealment | Running cables inside the wall or installing raceways increases labor costs. |
| Mounting Height | Higher installations typically require additional time and equipment. |
| Location and Labor Rates | Installation costs vary by region and service provider. |
Additional services such as installing a soundbar, routing cables through the wall, or mounting extra devices may also increase the final installation cost.
Installing a TV on the wall from scratch
When Should You Hire a Professional TV Installer?
Although many smaller televisions can be safely installed by homeowners, professional installation is highly recommended in the following situations:
- TVs 65 inches or larger
- Drywall or plasterboard walls
- Installing a full-motion TV wall mount
- Running cables inside the wall
- High wall installations
- Lack of proper tools or installation experience
Hiring a professional installer reduces the risk of damage to both the television and your home’s walls while ensuring a safe and secure installation.
Installing a TV on the wall from scratch
Frequently Asked Questions About TV Wall Mount Installation (FAQ)
Can every TV be mounted on the wall?
Most modern LED, OLED, and QLED televisions support the VESA mounting standard, making them compatible with wall mounts. Always verify compatibility before purchasing a mounting bracket.
What is the best height for mounting a TV?
The ideal height depends on your seating position and TV size, but generally, the center of the screen should be at eye level when seated.
Can a TV be mounted on drywall?
Yes. However, appropriate drywall anchors should be used, and whenever possible, the mount should be secured directly into the wall studs for maximum safety.
What tools are required for TV wall mount installation?
Essential tools include a drill, appropriate drill bits, measuring tape, level, screwdriver, wrench, mounting screws, wall anchors, and a compatible TV wall mount.
Can wall mounting damage my TV?
No. When installed correctly using a high-quality wall mount and proper installation techniques, wall mounting will not damage your television.
Installing a TV on the wall from scratch
Conclusion
TV wall mount installation is one of the best ways to improve your home’s appearance, maximize available space, and create a safer entertainment area. Choosing the right TV wall mount, installing it at the correct height, using quality hardware, and following professional installation procedures all contribute to a secure and long-lasting setup.
In this comprehensive guide, we’ve covered everything from selecting the installation location and necessary tools to mounting the bracket, managing cables, maintaining your wall-mounted TV, understanding installation costs, and answering the most common questions.
📞 Need Help?
Let us take care of the hard work while you sit back and relax.
📍 Serving: Austin, Round Rock, Cedar Park & more
📱 Call or Text: (737) 420-6992
🌐 Visit: https://lavahandyman.com