
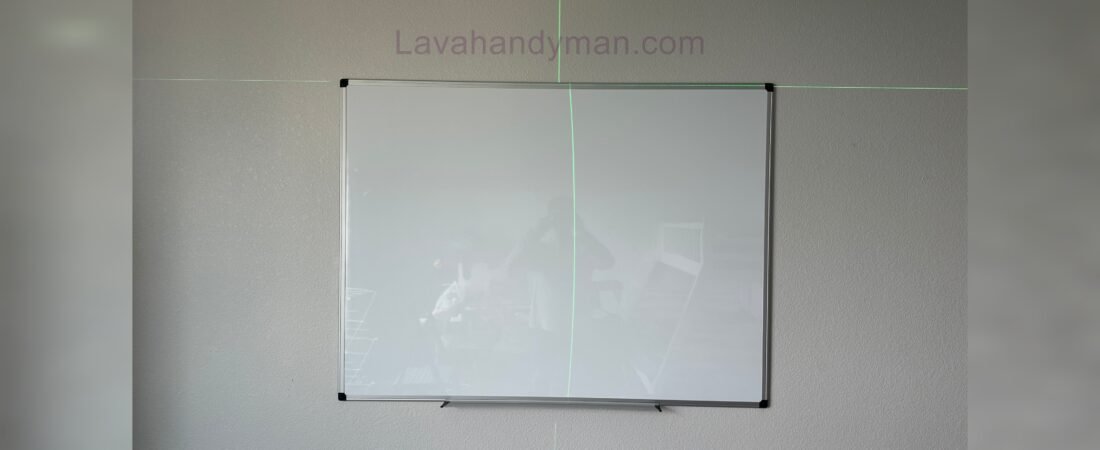
Installing a Whiteboard with a Laser Level: A Complete, Fast, and Error-Free Guide
Introduction
Installing a whiteboard with a laser level is one of the most effective ways to achieve a precise, fast, and error-free installation. Today, whiteboards are widely used in schools, universities, offices, conference rooms, training centers, and even homes. Proper installation not only enhances the appearance of a space but also improves usability and extends the lifespan of the whiteboard.
In the past, installers commonly relied on bubble levels or water levels to mount whiteboards. While these traditional methods could get the job done, they were time-consuming and more prone to human error. With advances in technology, laser levels have become an essential tool for professional installations, providing millimeter-level accuracy and significantly reducing installation time.
If you’re planning to install a whiteboard on a wall or want to learn the correct method of whiteboard installation with a laser level, this comprehensive guide will walk you through every step—from choosing the ideal location and marking the wall to drilling, mounting, leveling, and performing the final inspection.
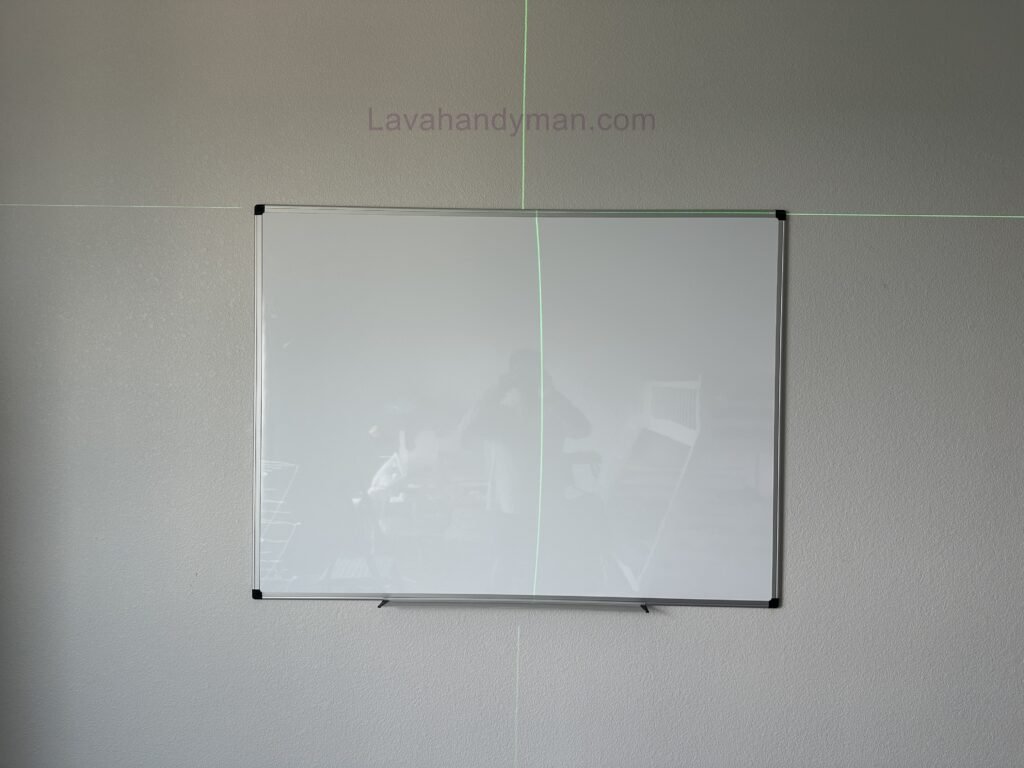
Installing a Whiteboard with a Laser Level
Why Is Installing a Whiteboard with a Laser Level Important?
Many people assume that a slight tilt of a few millimeters doesn’t matter when mounting a whiteboard. In reality, even a small misalignment can negatively affect the appearance of a room and make the installation look unprofessional. Uneven mounting can also place unnecessary stress on the mounting hardware, potentially causing the whiteboard to loosen over time.
Using a laser level for whiteboard installation ensures maximum accuracy while minimizing the risk of human error. This is especially important when installing large or magnetic whiteboards, where precise alignment is essential.
Proper installation offers several advantages, including:
- A clean, professional, and perfectly level appearance
- Longer lifespan for both the whiteboard and its mounting hardware
- Reduced risk of incorrect drilling and wall damage
- Faster and more efficient installation
- Even weight distribution across mounting points
- Improved comfort and usability during daily use
Installing a Whiteboard with a Laser Level
What Is a Laser Level?
A laser level is a precision tool that projects perfectly straight horizontal, vertical, or cross lines onto a surface. These laser lines serve as accurate reference points, allowing installers to mount equipment such as whiteboards, televisions, cabinets, shelves, and wall décor with exceptional precision.
Unlike traditional bubble levels that measure only a single point, a laser level projects a continuous line across the wall, making it much easier to mark mounting points accurately. As a result, installing a whiteboard with a laser level is significantly faster, more accurate, and more reliable than using conventional leveling methods.
Installing a Whiteboard with a Laser Level
Benefits of Installing a Whiteboard with a Laser Level
If you’re aiming for a professional, high-quality installation, a laser level is the best tool for the job. Some of its key benefits include:
- Improved installation accuracy
- Reduced human error
- Prevention of crooked or uneven installations
- Faster project completion
- Suitable for installing whiteboards of all sizes and types
- Reduced risk of incorrect drilling and wall damage
- Easy enough for both beginners and experienced installers
Step-by-Step Guide to Installing a Whiteboard with a Laser Level
Once you have gathered all the necessary tools, it’s time to begin the whiteboard installation with a laser level. Following the correct installation sequence not only improves accuracy but also helps prevent incorrect drilling, wall damage, and uneven mounting. By completing the following steps in order, you can achieve a professional, fast, and error-free installation.
Installing a Whiteboard with a Laser Level
1. Measure the Installation Area
The first step in installing a whiteboard on a wall is determining the exact mounting location. Before turning on the laser level, measure the dimensions of the whiteboard with a tape measure and determine the ideal installation height.
In classrooms, the center of the whiteboard should typically be positioned at a height that allows most users to write comfortably without bending down or reaching too high. In conference rooms and offices, the mounting height should provide a comfortable viewing angle for seated participants.
Tip: Before installation, make sure there is enough space around the whiteboard for writing, erasing, and using any accessories.
Installing a Whiteboard with a Laser Level
2. Set Up the Laser Level
One of the most important steps in whiteboard installation with a laser level is properly setting up the device. Place the laser level on a tripod or another stable surface and turn it on.
If you’re using a self-leveling laser level, the horizontal line will automatically level itself within a few seconds. For manual models, center the bubble level before proceeding.
Once the laser line is projected onto the wall, it becomes the primary reference for positioning the whiteboard. Avoid moving the laser level after this point, as even a slight movement can affect installation accuracy.
3. Mark the Mounting Holes
With the laser line established, position the whiteboard or its mounting bracket along the line and mark the screw hole locations using a pencil.
If your whiteboard uses a metal mounting bracket, install the bracket first and then hang the whiteboard on it. This method provides better support and makes installation easier.
Tip: Before drilling, double-check the spacing between the mounting holes with a tape measure to ensure everything is correctly aligned.
Installing a Whiteboard with a Laser Level
4. Drill the Wall
After confirming the hole locations, begin drilling. Choosing the correct drill bit based on the wall material is essential for a secure wall-mounted whiteboard installation.
- Use a masonry drill bit for concrete or brick walls.
- Use drywall anchors designed for plasterboard or drywall.
- Hold the drill perpendicular to the wall to ensure the screws are installed straight.
Once drilling is complete, remove all dust and debris from the holes so the wall anchors can fit securely.
5. Install the Wall Anchors and Screws
Insert the wall anchors gently into the drilled holes and tap them into place with a hammer if necessary. Then install the screws, leaving them slightly loose rather than fully tightened.
Keeping a small amount of adjustment space will allow you to make final alignment corrections when mounting the whiteboard.
Installing a Whiteboard with a Laser Level
6. Mount the Whiteboard
Now it’s time to mount the whiteboard. If the board is large or heavy, having a second person assist with lifting and positioning it is highly recommended to prevent damage to both the whiteboard and the wall.
Once the whiteboard is in place on the bracket or mounting screws, tighten all fasteners evenly. Avoid over-tightening, as excessive force may damage the frame or distort the whiteboard.
7. Check the Alignment and Stability
The final step in installing a whiteboard with a laser level is performing a thorough inspection. Turn the laser level back on and verify that the top edge of the whiteboard aligns perfectly with the horizontal laser line.
Next, apply gentle pressure to ensure the whiteboard is securely mounted. If there is no movement or looseness, the installation has been completed successfully.
Installing a Whiteboard with a Laser Level
Professional Tips for Accurate Whiteboard Installation
Following these professional recommendations will help you achieve the best possible results:
After installation, inspect all screws one final time to ensure they are fully secure.
Always check for hidden electrical wiring and plumbing before drilling.
Use high-quality screws and wall anchors that match the weight of your whiteboard.
In bright environments, laser enhancement glasses can make the laser line easier to see.
If the wall surface is uneven, use spacers or washers to achieve a perfectly level installation.
Common Mistakes in Whiteboard Installation with a Laser Level and How to Avoid Them
Although installing a whiteboard with a laser level is one of the most accurate and efficient methods for mounting wall fixtures, overlooking a few essential details can reduce installation quality, damage the wall, or even cause the whiteboard to become loose over time. Understanding these common mistakes will help you achieve a professional, secure, and long-lasting whiteboard installation without the need for costly adjustments.
Installing a Whiteboard with a Laser Level
Choosing the Wrong Installation Height
One of the most common mistakes when installing a whiteboard on a wall is selecting an inappropriate mounting height. If the whiteboard is installed too high or too low, users may experience discomfort while writing or viewing its contents.
Before beginning the whiteboard wall mounting process, determine the ideal height based on the room’s purpose and the average height of the users. In classrooms, the center of the whiteboard should be positioned within the natural line of sight of both teachers and students. In offices and meeting rooms, the installation height should provide a comfortable viewing angle for seated participants.
Using Incorrect Screws and Wall Anchors
Using low-quality or unsuitable screws and wall anchors is one of the leading causes of loose or unstable whiteboards.
During whiteboard installation with a laser level, always select mounting hardware that matches both the weight of the whiteboard and the type of wall. Heavy-duty screws and anchors are recommended for concrete and brick walls, while specialized drywall anchors should be used for plasterboard or drywall installations.
Installing a Whiteboard with a Laser Level
Ignoring the Wall Material
Not all walls are built the same. Concrete, brick, drywall, and plaster each require different drilling techniques and mounting hardware.
Before drilling, carefully inspect the wall material and choose the appropriate drill bit, wall anchors, and screws. Taking this step helps ensure a stronger installation, minimizes wall damage, and reduces unnecessary repair costs.
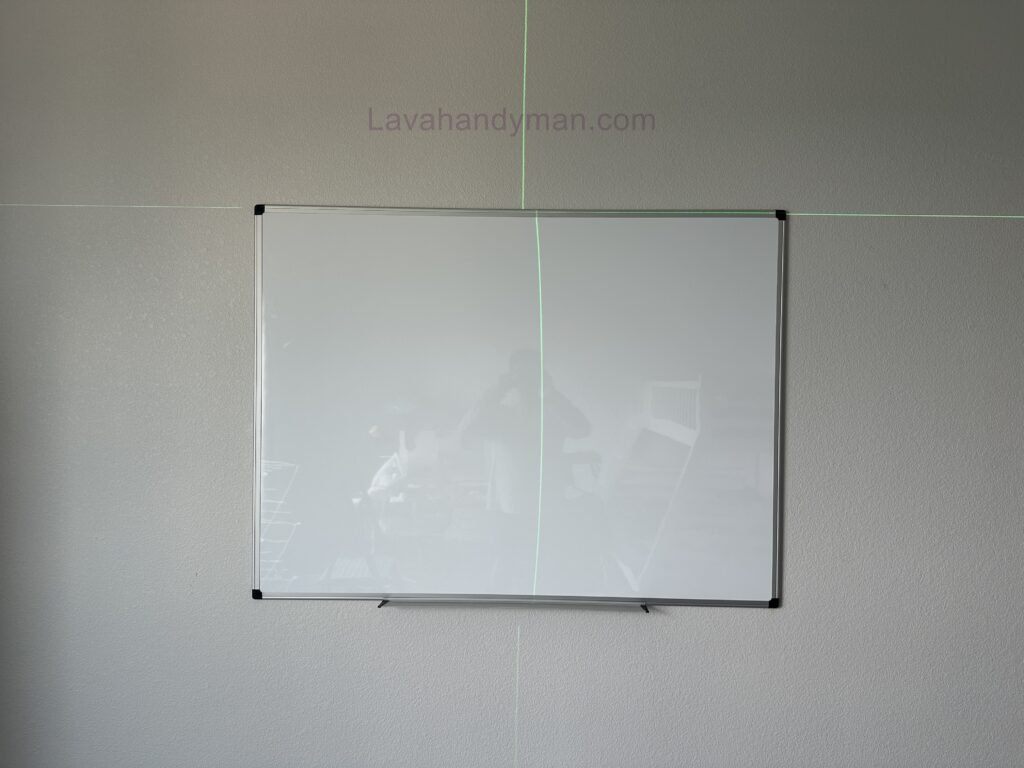
Moving the Laser Level During Installation
Even experienced installers sometimes make the mistake of moving the laser level after it has been properly aligned.
During whiteboard installation with a laser level, the projected laser line serves as the primary reference for all measurements. Any movement of the device can alter your markings and reduce installation accuracy.
To maintain precision, place the laser level on a stable tripod or flat surface and avoid moving it until all measurements and markings have been completed.
Installing a Whiteboard with a Laser Level
Drilling Without Checking for Electrical Wiring or Plumbing
One of the most serious mistakes when installing a whiteboard on a wall is drilling without checking for hidden electrical wires, water pipes, or other utilities.
Using a wall scanner or stud finder with wire detection can help identify hidden obstacles before drilling, reducing the risk of structural damage, electrical hazards, and expensive repairs. This is considered a key practice in professional whiteboard installation.
Installing a Whiteboard with a Laser Level
Safety Tips for Whiteboard Installation
Following proper safety procedures not only protects the installer but also improves the overall quality of the project. When installing a whiteboard on a wall, keep these safety recommendations in mind:
- Wear safety glasses while drilling.
- Use protective gloves to prevent hand injuries.
- Always use a sturdy, stable ladder when working at height.
- Inspect your drill, drill bits, and laser level before starting.
- Ask for assistance when lifting or installing large or heavy whiteboards.
- After installation, recheck all screws, brackets, and mounting hardware to ensure everything is secure.
Installing a Whiteboard with a Laser Level
How to Maintain a Whiteboard After Installation
Proper maintenance after whiteboard installation with a laser level helps extend the lifespan of both the whiteboard and its mounting hardware.
For the best long-term performance:
- Clean the writing surface regularly with a whiteboard eraser or a microfiber cloth.
- Avoid using harsh chemicals or abrasive cleaning products.
- Inspect all mounting screws and brackets every six months.
- Do not hang heavy objects from the whiteboard frame.
- In humid environments, periodically check metal components for signs of rust or corrosion.
Installing a Whiteboard with a Laser Level
Why Is a Laser Level the Best Choice for Whiteboard Installation?
Using a laser level for whiteboard installation offers significant advantages over traditional leveling methods. It provides superior accuracy, reduces installation time, and minimizes the risk of costly mistakes.
Some of the key benefits include:
- Exceptional leveling accuracy
- Reduced human error
- Prevention of incorrect drilling
- Faster installation
- Suitable for homes, offices, classrooms, and commercial spaces
- Versatile enough for mounting TVs, shelves, cabinets, artwork, and other wall fixtures
Installing a Whiteboard with a Laser Level
Laser Level vs. Bubble Level for Whiteboard Installation
Choosing the right leveling tool can make a significant difference in installation quality.
| Feature | Laser Level | Bubble Level |
|---|---|---|
| Accuracy | Excellent | Moderate |
| Installation Speed | Fast | Slower |
| Human Error | Minimal | Higher |
| Suitable for Large Whiteboards | Yes | Limited |
| Ease of Use | Very Easy | Requires More Skill |
| Final Results | Professional | Acceptable |
Installing a Whiteboard with a Laser Level
Professional Tips for More Accurate Whiteboard Installation
If you want installation results comparable to those of a professional contractor, follow these expert recommendations:
For larger projects, use a sturdy tripod to keep the laser level stable throughout the installation process.
Calibrate your laser level before every project.
Use screws and wall anchors rated for the weight of your whiteboard.
Avoid over-tightening screws, as this can damage the whiteboard frame.
When installing on drywall, secure the mounting screws into wall studs whenever possible.
After installation, verify the alignment once more using the laser level.
Advantages of Installing a Whiteboard with a Laser Level Compared to Traditional Methods
In the past, most people relied on tools such as bubble levels, measuring tapes, plumb bobs, or even visual estimation when installing a whiteboard on a wall. Although these methods can still be effective for small projects, their accuracy largely depends on the installer’s experience and skill, making installation errors more likely.
Today, whiteboard installation with a laser level has become the standard approach for educational, commercial, and residential installations. A laser level projects perfectly straight horizontal and vertical reference lines, allowing you to position and mount a whiteboard with exceptional precision while minimizing installation mistakes.
Installing a Whiteboard with a Laser Level
The key advantages of using a laser level for whiteboard installation include:
- Superior accuracy: Laser lines ensure perfectly level alignment and significantly reduce installation errors.
- Faster installation: Measuring and marking are completed more efficiently, reducing the overall installation time.
- Reduced human error: The laser line provides a constant reference point, eliminating much of the guesswork associated with manual measurements.
- Professional-looking results: A precisely mounted whiteboard enhances the appearance of classrooms, offices, meeting rooms, and home workspaces.
- Versatility: In addition to whiteboard installation, laser levels are ideal for mounting TVs, cabinets, shelves, artwork, curtain rails, and many other wall-mounted fixtures.
- Cost savings: Accurate installation minimizes the need for re-drilling holes, repositioning brackets, or making costly repairs.
For these reasons, using a laser level not only improves installation quality but also saves both time and money over the long term.
Other Applications of a Laser Level
Although this guide focuses on whiteboard installation with a laser level, this versatile tool is widely used across construction, interior design, renovation, and home improvement projects.
Thanks to its precision and ease of use, a laser level can also be used for:
- Mounting wall-mounted televisions
- Installing floating shelves and wall shelves
- Installing kitchen cabinets
- Hanging artwork and decorative frames
- Applying wallpaper
- Installing curtain rods and curtain tracks
- Aligning ceramic tiles and flooring
- Installing suspended ceilings
- Setting up office partitions
- Mounting decorative mirrors
- Installing wall panels and decorative cladding
- Home renovation and remodeling projects
Because of its broad range of applications, purchasing a laser level is a worthwhile investment for homeowners, contractors, interior designers, carpenters, and professional installers.
Installing a Whiteboard with a Laser Level
How to Maintain a Laser Level
The long-term accuracy of a laser level depends largely on how well it is maintained. Proper care helps preserve measurement accuracy, extend the tool’s lifespan, and reduce maintenance costs.
To keep your laser level in excellent condition:
- Store the device in its protective carrying case after each use.
- Clean the laser lens with a soft, lint-free cloth.
- Protect the tool from drops, impacts, and excessive vibration.
- Remove the batteries if the device will not be used for an extended period.
- Store the laser level in a clean, dry environment away from excessive humidity.
- Calibrate the tool periodically to maintain measurement accuracy.
- Before each project, verify that the laser lines are functioning correctly and accurately.
Following these maintenance practices ensures reliable performance for whiteboard installation and many other leveling applications for years to come.
Installing a Whiteboard with a Laser Level
Frequently Asked Questions About Whiteboard Installation with a Laser Level
How long does it take to install a whiteboard with a laser level?
Installation time depends on the size of the whiteboard, the wall material, and the installer’s experience. However, most residential and office installations can be completed within 20 to 45 minutes.
Can one person install a whiteboard?
Small and lightweight whiteboards can usually be installed by one person. However, for larger or magnetic whiteboards, having a second person assist with positioning and mounting is highly recommended to ensure both accuracy and safety.
Installing a Whiteboard with a Laser Level
What type of screws should be used for whiteboard installation?
The appropriate screws depend on the wall material. Concrete and brick walls require heavy-duty screws with suitable wall anchors, while drywall installations should use anchors specifically designed for plasterboard or drywall.
Does a laser level require calibration?
Yes. To maintain optimal accuracy, laser levels should be calibrated periodically, especially if they are used frequently or have experienced accidental impacts.
What should I do if the wall is uneven?
If the wall surface is uneven, spacers or shims can be used to compensate for surface irregularities. It’s also recommended to inspect the wall carefully before beginning the installation.
Installing a Whiteboard with a Laser Level
Can a magnetic whiteboard be installed on any type of wall?
Yes. With the correct mounting hardware, magnetic whiteboards can be safely installed on concrete, brick, drywall, plaster, and wooden walls.
Conclusion
Installing a whiteboard with a laser level is the most reliable way to achieve a precise, secure, and professional installation. By combining a high-quality laser level with the proper tools and installation techniques, you can ensure perfect alignment while minimizing installation errors.
Throughout this guide, you’ve learned every essential step of whiteboard installation, including choosing the ideal location, setting up the laser level, drilling accurately, mounting the whiteboard, following important safety practices, maintaining the installation, and avoiding common mistakes.
Whether you’re installing a whiteboard in a classroom, office, conference room, or home workspace, following these best practices will help you achieve a durable, professional-looking installation that will provide years of reliable use.
If you’re planning to install a new whiteboard—or any other wall-mounted fixture—a quality laser level is one of the best investments you can make for achieving fast, accurate, and professional results.
Installing a Whiteboard with a Laser Level
Frequently Asked Questions (FAQ)
Is a laser level necessary for installing a whiteboard?
No, but using a laser level significantly improves accuracy, reduces installation errors, and saves time. For a professional-quality installation, it is highly recommended.
What is the best height for installing a whiteboard?
The ideal installation height depends on the intended environment and users. In general, the center of the whiteboard should be positioned at a comfortable viewing and writing height for most users.
Can a whiteboard be installed on drywall?
Yes. A whiteboard can be safely installed on drywall by using drywall-specific anchors and screws that are rated for the weight of the board.
How often should the mounting hardware be inspected?
Installing a Whiteboard with a Laser Level
For maximum safety and long-term durability, inspect all mounting screws, brackets, and anchors every 6 to 12 months, tightening or replacing them if necessary.
📞 Need Help?
Let us take care of the hard work while you sit back and relax.
📍 Serving: Austin, Round Rock, Cedar Park & more
📱 Call or Text: (737) 420-6992
🌐 Visit: https://lavahandyman.com