Professional Tips for Assembling Classic and Luxury Furniture
Introduction
Assembling classic and luxury furniture is a crucial step after purchasing these types of furniture. Due to their intricate designs, delicate carvings, sensitive finishes, and decorative details, these pieces require precision, experience, and technical knowledge. Any mistake during assembly can damage the structure, reduce the lifespan, and compromise the aesthetic appeal. This article provides comprehensive professional tips for assembling classic and luxury furniture, ensuring safe, beautiful, and durable results.
Importance of Professional Assembly for Classic and Luxury Furniture

Professional assembly of classic and luxury furniture offers several benefits:
- Enhanced durability and strength: Proper installation ensures better weight distribution and longer furniture lifespan.
- Maintaining aesthetic appeal: Careful installation of carvings and finishes keeps the furniture attractive and elegant.
- Smooth operation of movable parts: Drawers and doors operate without sticking or friction.
- User safety: Properly leveled and secured furniture is particularly important for children and the elderly.
- Preserving financial value: Luxury furniture is a significant investment, and proper assembly protects its value.
Features of Classic and Luxury Furniture
Assembling Classic
Classic and luxury furniture has specific features that make assembly delicate:
- Carvings and decorative details: Excessive pressure can crack or damage parts.
- Sensitive finishes: Require special protection during assembly.
- Heavy and large components: Assistance or special tools may be needed for safe handling.
- Complex connections: Require precise alignment and coordination of all parts.
Essential Tools for Professional Assembly
Proper tools greatly influence assembly quality:
- Manual and electric screwdrivers with adjustable torque
- Allen keys and socket wrenches
- Accurate level and measuring tape
- Rubber mallet and clamps
- Protective tools for carvings and finishes
- Gloves and safety equipment
- Lubricants for drawers and movable parts
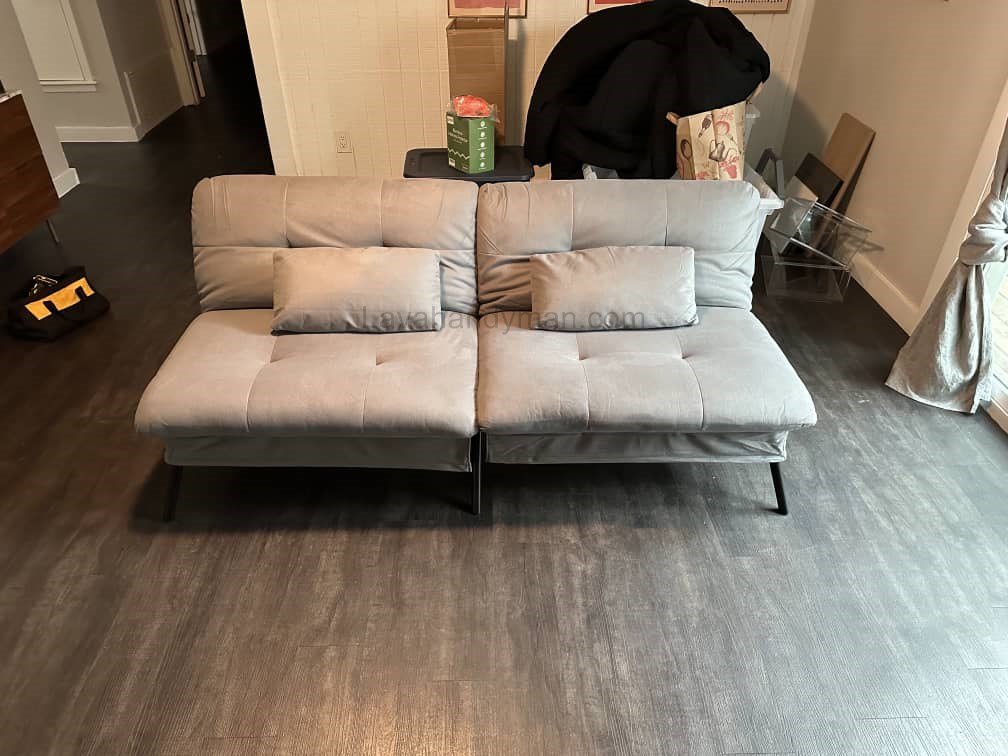
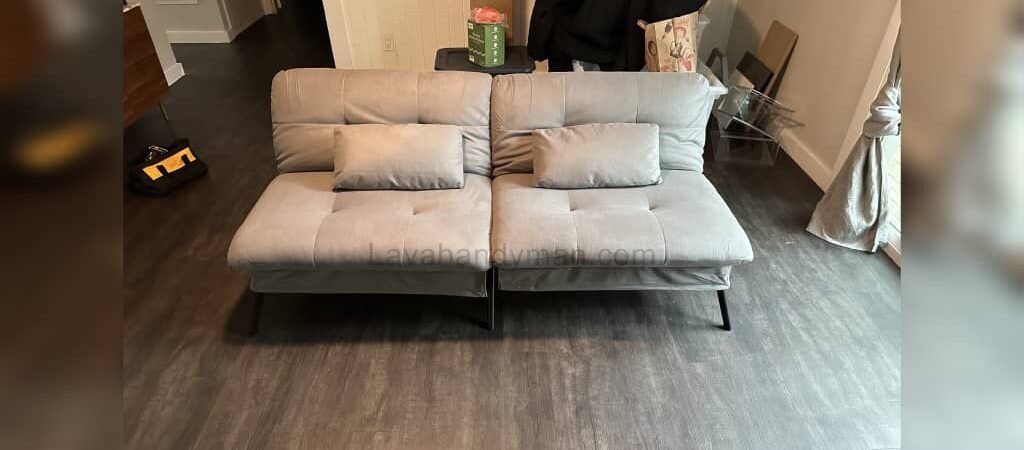
Step-by-Step Guide to Assembling Classic and Luxury Furniture
Assembling Classic
Step 1: Check Parts and Instructions
- Match all parts with the manufacturer’s instruction manual and checklist.
- Inspect all pieces and screws for damage.
- Label similar parts to prevent installation errors.
- Prepare protective tools to safeguard carvings and finishes.
Step 2: Prepare the Workspace
- Choose a flat, well-lit area with enough space.
- Use protective mats to prevent damage to components and flooring.
- Arrange tools and parts in order of installation for easy access.
- Ensure safety by keeping children and pets away from the workspace.
Step 3: Assemble the Main Frame
- Install primary structural pieces carefully and level the frame.
- Secure base and key connections with proper pressure.
- Gradually tighten screws, maintaining appropriate torque.
- Use a manual or laser level to confirm frame alignment.
Step 4: Install Decorative Details
Assembling Classic
- Attach carved and decorative pieces with high precision.
- Use protective tools to prevent damage to finishes or carvings.
- Apply gradual pressure to ensure alignment and avoid cracks.
- Test decorative parts before installing movable components.
Step 5: Install Movable Components
- Install drawers, doors, and other movable parts.
- Check smooth movement and operation of all parts.
- Apply lubricant to drawers if needed.
- Ensure all movable components are properly aligned with the main frame.
Step 6: Final Check and Adjustment
- Inspect all screws and connections for firmness.
- Re-level the frame and movable components.
- Verify that drawers and doors operate smoothly.
- Check final aesthetic alignment and overall appearance.
Professional Tips from Experienced Installers
- Teamwork: For heavy parts, at least two people are recommended.
- Gradual tightening: Slowly secure screws to allow final adjustments.
- Use protective tools: When handling carvings and sensitive finishes.
- Label similar parts: Prevent incorrect assembly.
- Check alignment at every stage: Before adding decorative or movable parts.
- Practical experience: Professional installers can handle challenging pieces without causing damage.
Assembling Classic
Common Mistakes in Non-Professional Assembly
- Applying excessive pressure on carvings and finishes
- Using inappropriate screws or tools
- Ignoring instruction manuals
- Not leveling the main frame
- Rushing assembly and skipping final checks
- Neglecting safety and teamwork
Benefits of Hiring a Professional Installer
- Saves time and prevents damage to furniture
- Fully adheres to safety standards
- Preserves furniture beauty and durability
- Ensures smooth operation of drawers and movable parts
- Ability to handle challenging components and complex assemblies
Maintenance and Care After Assembly
- Clean with a soft, dry cloth
- Avoid placing heavy or sharp objects on carvings
- Periodically check screws and connections
- Prevent exposure to high humidity or direct sunlight
- Use protective covers for sensitive parts
- Educate users on proper furniture handling
Assembling Classic
Additional Practical Tips
- Patience and precision are critical for assembling classic and luxury furniture.
- Always inspect tools and components before installation.
- Use team assistance for heavy or large pieces.
- Replace damaged or defective components before assembly.
- Use lubricants and protective tools to improve quality and longevity.
Professional Steps for Assembling Furniture at Home
Assembling furniture, whether classic, luxury, or modern, requires precision, the right tools, and professional tips. This guide explains step-by-step how to assemble furniture safely, efficiently, and effectively.
1. Checking Parts and Preparation
- Inspect all parts: Compare all components with the instruction manual or manufacturer’s checklist.
- Prepare your tools: Arrange screws, nuts, washers, and all necessary tools for easy access.
- Label similar parts: Prevents mistakes during assembly.
- Prepare the workspace: Use a flat, well-lit area with enough space and protective mats to safeguard flooring and furniture pieces.
Assembling Classic
2. Assembling the Main Frame
- Install the main body and structural columns carefully, ensuring proper leveling.
- Gradually tighten screws to allow final adjustments.
- Use a manual or laser level to ensure perfect alignment.
- The main frame is the backbone of the furniture and must be sturdy and precise.
3. Installing Decorative and Side Components
- Attach handles, legs, and decorative pieces with care.
- Use protective tools to avoid damage to carvings and finishes.
- Apply pressure gradually to align pieces without causing cracks or scratches.
- Install decorative elements after the main frame to reduce strain on the structure.
Assembling Classic
4. Installing Movable Components
- Install drawers, doors, and other movable parts.
- Test for smooth operation without sticking or friction.
- Apply lubricant to drawers or moving parts if necessary.
- Ensure all movable components are aligned with the main frame.
5. Final Check and Adjustment
- Inspect all screws and connections, tightening as needed.
- Make sure the furniture is level and stable.
- Test drawers and doors for smooth, silent operation.
- Check the final appearance and alignment of decorative elements.
“final furniture adjustments”, “checking screws”, “testing furniture functionality”.
6. Safety and Professional Tips
Check alignment and stability at every step before proceeding.
Use assistance when handling heavy pieces.
Protect your hands with gloves and handle tools carefully.
Avoid overtightening screws to prevent cracking or damage.
Types of Brackets for Furniture Assembly and Their Uses
Using the right brackets is crucial for professional furniture assembly. The type of bracket depends on the type of furniture, connection point, and applied load. Below is a detailed guide to the most common brackets and their applications.
1. L‑Bracket
Usage:
- Connect vertical to horizontal components, such as legs to the body
- Reinforce corners in sofas, cabinets, and shelves
Advantages:
- Easy to install with screws
- Provides stable 90-degree angles
- Ideal for internal corners
Assembling Classic
2. Flat Bracket
Usage:
- Connect two pieces flatly
- Commonly used for drawers, panels, and shelving bases
Advantages:
- Evenly distributes pressure
- Adds strength without changing angles
- Suitable for parts that do not require a specific angle
3. T‑Bracket
Usage:
- Connect intersecting components
- Example: joining central legs to side panels
Advantages:
- Stronger support compared to L‑brackets
- Ideal for high-stress or complex intersections
4. Corner Brace
Usage:
- Reinforce internal and external corners
- Excellent for heavy or classic furniture
Advantages:
- Enhances corner stability
- Prevents twisting or wobbling
- Available in various sizes and materials
Assembling Classic
5. Adjustable / Angle Bracket
Usage:
- For non-standard angles and custom designs
- Suitable for bespoke or luxury furniture
Advantages:
- Adjustable to different angles
- Flexible installation for unique projects
6. Shelf Support Bracket
Usage:
- Supports shelves and platforms
- Common in cabinets, buffets, and shelving units
Advantages:
- Easy to install
- Safely supports heavy loads
Assembling Classic
7. Hidden Bracket
Usage:
- For luxury and classic furniture
- Internal attachment without visible brackets
Advantages:
- Clean and seamless appearance
- Ideal for furniture with delicate finishes
8. Angle Iron / Gusset Plate
Usage:
- Strengthen high-stress connections
- Heavy furniture, large frames, and outdoor furniture
Advantages:
- Very high strength
- Better weight and stress tolerance
Key Tips for Choosing the Right Bracket
- Choose brackets based on weight and applied load.
- For classic and luxury furniture, hidden or color-matched brackets are preferred.
- Use standard, durable screws and brackets.
- In corners and high-stress areas, consider using two brackets simultaneously for added stability.
Quick Bracket Comparison Table
| Bracket Type | Main Use | Ideal For |
|---|---|---|
| L‑Bracket | Corner reinforcement | General furniture |
| Flat‑Bracket | Flat connections | Drawers and panels |
| T‑Bracket | Intersecting joints | Heavy furniture |
| Corner Brace | Corner strengthening | Classic and luxury furniture |
| Adjustable | Custom angles | Bespoke projects |
| Shelf Support | Shelf support | Cabinets and buffets |
| Hidden | Aesthetic appearance | Luxury furniture |
| Angle Iron | High load tolerance | Large and heavy frames |
Conclusion
Assembling classic and luxury furniture is a delicate and professional task requiring experience, precision, and proper tools. Following professional tips and step-by-step assembly instructions ensures durable, beautiful, and safe furniture while preserving its value. Hiring a professional installer or carefully following manufacturer instructions is essential for anyone assembling furniture at home. By adhering to these guidelines and performing proper post-installation care, the final result will be a flawless, elegant piece of classic or luxury furniture.
📞 Need Help?
Let us take care of the hard work while you sit back and relax.
📍 Serving: Austin, Round Rock, Cedar Park & more
📱 Call or Text: (737) 420-6992
🌐 Visit: https://lavahandyman.com