Decorative Mirror Installation Guide: Accurate Wall Mounting with a Laser Level
Introduction
Installing decorative mirrors on the wall is one of the most effective ways to enhance interior design. Decorative mirrors play a significant role in improving visual appeal, reflecting light, and making spaces appear larger. They are widely used in residential, commercial, and office environments. However, these benefits can only be fully achieved when the mirror is installed accurately and perfectly level.
One of the most reliable tools for precise installation is the laser level. Using a laser level increases accuracy, reduces installation errors, and ensures a professional final result. In this article, we provide a comprehensive, step-by-step guide on how to install decorative mirrors on the wall using a laser level, including required tools, technical tips, safety considerations, and common mistakes.

What Is a Decorative Mirror?
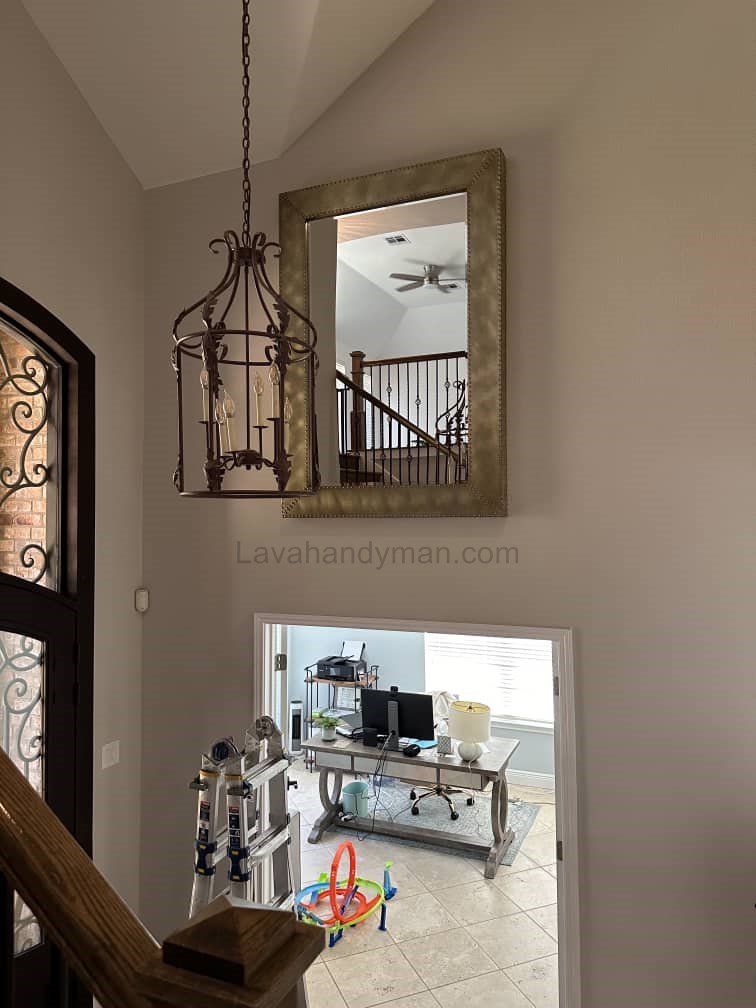
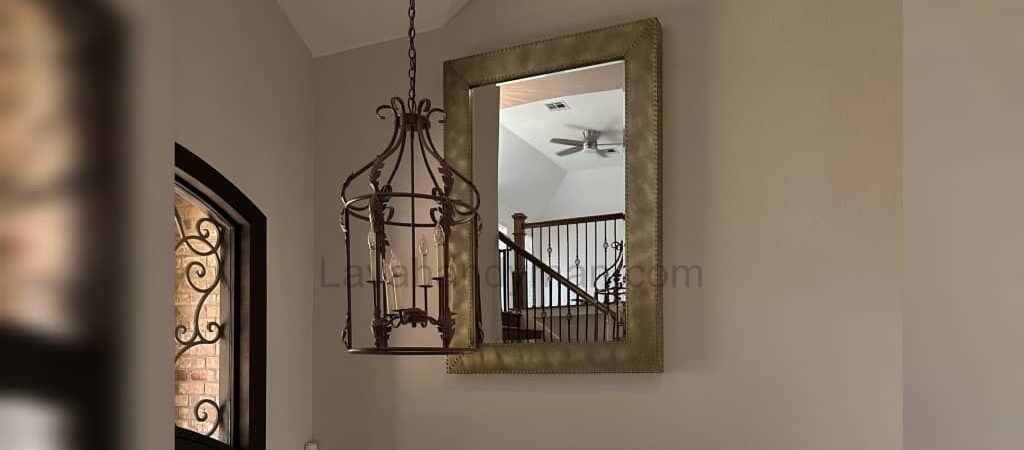
A decorative mirror is a type of mirror designed not only for functional use but also for aesthetic enhancement. These mirrors come in various shapes and designs such as square, rectangular, circular, diamond-shaped, and other geometric forms. Decorative mirrors can be installed as a single piece or as multi-piece (modular) arrangements on walls.
Types of Decorative Mirrors
- Simple decorative mirrors
- Beveled decorative mirrors
- Multi-piece (puzzle-style) decorative mirrors
- Modern and artistic decorative mirrors
The more complex the mirror design, the greater the importance of precise alignment and accurate installation.
Applications of Decorative Mirrors in Interior Design
Decorative mirrors are widely used in interior spaces due to their visual and functional benefits.
Key Applications Include:
- Making small spaces appear larger
- Increasing natural and artificial light reflection
- Creating visual balance and symmetry
- Enhancing plain or empty walls
- Establishing a focal point in interior spaces
As a result, decorative mirrors are commonly used in living rooms, hallways, bedrooms, lobbies, and commercial spaces.
Importance of Proper Mirror Leveling
The human eye is highly sensitive to horizontal and vertical lines. Even a slight misalignment in mirror installation can be easily noticed and negatively affect the overall appearance of a space.
Consequences of Improper Installation:
- Reduced visual appeal
- A sense of disorder and imbalance
- Loss of symmetry
- Unprofessional appearance of the interior
For this reason, using a laser level has become a professional standard in decorative mirror installation.
What Is a Laser Level and How Does It Work?
A laser level is a precision tool that projects perfectly straight laser lines onto surfaces to help align objects accurately. These lines can be horizontal, vertical, or cross-shaped and serve as reference guides during installation.
Key Features of a Laser Level:
- High accuracy
- Reduced human error
- Faster installation process
- Ideal for large and multi-piece mirrors
Advantages of Installing Decorative Mirrors with a Laser Level
Using a laser level offers numerous advantages, making it the best option for decorative mirror installation.
Main Advantages:
- Precise and error-free alignment
- Faster installation
- Reduced need for rework
- Professional and clean final appearance
- Ideal for modular and puzzle-style mirrors
Tools Required for Decorative Mirror Installation
Proper preparation of tools is essential before beginning the installation process.
Required Tools:
- Laser level
- Measuring tape
- Pencil or marker
- Drill with suitable drill bits
- Screws and wall anchors
- Mirror adhesive
- Safety gloves
Wall Preparation Before Installation
Proper wall preparation is critical to ensure durability and installation quality.
Preparation Steps:
- Cleaning the wall surface
- Checking wall flatness
- Repairing cracks or uneven areas
- Determining the exact installation location
Steps for Installing Decorative Mirrors Using a Laser Level
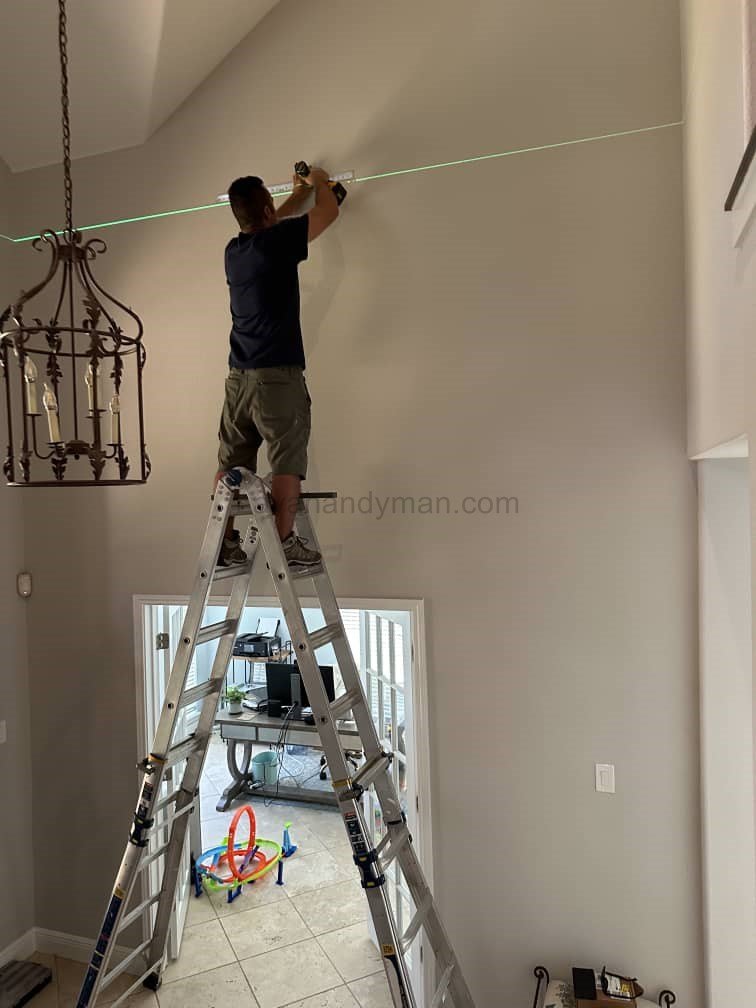
Step One: Setting Up the Laser Level
Place the laser level on a flat surface or tripod and allow it to project horizontal and vertical lines onto the wall.
Step Two: Defining the Reference Line
Use the horizontal laser line as the primary reference point for mirror alignment.
Step Three: Marking Installation Points
Mark the exact positions of the mirror or its segments on the wall based on the laser guidelines.
Step Four: Installing the Mirror
- Adhesive Installation: Suitable for lightweight mirrors
- Mechanical Installation (Screws and Anchors): Recommended for heavier mirrors
Step Five: Final Alignment Check
After installation, recheck the mirror alignment using the laser level to ensure accuracy.
Safety Tips for Decorative Mirror Installation
- Always wear safety gloves
- Avoid applying sudden pressure to the mirror
- Use high-quality, standard mirror adhesive
- Ensure the wall can support the mirror’s weight
Common Mistakes in Decorative Mirror Installation
- Not using a laser level
- Skipping the marking step
- Choosing an incorrect installation height
- Using low-quality adhesive
Step-by-Step Guide: Installing Decorative Mirrors on the Wall Using a Laser Level
Step 1: Choose the Right Location
First, determine the exact location for installing the decorative mirror. The height should align with eye level and harmonize with lighting, furniture, and other interior elements. Choosing the correct location directly affects the final aesthetic of the space.
Step 2: Prepare the Wall Surface
Ensure the wall is clean, dry, and flat. Dust, grease, or uneven surfaces can lead to improper installation. Repair any cracks or irregularities before beginning the mirror installation.
Step 3: Prepare the Necessary Tools
Gather all the required tools beforehand, including a laser level, measuring tape, pencil, drill, screws and anchors, or mirror adhesive. Proper preparation ensures faster and more accurate installation.
Step 4: Set Up and Turn On the Laser Level
Place the laser level on a tripod or a flat surface and turn it on. The device will self-level and project precise horizontal and vertical lines on the wall.
Step 5: Establish the Reference Line
Use the horizontal laser line as the primary reference for mirror installation. This line typically marks the top edge or the center of the decorative mirror and serves as the main guide for leveling.
Step 6: Measure and Mark Precisely
Using the tape measure and laser lines, mark the exact positions for the mirror or its segments on the wall. For multi-piece mirrors, ensure consistent spacing between all parts.
Step 7: Choose the Installation Method
Select the appropriate method depending on the weight and size of the mirror:
- Adhesive Installation: Suitable for lightweight mirrors
- Screw and Anchor Installation: Recommended for large or heavy mirrors
Choosing the right method ensures safety and long-lasting results.
Step 8: Install the Decorative Mirror
Carefully place the mirror on the wall, aligning it with the laser lines. For adhesive installation, hold the mirror in place for a few seconds to ensure a strong bond. For screws and anchors, tighten securely without applying excessive force.
Step 9: Check the Final Level
After installation, recheck the mirror alignment using the laser level to ensure it is perfectly straight. Make minor adjustments if necessary.
Step 10: Final Cleaning and Setting
Finally, clean the mirror surface and allow adhesive (if used) to fully cure. Avoid applying pressure or bumping the mirror for several hours to ensure secure adhesion.
Types of Brackets for Installing Decorative Mirrors on Walls
Choosing the right bracket is crucial when installing decorative mirrors on walls. The type of bracket depends on the mirror’s weight, size, wall type, and installation method (adhesive or mechanical). Below are the most suitable options:
1. L‑Shape Brackets
Features:
- Simple L-shape with two arms: one attached to the wall, the other supporting the mirror
- Very strong and reliable support
- Suitable for both framed and frameless mirrors
Applications:
Ideal for medium to heavy mirrors on drywall, concrete, or brick walls.
2. Z‑Shape Brackets
Features:
- Two interlocking pieces
- Allows quick “hook and hang” installation
- Mirrors can be easily removed or repositioned
Applications:
Perfect for multi-piece or modular mirrors that may need to be adjusted or removed occasionally.
3. French Cleat Brackets
Features:
- Two angled pieces: one mounted on the wall, the other on the back of the mirror
- Excellent weight distribution
- Extremely secure for large and heavy mirrors
Applications:
Ideal for very large or multi-piece mirrors requiring full support.
4. Mirror Clips
Features:
- Quick and easy to install
- Low-profile, unobtrusive appearance
- Suitable for lightweight and medium-sized mirrors
Applications:
Best for small to medium mirrors where the bracket should remain discreet.
5. Heavy Duty Wall Anchors
Features:
- Designed for drywall
- High weight-bearing capacity with standard screws and anchors
- Reliable support for medium to heavy mirrors
Applications:
Used when mirrors are mounted on drywall and require additional support.
6. Adjustable Mounting Brackets
Features:
- Allows height and level adjustment after installation
- Usually includes extra plates for fine-tuning
- Ideal for professional installations
Applications:
Recommended for walls that are slightly uneven or when precise leveling is required after mounting.
Important Tips for Using Brackets
✅ Always use heavy-duty anchors on drywall.
✅ Ensure the back of the mirror is perfectly level when using French Cleat brackets.
✅ For frameless mirrors, use soft or plastic clips to protect the glass edges.
✅ Choose screws and bolts of appropriate length and diameter based on mirror weight and wall type.
Conclusion
Installing decorative mirrors on the wall using a laser level is the most accurate and professional method for incorporating this decorative element into interior design. A laser level significantly improves precision, reduces errors, and ensures a perfectly aligned and visually pleasing result. By following the steps and guidelines outlined in this article, decorative mirrors can be installed correctly, enhancing the space with a modern, elegant, and professional appearance.
📞 Need Help?
Let us take care of the hard work while you sit back and relax.
📍 Serving: Austin, Round Rock, Cedar Park & more
📱 Call or Text: (737) 420-6992
🌐 Visit: https://lavahandyman.com