
“How to Professionally Hang Artwork on Your Walls | Guide “
1. Introduction
Having art pieces on your walls not only enhances the beauty of your home but also reflects your personality and taste. Choosing and hanging artwork may seem simple, but following the right guidelines ensures that your walls remain undamaged and the artwork looks its best. In this article, we will cover key tips for arranging artwork, selecting suitable pieces, and hanging art on walls effectively.
Professionally Hang Art
2. The Importance of Displaying Art at Home
Art can breathe life into a space and change the atmosphere of a room. Benefits of displaying art at home include:
- Creating a sense of beauty and tranquility
- Showcasing the owner’s personality and taste
- Providing a focal point to draw visitors’ attention
Choosing the right artwork and hanging it professionally has a significant impact on your interior decor. Small and large artworks should be coordinated with the wall color, style, and room size.
Professionally Hang Art
3. Choosing the Right Artwork
When selecting artwork for your home, consider:
- Colorful and vibrant pieces: Great for modern and lively spaces
- Minimalist and simple artwork: Works well in modern and classic interiors
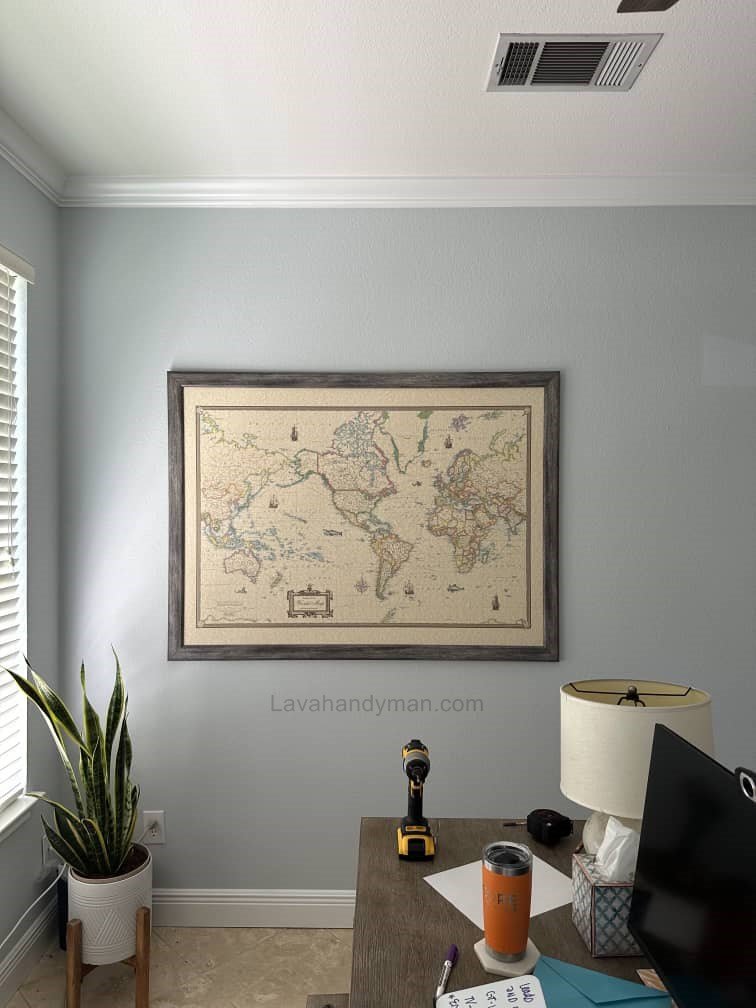
- Large artwork: Serves as a focal point in large rooms
- Arranging small artwork as a collection: Grouping smaller pieces on an empty wall creates a creative and visually appealing display
Key tip: The size of the artwork should match the wall. A small piece on a large wall may get lost, and a large piece on a small wall can feel overwhelming.
4. Tips for Arranging Artwork
There are two main ways to arrange artwork:
- Single-piece arrangement: Hanging one large or standalone piece to create a focal point
- Grouped arrangement: Hanging multiple pieces of varying sizes and styles together
Professionally Hang Art
Key tips for professional arrangement:
- Hang artwork at eye level (center of the piece 140–150 cm from the floor)
- Keep spacing between grouped artworks 5–10 cm
- Ensure color coordination with walls and decor
- Use smaller pieces in corners and hallways to add interest
5. Tools Needed for Hanging Artwork
To hang artwork correctly, you’ll need:
- Nails and screws: Suitable for small to medium pieces
- Wall hooks: For heavier pieces
- Double-sided mounting tape: For lightweight artwork on walls without drilling
- Level: To ensure the artwork is straight
- Pencil: For marking placement
Professionally Hang Art
6. How to Hang Artwork on Different Wall Types
The method depends on the wall material:
- Drywall: Small nails or mounting tape; for heavy pieces, use wall plugs and screws
- Brick or concrete walls: Use a drill and wall plugs
- Wood walls: Nails or screws can be used directly
- Glass or tiled walls: Use strong adhesive tape without drilling
7. Professional Tips for Hanging Artwork
- Always mark and level the placement before drilling
- For heavy pieces, ask someone to assist
- For grouped artwork, arrange them on the floor first to check spacing
- Use wall protectors for heavy artwork to avoid damage
Professionally Hang Art
8. Creative Ideas for Displaying Artwork
- Art on shelves: Easy to swap and move
- Backlit or LED-lit artwork: Highlights the piece
- Combining art with mirrors or plants: Adds visual interest and energy
- Asymmetrical arrangements: Varying heights and spacing for a modern look
9. Caring for Your Artwork
- Keep pieces away from direct sunlight
- Dust with a soft, dry cloth
- Protect framed artwork from moisture and impact
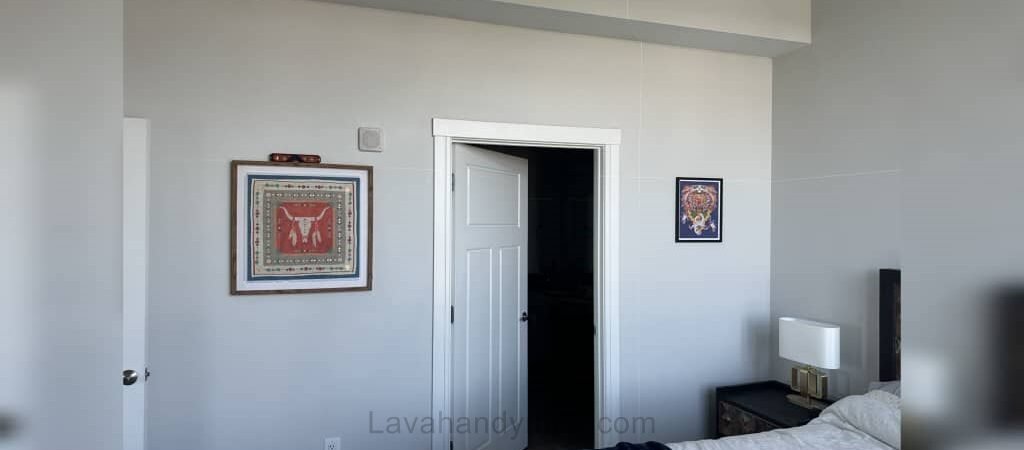
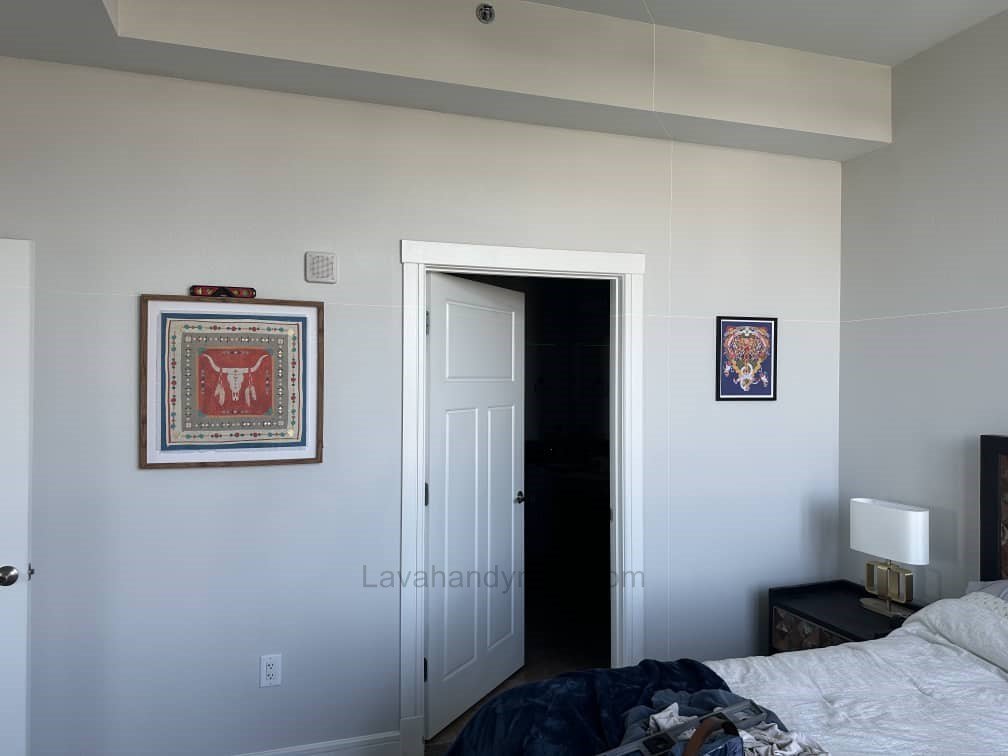
10. Choosing Artwork According to Room
- Living room: Large pieces or small collections as focal points
- Bedroom: Calming artwork with soft colors
- Hallways: Small, lively artwork to energize the space
- Kitchen: Warm and vibrant pieces
Professionally Hang Art
Step-by-Step Guide to Professionally Hanging Artwork on Walls
Step 1: Choose the Right Location
- Inspect the wall to ensure there is enough space for the artwork.
- Artwork should ideally be hung at eye level (center of the piece 140–150 cm from the floor).
- For multiple-piece arrangements, lightly mark the approximate position of each piece on the wall with a pencil.
Step 2: Prepare Tools and Materials
Essential tools:
- Nails, screws, and wall plugs suitable for the weight of the artwork
- Level
- Pencil
- Hammer and drill (if needed)
- Wall protectors (to prevent damage)
Step 3: Assess Artwork Weight and Choose Hanging Method
- Lightweight (<3 kg): small nails or strong double-sided tape
- Medium weight (3–10 kg): appropriate nails or screws
- Heavy (>10 kg): use wall plugs, screws, or specialized hooks
Professionally Hang Art
Step 4: Mark the Exact Hanging Points
- Use a level and pencil to mark the nail or screw positions.
- For grouped artwork, arrange the pieces on the floor first to check spacing.
- Recommended spacing between grouped pieces: 5–10 cm.
Step 5: Install Nails, Screws, or Hooks
- Drywall: small nails or lightweight wall plugs
- Brick or concrete walls: drill + wall plugs + screws
- Wooden walls: direct nails or screws
- Glass or tiled walls: strong double-sided adhesive
- Always use a level to ensure the artwork is straight.
Professionally Hang Art
Step 6: Hang the Artwork
- Gently place the artwork on the nails or hooks.
- For heavy pieces, ask someone to assist.
- Check again with a level to ensure the artwork is perfectly straight.
Step 7: Final Check and Safety
- Make sure the artwork is secure and does not wobble.
- For heavy pieces, use wall protectors behind the artwork to avoid damage.
- Clean and dust the wall and artwork so the display looks neat and professional.
Step 8: Additional Professional Tips
For multiple-piece arrangements, recheck the floor layout before final installation to ensure visual harmony.
Keep artwork away from direct sunlight to prevent fading.
Hang heavy pieces only on strong, sturdy walls.
Guide to Choosing Brackets for Professional Artwork Hanging
Professionally Hang Art
1. Simple Hooks / Wall Hooks
- Use: Suitable for lightweight and medium artwork (<10 kg)
- Advantages: Quick, affordable, and easy to install
- Tip: Use a level to ensure the artwork is straight and choose hooks suitable for the weight
2. Screw & Wall Plug Brackets
- Use: Heavy and large artwork, especially on brick or concrete walls
- Advantages: High weight capacity and strong support
- Tip: Drill a hole matching the wall plug size before inserting the screw
3. L-Brackets / Angle Brackets
- Use: Very heavy or large framed artwork
- Advantages: Secure support and prevents slipping
- Tip: Use two or more L-brackets for large pieces to evenly distribute the weight
Professionally Hang Art
4. Hanging Brackets (D-Ring / Sawtooth Hangers)
- D-Ring: Metal loop attached to the back of the artwork, connected to wire or hook
- Sawtooth: Small metal notched hanger for quick installation on a nail or screw
- Use: Lightweight to medium artwork
- Tip: For heavier pieces, use D-Ring with steel wire to distribute weight
5. Professional Gallery Hanging Systems
- Use: Galleries, heavy or multi-piece artwork
- Advantages: Easy adjustment, precise height control, high weight capacity
- Features: Includes wall or ceiling rails and strong steel cables to securely hold the artwork
6. Professional Tips for Choosing Brackets
For heavy or valuable pieces, consider professional hanging systems
Professionally Hang Art
Select a bracket suitable for the weight of the artwork
Consider the wall type (drywall, brick, concrete, wood)
Use multiple brackets for large or grouped artwork
Always use a level to ensure straight installation
Artwork Hanging Height: A Professional Guide
Professionally Hang Art
Importance of Proper Height
- Artwork hung too high or too low fails to attract attention.
- Correct height ensures the viewer’s eye is aligned with the center of the piece for comfortable viewing.
- Coordinating the height with furniture and room decor maintains visual balance.
Standard Hanging Height
- Center of the artwork: Typically 140–150 cm (55–59 inches) from the floor is ideal for home installation.
- For multiple or grouped artworks, the center of the entire arrangement should follow this standard height.
Professionally Hang Art
Recommendations Based on Size and Location
- Large Artwork
- Center at 140–150 cm from the floor.
- Can be slightly lower to align with furniture for a harmonious look.
- Small Artwork
- Best hung in groups, with the center of the group at standard height.
- Recommended spacing between pieces: 5–10 cm (2–4 inches)
- Above Sofa or Console
- Distance between the top of the furniture and the bottom of the artwork: 20–30 cm (8–12 inches)
- Hallways or Small Spaces
- Center of the artwork at 140–150 cm for natural viewing while passing by.
Professionally Hang Art
Professional Tips
Maintain proper proportion with furniture and room decor for visual balance and aesthetic appeal.
Use a level to ensure the artwork is straight.
For large pieces, use the center as the reference, not the edges.
For grouped artworks, arrange on the floor first to verify spacing and height.
Professionally Hang Art
Artwork Lighting: A Professional Guide for Home and Gallery
Importance of Proper Artwork Lighting
- Proper lighting enhances colors and details of the artwork, making it vibrant and visually striking.
- Correct lighting prevents unwanted shadows and glare.
- Well-lit artwork can become the focal point of a room and enhance overall interior decor.
Types of Artwork Lighting
- Direct Lighting (Spotlight / Track Light)
- Spotlights aimed directly at the artwork.
- Suitable for both small and large pieces to highlight textures and details.
- Recommended angle: About 30 degrees from the wall to minimize shadows and reflections.
- LED Backlighting (LED Strip / Backlight)
- Installed behind the artwork or frame for a modern and attractive effect.
- Provides even lighting without harsh shadows.
- Ideal for minimalist artwork or pieces with glass.
- Picture Lights (Wall-Mounted Artwork Lights)
- Small lights mounted above the artwork for direct illumination.
- Perfect for classic paintings or valuable pieces.
- Warm and even light ensures natural color display.
Professionally Hang Art
Professional Tips for Artwork Lighting
- Light color: Warm light (2700–3000K) is ideal for interiors and preserves natural colors.
- Light intensity: Medium and even lighting shows details clearly without glare or reflections.
- Glass-covered artworks should be angled slightly to reduce reflection.
- For multiple artworks, consistent lighting creates visual harmony and balance.
- Using a dimmer allows adjusting the light based on time of day and ambiance.
Professionally Hang Art
Conclusion
Hanging artwork at home may seem simple, but following professional arrangement tips, selecting the right pieces, and using proper hanging techniques ensures a beautiful and cohesive result. By following these guidelines, your home can become a personal gallery that reflects both beauty and personality.
📞 Need Help?
Let us take care of the hard work while you sit back and relax.
📍 Serving: Austin, Round Rock, Cedar Park & more
📱 Call or Text: (737) 420-6992
🌐 Visit: https://lavahandyman.com
