
A Comprehensive Article on Laser Levels and Their Application in Installing Artwork on Walls
Introduction
Installing artwork on walls is one of the most important aspects of interior decoration and has a direct impact on the visual appeal of a space. Even the most valuable works of art can lose their true aesthetic value if they are not installed correctly and level. A crooked frame, improper height, or misalignment can easily disrupt visual harmony and create a sense of disorder in the environment.
In the past, simple tools such as measuring tapes, rulers, and bubble levels were commonly used to install artworks. However, with technological advancements, more precise tools have been introduced. One of the most significant of these tools is the laser level, which has gained a special place in professional artwork installation due to its high accuracy, speed, and efficiency. This article examines the concept of laser levels, their types, and their essential role in the proper installation of artwork on walls.
What Is a Laser Level?
A laser level is an advanced and highly accurate tool that projects straight horizontal and vertical laser lines onto various surfaces. These lines serve as visual reference guides, allowing users to align objects precisely in relation to walls or floors.
Unlike traditional spirit levels that require direct contact with the surface, laser levels operate from a distance and provide continuous reference lines. This feature makes them especially useful for installing artwork, where precision and visual alignment are critical.
The Importance of Leveling in Artwork Installation
Artwork often serves as the focal point of a room, naturally drawing the viewer’s attention. If a piece is installed unevenly, even non-experts can sense the imbalance and lack of harmony. Proper leveling not only enhances the visual impact of the artwork but also contributes to a more organized and professional appearance of the entire space.
In environments such as galleries, museums, and exhibitions, precision in artwork installation is essential. In these settings, the use of laser levels is considered a standard professional practice.
Types of Laser Levels Suitable for Artwork Installation
Laser levels are available in various models, each designed for specific applications. Understanding these types helps in selecting the most suitable tool for installing artwork.
- Line Laser Levels
These are the most commonly used for artwork installation and project precise horizontal and vertical lines. - Point Laser Levels
These project reference points and are ideal for marking exact locations for screws or nails. - 360-Degree Laser Levels
These create continuous lines around the entire room and are particularly useful for installing multiple artworks in perfect alignment. - Combination Laser Levels
Offering both lines and points, these models are an excellent choice for professional and highly accurate artwork installation.
Advantages of Using a Laser Level for Artwork Installation
Using a laser level offers numerous advantages, making it an essential tool in modern interior design:
- High precision and accuracy
- Reduced risk of errors and rework
- Time efficiency
- Perfect alignment of multiple artworks
- Prevention of wall damage
- More professional presentation of artwork
These benefits are especially valuable when installing collections of artworks or high-value pieces.
Steps for Proper Artwork Installation Using a Laser Level
To achieve the best results, artwork installation using a laser level should follow these steps:
- Select an appropriate installation location based on viewing height and lighting conditions
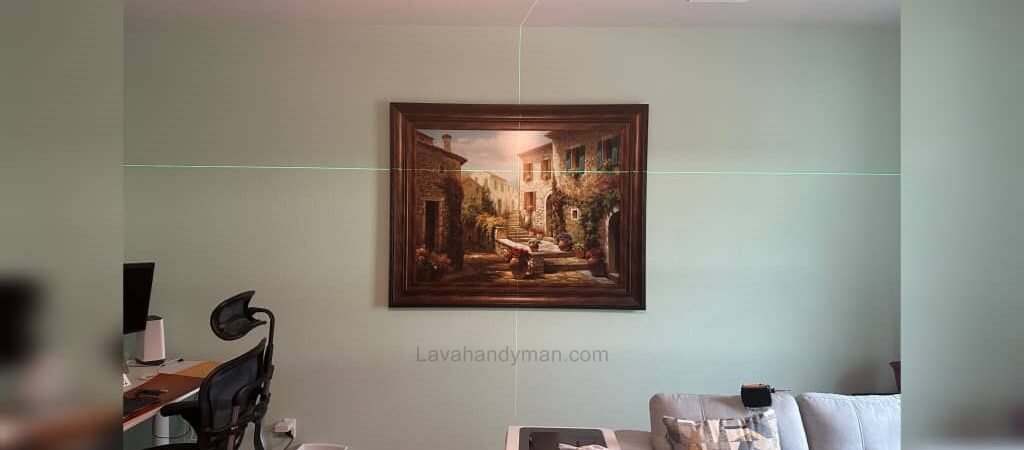
- Set up the laser level and project a horizontal reference line
- Mark the exact positions for screws or nails
- Drill and install the mounting hardware
- Hang the artwork and perform a final level check
Following these steps ensures that the artwork is displayed accurately and professionally.
The Role of Laser Levels in Installing Multiple Artworks
In modern interior design, displaying multiple artworks together—often referred to as a gallery wall—is increasingly popular. This type of arrangement requires a high level of precision, as even minor misalignment can disrupt the overall composition. Laser levels provide consistent reference lines that allow for perfectly aligned installations, resulting in a clean, balanced, and visually appealing display.
Common Mistakes in Artwork Installation Without a Laser Level
Installing artwork without precise tools can lead to several issues, including:
- Crooked or uneven placement
- Misalignment between multiple pieces
- Incorrect drilling and unnecessary wall damage
- Reduced visual impact of the artwork
Most of these problems can be easily avoided by using a laser level.
Professional Steps for Installing Artwork Using a Laser Level
1. Selecting the Installation Location
First, determine the appropriate location for installing the artwork based on visual balance principles. Ideally, the center of the artwork should be at eye level (approximately 145–155 cm from the floor). Pay attention to lighting conditions and the distance from surrounding elements to maintain visual focus.
2. Preparing the Required Tools
Before starting, ensure that all necessary tools are ready to avoid interruptions and errors. Essential tools include a laser level, measuring tape, marking pencil, drill or hammer, and appropriate screws and wall anchors based on the wall type. Using a tripod to stabilize the laser level is highly recommended.
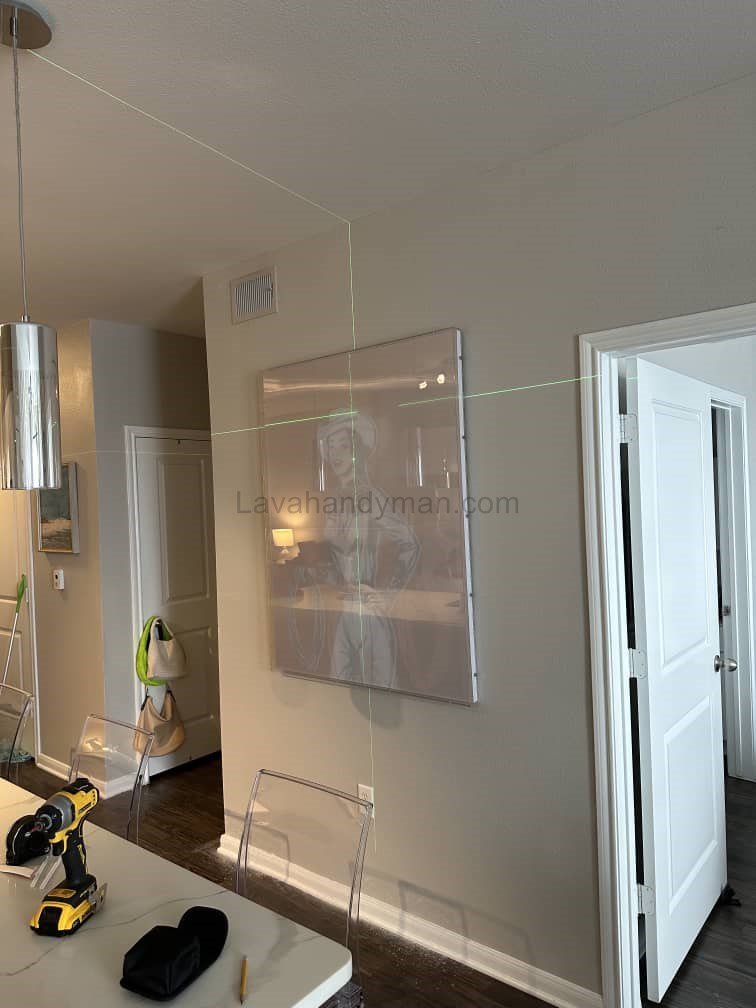
3. Setting Up the Laser Level
Place the laser level on a stable surface or tripod and activate the horizontal laser line. Adjust the height of the laser line to match the final position of the artwork. This line serves as the main reference for installation and must remain completely stable.
4. Measuring the Artwork Hanging Point
Examine the back of the artwork and measure the distance from the top edge of the frame to the hanging hardware. Transfer this measurement downward from the laser line to determine the exact position of the screw or hook on the wall.
5. Accurate Marking of Installation Points
Using the laser line, precisely mark the installation points on the wall. If the artwork has two hanging points, measure the distance between them and mark both points along the same horizontal laser line. This step prevents the artwork from being installed unevenly.
6. Drilling and Installing the Hardware
Drill holes at the marked locations and insert suitable wall anchors. Secure the screws or hooks firmly and ensure they can safely support the weight of the artwork.
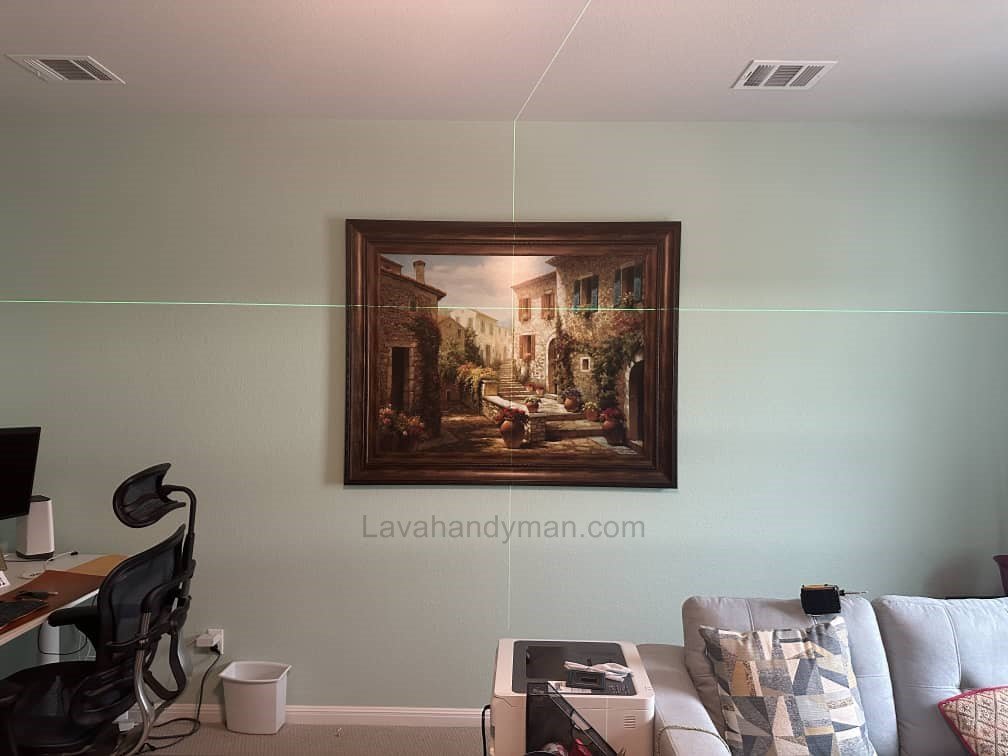
7. Hanging the Artwork and Final Adjustment
Hang the artwork on the installed hardware and make minor adjustments if necessary until it aligns perfectly with the laser reference line. This step ensures symmetry and a clean, professional appearance.
8. Final Inspection
Finally, verify the alignment of the artwork using the laser line. Once proper alignment is confirmed, turn off the laser level. When installing multiple artworks, check the overall consistency and alignment of all pieces.
Additional Professional Tips
If the wall is not perfectly level, rely on the laser line rather than the wall edges.
Use two or more mounting points for large or heavy artworks.
Determine spacing between multiple artworks before drilling.
Standard Height for Hanging Artwork on Walls
Importance of Hanging Height
The height at which artwork is installed has a direct impact on visual clarity, spatial balance, and artistic presence. Even when a piece is perfectly level, installing it at an incorrect height can place it outside the viewer’s natural line of sight and significantly reduce its visual impact. The primary goal is to position the artwork where the viewer’s eyes naturally rest, without effort or strain.
The Main Standard: Artwork Center at Eye Level
A widely accepted principle in interior design, galleries, and museums is that:
The center of the artwork should be positioned at eye level.
On average, the eye level of an adult is approximately 145–155 cm (57–61 inches) above the floor. Installing the center of the artwork within this range allows for comfortable viewing and optimal visual engagement.
Adjusting Height Based on Artwork Size
- Small artworks:
Should be installed slightly lower to strengthen visual connection. - Large or vertical artworks:
The center of the piece—not the top or bottom edge—should be used as the reference point. - Wide horizontal artworks:
Height should be coordinated with the sightline and nearby elements such as furniture.
Recommended Heights for Different Spaces
- Living rooms:
The bottom edge of the artwork should typically be 15–25 cm (6–10 inches) above the top of the sofa. - Bedrooms:
Artwork is usually hung slightly lower to maintain a calm and relaxing atmosphere. - Hallways and public spaces:
Artwork should be installed somewhat higher to avoid interference with foot traffic. - Galleries and exhibitions:
The eye-level center standard of 145–155 cm is applied precisely.
Role of Laser Levels in Accurate Height Placement
Laser levels play a key role in determining accurate hanging height. By projecting a horizontal reference line at the artwork’s center height, the hanging point can be marked with precision. This method is especially effective when installing multiple artworks in a row or creating a gallery wall, ensuring visual consistency and alignment.
Common Mistakes
Inconsistent heights when installing multiple artworks
Hanging artwork too high, close to the ceiling
Hanging artwork too low, outside the natural viewing range
Using the top edge instead of the center as a reference
Conclusion
A laser level is one of the most practical and effective tools for installing artwork on walls. By significantly improving accuracy and reducing installation errors, it enhances both the aesthetic quality and professionalism of the final result. Through the use of precise reference lines, laser levels ensure that artworks are displayed in their optimal position. Given the importance of detail in interior design, laser levels have become an essential standard for the proper installation of artwork.
📞 Need Help?
Let us take care of the hard work while you sit back and relax.
📍 Serving: Austin, Round Rock, Cedar Park & more
📱 Call or Text: (737) 420-6992
🌐 Visit: https://lavahandyman.com
