
How to Hang Antique Wall Art: A Complete and Practical Guide
Introduction
Antique or classic wall art, with its traditional design and unique artistic appeal, is one of the best elements for interior decoration. Properly hanging antique wall art not only enhances the beauty of your space but also prevents damage to the artwork. In this article, we provide a complete guide on how to hang antique wall art, including selecting the right spot, essential tools, and safe installation methods.
Section 1: What Are Antique Wall Art Pieces and Why Are They Popular?
Definition of Antique Wall Art
Antique wall art refers to artistic works with a classic style, which may be original or reproductions. These pieces are usually made of wood, metal, fabric, or a combination of materials and often feature decorative frames with intricate details.
Key Features of Antique Wall Art
- Classic and unique design: Detailed craftsmanship and traditional motifs.
- Durable and often heavy: Requires strong and secure installation.
- Artistic and historical value: Some pieces may have historical significance and value.
The Importance of Proper Hanging
Proper installation ensures that antique wall art is not exposed to damage or falling and that its aesthetic appeal is displayed in the best way.
Section 2: Choosing the Right Spot for Antique Wall Art
1. Check the Wall
Before hanging an antique piece, examine the wall:
- Wall strength: Drywall may require anchors or reinforced mounting.
- Lighting and visibility: The artwork should be placed where natural or artificial light highlights its details.
2. Standard Hanging Height
The center of the artwork should generally align with eye level (around 150–160 cm from the floor). This ensures proper visibility and a balanced look.
3. Harmonize with Interior Design
Choose art that complements wall color, furniture, and overall interior style for a cohesive and professional appearance.
Section 3: Essential Tools for Hanging Antique Wall Art
To hang antique art, quality tools are essential:
- Hooks and sturdy nails: For medium-weight pieces.
- Screws and wall anchors: Suitable for concrete or drywall.
- Measuring tape and level: For precise and straight installation.
- Drill and hammer: For drilling holes and securing screws.
- Gloves and dust mask: For personal safety during installation.
Using proper tools makes installation easier and prevents damage to both the artwork and the wall.
Section 4: Methods for Hanging Antique Wall Art
1. Hanging with Hooks and Nails
- Suitable for light to medium-weight pieces.
- Steps:
- Mark the installation spot using a measuring tape and level.
- Install the hook or nail.
- Hang the artwork and check that it is level.
2. Hanging with Screws and Wall Anchors
- Suitable for heavy pieces or concrete/drywall.
- Steps:
- Mark the drilling spot.
- Drill the hole.
- Insert the wall anchor and tighten the screw.
- Hang the artwork.
3. Using Strong Double-Sided Tape
- Suitable for light or temporary pieces.
- Tip: The wall surface should be clean and smooth.
4. Professional Hanging Systems
- For very heavy or unusually shaped artwork, use metal brackets or rail systems for extra support.
Section 5: Safety Tips for Hanging Antique Wall Art
- Check the artwork’s weight: Ensure the wall and tools can support it.
- Get assistance: Avoid lifting large pieces alone.
- Avoid direct sunlight and humidity: To preserve the quality and color.
- Use safety gear: Gloves, protective glasses, and a dust mask.
Section 6: Caring for Installed Antique Wall Art
- Regular dusting: Use a soft, dry cloth.
- Avoid harsh chemicals: Protect the frame and paint.
- Check screws and hooks periodically: Especially for heavy pieces that may loosen over time.
Section 7: Decorative Ideas with Antique Wall Art
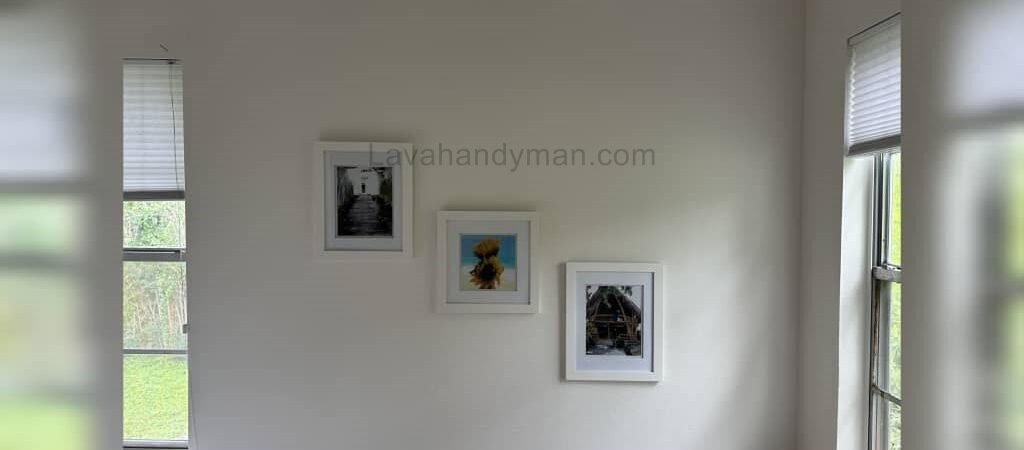
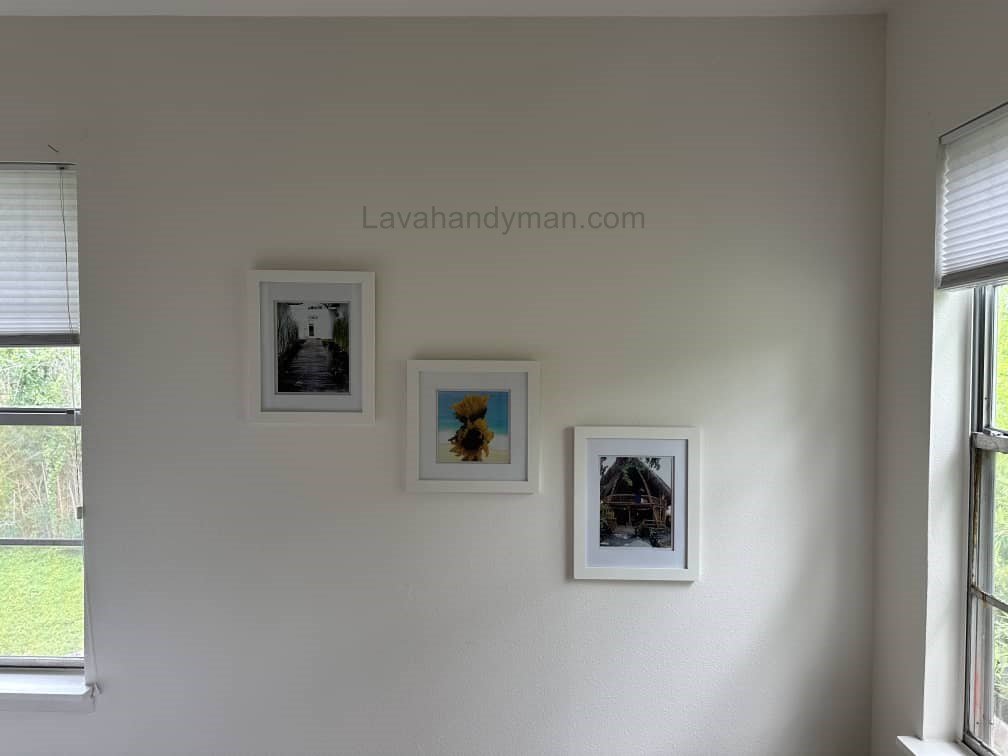
- Group small artworks together: Multiple small pieces create an attractive gallery wall.
- Contrasting frames: Add visual interest and depth.
- Lighting: Use small LED lights to enhance the artwork’s details.
Step-by-Step Guide to Hanging Antique Wall Art
Step 1: Inspect and Choose the Right Wall
- Select a sturdy wall: Ensure the wall can support the weight of the artwork. Drywalls or thin walls may require anchors or reinforcement.
- Check lighting and visibility: Hang the artwork where natural or artificial light highlights its details. Avoid dark corners or direct sunlight that can damage the piece.
- Coordinate with interior design: Choose a wall that complements the color, furniture, and other decor elements.
Step 2: Choose the Height and Exact Position
- Standard height: The center of the artwork should generally align with eye level (approximately 150–160 cm / 59–63 inches from the floor).
- Mark the installation spot: Use a measuring tape and level to mark the exact point for screws or hooks.
- Check spacing from other elements: Make sure there is enough space from furniture, frames, or other decorations.
Step 3: Prepare Tools and Equipment
Essential tools:
- Hooks, nails, or screws and wall anchors (depending on artwork weight and wall type)
- Measuring tape and level
- Drill and hammer
- Gloves and dust mask
- Strong double-sided tape (for lightweight or temporary pieces)
Tip: Using the proper tools ensures safe and damage-free installation.
Step 4: Hang the Artwork Using the Appropriate Method
Method 1: Hooks and Nails (for light to medium-weight pieces)
- Mark the hanging spot.
- Install the hook or nail at the marked location.
- Hang the artwork and use a level to ensure it is straight.
Method 2: Screws and Wall Anchors (for heavy pieces or concrete/drywall)
- Mark the drilling spot.
- Drill the hole.
- Insert the wall anchor and tighten the screw.
- Hang the artwork and check that it is level.
Method 3: Strong Double-Sided Tape (for lightweight or temporary pieces)
- Clean and dry the wall surface.
- Apply the tape to the back of the artwork.
- Press the artwork firmly against the wall until it sticks.
Method 4: Professional Hanging Systems (for very heavy or unusually shaped pieces)
- Use metal brackets, rails, or specialized screws for full support.
- Typically done by interior designers or professional installers.
Step 5: Safety Check and Securing the Artwork
- Check the artwork’s weight: Ensure the wall and hardware can handle it.
- Check alignment: Use a level to make sure the artwork is straight and symmetrical.
- Recheck hooks and screws after a few days: Especially for heavy pieces that may loosen over time.
Step 6: Maintenance and Care
- Regular dusting: Use a soft, dry cloth.
- Avoid harsh chemicals: Protect the paint and frame.
- Check screws and hooks periodically: Especially for heavy artworks that may loosen.
- Protect from sunlight and humidity: Antique pieces are sensitive to direct light and moisture.
Step 7: Additional Tips and Decorative Ideas
Highlight details with LED lighting.
Group multiple small artworks together to create a gallery wall effect.
Use contrasting frames to add depth and visual interest.
Wall Art Hanging Height: Complete Guide for Interior Design and Antique Art
Why Choosing the Right Hanging Height Matters
Choosing the correct height for hanging antique or any wall art has a significant impact on the visual appeal of your space and the viewer’s experience. Improper height can make the artwork hard to see, clash with furniture, or disrupt the overall decor balance.
Benefits of following the standard hanging height:
- Comfortable and optimal viewing for viewers
- Coordination with furniture and other decor elements
- Balanced visual appearance and professional look for your wall
Standard Hanging Height for Wall Art
- Center of the Artwork: Generally, the center should align with the eye level of an average adult, approximately 150–160 cm (59–63 inches) from the floor.
- Gallery or Grouped Pieces: If multiple smaller artworks are installed together, the center of the entire arrangement should fall within this range.
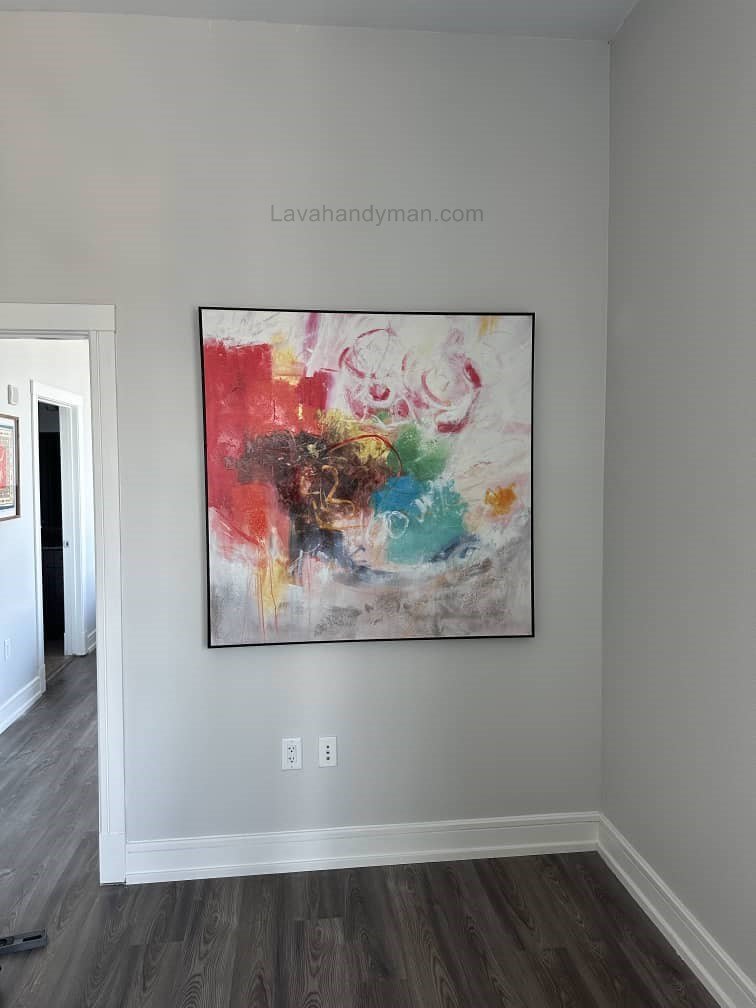
- Large Artworks: The center should be at eye level, while the top or bottom can be slightly adjusted to maintain visual balance.
Tip: Proper height ensures antique wall art with intricate details is easily visible and creates a harmonious, professional-looking interior.
Practical Tips for Determining the Right Height
- Use a measuring tape and level: Mark the center point of the artwork and ensure it is straight before installation.
- Consider furniture and other elements: If hanging above a sofa, table, or fireplace, leave a 20–30 cm (8–12 inches) gap between the bottom of the artwork and the furniture surface.
- Arranging grouped artworks: For multiple small pieces, establish an imaginary central line for the group and align the artworks accordingly.
- Adjust for ceiling height: In rooms with high ceilings, you may hang the artwork slightly higher to maintain visual balance.
Special Considerations for Antique Wall Art
When using artwork lighting, position the piece so the light falls directly on it without creating shadows.
Antique pieces are often heavy and valuable; ensure the wall and mounting hardware can support the weight before choosing the height.
For artworks with fine details, the height should allow viewers to see the details comfortably without bending or straining.
Conclusion
Hanging antique wall art requires attention to safety, proper tools, and selecting the right spot. Beyond beauty, antique wall art adds character and identity to any space. By following the tips in this guide, you can confidently hang your antique pieces and enjoy their aesthetic appeal and durability.
📞 Need Help?
Let us take care of the hard work while you sit back and relax.
📍 Serving: Austin, Round Rock, Cedar Park & more
📱 Call or Text: (737) 420-6992
🌐 Visit: https://lavahandyman.com
