Best Ways to Install a Wall Mirror | Step-by-Step Guide from A to Z
Introduction: Why Proper Wall Mirror Installation Matters
Installing a mirror on the wall is one of the most important steps in interior design for both homes and workplaces. A mirror not only serves a daily practical purpose, but it also plays a key role in visually expanding spaces, increasing brightness, enhancing the interior style, and creating a sense of depth. However, what many people overlook is the importance of installing the mirror correctly and safely. Poor installation can lead to misalignment, falling hazards, damage to the mirror, or even injuries.
Best Ways to Install a Wall Mirror

1. Types of Mirrors Suitable for Wall Installation
Choosing the right installation method depends on the type of mirror. Each mirror varies in weight, size, structure, and purpose.
1.1 Frameless Mirrors
These are lightweight and typically installed using mirror adhesive or special mounting clips. They are ideal for bathrooms and bedrooms.
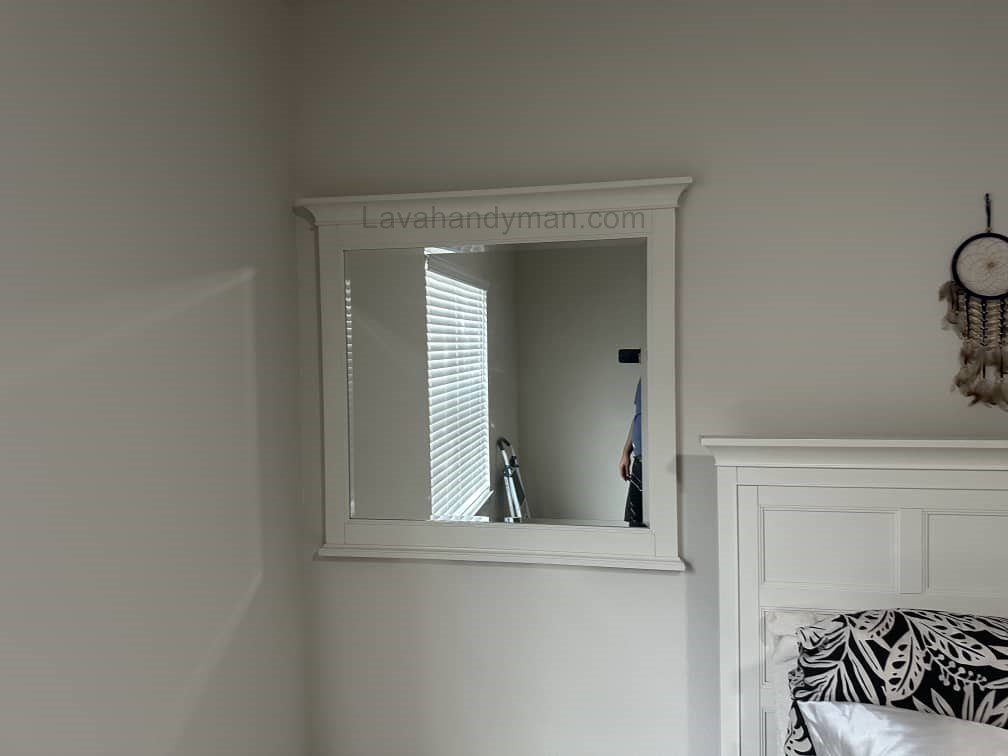
1.2 Framed Mirrors
Because the frame adds extra weight, these mirrors are often installed using screws and wall plugs or wall hooks.
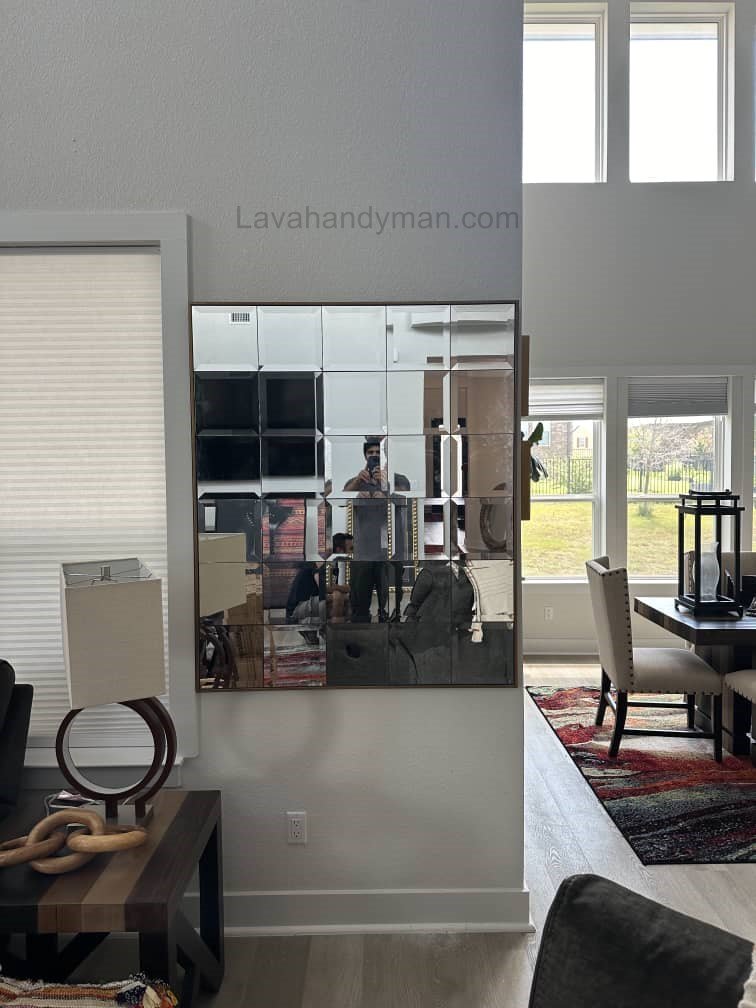
1.3 Decorative Multi-Piece Mirrors
Often lightweight and designed for living rooms, hallways, and entryways. They are usually installed with decorative mirror adhesive.
1.4 Full-Length Wall Mirrors
These mirrors are large and heavy. Installation requires professional brackets or a combination of brackets and heavy-duty screws.
1.5 LED and Smart Mirrors
These mirrors include electrical components and require proper wiring along with standard mounting techniques.
Best Ways to Install a Wall Mirror
2. Checking the Wall Before Installing the Mirror
The type of wall affects the installation method significantly. This is an important SEO section that helps users identify the correct technique for their home.
2.1 Plaster Walls
- Low weight capacity
- Suitable for lightweight mirrors
- Requires special plaster wall plugs
2.2 Drywall (Gypsum Board)
- Hollow and less resistant
- For heavy mirrors, you must use toggle anchors or install reinforcement behind the wall
2.3 Brick Walls
- Very strong
- Ideal for heavy mirrors
2.4 Concrete Walls
- Hard to drill
- Great for strong mirror adhesives
Best Ways to Install a Wall Mirror
3. Tools Required for a Professional Wall Mirror Installation
- Drill and appropriate drill bits
- Mirror adhesive or silicone
- Laser or bubble level
- Screws and wall plugs
- Protective gloves
- Screwdriver
- Measuring tape
- Mirror mounting brackets
4. Step-by-Step Guide: How to Install a Mirror on the Wall
This section is heavily optimized with SEO-friendly keywords.
4.1 Installing a Mirror with Adhesive (Best No-Drill Method)
Steps:
- Clean the wall thoroughly.
- Clean the back of the mirror with alcohol.
- Apply mirror adhesive in vertical lines or dots.
- Press the mirror against the wall.
- Use painter’s tape to hold it in place for 24 hours.
Advantages
- No drilling required
- Quick and clean installation
Disadvantages
- Not ideal for very heavy mirrors
- Difficult to remove later
Best Ways to Install a Wall Mirror
4.2 Installing a Mirror with Screws and Wall Plugs (Safest Method)
Steps:
- Measure and mark the installation height.
- Use a level to make sure it’s perfectly straight.
- Drill holes in the wall.
- Insert wall plugs.
- Install screws or attach brackets.
- Hang the mirror carefully.
Benefits
- Extremely secure
- Suitable for large and heavy mirrors
Best Ways to Install a Wall Mirror
4.3 Installing a Mirror with Professional Brackets
Recommended for full-length mirrors, oversized mirrors, and heavy living-room mirrors.
Advantages
- High weight capacity
- Professional finish
- Easy to reposition the mirror in the future
5. Important Tips for Installing a Mirror on the Wall
✔ Ensure the mirror is perfectly level
Using a laser level offers the best accuracy.
✔ Avoid installing on damp walls
Moisture damages the mirror’s silver backing.
✔ Choose the correct height
Best Ways to Install a Wall Mirror
- Bathroom mirror: 120–150 cm
- Bedroom mirror: 100–140 cm
- Decorative mirrors: based on design layout
✔ Use high-quality mirror adhesive
Poor adhesives can damage the mirror’s reflective coating.
6. Common Mistakes When Installing Mirrors
- Using cheap or incorrect adhesives
- Installing on wet, dusty, or uneven surfaces
- Misplacing the mirror in a dark or unsuitable location
- Hanging heavy mirrors with weak hooks
- Drilling without checking for pipes or wiring
7. Professional Tips for Installing Large and Heavy Mirrors
- Use dual-side heavy-duty brackets for full-length mirrors
- Combine screws + adhesive for maximum safety
- Reinforce drywall before installation
- Use 6 cm or longer screws for thick walls
Best Ways to Install a Wall Mirror
8. How to Maintain and Clean the Mirror After Installation
- Use microfiber cloths
- Avoid spraying water on the edges
- Keep the mirror dry, especially in bathrooms
- Seal bathroom mirrors with a silicone waterproofing strip
9. Cost of Installing a Wall Mirror
Below are typical installation costs (may vary by region):
| Installation Type | Approximate Cost |
|---|---|
| Adhesive installation (no drilling) | $20–$40 |
| Decorative mirror installation | $40–$80 |
| Large or full-length mirror | $80–$150 |
| LED / smart mirror | $100–$250 |
⭐ Step-by-Step Guide to Installing a Wall Mirror
Best Ways to Install a Wall Mirror
🎯 Tools You Need for Mirror Installation
Before you start installing your wall mirror, make sure the following tools and materials are ready:
- Measuring tape and level (laser or manual)
- Pencil for marking
- Drill with appropriate bits
- Screws and wall plugs/anchors
- Mirror adhesive (for no-drill installation)
- Painter’s tape for temporary support
- Brackets, hooks, or a French cleat system
- Safety gloves
- A helper for large or heavy mirrors
Having the right tools ensures a faster, safer, and more accurate installation.
Best Ways to Install a Wall Mirror
🔍 Step 1: Choose the Right Location
Selecting the ideal place for the mirror is crucial.
Key points:
- Standard mirror height is 140–150 cm (55–59 inches) from the floor to the center of the mirror.
- For full-length mirrors, leave 10–15 cm (4–6 inches) from the floor.
- Place the mirror across from a window or light source to make the room appear brighter.
- Identify your wall type—drywall, concrete, brick, or tile—because the installation method depends on it.
Best Ways to Install a Wall Mirror
📌 Step 2: Identify Your Wall Type
The wall material determines the type of anchor and drilling method:
- Drywall: use drywall anchors or toggle bolts
- Concrete/Brick: use a masonry drill bit and standard wall plugs
- Tile: use a carbide-tipped bit and low-pressure drilling
This step is essential to prevent the mirror from falling or loosening over time.
Best Ways to Install a Wall Mirror
🛠️ Step 3: Install the Mirror Using Screws and Wall Anchors (Best Method)
This is the most reliable and recommended method for heavy or large mirrors.
Steps:
- Use a level to mark the screw positions on the wall.
- Drill holes based on your wall type.
- Insert the appropriate wall anchors.
- Install the screws or mounting brackets.
- Hang the mirror on the screws/brackets.
- Recheck the alignment using a level.
Advantages: high weight capacity, very safe
Best for: framed mirrors, large wall mirrors, full-length mirrors
Best Ways to Install a Wall Mirror
🧲 Step 4: Install the Mirror Without Drilling (Using Mirror Adhesive)
If you don’t want to damage the wall, adhesive installation is a great option—especially for lightweight mirrors.
Steps:
- Clean the wall and the back of the mirror thoroughly.
- Apply mirror adhesive in vertical lines or dots.
- Press the mirror firmly against the wall for 30–60 seconds.
- Use painter’s tape to hold the mirror in place for 24–48 hours.
Advantages: no damage to the wall
Limitations: not suitable for heavy mirrors
Best Ways to Install a Wall Mirror
🧱 Step 5: Install Using Brackets or French Cleat (Professional Method)
A French cleat is a highly secure mounting system ideal for big or thick mirrors.
Steps:
- Install the wall-side cleat using wall anchors.
- Attach the matching cleat to the back of the mirror.
- Lift the mirror and hang it onto the wall cleat.
- Check the level and make final adjustments.
Advantages: maximum safety, easy removal, perfect weight distribution
Best for: large decorative mirrors, LED mirrors, heavy framed mirrors
💡 Step 6: Installing LED Mirrors or Electrified Mirrors
For mirrors with lighting:
- Turn off the power before installation.
- Follow the wiring instructions from the manufacturer.
- Install the mounting bracket securely.
- Attach the mirror to the bracket.
- Restore power and test the LED lights.
Note: If you’re not familiar with electrical work, hire a licensed electrician.
Best Ways to Install a Wall Mirror
✔️ Step 7: Final Safety Check
After mounting the mirror:
- Ensure all screws and brackets are tight.
- Gently shake the mirror to test stability.
- Check for gaps, looseness, or misalignment.
- For bathroom mirrors, seal the edges with waterproof silicone.
🧼 Mirror Maintenance After Installation
- Avoid acidic or abrasive cleaners.
- Do not spray cleaner directly onto the mirror—apply it to a cloth first.
- Keep moisture away from the edges to protect the silver backing.
- Inspect screws and brackets every few months.
Best Ways to Install a Wall Mirror
🔧 Troubleshooting Common Problems
| Issue | Cause | Solution |
|---|---|---|
| Mirror is crooked | Incorrect marking | Loosen screws and re-align |
| Mirror is loose | Wrong anchor type | Replace with stronger anchors |
| Adhesive failed | Mirror too heavy | Use screw installation instead |
| Adhesive residue | Excess glue | Clean with alcohol |
⭐ Types of Wall Mirror Brackets: A Complete Guide
Choosing the right bracket is essential for safe and professional mirror installation—especially for large, heavy, or LED mirrors. Each type of bracket has specific uses, weight capacity, and installation methods. In this comprehensive guide, we cover 10 common types of wall mirror brackets.
Best Ways to Install a Wall Mirror
1. French Cleat Bracket — The Safest and Most Professional Option
Features:
- Two-piece system: one piece mounts on the wall, the other on the mirror
- 45-degree angle locks the mirror securely in place
- Very high weight capacity
Advantages:
- Ideal for large and heavy mirrors
- Easy to install and adjust
- Precise leveling
- Extremely safe
Best Ways to Install a Wall Mirror
2. Z-Bar Bracket — Modern and Strong French Cleat Version
Features:
- Narrow, long metal profile
- Mounts on the back of the mirror and distributes weight evenly
Advantages:
- Very strong and stable
- Clean and professional installation
- Ideal for narrow frames
Best Ways to Install a Wall Mirror
3. L-Shape Bracket — Corner Support
Features:
- L-shaped bracket, usually supporting the bottom of the mirror
Advantages:
- Suitable for large frameless mirrors
- Easy to install and remove
Best Ways to Install a Wall Mirror
4. D-Ring Hanger — Simple and Common
Features:
- D-ring attached to the back of the mirror
- Mirror hangs on screws or hooks in the wall
Advantages:
- Easy installation
- Suitable for light to medium-weight mirrors
- Easy minor adjustments
Best Ways to Install a Wall Mirror
5. Sawtooth Hanger — Quick and Adjustable
Features:
- Shaped like small teeth
- Allows minor adjustments after mounting
Advantages:
- Fast and easy installation
- Ideal for small or decorative mirrors
6. U-Shaped Bracket — For Frameless Mirrors
Features:
- U-shaped bracket at the bottom, smaller bracket at the top
- Mirror fits securely inside the bracket
Advantages:
- Minimalist appearance
- Safe and secure mounting
- Perfect for bathrooms or frameless mirrors
Best Ways to Install a Wall Mirror
7. Mirror Clips — Metal Clips for Frameless Mirrors
Features:
- Four clips at each corner of the mirror
- Designed for frameless mirrors
Advantages:
- Quick and affordable
- Adjustable
- Easy to install
8. LED Mirror Brackets
Features:
- Combination of mounting bracket and space for wiring
- Specifically designed for electric mirrors
Advantages:
- Secure mounting
- Easy access for wiring
9. Hidden Brackets — Floating Appearance
Features:
- Completely hidden behind the mirror
- No visible hardware on the front
Advantages:
- Minimalist and luxurious look
- Professional, secure installation
10. Adhesive Mounting Clips
Features:
- Combination of strong adhesive and clips
- Used for light-weight mirrors
Advantages:
- No drilling required
- Quick and easy installation
📊 Recommended Brackets by Mirror Type
| Mirror Type | Recommended Bracket |
|---|---|
| Large & heavy mirrors | French Cleat / Z-Bar |
| Frameless mirrors | U-Shape / Z-Bar / Mirror Clips |
| LED mirrors | LED-specific bracket + French Cleat |
| Light mirrors | Sawtooth / D-Ring |
| Full-length mirrors | French Cleat / L-Shape (bottom) |
| Bathroom mirrors | Mirror Clips + Waterproof Silicone |
Conclusion
Installing a mirror on the wall may seem simple, but doing it properly requires attention to technical and safety details. Choosing the right installation method, identifying the wall type, using professional brackets or adhesives, and ensuring the mirror is level are crucial steps for a long-lasting and attractive result.
Whether you want drill-free mirror installation, a full-length mirror, or a decorative wall mirror, selecting the right method based on the size and weight of the mirror ensures both safety and beauty.
📞 Need Help?
Let us take care of the hard work while you sit back and relax.
📍 Serving: Austin, Round Rock, Cedar Park & more
📱 Call or Text: (737) 420-6992
🌐 Visit: https://lavahandyman.com