Complete Guide to Installing Modern Decorative Wall Art (+ Expert Tips & Layout Principles)
Introduction
Installing modern decorative wall art is one of the best ways to enhance the interior design of homes, offices, and commercial spaces. Wall art not only increases aesthetic appeal but also strengthens the identity and style of the space it occupies.
Installing Modern Decorative Wall Art
The Importance of Modern Decorative Wall Art in Interior Design
Modern wall art plays a key role in creating a focal point in any space. A beautiful piece of art can attract attention in a living room, bedroom, or office and add personality to the environment.
Why Wall Art Matters
- Enhances harmony in interior design
- Adds energy, emotion, and visual identity
- Complements modern, minimal, or luxury décor
- Helps balance color schemes
Types of Modern Decorative Wall Art
Before installation, it’s important to understand the different types of wall art and their characteristics.
1. Multi-Panel Wall Art
These consist of multiple pieces that must be installed with proper spacing. They are ideal for creating a modern gallery wall.
2. Canvas Wall Art
Lightweight, high-quality, and easy to install—canvas prints are one of the most popular modern decorative art options.
3. Acrylic or Glass Wall Art
These have a sleek, glossy appearance and are perfect for luxury interiors.
Proper screws and wall plugs are required due to their weight.
4. Metal Wall Art
Durable, stylish, and suitable for modern and industrial-style spaces.
5. LED or Backlit Wall Art
These pieces offer a futuristic and modern look with integrated LED lighting.
Installing Modern Decorative Wall Art
Essential Tools for Installing Wall Art
To achieve a clean and professional installation, the following tools are recommended:
- Measuring tape or laser measurer
- Level or laser level
- Drill and appropriate drill bits
- Screws and wall plugs
- Hammer, nails, or hanging pins
- High-strength double-sided tape (for lightweight art)
Standard Height for Installing Wall Art
One of the most important rules is choosing the correct height.
✔ Recommended installation height: 145–155 cm (57–61 inches) from the floor
This aligns the artwork with the average eye level for optimal viewing.
Important Height Tips
- Install artwork 20–30 cm (8–12 inches) above a sofa or furniture piece.
- Oversized wall art should be placed slightly lower so that its center aligns with eye level.
- Avoid mounting small artwork too high on large walls.
Installing Modern Decorative Wall Art
Principles of Layout & Gallery Wall Design
A proper layout significantly enhances the beauty of wall art.
1. Eye-Level Rule
Art should align horizontally with eye level to achieve maximum visual appeal.
2. Spacing Rule
Spacing between multiple artworks should be 3–10 cm (1–4 inches) to maintain balance.
3. Symmetry vs. Asymmetry
- Symmetry → Ideal for formal interiors
- Asymmetry → Perfect for modern and relaxed spaces
4. Choosing the Right Artwork Size
- Large walls → Large or multi-panel art
- Small walls → Medium or single-frame pieces
Installing Modern Decorative Wall Art
Step-by-Step Guide to Installing Modern Decorative Wall Art
Below is a complete guide to installing wall art professionally.
1. Choose the Right Location
Consider lighting, wall color, furniture placement, and wall size.
2. Measure and Mark
Find the center of the artwork and mark the position on the wall.
3. Use a Level
A level is essential; a tilted frame can ruin the aesthetics of the entire space.
4. Drill or Install Hooks
Depending on the weight:
- Lightweight → Nails or adhesive hooks
- Heavy → Screws and wall plugs
5. Final Installation and Leveling
Hang the artwork and check alignment with a level.
Installing Modern Decorative Wall Art
Installing Large and Heavy Wall Art
For heavy or oversized pieces, follow these recommendations:
- Use toggle wall plugs for drywall
- Use two anchor points to prevent tilting
- Choose high-load screws and hooks
- Determine the artwork’s center of gravity before installation
Installing Wall Art Without Drilling
If you’re renting or prefer not to damage the wall:
1. High-Strength Double-Sided Tape
Ideal for lightweight pieces.
2. Command Adhesive Hooks
Weight-rated hooks that can be removed without damaging the wall.
Installing Modern Decorative Wall Art
Lighting for Decorative Wall Art
Proper lighting dramatically enhances the artwork’s appearance.
Popular Lighting Options
- Wall-mounted art lights
- Ceiling spotlights
- LED backlighting
- Linear picture lights
Common Mistakes When Installing Wall Art
✔ Mounting artwork too high
✔ Ignoring size proportion relative to the wall
✔ Not using a level
✔ Random placement without a layout plan
✔ Placing tiny frames on large, empty walls
How to Match Wall Art with Wall Colors
- Light walls → Dark or colorful artwork
- Dark walls → Light-toned artwork
- Patterned walls → Minimalist designs
These combinations improve harmony and visual impact.
Creative Ideas for Installing Modern Wall Art
- Multi-size gallery walls
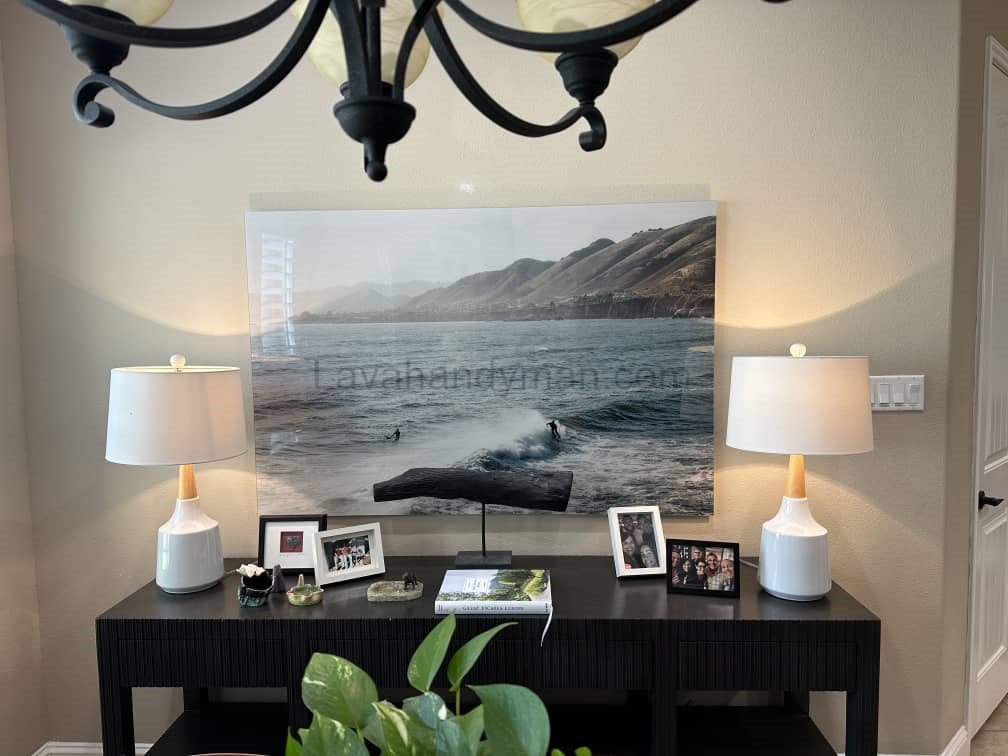
- Mixing shelves with artwork
- Grid layouts
- Modern asymmetrical arrangements
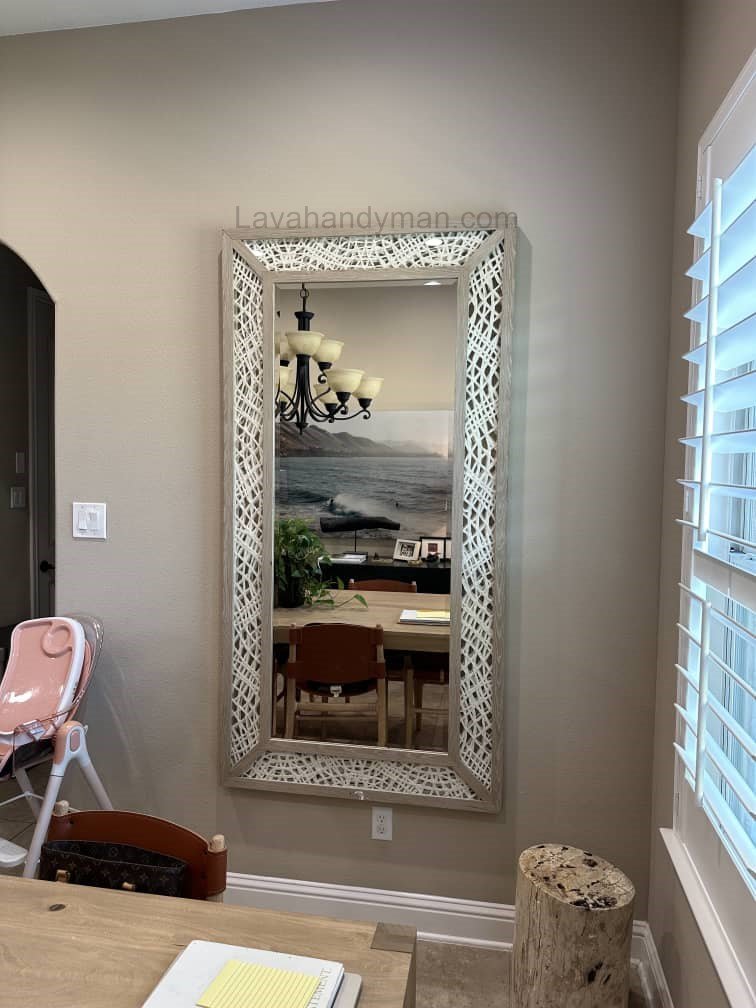
- Combining mirrors with artwork
Installing Modern Decorative Wall Art
Complete Guide to Lighting Decorative Wall Art
Lighting decorative wall art is one of the most important and impactful elements in interior design. Even the most beautiful artwork cannot show its true beauty without proper lighting. Good lighting enhances colors, highlights details, and makes your home or workspace look more professional, stylish, and luxurious.
Why Is Lighting for Wall Art Important?
Proper lighting can transform an ordinary artwork into a visually stunning focal point. The main advantages of lighting wall art include:
✔ Enhanced clarity and color accuracy
Good lighting makes colors appear vibrant and ensures all details are clearly visible.
✔ Creating a focal point in the room
Installing Modern Decorative Wall Art
A well-lit artwork becomes the center of visual interest and elevates the overall decor.
✔ A luxurious and professional appearance
Whether in a home, gallery, office, or restaurant, illuminated artwork looks noticeably more elegant.
✔ Improving the mood and atmosphere
Warm lighting creates a cozy feel, while neutral light adds a modern touch.
Types of Lighting for Decorative Wall Art
1. Picture Lights
These fixtures are installed above the artwork and shine light directly onto the surface.
Advantages
- Creates a gallery-style presentation
- Focused illumination on the artwork
- Ideal for paintings and classic art pieces
Installing Modern Decorative Wall Art
2. Ceiling Spotlights or Recessed Lights
These lights shine at an angle from the ceiling.
Advantages
- Perfect for multiple artworks on the same wall
- Adjustable angles
- Ideal for modern and minimalist interiors
3. Ambient or Backlit LED Strip Lighting
LED strips installed behind or around the artwork create a soft glow.
Advantages
- Very modern and stylish appearance
- Highlights the shape and edges of the artwork
- Suitable for acrylic, metal, and contemporary pieces
Installing Modern Decorative Wall Art
4. LED Artwork With Built-In Lighting
Some frames or artworks include integrated LEDs.
Advantages
- Low energy consumption
- Sleek, luxurious look
- Ideal for cafés, modern offices, bedrooms, and living rooms
Best Angle for Artwork Lighting
The optimal angle for lighting artwork is 30 degrees.
Why is 30 degrees the ideal angle?
Installing Modern Decorative Wall Art
- Prevents glare and reflection on glass
- Displays colors naturally
- Avoids harsh shadows behind the artwork
- Illuminates details evenly
For larger pieces, angles between 30 and 45 degrees work best.
Choosing the Right Light Color Temperature
🔶 Warm Light (2700K–3000K)
Best for:
- Classic paintings
- Colorful or dark artworks
- Cozy and elegant interiors
🔷 Neutral or Natural White Light (4000K–5000K)
Installing Modern Decorative Wall Art
Best for:
- Modern, metal, and minimalist artwork
- Photographs and printed posters
- Bright and contemporary spaces
Light intensity
The brightness should be moderate.
Excessive light creates glare and washes out colors, while low light reduces visibility.
Lighting Artwork With Glass or Acrylic Surfaces
Shiny surfaces reflect light easily. If direct light hits them:
❌ You get glare and mirror-like reflections
❌ The viewer’s face or room appears on the glass
❌ Colors look unnatural
Installing Modern Decorative Wall Art
Best lighting method for glass-covered and acrylic artworks
✔ Use a 30° angle
✔ Indirect lighting
✔ Avoid overly bright light
✔ Adjustable ceiling spotlights are ideal
Common Mistakes in Artwork Lighting
❌ Using harsh or direct light
Causes glare and color distortion.
❌ Wrong light color for the artwork
Example: cold light on traditional paintings.
❌ Installing lights too close
Creates unappealing shadows.
❌ Non-focused general lighting
The artwork blends into the background and loses visual impact.
Installing Modern Decorative Wall Art
Best Distance and Placement for Art Lighting
For gallery walls (multiple pieces), use linear lights or adjustable track spotlights.
The fixture should be installed 10–15 cm (4–6 inches) above the artwork.
The light should cover the entire artwork evenly.
Complete Guide to Picture Mounting Brackets – Types, Uses, and Selection Principles
Picture mounting brackets are one of the most important tools for installing decorative and artistic wall art safely, securely, and professionally. Using the right bracket ensures that your artwork is level, stable, safe, and does not damage the wall. Choosing the correct bracket depends on the weight of the artwork, wall material, frame type, and interior design style.
In this guide, we’ll cover different types of picture brackets and explain the key principles for selecting the best one for your artwork.
Installing Modern Decorative Wall Art
What Is a Picture Mounting Bracket?
A picture mounting bracket is a metal or plastic piece attached to the back of a frame or directly to the wall to hold the artwork in place.
The main benefits of using the right bracket:
- Prevents the artwork from falling or breaking
- Keeps the artwork perfectly level
- Allows precise height adjustment
- Supports the weight safely
Types of Picture Mounting Brackets and Their Uses
1. Sawtooth Hanger
One of the most common brackets, installed on the back of the frame, and hung on one or two nails.
Installing Modern Decorative Wall Art
Advantages
- Quick and easy to install
- Suitable for light to medium-weight artwork
- Works on most wall types
Disadvantages
- Not suitable for heavy artwork
- Height adjustment can be limited
2. French Cleat Bracket
A two-piece bracket: one part attaches to the wall, and the other to the frame. When combined, it holds the artwork very securely.
Installing Modern Decorative Wall Art
Advantages
- Supports heavy and large artwork
- Keeps the frame perfectly level
- Easy to adjust and reposition
- Ideal for acrylic, wood, or large canvases
Disadvantages
- Slightly higher cost
- Requires precise installation
3. D-Ring Hanger
A metal “D”-shaped bracket attached to the back of the frame, usually used with hanging wire.
Advantages
- Suitable for medium to heavy frames
- Allows flexible hanging with wire
- Provides secure installation
Disadvantages
- Improper wire adjustment can cause the frame to hang crooked
Installing Modern Decorative Wall Art
4. Picture Hanging Wire
Advantages
- Flexible and easy to hang
- Allows height adjustment
- Ideal for medium-sized frames
Disadvantages
- Not suitable for very heavy frames
- Wire may wear over time
5. Heavy-Duty Wall Hooks
Designed for large, thick, or multi-layered frames.
Advantages
- Supports high weight
- Ideal for concrete or brick walls
- Very secure
Disadvantages
- Requires proper tools for installation
- Not recommended for drywall without anchors
6. Hidden / Invisible Brackets
Brackets that are completely hidden behind the frame, giving a clean, floating appearance.
Advantages
- Minimalist and modern look
- Very secure
- Perfect for modern, acrylic, or sleek frames
Disadvantages
- Requires precise measurements
- Not compatible with all frame types
Choosing the Right Bracket Based on Weight
| Artwork Weight | Recommended Bracket |
|---|---|
| 1–3 kg | Sawtooth, Light D-Ring |
| 3–10 kg | D-Ring + Wire, French Cleat |
| 10–30 kg | Strong French Cleat, Heavy-Duty Hook |
| Over 30 kg | Industrial Bracket + Professional Installation |
Tip: Always calculate the total weight of the artwork, including glass, frame, and backing.
Choosing a Bracket Based on Wall Type
1. Drywall / Plasterboard
- Use toggle anchors or specialized drywall hooks
- Suitable for light to medium frames
- Avoid heavy frames without reinforcement
2. Concrete or Brick Walls
- Best for heavy frames
- Requires drill and wall plugs
- Extremely secure and durable
3. Wooden Walls
- Simple installation without anchors
- Sawtooth and D-Ring brackets work very well
Key Principles for Using Picture Brackets
✔ 1. Match the bracket to the weight of the artwork
The most critical factor for safety.
✔ 2. Use the proper tools
Tape measure, level, drill, and appropriate screws are essential.
✔ 3. Install brackets accurately
Even a small mistake can make the frame hang crooked.
✔ 4. Ensure screws and brackets are secure
The bracket must be completely stable and firm.
✔ 5. Match the bracket type to the style of artwork
Light artwork → Sawtooth hanger
Modern artwork → Hidden bracket
Heavy artwork → French Cleat
Conclusion
Installing modern decorative wall art is simple yet requires precision and understanding of interior design principles. By following the recommended height, using the right tools, creating a balanced layout, and adding proper lighting, you can style your home or office in a beautiful and modern way.
📞 Need Help?
Let us take care of the hard work while you sit back and relax.
📍 Serving: Austin, Round Rock, Cedar Park & more
📱 Call or Text: (737) 420-6992
🌐 Visit: https://lavahandyman.com