
Desk Assembly Made Easy: A Complete Guide to Installing Your Study Desk
Introduction: Why You Should Learn Desk Assembly
A study desk is one of the most essential pieces of furniture in any home or workspace. Modern desks are often sold as ready-to-assemble (DIY) furniture to make shipping and installation easier.
By learning how to assemble a study desk at home, you can save money, gain new skills, and enjoy the satisfaction of building your own furniture.
In this complete guide, you’ll learn every step of the desk assembly process — from unpacking and sorting the parts to tightening the final screw.
Section 1: Understanding Different Types of Desks
Before starting your desk installation, it’s important to understand the type of desk you have, as the assembly method may differ for each design.
Desk Assembly Made Easy
1. Simple Study Desks
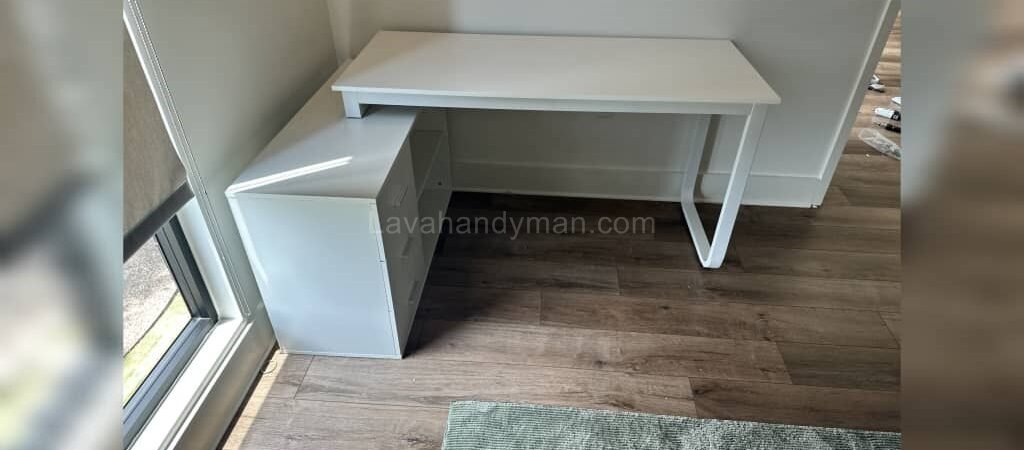
These desks consist of a tabletop and four legs — sometimes with one small drawer. They’re ideal for beginners learning DIY desk setup at home.
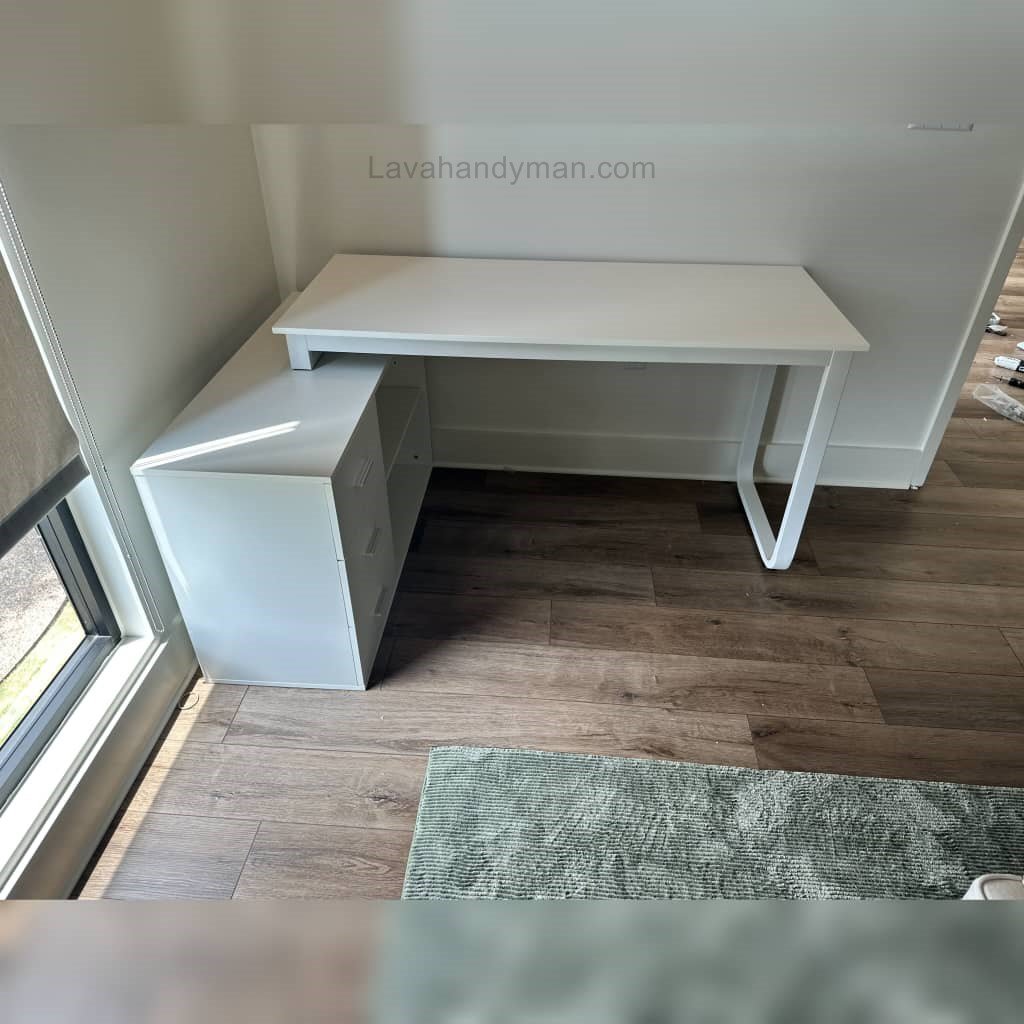
2. Desks with Shelves and Drawers
These models feature multiple components, including drawers, side shelves, and compartments. Always follow the desk assembly manual carefully to ensure everything fits properly.
3. Folding or Compact Desks
Folding desks use metal hinges and joints, making them ideal for small spaces. They require more precision during assembly.
4. Metal Frame or Hybrid Desks
These combine a metal frame with MDF or wooden surfaces. You’ll usually need an Allen key or wrench to tighten the bolts securely.
Section 2: Tools You’ll Need for Desk Assembly
Before you start assembling your study desk, prepare the following tools:
| Tool | Purpose |
|---|---|
| Phillips & flat screwdriver | Tightening screws |
| Allen wrench | For hex bolts |
| Rubber mallet | Gently fitting legs |
| Spirit level | Checking balance |
| Measuring tape | Ensuring accuracy |
| Wood glue | For weak joints |
| Soft cloth | Cleaning surfaces |
Desk Assembly Made Easy
Section 3: Step-by-Step Guide to Assembling a Study Desk
Follow these steps to successfully assemble your desk:
Step 1: Unpack and Organize All Parts
Open the packaging carefully to avoid damaging the MDF edges.
Lay out all components on a soft surface and compare them with the assembly instruction manual.
If each piece has a label or number, organizing becomes easier.
Step 2: Attach the Desk Legs
Place the main tabletop upside down on a soft floor.
- Position each leg in its assigned spot.
- Insert screws by hand first.
- Tighten them using a screwdriver or Allen key.
Do not fully tighten all screws until the desk is level.
Desk Assembly Made Easy
Step 3: Assemble Drawers and Shelves
If your desk includes drawers, assemble them separately first.
- Install drawer slides on both sides.
- Insert drawers into place and ensure smooth movement.
For side shelves or compartments, start from the bottom and move upward to keep the structure stable.
Step 4: Secure the Main Tabletop
After attaching legs and side components, position the tabletop carefully.
- Use the provided screws and fittings.
- Check with a spirit level to ensure the surface is even.
- Tighten screws firmly but avoid over-tightening to prevent cracks.
Step 5: Final Check and Finishing Touches
Attach small accessories like screw covers, drawer handles, or rubber foot pads.
These finishing touches not only make your desk look better but also extend its lifespan.
Desk Assembly Made Easy
Section 4: Safety Tips for Desk Assembly
- Assemble the desk on a soft surface to prevent scratches.
- Use eye protection if working with power tools.
- Avoid over-tightening screws, which can crack MDF boards.
- Ask for assistance when lifting heavy tabletops.
- Ensure the desk is stable and level before use.
Section 5: Common Desk Assembly Mistakes to Avoid
- Skipping the manual: Always follow the order shown in the desk assembly instructions.
- Over-tightening too early: Wait until all parts are aligned before fully tightening.
- Incorrect part orientation: Some panels look similar but only fit one way.
- Using the wrong tools: Using an oversized drill can damage MDF boards.
- Ignoring desk balance: An uneven desk can cause wobbling and discomfort.
Avoiding these mistakes ensures your DIY desk assembly goes smoothly and professionally.
Section 6: Maintenance and Care After Assembly
Proper maintenance can greatly extend your desk’s lifespan.
- Keep your desk away from moisture and direct sunlight.
- Wipe with a soft, slightly damp cloth.
- Avoid harsh chemical cleaners.
- Check and tighten screws every few months.
Desk Assembly Made Easy
Section 7: Benefits of Assembling a Study Desk Yourself
- Cost Savings: You don’t need to pay for professional installation.
- Skill Development: Learn practical DIY skills.
- Customization: Adjust drawer direction or shelf placement to suit your needs.
- Personal Satisfaction: Enjoy the accomplishment of assembling your own furniture.
Section 8: Pro Tips for a Stronger, Longer-Lasting Desk
- Use wood glue for added strength at key joints.
- Attach rubber pads to leg bases to prevent scratches.
- Add anti-slip mats under the desk to reduce wobbling.
- Avoid placing overly heavy objects on the tabletop.
🔧 Step-by-Step Guide to Assembling a Study Desk at Home
If you’ve recently purchased a new study desk and aren’t sure how to assemble it, this step-by-step desk assembly guide will help you complete the process easily, safely, and professionally.
Below, you’ll find every step from unpacking the box to final safety checks.
Desk Assembly Made Easy
🧰 Tools You’ll Need for Desk Assembly
Before starting, prepare all tools to avoid interruptions during the assembly process.
- Phillips and flat-head screwdrivers
- Allen wrench (if included)
- Rubber or plastic hammer
- Level tool
- Measuring tape and pencil
- Wood glue (optional for extra strength)
- Soft cloth for cleaning the surface
🔹 Tip: Work on a flat, soft surface (like a rug or blanket) to prevent scratches on the desk panels.
🪵 Step 1 — Unboxing and Checking All Parts
Open the box carefully and lay out all components on the floor.
Match every screw, rail, and wooden panel with the assembly manual provided.
Important notes:
- Check that all parts are numbered and listed in the manual.
- If something is missing or damaged, contact the seller before you begin.
- Keep the packaging in case you need to move the desk later.
Desk Assembly Made Easy
🔩 Step 2 — Pre-Assembling Small Components
This stage focuses on smaller parts like drawers, rails, and side supports.
- Install the drawer slides, but don’t fully tighten the screws yet.
- Assemble each drawer separately to ensure proper alignment.
- Leave the handles off until the final stage.
⚙️ Step 3 — Attaching the Legs to the Main Desk Panel
- Place the main tabletop upside down on a soft surface.
- Align the leg brackets according to the manual.
- Hand-tighten all screws first to make sure the holes line up.
- Once aligned, tighten each screw gradually in a criss-cross pattern.
🔸 Safety tip: Don’t overtighten screws — MDF can crack under too much pressure.
🧱 Step 4 — Assembling the Desk Frame and Side Panels
Now it’s time to build the frame and side compartments of your study desk.
- Attach side panels firmly to the legs.
- Use L-shaped brackets for extra stability.
- Check that everything is level before proceeding.
🔹 If your desk includes drawers or shelves, be extra careful to align them properly — this ensures long-term stability and smooth operation.
🖥️ Step 5 — Connecting the Main Top Panel to the Frame
- Place the main tabletop on the assembled frame.
- Insert and tighten all connecting screws symmetrically.
- Use a level tool to make sure the surface is perfectly flat.
If one leg appears shorter, use height-adjusting pads or washers to balance the desk.
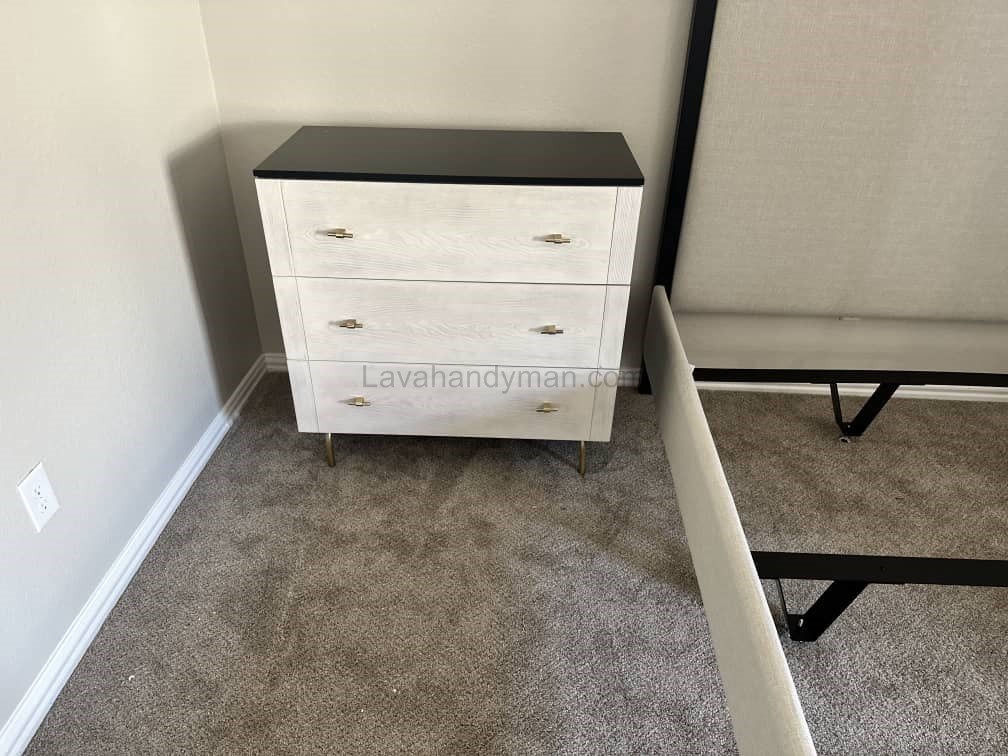
🗄️ Step 6 — Installing Drawers, Handles, and Covers
- Slide drawers into the rails and check that they move smoothly.
- Install the handles and plastic screw caps for a clean finish.
- If a drawer sticks, loosen the rail slightly and re-adjust.
🔸 Pro tip: Always test drawer alignment before fully tightening the rails.
🧠 Step 7 — Final Inspection and Safety Check
You’re almost done! Now it’s time to make sure your desk is solid and ready to use.
- Double-check that all screws are secure.
- Ensure the tabletop is level.
- Open and close each drawer several times to confirm smooth movement.
- Move the desk into its final position and test its stability.
⚠️ Common Desk Assembly Problems & Quick Fixes
| Issue | Possible Cause | Solution |
|---|---|---|
| Desk wobbles or tilts | Uneven legs | Adjust or re-tighten screws; use leg pads |
| Drawer gets stuck | Misaligned rails | Realign and retighten the slides |
| Screw spins loosely in MDF | Damaged hole | Use wood glue or a dowel insert |
| Edge cracking | Overtightened screw | Replace with shorter screw and glue the area |
🪑 Desk Maintenance Tips After Assembly
Add rubber pads under legs to protect your floor from scratches.
Avoid placing the desk in damp or direct sunlight.
Clean with a soft, slightly damp cloth — avoid harsh cleaners.
Check and tighten screws every few months.
🔧 Comparison of Brackets for Assembling MDF Study Desks
1. L Bracket
Features:
- Shaped like the letter L and made of durable metal.
- Used to connect the main tabletop to the legs or side shelves.
Advantages:
- Easy to install with a screwdriver
- Strengthens corners and prevents wobbling
- Affordable and widely available
Disadvantages:
- Only suitable for 90-degree angles
- Metal appearance may require plastic caps for a cleaner look
Common Uses in MDF Study Desk:
- Attaching legs to the main tabletop
- Securing side shelves or small components
2. Z Bracket
Features:
- Shaped like the letter Z; used for horizontal or sliding connections.
- Commonly used in folding desks or desks with drawers.
Advantages:
- Allows easy disassembly and adjustments
- Ideal for desks with movable parts
Disadvantages:
- Slightly more complex to install
- Less common and more expensive than L brackets
Common Uses in Study Desks:
- Attaching drawers to the frame
- Foldable or space-saving desks
3. U Bracket
Features:
- Shaped like the letter U; supports shelves and panels.
- Mostly used in desks with heavy loads or large shelves.
Advantages:
- Very stable and secure
- Holds components firmly in place
Disadvantages:
- More difficult to install than L or Z brackets
- Larger size may not be suitable for smaller desks
Common Uses in Study Desks:
- Supporting large shelves or drawer sections
- Desks with extensive storage
🔹 Quick Comparison Table for MDF Desk Brackets
| Bracket Type | Main Use | Advantages | Disadvantages | Best For |
|---|---|---|---|---|
| L Bracket | 90-degree connection of legs and tabletop | Easy installation, affordable | Only 90-degree angles | Most MDF and wooden desks |
| Z Bracket | Drawers and movable connections | Flexible, adjustable | Installation is more complex, slightly expensive | Foldable desks, desks with drawers |
| U Bracket | Supporting shelves or panels | Very stable and strong | Harder to install, large size | Desks with heavy shelves or large storage |
✅ Best Bracket Choice for Assembling MDF Study Desks
- L Bracket: The main choice for most home study desks
- Z Bracket: Ideal for drawers or foldable desk designs
- U Bracket: Only necessary for desks with heavy shelves or large storage
💡 Practical Tip:
When assembling, tighten screws carefully and use plastic screw caps for a clean, professional look.
Conclusion: Building Your Desk, Building Confidence
Assembling a study desk at home might seem complicated at first, but by following this guide, you’ll realize how easy and enjoyable it can be.
By preparing your tools, reading the manual, and taking your time, you can create a sturdy, stylish, and functional desk without professional help.
Remember:
- Patience and precision are key to successful assembly.
- Always check all components before starting.
- Practice safety at every step.
Whether you’re a student, remote worker, or DIY enthusiast, mastering desk assembly at home is a valuable skill that saves money and gives you confidence in your handiwork.
📞 Need Help?
Let us take care of the hard work while you sit back and relax.
📍 Serving: Austin, Round Rock, Cedar Park & more
📱 Call or Text: (737) 420-6992
🌐 Visit: https://lavahandyman.com
