How to Hang Multi-Piece Art with Hidden Mounts or Magnets
1. Introduction: Why Proper Installation Matters
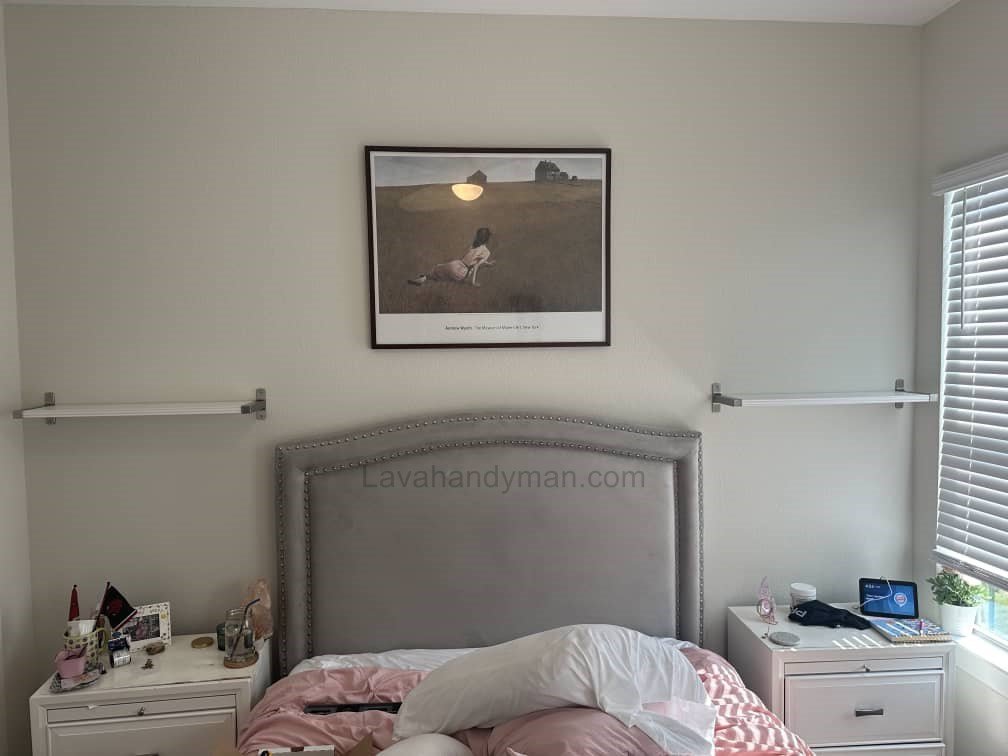
Multi-piece decorative wall art has become one of the most popular elements in modern interior design. These sets, featuring coordinated designs and balanced spacing, bring a stylish, unified look to any wall.
However, the key to achieving their full visual impact lies in proper installation. Even the smallest misalignment can ruin the overall harmony of the design.
In this guide, you’ll learn step-by-step instructions for installing multi-piece wall art using modern, damage-free techniques — no nails or drilling required.
Multi-Piece Art
2. What Is Multi-Piece Wall Art?
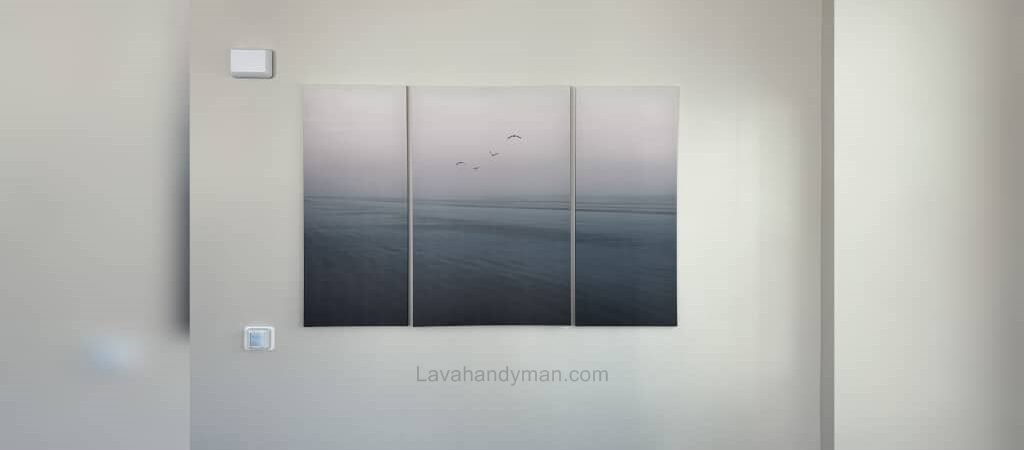
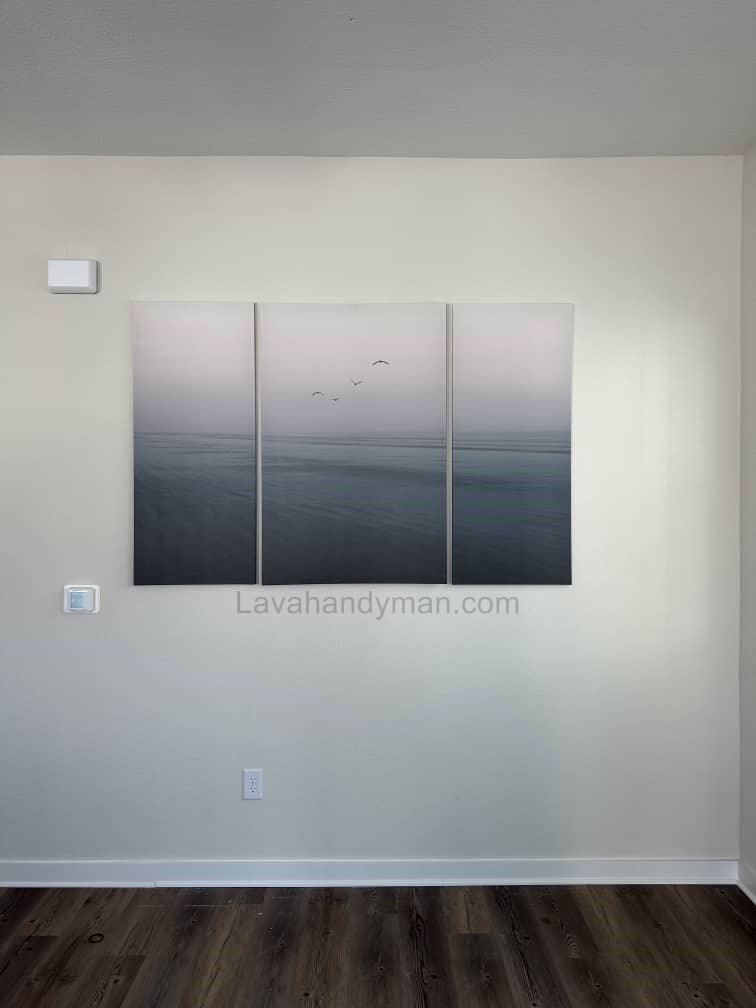
Multi-piece wall art (also known as split canvas art or panel art) consists of several individual panels that together form one cohesive image.
Key characteristics include:
- Lightweight design made of MDF or canvas
- Easy coordination with minimalist and modern styles
- Visual depth and dynamic movement in wall décor
- Flexible horizontal, vertical, or diagonal layouts
3. The Importance of Proper Installation
Professional installation directly affects the aesthetic quality of your interior décor. Uneven gaps or misaligned panels disrupt the flow of the image and reduce its impact.
Benefits of a correct installation:
- Enhanced visual harmony
- Damage-free mounting
- Easy repositioning and maintenance
- Better overall interior balance
Multi-Piece Art
4. Tools and Materials You’ll Need
Before starting, prepare the following tools:
- Measuring tape and long ruler
- Pencil or masking tape for marking
- Laser level or standard bubble level
- Nano adhesive or heavy-duty double-sided tape
- Clean cloth and alcohol for surface prep
- Optional: alignment template or paper layout
🛠️ Tip: Always use quality tools for more accurate and long-lasting results when installing decorative wall art.
Multi-Piece Art
5. Traditional Wall Art Installation Methods
Traditionally, nails and hammers were used to hang wall art. While simple, this method has several disadvantages:
- It damages the wall surface
- Makes repositioning difficult
- Requires manual leveling for each piece
Because of these drawbacks, modern nail-free methods like nano adhesive and hidden mounting brackets are now preferred.
Multi-Piece Art
6. Modern Methods for Installing Multi-Piece Decorative Wall Art
6.1. Nano Adhesive Mounting
Nano adhesive is one of the cleanest and easiest ways to install wall art without nails.
Features:
- No drilling required
- Washable and reusable
- Supports several kilograms of weight
- Works on smooth surfaces such as paint, tile, or MDF
👉 Pro Tip: Always ensure the wall surface is completely clean and dry before applying nano adhesive.
Multi-Piece Art
6.2. Hidden Mounting Brackets
This method uses concealed brackets attached behind the panels. The panels lock securely onto the wall, leaving no visible hardware.
Advantages:
- Sleek, professional appearance
- Strong and stable installation
- Suitable for heavier wall art pieces
6.3. Magnetic Mounting System
A cutting-edge solution involves magnetic wall mounts, where powerful magnets are attached to both the wall and the artwork.
Benefits:
- Quick installation and removal
- Easy repositioning
- Perfect for modular or frequently changing décor layouts
6.4. Using a Laser Level
A laser level is essential for achieving perfect alignment when installing multi-piece wall art. It projects precise horizontal and vertical lines, ensuring every panel is perfectly aligned.
Multi-Piece Art
7. Step-by-Step Installation Using Nano Adhesive
- Choose the Right Wall:
Select a well-lit, central wall that complements your room layout. - Measure and Mark:
Find the center point of the wall using a tape measure and mark level lines using the laser level. - Determine the Spacing:
Standard spacing between panels is typically 2–4 cm (¾–1½ inches). - Apply Nano Adhesive:
Attach adhesive strips to the back corners of each panel, then press each piece firmly onto the wall for several seconds. - Check Final Alignment:
Once all panels are installed, double-check the overall alignment using your laser level.
8. Key Tips for Alignment and Spacing
- Maintain equal spacing between each panel.
- Install the artwork at eye level (around 55–60 inches from the floor).
- Center the composition according to the wall and furniture below it.
- Test the layout on the floor before final installation.
Multi-Piece Art
9. Common Mistakes to Avoid
- Mounting on uneven or damp walls
- Rushing installation without proper leveling
- Using low-quality adhesive
- Inconsistent spacing between panels
✅ Prevention Tip: Always mark the layout on the wall before sticking or drilling, and test alignment with a laser level first.
10. Cleaning and Maintenance Tips
Proper maintenance helps preserve your wall art’s beauty:
- Dust monthly with a soft, dry cloth
- Avoid harsh cleaning chemicals
- Keep away from direct sunlight or heat sources
- If using nano adhesive, wash and reuse the strips as needed
Multi-Piece Art
11. Comparison of Installation Methods
| Installation Method | Advantages | Disadvantages |
|---|---|---|
| Nano Adhesive | Nail-free, quick, clean | Best for lightweight panels only |
| Hidden Brackets | Durable and stylish | Requires precise drilling |
| Magnetic Mount | Adjustable, modern look | Higher cost |
| Nails & Screws | Classic, sturdy | Leaves permanent wall holes |
Multi-Piece Art
🖼️ Step-by-Step Guide to Installing Wall Art Using Modern Methods
🎯 Step 1: Choosing the Right Location
Selecting the ideal wall and position is key:
- Place the center of the art at eye level (typically 55–60 inches from the floor).
- In living rooms, align the art with the seating area for best visual impact.
- Ensure the wall has good natural or artificial lighting to highlight the artwork.
Multi-Piece Art
🧰 Step 2: Tools and Materials Needed
Prepare the following for a smooth installation:
- Tape measure and pencil for accurate markings
- Level or laser level for perfect alignment
- Masking tape or painter’s tape for temporary marks
- Nano adhesive or strong double-sided tape (for nail-free installation)
- Screws, wall anchors, and drill (for traditional hanging)
- Hidden mounting brackets or supports (for modern methods)
- Cloth and rubbing alcohol for wall prep
📏 Step 3: Determining Height and Alignment
For a professional-looking result:
- Mark the center of the wall for the artwork.
- For multi-piece art, lay panels on the floor first and measure the spacing (typically 2–4 cm / ¾–1½ inches).
- Use a laser or bubble level to draw straight horizontal and vertical guide lines.
- Mark screw or adhesive points lightly with a pencil.
Multi-Piece Art
🧼 Step 4: Wall Surface Preparation
Before installation:
- Clean the wall with a damp cloth and a bit of alcohol to remove dust and grease.
- Make sure the wall is dry, flat, and free of cracks.
- Smooth surfaces provide better adhesion for nano tape or double-sided tape.
Multi-Piece Art
🔩 Step 5: Choosing the Installation Method
Several modern and safe methods exist for hanging wall art, depending on weight, wall type, and décor style.
✅ Method 1: Nail-Free Installation (Nano Adhesive / Double-Sided Tape)
One of the most popular solutions for modern décor.
Steps:
- Clean the back of the art piece.
- Apply nano adhesive strips to the corners and middle of the panel.
- Press firmly against the wall for 30 seconds.
- Allow adhesive to set completely before leaving unsupported.
💬 Best for light to medium-weight wall art.
❗ Avoid use on damp or uneven walls.
Multi-Piece Art
✅ Method 2: Hidden Bracket Mount
Creates a floating effect with no visible hardware.
Steps:
- Mount the wall brackets using screws and anchors.
- Attach the bracket plate to the back of the art.
- Hang the artwork on the wall bracket.
- Check horizontal alignment with a level.
✅ Method 3: Magnetic Wall Mount
A modern option ideal for modular or multi-panel art.
Steps:
- Install magnetic strips or metal plates on the wall.
- Attach the corresponding magnet to the back of the artwork.
- Place the art on the wall and adjust alignment as needed.
Advantage: quick repositioning without wall damage.
Multi-Piece Art
✅ Method 4: Traditional Screw and Anchor Installation
Best for heavy or large art pieces.
Steps:
- Drill the appropriate holes for screws or anchors.
- Insert wall anchors and tighten screws.
- Hang the artwork on the screws.
- Verify alignment with a level.
📐 Step 6: Final Alignment Check
- Use a laser or bubble level to ensure the artwork is perfectly straight.
- For multi-piece art, recheck spacing to maintain symmetry.
🧱 Tips Based on Wall Type
| Wall Type | Recommended Method | Key Tips |
|---|---|---|
| Drywall / plaster | Wall anchors or nano adhesive | Avoid heavy loads |
| Concrete / brick | Screws and anchors | Use hammer drill |
| Tile / glass | Nano tape or suction mounts | Use tile drill bit carefully |
| Painted walls | Adhesive that leaves no marks | Avoid damaging paint |
⚠️ Common Mistakes to Avoid
- Using adhesive on wet walls
- Selecting inappropriate adhesive or anchors
- Hanging art without leveling
- Drilling without checking for wires or pipes
- Ignoring the weight of the artwork
🧽 Step 7: Maintenance and Care
- Check the stability of the artwork every few months.
- Avoid direct sunlight or high humidity areas.
- Remove carefully if repositioning, to avoid wall or adhesive damage.
Final Thoughts
In modern home design, multi-piece decorative wall art can instantly transform any room — but only if installed correctly.
By using innovative techniques such as nano adhesive, hidden brackets, magnetic mounts, and laser leveling, you can achieve a clean, professional result without damaging your walls.
If you’re new to wall art installation, start with the nano adhesive method. It’s simple, fast, and perfect for lightweight decorative panels.
With careful alignment and precise spacing, your wall art will become the focal point of your interior décor.
📞 Need Help?
Let us take care of the hard work while you sit back and relax.
📍 Serving: Austin, Round Rock, Cedar Park & more
📱 Call or Text: (737) 420-6992
🌐 Visit: https://lavahandyman.com