
TV Wall Mounting Guide + Best Brackets to Buy | 2025 Edition
Introduction
Mounting a TV on the wall has become one of the most popular trends in modern home design. It not only saves floor space but also gives your living room a clean and stylish look. However, proper TV wall installation requires attention to detail, the right tools, and knowledge of key standards to ensure safety and durability.
In this complete guide, you’ll learn all the essential TV wall mounting principles — from choosing the right wall mount to determining the perfect viewing height and ensuring long-term stability.
TV Wall Mounting Guide
Why Mounting Your TV on the Wall Matters
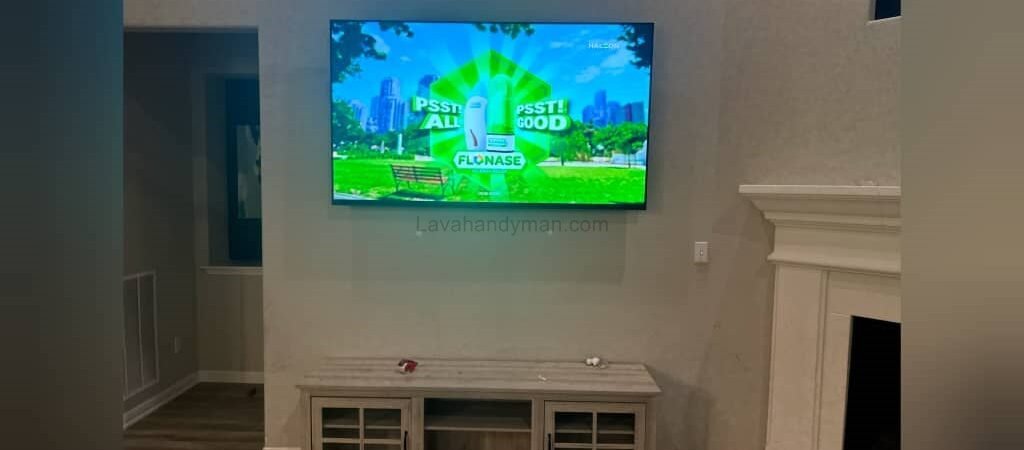
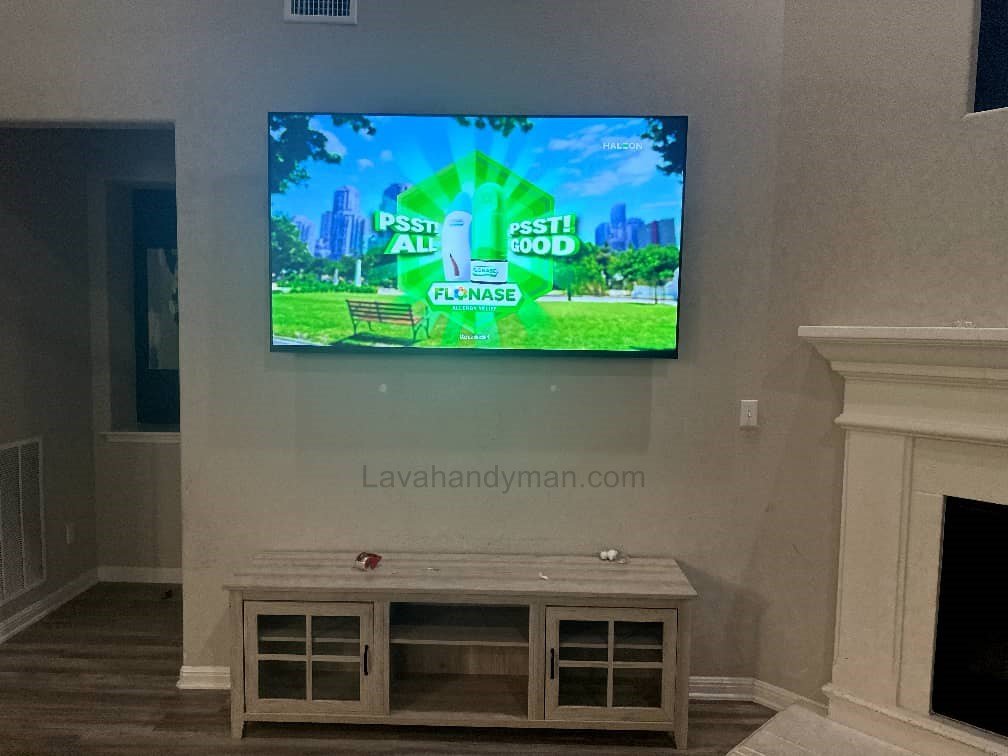
1. Space-Saving and Aesthetic Appeal
Wall mounting helps you free up valuable floor space and makes your living area look more organized. Modern flat-screen TVs look sleek and elegant when installed on the wall.
2. Safety for Kids and Pets
By mounting the TV securely, you eliminate the risk of it tipping over, keeping children and pets safe while protecting your expensive device.
3. Improved Viewing Angle
Mounting your TV at the correct height ensures a comfortable viewing angle, reducing neck strain and eye fatigue.
TV Wall Mounting Guide
Understanding Types of TV Wall Mounts
Selecting the right wall mount is one of the most important steps in the installation process. The most common types include:
1. Fixed Wall Mount
The simplest type — the TV sits flush against the wall with no movement. Ideal for fixed viewing positions.
Pros: Affordable, easy to install, clean appearance
Cons: No tilt or swivel adjustment
2. Tilt Wall Mount
This mount allows you to tilt the TV slightly up or down, which is useful when the TV is installed higher than eye level.
Pros: Reduces glare and reflections
Cons: Limited horizontal movement
3. Full-Motion or Articulating Wall Mount
These mounts are the most flexible. You can pull the TV away from the wall, tilt, or swivel it in multiple directions.
Pros: Best for multipurpose rooms
Cons: Higher cost and more complex installation
TV Wall Mounting Guide
Checking Wall Type Before Installation
Before mounting your TV, it’s essential to identify the wall type because not every wall can handle the same weight.
Drywall or Plasterboard
Drywalls are weak and can’t hold heavy TVs unless you use toggle bolts or special drywall anchors. For extra security, reinforce the mounting area with plywood.
Brick Wall
Ideal for TV wall installation. Use masonry anchors and screws designed for brick.
Concrete Wall
Extremely strong and durable, but requires a hammer drill and concrete bit for drilling holes.
⚠️ Important Tip: Always check for hidden electrical wires or pipes behind the wall before drilling.
TV Wall Mounting Guide
Choosing the Right TV Mounting Height
Determining the proper TV mounting height is critical for both comfort and aesthetics.
Standard TV Height
The center of the TV screen should be approximately at eye level when you are seated — typically 100–120 cm (40–47 inches) from the floor.
Recommended Viewing Distance
| TV Size | Ideal Viewing Distance |
|---|---|
| 32” | 1.2–1.5 meters (4–5 ft) |
| 43” | 1.8–2.5 meters (6–8 ft) |
| 55” | 2.5–3.5 meters (8–11 ft) |
| 65” | 3.5–4.5 meters (11–15 ft) |
Lighting Considerations
Avoid placing the TV opposite large windows or direct light sources to prevent screen glare.
TV Wall Mounting Guide
Essential Tools for Mounting a TV
Before you start, prepare the following tools and accessories:
- Power drill or cordless drill
- Drill bits (for brick or concrete)
- Wall anchors and screws
- Level (spirit level)
- Socket wrench or screwdriver
- Measuring tape and pencil
- TV wall mount compatible with your VESA standard
- Cable covers or wall channels for cable management
TV Wall Mounting Guide
Step-by-Step TV Wall Mounting Guide
Step 1: Choose the Right Location
Pick a spot with good visibility, stable wall structure, and easy access to power outlets.
Step 2: Mark the Holes
Use a level and measuring tape to mark exact drilling points — accuracy here ensures the TV hangs straight.
Step 3: Drill and Install the Wall Plate
Drill holes, insert wall anchors, and tightly screw the mount plate to the wall.
Step 4: Attach the Brackets to the TV
Secure the mounting brackets to the back of your TV using the correct VESA screw pattern.
Step 5: Mount the TV on the Wall Plate
Carefully lift the TV and hook it onto the wall plate. Double-check that the safety lock is engaged.
Step 6: Organize Cables
Hide visible cables using wall-mounted cable covers or by routing them inside the wall.
TV Wall Mounting Guide
Safety Tips for TV Wall Installation
- Always use original, certified wall mounts.
- Get assistance when mounting large or heavy TVs.
- Double-check that the TV is perfectly level.
- Avoid overtightening screws to prevent damage.
- Inspect the wall mount periodically for stability.
Understanding the VESA Mounting Standard
Most modern TVs follow the VESA Mounting Interface Standard, which defines the distance between the mounting holes on the back of the TV (e.g., VESA 400×400 means 400mm apart).
Make sure your TV wall mount matches your TV’s VESA specification before installation.
TV Wall Mounting Guide
Cable Management for a Clean Look
Proper cable management not only improves aesthetics but also increases safety.
- Use wall cable covers or concealed raceways.
- Keep cables short and organized.
- Add LED backlighting behind the TV for a modern look.
Common TV Wall Mounting Mistakes
- Mounting the TV too high or too low
- Using the wrong type of mount for the TV’s weight
- Drilling without checking for electrical wiring
- Uneven or crooked installation
- Forgetting to plan power outlet placement
Post-Installation Maintenance
Inspect the wall mount every few months for any loosened screws or cracks.
If you’re using a full-motion mount, lubricate the joints occasionally to keep movement smooth.
TV Wall Mounting Guide
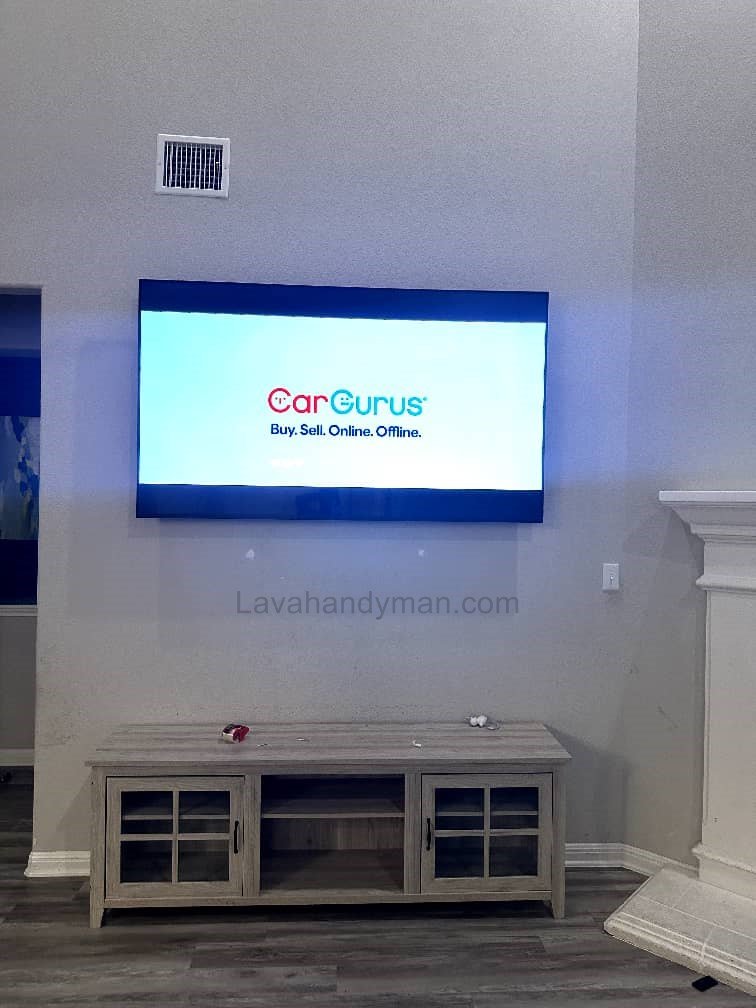
Decorative Tips to Enhance Your Setup
- Add LED ambient lighting behind the TV for a cinematic effect.
- Install narrow shelves under the TV for décor or media devices.
- Combine the TV wall with wood, stone, or textured panels for a luxurious design.
Standard TV Wall Mount Height
Proper TV height is essential for a comfortable viewing experience. Mounting the TV too high or low can cause neck strain, eye fatigue, and a poor viewing experience.
General Guidelines for TV Mounting Height
- The center of the TV screen should be at or slightly below eye level.
- Standard height: 100–120 cm (40–47 inches) from the floor.
- Adjust based on TV size, sofa height, and viewing distance.
TV Wall Mounting Guide
Recommended TV Height Chart
| TV Size | Center of Screen from Floor | Recommended Viewing Distance |
|---|---|---|
| 32” | 90–100 cm (35–39 in) | 1.2–1.5 m (4–5 ft) |
| 43” | 100–110 cm (39–43 in) | 1.8–2.5 m (6–8 ft) |
| 55” | 110–120 cm (43–47 in) | 2.5–3.5 m (8–11 ft) |
| 65” | 120–130 cm (47–51 in) | 3.5–4.5 m (11–15 ft) |
| 75” | 130–140 cm (51–55 in) | 4–5 m (13–16 ft) |
Key Tips for Proper TV Height
- Natural Viewing Angle: The screen center should be slightly below eye level.
- Above Fireplace or Cabinet: Use a tilting wall mount to angle the TV downward.
- Public or Standing Areas: Mount at 150–180 cm (59–70 in) for clear visibility.
- Larger TVs: Slightly higher installation ensures the bottom edge isn’t too low.
Types of TV Wall Mounts and How to Choose the Right Mount
TV Wall Mounting Guide
Why Choosing the Right TV Mount Matters
A TV wall mount supports the weight and size of your TV while providing safety and proper viewing angles. Choosing the wrong mount can lead to the TV falling or damage to the wall.
Types of TV Wall Mounts
1. Fixed Wall Mount
- Features: Holds the TV flush against the wall with no movement.
- Advantages: Easy to install, tidy appearance, low cost
- Disadvantages: No tilt or swivel adjustment
- Best for: Small to medium TVs in a fixed viewing position
2. Tilt Wall Mount
- Features: Allows vertical tilt for glare reduction and comfortable viewing
- Advantages: Reduces eye strain, suitable for TVs mounted above eye level
- Disadvantages: No horizontal movement
- Best for: Walls where the TV is installed higher than eye level
3. Full-Motion / Articulating Wall Mount
- Features: Provides swivel, extension, and angled adjustment
- Advantages: Maximum flexibility, ideal for multipurpose rooms
- Disadvantages: More expensive and slightly more complex to install
- Best for: Large living rooms and multipurpose spaces
4. Ceiling Mount
- Features: TV is mounted from the ceiling
- Advantages: Saves floor space, clear visibility from a distance
- Disadvantages: Requires professional installation and skill
- Best for: Public spaces, restaurants, and retail stores
5. Curved TV Mount
- Features: Designed specifically for curved TVs
- Advantages: Maintains curvature and optimal viewing angles
- Best for: Large, curved TVs
Key Tips for Choosing the Right TV Mount
Safety: Choose mounts with certified quality and secure screws to prevent accidents
TV Size and Weight Compatibility: Ensure the mount can support your TV’s dimensions and weight.
VESA Standard: Mount holes on the TV and the mount must match.
Wall Type:
Drywall → Use specialized anchors
Brick or concrete → Heavy-duty screws and anchors
Viewing Angle & Flexibility:
Fixed mounts for a single viewing angle
Tilt or full-motion mounts for multipurpose rooms
Final Thoughts
Mounting your TV on the wall may seem simple, but doing it incorrectly can cause damage or safety issues.
By choosing the right wall mount, ensuring the correct height, checking wall strength, and following safety procedures, you can mount your TV securely and stylishly.
If you’re not confident with tools or drilling, consider hiring a professional TV wall mounting service to ensure a perfect installation.
📞 Need Help?
Let us take care of the hard work while you sit back and relax.
📍 Serving: Austin, Round Rock, Cedar Park & more
📱 Call or Text: (737) 420-6992
🌐 Visit: https://lavahandyman.com
