Wooden Drawer Assembly Tips: Build a Beautiful Bedroom
🏠 Introduction
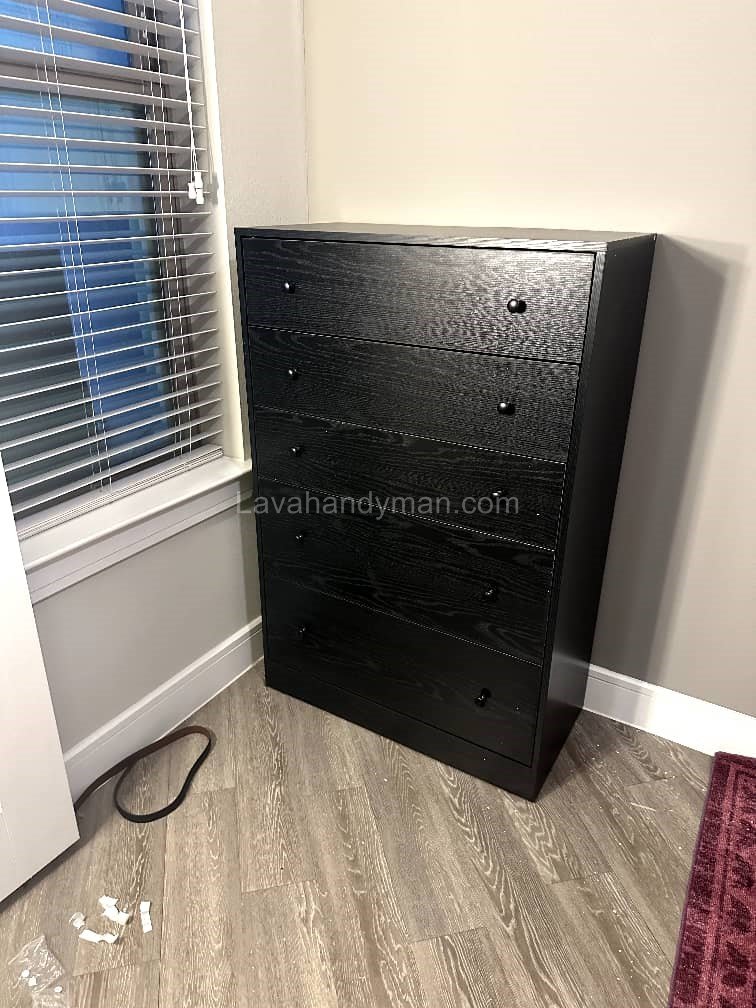
A wooden drawer is one of the most functional and aesthetic pieces of furniture in any bedroom.
Beyond its storage function, it contributes to the harmony and visual appeal of the space.
The assembly process is a crucial step that determines the drawer’s structural stability and lifespan.
Even a small mistake during assembly can cause wobbling, gaps, or poor drawer movement.
With the rise of modular and ready-to-assemble (RTA) furniture, understanding the principles of wooden drawer assembly has become an essential skill for both professionals and home users.

⚙️ Tools and Equipment Needed
Essential tools:
- Electric drill or screwdriver
- Soft hammer and woodworking clamps
- Level and measuring tape
- High-quality wood glue
- Allen key for metal fittings
Using the correct tools ensures precision, reduces errors, and prevents wood damage during assembly.
Wooden Drawer Assembly Tips
🪚 Main Components of a Wooden Drawer
A standard wooden drawer typically consists of the following parts:
- Top panel
- Side panels
- Bottom panel
- Back board
- Drawers and sliding rails
- Legs or base
- Handles and decorative fittings
Knowing each part helps you follow the correct assembly sequence and avoid mismatches.
🧰 Step-by-Step Wooden Drawer Assembly Process
Step 1: Preparing and Inspecting the Parts
Inspect all wooden panels for cracks, warping, or scratches. Label each piece according to the assembly instructions provided by the manufacturer.
Step 2: Assembling the Main Frame
Wooden Drawer Assembly Tips
Attach the two side panels to the bottom panel using wood screws and glue. Combine both fasteners for maximum structural strength.
Step 3: Installing the Back Board
The back board, often made of MDF or plywood, stabilizes the structure. Secure it with small nails or staples along the edges.
Step 4: Mounting the Drawers and Rails
Install the rails precisely, keeping them level and parallel. Any misalignment will result in stuck or uneven drawers.
Step 5: Attaching the Top Panel and Legs
Finally, install the top panel and legs. Use a level to ensure the drawer stands straight and balanced.
💡 Technical and Safety Tips
- Always use high-quality wood glue and standard fittings.
- Wear gloves and safety glasses during assembly.
- Assemble the drawer on a flat, stable surface.
- Allow glue to dry completely before loading drawers.
Wooden Drawer Assembly Tips
🎨 Aesthetic and Interior Design Considerations
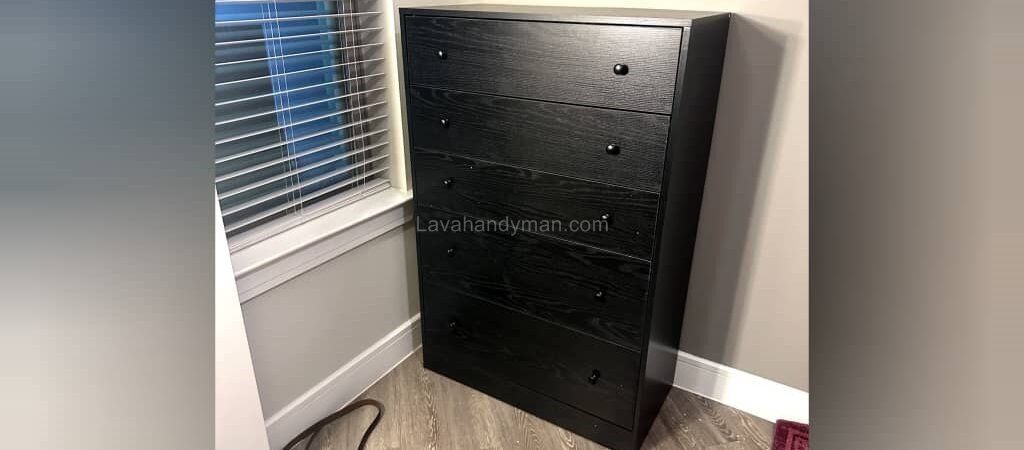
In bedroom design, the drawer’s color, size, and style should match the room’s overall theme.
- For modern spaces, neutral colors like white, ash, or light oak are ideal.
- For classic styles, solid wood with carved details adds luxury and warmth.
Handles, textures, and finishes can significantly influence the final visual harmony of the bedroom.
📈 Benefits of Proper Assembly
- Improved durability and structural strength
- Perfect drawer alignment and smooth motion
- Reduced maintenance and repair costs
- Higher customer satisfaction and product value
Wooden Drawer Assembly Tips
🔍 Optimizing Assembly in Furniture Manufacturing
In mass production, modular design and pre-cut parts can reduce assembly time by up to 30%.
Manufacturers using CAD and 3D modeling achieve higher accuracy and consistency in drawer assembly, resulting in better quality control and less waste.
🪵 Step-by-Step Guide to Assembling a Wooden Drawer for the Bedroom
Tools and Materials Needed
Before starting, make sure you have the following tools:
- Electric drill or cordless screwdriver
- Soft hammer and woodworking clamps
- Wood glue (PVA-based)
- Level, tape measure, and square
- Wood screws of appropriate sizes
- Stapler and Allen keys
- Sandpaper (120–220 grit)
- Hardware: drawer slides, handles, legs, and back panel
💡 SEO tip: Listing tools in bullet points improves readability and search engine understanding.
Step 1: Prepare the Parts
- Lay out all wooden parts on a flat surface (sides, bottom, drawer fronts, top panel).
- Check for cracks, warping, or chipped edges.
- Label parts according to the assembly plan to avoid mistakes.
Key tips:
- Use a clean, level workspace.
- Mark screw locations and connections with a pencil and tape measure.
- Replace warped or damaged pieces before starting assembly.
Step 2: Assemble the Main Frame
- Place the bottom panel on the ground.
- Attach the side panels to the bottom panel using wood glue and screws.
- Ensure all angles are 90 degrees using a level.
- Pre-drill small guide holes to prevent wood splitting.
💡 Pro tip: Combining glue and screws increases joint strength by up to 30%.
Step 3: Install the Back Panel
- The back panel adds structural stability and prevents warping.
- Place the back panel (MDF or plywood) and secure it with nails or staples.
- Use a level to ensure the frame remains straight.
Step 4: Assemble the Drawers
- Drawers consist of four sides and a bottom panel.
- Attach the sides, front, and back with glue and screws.
- Insert the bottom panel and fix it with staples or screws.
- Make the drawer slightly smaller than the inside of the frame (3–5 mm clearance) for smooth sliding.
⚙️ Pro tip: Use clamps during gluing to keep angles accurate and square.
Wooden Drawer Assembly Tips
Step 5: Install Drawer Slides
- This is a critical step in assembling a wooden drawer.
- Install the slides on the frame and drawer sides according to the guide marks.
- Ensure slides are level and parallel.
- Test drawer movement multiple times.
🚫 Common mistake: Misaligned slides can cause drawers to stick or make noise.
Step 6: Attach Top Panel and Legs
- Secure the top panel with glue and screws.
- Install the legs and adjust using a level if they are adjustable.
- Double-check all screws for firmness.
Step 7: Install Handles and Decorative Hardware
- Mark handle locations on the drawer fronts and drill holes.
- Fix handles with screws.
- Optional: add protective hardware or decorative elements.
🎨 Design tip: Matching handles with bedroom style (modern or classic) improves the overall appearance.
Step 8: Finishing and Painting
- Sand surfaces with fine sandpaper for smoothness.
- Clean dust and apply paint or protective varnish.
- Finish with wax or clear coat for extra durability.
Wooden Drawer Assembly Tips
Safety Tips
- Always wear gloves and safety glasses.
- Clamp pieces securely while drilling.
- Avoid excessive glue to prevent shrinkage in joints.
- Do not move the drawer until glue is fully dry.
Common Problems and Solutions
| Problem | Possible Cause | Recommended Solution |
|---|---|---|
| Drawer sticks | Misaligned slides | Reinstall slides with proper leveling |
| Warped frame | Incorrect back panel installation | Reinstall back panel using a level |
| Chipped wood edges | Screws without pre-drilled holes | Pre-drill guide holes |
| Excess glue on surface | Using too much glue | Wipe off excess immediately with a damp cloth |
⏱️ Time Comparison for Step-by-Step Wooden Drawer Assembly
Assembling a wooden drawer can take different amounts of time depending on experience and tools.
This optimized guide provides a time comparison for each stage of assembly for home users and industrial production, helping you plan your project efficiently.
Wooden Drawer Assembly Tips
🔹 Stage-by-Stage Time Table
| Stage | Description | Approx. Time for Home Users | Approx. Time in Industrial Production |
|---|---|---|---|
| Parts Preparation | Inspecting, labeling, and organizing parts | 15–25 min | 5–10 min (pre-cut parts) |
| Main Frame Assembly | Attaching bottom and side panels with screws and glue | 30–45 min | 15–20 min |
| Back Panel Installation | Securing back panel for stability | 10–20 min | 5–10 min |
| Drawer Assembly | Connecting four sides and bottom of drawers | 30–45 min | 15–25 min |
| Installing Slides and Drawers | Attaching rails and testing drawer movement | 20–30 min | 10–15 min |
| Top Panel and Legs | Fixing top panel and attaching legs | 15–25 min | 5–10 min |
| Handle and Hardware Installation | Drilling and fixing handles | 10–15 min | 5 min |
| Finishing and Painting | Sanding, cleaning dust, applying paint/varnish | 45–60 min (including drying) | 20–30 min (industrial painting line) |
Wooden Drawer Assembly Tips
🔹 Total Assembly Time
- Home Users: Approximately 3–4 hours (excluding drying time for glue or paint)
- Industrial Production: Approximately 1.5–2 hours (with pre-cut parts and industrial tools)
🔹 Key Time Management Tips for Wooden Drawer Assembly
For home users, perform painting and varnishing separately to avoid rushing and fatigue.
Accurate parts preparation reduces total assembly time.
Using pre-made drawer slides and hardware speeds up drawer installation.
Pre-drilling and clamps prevent rework and wood damage.
🛠️ Types of Brackets for Wooden Drawer Assembly
Choosing the right bracket is essential for assembling a wooden drawer. Brackets increase strength, stability, and alignment of the drawer. Below are the most common types of brackets and their uses.
Wooden Drawer Assembly Tips
1️⃣ L-Bracket (Corner Bracket)
- Shape: L-shaped
- Use: Connecting corners between side panels and bottom or back panel
- Advantages:
- Reinforces corners for better strength
- Easy to install with screws
- Prevents frame twisting or warping
- Best for: Corner connections and securing the back panel
2️⃣ T-Bracket
- Shape: T-shaped
- Use: Reinforcing drawer attachments or supporting legs
- Advantages:
- Handles more weight in the center
- Ideal for heavy drawers or tall furniture
- Best for: Multi-drawer or larger wooden drawers
3️⃣ Z-Bracket (Z-Brace)
- Shape: Z-shaped or angled
- Use: Stabilizing the frame and preventing twisting or warping
- Advantages:
- Increases overall drawer stability
- Suitable for large drawers or lightweight MDF
- Common Use: Industrial furniture or professional assembly
Wooden Drawer Assembly Tips
4️⃣ U-Channel Bracket
- Shape: U-shaped channel
- Use: Guiding and supporting drawers on slides
- Advantages:
- Ensures smooth drawer movement
- Reduces stress on the slides
- Best for: Drawers with ball-bearing or roller slides
5️⃣ Adjustable Bracket
- Use: Attaching legs and leveling the drawer on uneven floors
- Advantages:
- Allows height adjustment after assembly
- Prevents wobbling on uneven surfaces
🔹 Key Tips for Choosing Brackets in Drawer Assembly
For drawers on uneven floors, use adjustable brackets for proper leveling.
Select a bracket thickness suitable for the type of wood.
For light drawers, small L-brackets are sufficient; for heavy or large drawers, T or Z brackets are recommended.
Always pre-drill holes before screwing brackets to prevent wood splitting.
Wooden Drawer Assembly Tips
🧩 Conclusion
The assembly of a wooden drawer for the bedroom is a blend of technical skill, precision, and aesthetic understanding.
Following proper methods and using quality materials significantly improve the drawer’s durability, stability, and appearance.
For both industrial producers and DIY enthusiasts, mastering this process ensures a reliable and visually pleasing piece of furniture.
📞 Need Help?
Let us take care of the hard work while you sit back and relax.
📍 Serving: Austin, Round Rock, Cedar Park & more
📱 Call or Text: (737) 420-6992
🌐 Visit: https://lavahandyman.com