Best Multi-Panel Wall Art Designs for Elegant Living Rooms
Introduction
The living room is the heart of every home — the place that first captures the attention of guests and defines the personality of its residents. The living room wall decor plays a vital role in setting the tone of the entire space. One of the most stylish and modern ways to enhance bare walls is through multi-panel decorative wall art.
These artworks, composed of several coordinated panels, create a unified and contemporary visual impression that adds depth and elegance to the room. In this article, we’ll explore how to choose, arrange, and install multi-panel wall art in your living room, along with expert tips to make your interior design stand out.
Why Choose Multi-Panel Wall Art for Living Room Decor?

Multi-panel wall art has become a defining element of modern interior design. Thanks to its flexibility in size, shape, and color, it fits effortlessly into various design styles — from minimalist and modern to classic or industrial.
Key advantages include:
- Adding visual depth and motion to the wall
- Transforming an empty surface into a focal point
- Allowing the use of complementary or contrasting colors
- Easy customization based on theme or mood
When selected and arranged properly, these wall arts can energize the space and bring a sense of sophistication and creativity to your home.
Types of Multi-Panel Decorative Wall Art
Best Multi-Panel Wall Art Designs
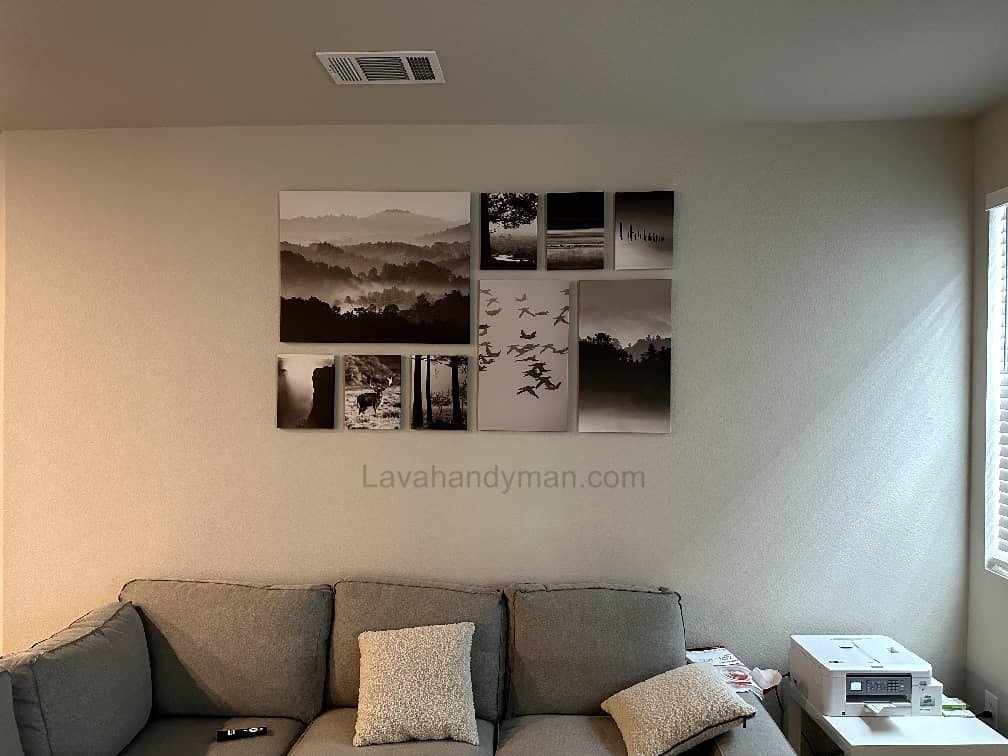
1. Canvas Prints
One of the most popular choices, canvas wall art offers a natural, matte finish. Printed on high-quality fabric, these panels are lightweight, durable, and ideal for modern or minimalist interiors.
2. Glass or Mirror Wall Art
If you want your living room to look luxurious and bright, glass or mirrored art panels are perfect. The reflected light creates a glamorous and elegant atmosphere.
3. Wooden or Metal Wall Art
Perfect for industrial or rustic styles, these pieces use natural materials such as wood or metal, adding warmth and authenticity to the decor.
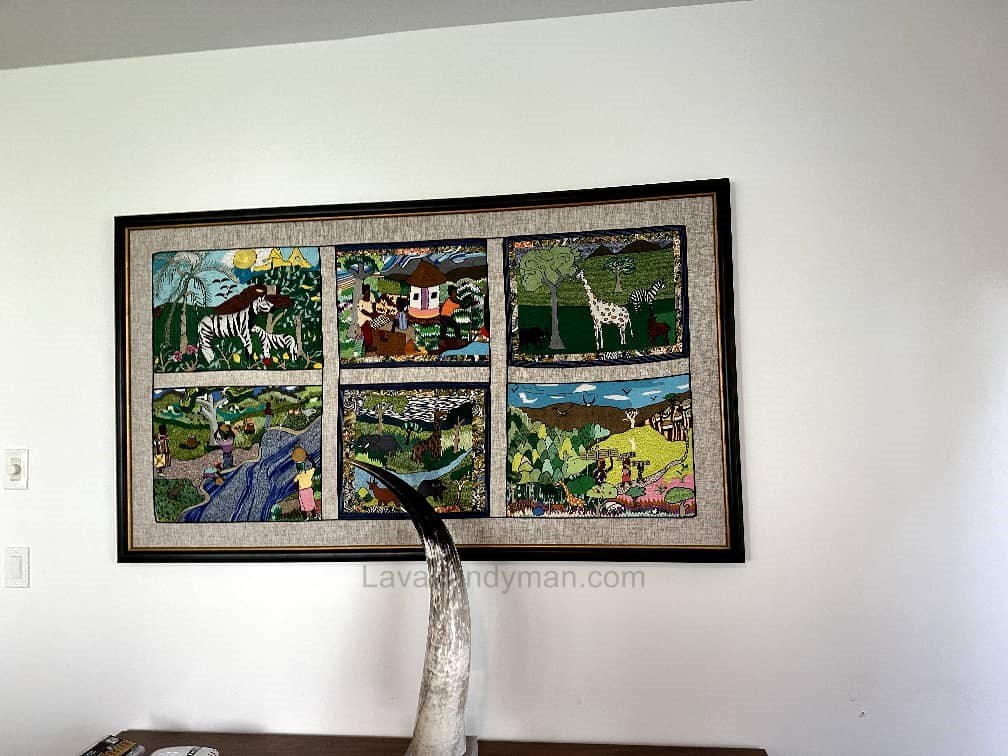
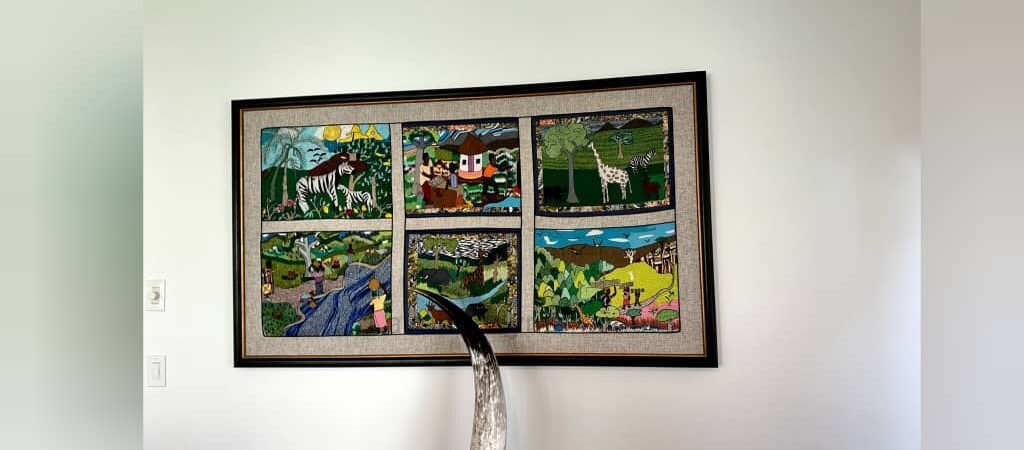
4. Hand-Painted Multi-Panel Artwork
For art lovers seeking uniqueness, hand-painted wall art is an exquisite option. Each piece is painted individually, offering a sense of originality and artistic value.
How to Choose the Right Wall Art for Your Living Room
1. Match the Overall Decor Style
- Modern spaces: Choose abstract, geometric, or bold designs with neutral or vibrant tones.
- Classic interiors: Opt for artworks with ornate frames, landscapes, or classical subjects.
- Minimalist homes: Go for simple, frameless panels in light or monochrome colors.
2. Choose the Right Color Palette
Color harmony determines the mood of the space.
- In neutral settings, use vivid or warm tones to add energy.
- In colorful spaces, pick calm shades like blue or green to balance the composition.
3. Find the Perfect Size and Placement
The wall art should be proportionate to the furniture and the wall itself.
A general rule: the total width of the panels should be around 60–70% of the furniture width below them.
The center of the composition should be roughly 160 cm (63 in) from the floor — aligned with natural eye level.
Best Multi-Panel Wall Art Designs
Creative Layout Ideas for Multi-Panel Wall Art
Symmetrical Arrangement
Panels are placed evenly around a central axis, creating balance and harmony. Ideal for formal or classic living rooms.
Asymmetrical Layout
More dynamic and modern, this layout arranges panels freely while maintaining visual balance. Perfect for large, open spaces.
Stair-Step or Horizontal Layout
For tall walls or stairways, arranging panels in a rising or descending order naturally guides the viewer’s gaze across the room.
Lighting and Its Impact on Wall Art
Proper lighting can dramatically enhance the effect of decorative wall art. Spotlights, LED backlighting, or concealed ceiling lights can emphasize texture, color, and depth.
Avoid harsh direct light, which can cause reflections or wash out colors. Instead, use angled or soft lighting with a color temperature of 3000K–4000K, which highlights natural tones and provides a warm, inviting atmosphere.
Best Multi-Panel Wall Art Designs
Common Mistakes to Avoid When Installing Multi-Panel Wall Art
Even beautiful wall art can lose its charm if not displayed correctly. Avoid these common errors:
- Hanging artwork too high or too low
- Uneven spacing between panels (ideal gap: 2–5 cm / 1–2 in)
- Choosing artwork that clashes with furniture color or style
- Ignoring natural or artificial lighting conditions
By following these principles, your living room wall art arrangement will look intentional and professional.
Additional Tips for Beautiful Wall Decor
- Combine different sizes and shapes of panels for visual diversity.
- Mix wall art with other elements such as modern clocks or decorative shelves.
- Refresh the wall seasonally by rotating or swapping panels.
- Use temporary adhesive strips or templates to mark the layout before drilling.
Step-by-Step Guide to Installing Multi-Panel Decorative Wall Art in the Living Room
Best Multi-Panel Wall Art Designs
Step 1 — Tools and Preparation
Before starting, ensure you have the following tools:
- Measuring tape, level, and pencil
- Paper or cardboard templates for previewing the layout
- Picture hooks, screws, or hanging rails
- Wall anchors or plugs for drywall, concrete, or brick
Having the right tools ensures a precise and safe installation of your multi-panel wall art.
Step 2 — Determine the Focal Point and Size
- The total width of your multi-panel art should be approximately 60–70% of the furniture width beneath it.
- Position the center of the artwork at 160 cm (≈63 inches) from the floor for natural eye-level alignment.
- Maintain spacing between panels of 2–5 cm (≈0.8–2 in) depending on the desired visual effect.
Best Multi-Panel Wall Art Designs
Step 3 — Layout Planning and Templates
- Arrange all panels on the floor to visualize the final composition.
- Use templates to mark the placement of hooks or screws on the wall.
- Check alignment and level with a spirit level before drilling.
Step 4 — Choose the Appropriate Hanger Based on Wall Type
- Drywall: Use picture hooks or plastic anchors for light to medium panels.
- Concrete or brick walls: Use wall plugs and screws suitable for masonry.
- Delicate or decorative walls: Consider picture hanging rails or no-drill hanging systems.
Best Multi-Panel Wall Art Designs
Step 5 — Hanging and Leveling the Panels
- Start by hanging the central panel and checking its level.
- Add surrounding panels, adjusting spacing for a balanced composition.
- Use rubber bumpers or adhesive pads on the back to prevent shifting and ensure stability.
Step 6 — Lighting and Final Adjustments
- Use spotlights or LED backlighting to highlight the artwork.
- Ideal color temperature: 3000–4000K for natural color display.
- Double-check panel alignment and spacing before finishing.
Best Multi-Panel Wall Art Designs
Step 7 — Professional Tips and Maintenance
For heavy installations, consider using hanging rails or templates for accurate placement.
Regularly check alignment and spacing of panels.
Clean canvas panels with a soft cloth or slightly damp cloth; for glass panels, use a streak-free cleaner.
Types of Brackets for Hanging Decorative Wall Art
Choosing the right bracket or hanging system is essential for installing decorative wall art. The right bracket ensures your artwork is safe, stable, and looks professional on your living room wall. Here’s a detailed guide to the most common types of brackets and their applications:
Best Multi-Panel Wall Art Designs
1. Classic Picture Hooks
- Description: Small metal or plastic hooks that hang the artwork on a nail or screw.
- Suitable for: Light to medium-weight wall art (up to 5–10 kg / 11–22 lbs).
- Advantages: Quick installation, low cost, ideal for drywall or wooden walls.
- Disadvantages: Not suitable for heavy paintings or multi-panel art.
2. Screw and Wall Plug Brackets
- Description: Combination of wall plug (anchor) and screw that securely holds the artwork.
- Suitable for: Drywall, concrete, and brick walls for medium to heavy wall art (10–30 kg / 22–66 lbs).
- Advantages: Strong, secure, and reliable.
- Notes: Choose plug and screw sizes based on the artwork’s weight.
Best Multi-Panel Wall Art Designs
3. Molly Bolts (Hollow Wall Anchors)
- Description: Specialized anchors for hollow walls (drywall or plasterboard) that expand inside the wall to hold weight securely.
- Suitable for: Heavy art pieces on drywall without access to studs.
- Advantages: High weight capacity, secure and stable.
- Disadvantages: Requires a drill and some installation skill.
4. Toggle Bolts
- Description: Bolts with a winged toggle that opens inside the hollow wall to support heavy weight.
- Suitable for: Hollow walls and large, multi-panel artworks.
- Advantages: Very high weight capacity, ideal for large paintings.
- Disadvantages: Slightly more complex installation than standard hooks or plugs.
5. Picture Hanging Rails / French Cleat
- Description: Two-piece system: one piece attaches to the wall, the other to the artwork, and the art “locks” onto it.
- Suitable for: Heavy or multi-panel artworks, professional installations, and movable displays.
- Advantages: Easy adjustment, allows repositioning without new holes, very stable.
- Disadvantages: Requires precise measurement and accurate initial installation.
Best Multi-Panel Wall Art Designs
6. Adhesive or No-Drill Hooks
- Description: Hooks or double-sided adhesive strips that allow hanging without drilling.
- Suitable for: Lightweight artwork or rental spaces where drilling isn’t allowed.
- Advantages: Quick, easy installation, no wall damage.
- Disadvantages: Low weight capacity; adhesion may decrease over time.
Key Tips for Choosing the Right Bracket
Repositioning: For flexibility, a French cleat or rail system is ideal.
Artwork weight: Always select a bracket rated for more than the actual weight.
Wall type: Drywall, concrete, brick, or hollow walls determine the bracket type.
Artwork type: Multi-panel or large pieces are best mounted on rails or heavy-duty brackets.
Conclusion
Your living room wall is like a blank canvas, waiting to express your personality. With the right multi-panel decorative wall art, you can transform it into a stunning centerpiece. Beyond aesthetics, these artworks add warmth, balance, and identity to your home.
By paying attention to color harmony, layout, proportion, and lighting, you can achieve a professional and artistic result.
If you’re looking for an easy and affordable way to refresh your interior, installing multi-panel wall art on your living room wall is the perfect solution — stylish, modern, and full of character.
📞 Need Help?
Let us take care of the hard work while you sit back and relax.
📍 Serving: Austin, Round Rock, Cedar Park & more
📱 Call or Text: (737) 420-6992
🌐 Visit: https://lavahandyman.com