
Wooden Wall Decor: Elegant, Warm, and Easy to Install — Here’s How!
Introduction: Why Wooden Wall Decor Is So Popular
Wood wall decor has become one of the most popular trends in modern interior design. Installing wood panels on walls adds warmth, texture, and a natural feeling to your space.
If you’ve always thought that installing wood on walls is a professional-only job, this guide will show you how to install wooden wall panels yourself, using basic tools and simple techniques.
Types of Wooden Wall Decor
Before starting your installation, it’s important to know the different types of wood wall decor available. Each has its own appearance, advantages, and method of installation.
1. Wood Wall Panels (MDF or Natural)
Wood panels, often made from MDF or natural wood, are flat sheets that can easily cover large surfaces. They create a smooth, elegant finish — perfect for TV walls or living rooms.
2. Wooden Cladding (Lambris or “Lambe”)
Wood cladding consists of narrow wooden strips installed horizontally or vertically. It gives a classic, rustic, or cottage-style feel to your walls.
Wooden Wall Decor
3. ThermoWood Panels
ThermoWood is heat-treated natural wood that is highly resistant to moisture and temperature changes. It’s ideal for humid areas such as bathrooms, balconies, or terraces.
4. Decorative Wooden Tiles or Frames
These are designed mainly for aesthetic purposes — 3D wooden tiles or geometric frames that transform ordinary walls into focal points.
Benefits of Installing Wooden Wall Decor
✅ Natural beauty and warmth
Wood adds a sense of calm, comfort, and nature to your home.
✅ Thermal and sound insulation
Wood naturally blocks sound and helps regulate indoor temperature.
✅ Fast and clean installation
With the right materials and a bit of patience, you can install wooden wall decor without professional help.
✅ Durable and repairable
Wooden walls can easily be refinished, sanded, or repainted over time.
Wooden Wall Decor
Tools and Materials You’ll Need
Before you start, prepare these essential tools:
- Measuring tape and level (laser or manual)
- Saw or miter saw
- Wood glue (polyurethane or construction adhesive)
- Drill and screwdriver
- Screws and wall plugs
- Sandpaper and putty knife
- Safety gloves and goggles
- Wood filler and finishing oil or varnish
💡 Pro tip:
If you’re using lightweight panels, adhesive will be enough. For thicker or heavier wood, use screws for a secure hold.
Preparing the Wall Before Installation
Proper wall preparation ensures durability and a perfect finish.
1. Clean the wall surface
Remove dust, grease, and any loose paint. Use a damp cloth or fine sandpaper to make the surface smooth.
2. Check for moisture
Never install wood on damp walls. Moisture causes warping and mold growth.
3. Level the surface
If your wall is uneven, use a wooden or metal framework (furring strips) to create a flat base.
4. Measure and mark the layout
Measure the wall accurately and sketch your design on paper. Mark reference lines directly on the wall using a level.
Wooden Wall Decor
Step-by-Step Guide: Installing Wooden Wall Panels
Step 1: Plan the layout
Decide the orientation — vertical, horizontal, or diagonal. Draw guide lines using a level to ensure a straight installation.
Step 2: Cut the wood pieces
Cut each panel or strip to the required length using a saw. Sand the edges to smooth out any splinters.
Step 3: Install the first row
Always start from the bottom or one corner of the wall. Make sure the first piece is perfectly level — it determines the alignment of all others.
Step 4: Attach with glue or screws
Method 1: Adhesive Installation
- Apply wood adhesive on the back of the panel in a zigzag pattern.
- Press the piece firmly against the wall.
- Hold it in place for a few seconds or use painter’s tape until the glue sets.
Method 2: Screw Installation
- Mark screw points and drill pilot holes.
- Insert wall plugs (anchors) if needed.
- Fix the wooden panel with screws.
This method is recommended for heavy or thick panels.
Step 5: Continue installing the remaining pieces
Align each panel carefully beside the previous one. Check alignment frequently with your level. Tap gently with a rubber mallet if needed.
Step 6: Finishing touches
Fill gaps or joints with wood filler, then sand the surface lightly. Apply wood oil, varnish, or polyurethane for protection and shine.
Professional Tips for Perfect Wooden Wall Installation
- Always use high-quality adhesive or screws.
- Allow the wood to acclimate to room temperature for 24 hours before installation.
- Choose ThermoWood for humid areas like bathrooms.
- Match the wood color with your flooring and furniture.
- Avoid installing wood directly under sunlight or near heat sources.
Common Mistakes to Avoid
🚫 Rushing the process without allowing adhesive to dry.
🚫 Ignoring wall leveling or alignment.
🚫 Using low-quality or wet wood.
🚫 Installing on damp surfaces.
🚫 Choosing the wrong color for the room lighting.
Avoiding these mistakes ensures your wooden wall decor lasts for years and looks professional.
Maintenance Tips for Wooden Wall Decor
To keep your wood wall panels beautiful and durable:
- Dust the surface regularly with a soft, slightly damp cloth.
- Avoid direct water or harsh chemical cleaners.
- Every 2–3 years, apply a new coat of wood oil or protective varnish.
- For scratches, use wood wax or touch-up oil to restore the finish.
Design Ideas for Wooden Wall Decor
🌿 TV wall accent: Combine hidden LED lighting with dark wood for a luxurious look.
🌿 Bedroom wall: Light-colored wooden panels behind the bed create a cozy, serene vibe.
🌿 Living room feature wall: 3D wood tiles add depth and a modern touch.
🌿 Dining area or kitchen: Whitewashed or oak wood gives a fresh, natural feel.
🌿 Hallway or entryway: Vertical panels make small spaces look taller.
🔩 Types of Brackets for Installing Wooden Wall Décor | Complete Guide for Selection and Use
🪵 1. Hidden Brackets (Floating Mounts)
Hidden brackets are the most popular choice for modern wooden wall décor.
The mounting hardware is concealed behind the wood, creating a clean and seamless “floating” appearance.
🔹 Applications:
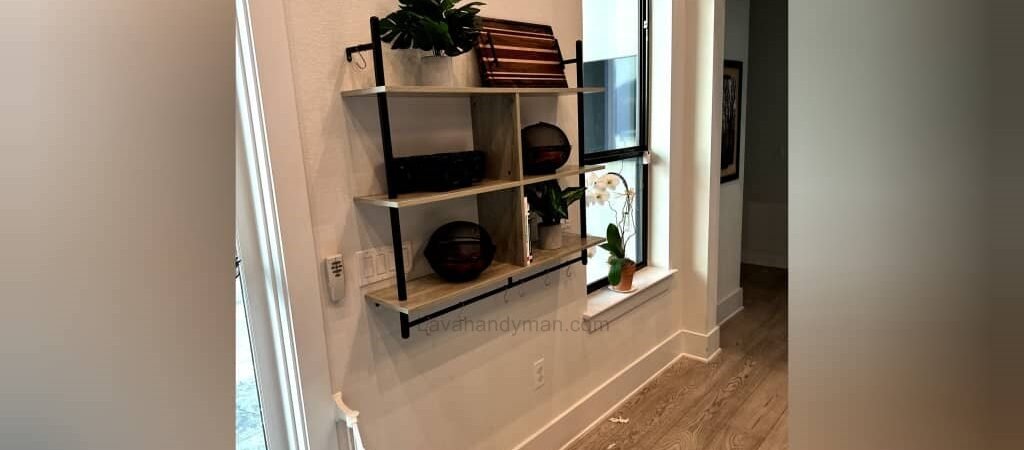
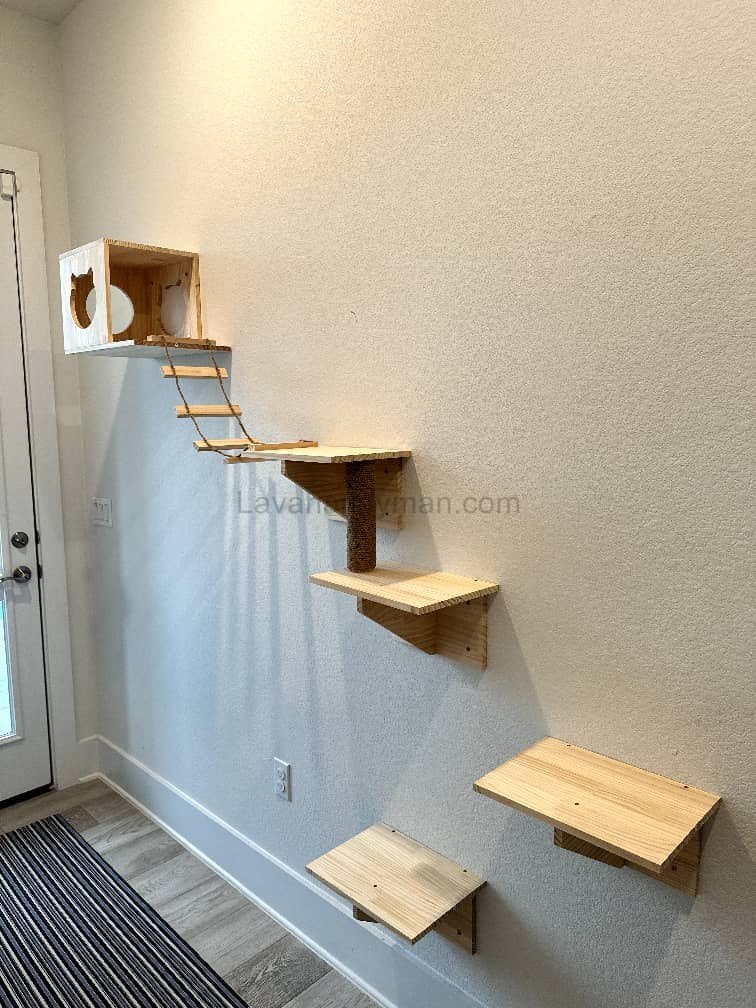
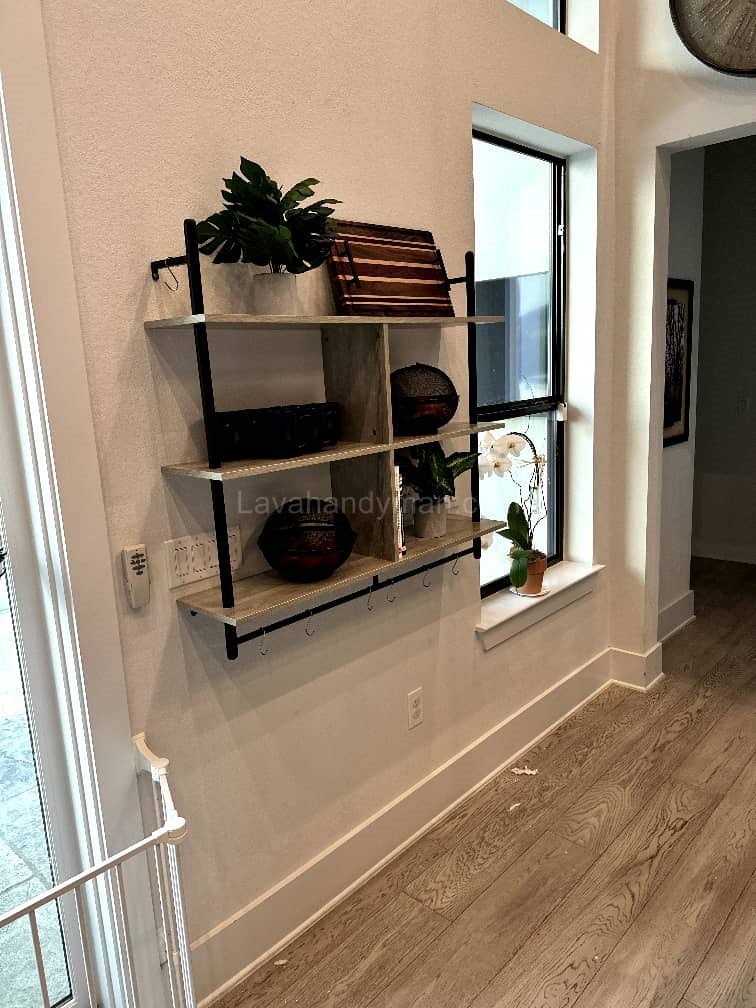
- Floating wooden wall shelves
- Decorative wall panels and wood art
- Ideal for modern and minimal interiors
🔹 Advantages:
- Clean and seamless appearance
- High load-bearing capacity (especially metal types)
- Suitable for drywall, brick, or concrete walls
💡 Pro Tip: Use a laser level to ensure perfect alignment when installing floating shelves.
Wooden Wall Decor
⚙️ 2. L-Shaped Brackets
L-brackets are one of the most widely used and affordable options for heavy wooden décor.
These right-angled metal brackets provide strong support and easy installation.
🔹 Applications:
- Open wooden shelves and display boards
- Perfect for areas where visible brackets are acceptable
🔹 Advantages:
- Simple installation with screws and wall plugs
- Strong and reliable
- Can be painted to match your décor
🔩 3. Z-Shaped Brackets / French Cleat System
The Z-bracket, also known as a French Cleat, consists of two interlocking metal pieces:
one attached to the wall, and the other to the back of the wood panel.
When the two pieces slide together, the wood locks securely into place.
🔹 Applications:
- Large or heavy wooden wall panels
- Framed décor or wooden mirrors
- Ideal for commercial and display installations
🔹 Advantages:
- Easy to detach and reinstall
- High weight capacity
- Ensures perfect leveling and professional results
Wooden Wall Decor
🧱 4. Panel Clips and Fasteners
For decorative MDF or ready-made wooden wall panels, panel clips are the best choice.
These small metal or plastic clips attach to the back of each panel, allowing quick and precise installation.
🔹 Applications:
- Decorative wood wall panels or wall cladding
- Ideal for TV walls, offices, or lobbies
🔹 Advantages:
- Fast, tool-free installation
- Easy panel replacement
- No visible screws or fasteners
🪚 5. U-Brackets / Track Systems
U-shaped brackets (also called track systems) are often used in large-scale installations.
The wood panels slide into the track and are fixed with adhesive or screws.
🔹 Applications:
- Thermowood or tongue-and-groove wall cladding
- Continuous wall décor in halls, living rooms, or commercial interiors
🔹 Advantages:
- Perfect alignment of panels
- Quick installation process
- High stability and durability
⚒️ 6. Choosing the Right Bracket for Each Wall Type
| Wall Type | Recommended Bracket | Technical Tip |
|---|---|---|
| Drywall | Hidden or Z-bracket with toggle bolts | Use butterfly or toggle anchors to prevent loosening. |
| Concrete / Brick | L or Z metal bracket | Use a masonry drill and heavy-duty wall plugs. |
| Wood / MDF Wall | Hidden bracket or direct screw | Easy installation without wall plugs. |
🪛 7. Decorative Brackets
For classic or rustic interiors, decorative brackets add both beauty and functionality.
They are often made from cast iron or decorative metal and are perfect for open wooden shelving.
🔹 Applications:
- Classic or rustic wooden shelves
- Traditional or industrial-style décor
🔹 Advantages:
- Combines aesthetic and structural support
- Ideal for vintage or country-style designs
💡 Professional Installation Tips
Paint or finish your brackets to match the color of your wood décor for a seamless look.
For wood pieces heavier than 5 kg (11 lbs), use Z or L metal brackets.
Always check alignment using a laser level before final tightening.
Allow the wood to acclimate for 24 hours to room temperature before installation.
Use moisture-resistant adhesive for humid areas such as bathrooms.
Conclusion
Installing wooden wall decor is one of the best ways to bring warmth and elegance into your home.
With proper preparation, accurate measuring, and careful installation, you can achieve a stunning professional result — even without hiring a contractor.
Wood is alive — treat it with care, and it will bring timeless beauty and comfort to your space for many years to come.
📞 Need Help?
Let us take care of the hard work while you sit back and relax.
📍 Serving: Austin, Round Rock, Cedar Park & more
📱 Call or Text: (737) 420-6992
🌐 Visit: https://lavahandyman.com
