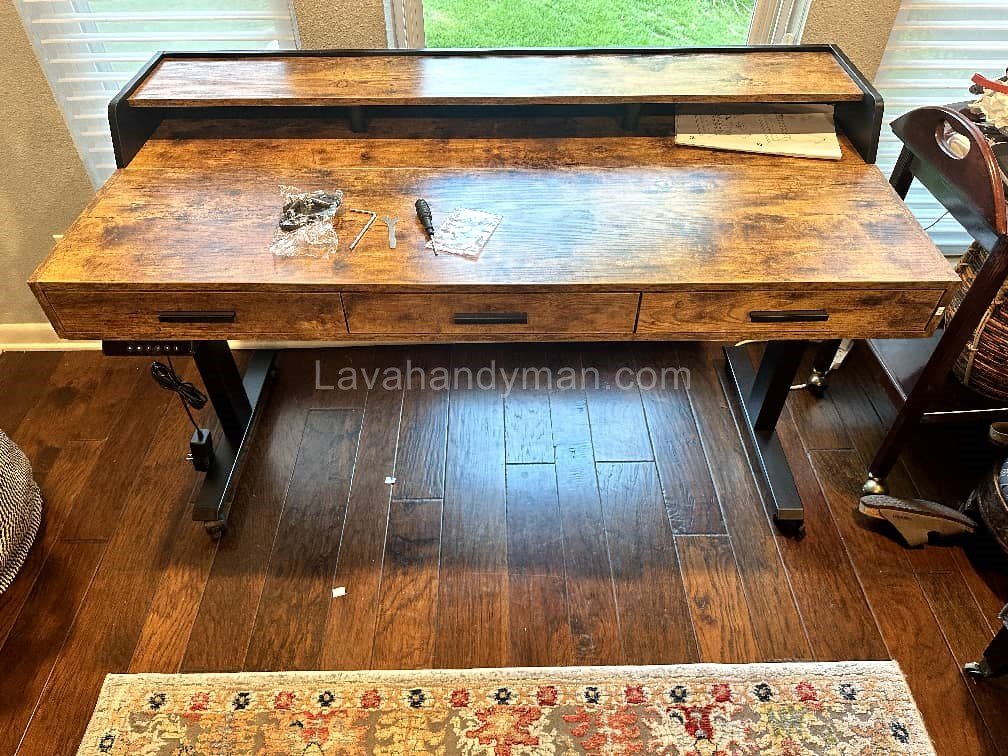
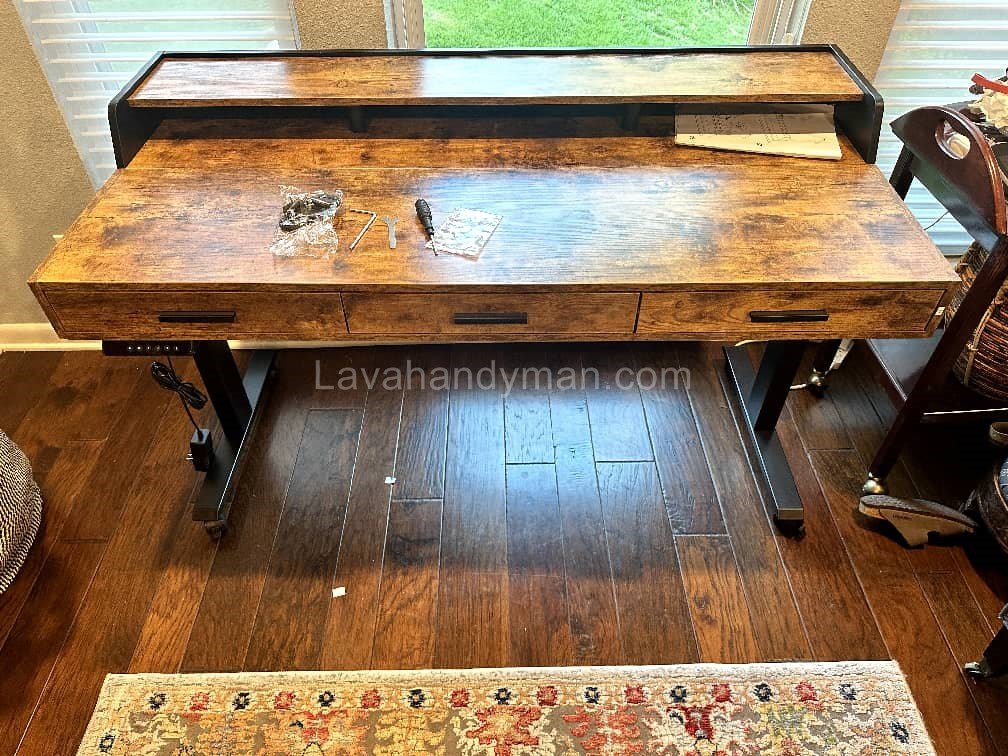
Hydraulic Lift Table Assembly: Tools, Steps, and Safety Tips
Introduction
A hydraulic lift table is one of the most practical tools in industrial workshops and production lines. It uses hydraulic pressure to raise and lower heavy loads smoothly and safely, eliminating the need for excessive manual effort.
Learning how to assemble a hydraulic lift table is essential for technicians, engineers, and DIY enthusiasts working with mechanical or industrial systems.
In this comprehensive guide, we’ll go step-by-step through the assembly, setup, and maintenance of a hydraulic lift table — including required tools, safety guidelines, and troubleshooting tips.

How a Hydraulic Lift Table Works
A hydraulic lift operates on Pascal’s Law, which states that pressure applied to a confined fluid is transmitted equally in all directions. This principle allows a small input force (through a pedal or pump) to generate a much greater output force, enabling the table to lift heavy weights with ease.
Hydraulic Lift Table Assembly
Common Applications
- Automotive workshops and assembly lines
- Manufacturing facilities
- Warehouses and material-handling areas
- Adjustable industrial workbenches
Main Components of a Hydraulic Lift Table
Before you begin assembling your hydraulic lift table, it’s crucial to understand the key components:
1. Base Frame
The base frame supports the entire table and bears the load. It’s usually made from high-strength steel and must be properly leveled during assembly.
2. Platform (Tabletop)
This is the surface where objects or workpieces are placed. Typically built from heavy-gauge steel sheets and coated with an anti-slip finish.
3. Hydraulic Cylinder (Jack)
Hydraulic Lift Table Assembly
The heart of the lift table — it converts hydraulic pressure into mechanical lifting motion.
4. Manual Pump or Foot Pedal
Used to pressurize the hydraulic system. In some advanced models, an electric pump may be used instead.
5. Pressure Relief Valve
A critical safety component that prevents over-pressurization and system damage.
6. Caster Wheels and Brakes
Allow for easy movement of the table and ensure stability when locked in place.
7. Hydraulic Hoses and Fittings
Carry hydraulic fluid between the pump and the cylinder. They must be properly tightened and leak-free.
Hydraulic Lift Table Assembly
Required Tools for Assembly
Before starting the hydraulic lift table assembly, gather the following tools and materials:
- Wrench set (box, open-end, and adjustable)
- Socket set
- Screwdrivers (flat and Phillips)
- Teflon tape and industrial grease
- Hydraulic oil (ISO 32 or 46)
- Safety gloves, goggles, and steel-toe boots
Step-by-Step Assembly Instructions
Step 1: Inspect Components
Unpack all parts and check them against the instruction manual or diagram. Make sure the cylinder, seals, and threads are intact and free from damage.
Step 2: Assemble the Base Frame
Hydraulic Lift Table Assembly
Lay the two base sections on a flat surface and bolt them together securely. Proper alignment and leveling are essential for smooth operation later.
Step 3: Install the Wheels
Attach the four caster wheels to the bottom of the base. The front wheels usually include locking brakes for stability during use.
Step 4: Mount the Scissor Arms
Attach the scissor arms to the base and platform using the provided steel pins. Ensure that the arms move freely without friction or binding.
Step 5: Install the Hydraulic Cylinder
Position the cylinder between the scissor arms. The piston rod should connect to the upper arm and the cylinder base to the lower frame. Secure both ends with locking pins and cotters.
Step 6: Connect the Pump and Hoses
Mount the hydraulic pump to the side of the base frame. Connect the high-pressure hose between the pump outlet and the cylinder inlet. Use Teflon tape on all threaded joints to prevent oil leakage.
Step 7: Fill the System with Hydraulic Oil
Pour hydraulic oil into the pump reservoir up to the recommended level. Pump the pedal several times to bleed air from the system. Continue until the motion becomes smooth and noise-free.
Step 8: Test the Lift Table
Operate the table up and down without load first. Then test with a light load to verify stability and performance. If lifting is uneven or jerky, recheck hose connections and hydraulic fluid level.
Hydraulic Lift Table Assembly
Safety Tips for Hydraulic Lift Table Assembly
Safety should always be your top priority when assembling or using a hydraulic lift table:
- Wear protective gloves and goggles at all times.
- Assemble the table on a flat and dry surface.
- Never go under the table unless the safety lock is engaged.
- Use only recommended hydraulic oil.
- Do not exceed the maximum rated pressure.
- Lower the table fully before moving it.
Maintenance and Service Schedule
Daily Maintenance
Hydraulic Lift Table Assembly
- Wipe the tabletop and clean off dust and debris.
- Check for any oil leaks.
- Ensure wheel locks function properly.
Monthly Maintenance
- Lubricate all joints and pins with grease.
- Check oil level and top up if necessary.
- Test the pressure relief valve for proper operation.
Annual Maintenance
- Replace the hydraulic oil completely.
- Inspect O-rings and seals for wear.
- Repaint or touch up corroded metal areas if needed.
Hydraulic Lift Table Assembly
Troubleshooting Common Problems
| Problem | Possible Cause | Solution |
|---|---|---|
| Table does not lift | Low hydraulic oil | Add oil |
| Table moves unevenly | Air in hydraulic system | Bleed air from the system |
| Oil leakage | Damaged hose or seal | Replace faulty part |
| Sudden drop in height | Defective control valve | Repair or replace the valve |
Pro Assembly Tips for Better Performance
- Use galvanized bolts and nuts to prevent rusting.
- After assembly, re-tighten all connections.
- Test the system at least three times before full operation.
- Use cylinder dust covers in dusty environments.
- For heavy-duty use, select higher-viscosity oil (e.g., ISO 68).
Hydraulic Lift Table Assembly

🧰 Step-by-Step Guide to Hydraulic Lift Table Assembly
Preparation Before Assembly
Before starting the hydraulic table assembly, make sure your workspace and tools are ready.
Required Tools:
- Wrench set (box, socket, adjustable)
- Flat and Phillips screwdrivers
- Rubber mallet
- Industrial grease and Teflon tape
- Hydraulic oil (ISO 32 or 46)
- Safety gloves and protective goggles
Pro Tip: Always work on a flat, clean, and dry surface to ensure stability and prevent accidents during assembly.
Hydraulic Lift Table Assembly
Step 1 – Assemble the Base Frame
- Place both base frame sections on the floor.
- Connect them with bolts and nuts, making sure the frame is leveled.
- Apply anti-rust coating to metal contact areas before tightening.
🔧 Tip: Tighten bolts gradually and evenly after confirming the frame is level.
Step 2 – Install the Casters
- Mount four casters under the base frame.
- Use two locking casters at the front for safety.
- After installation, test the brakes to ensure stability.
🚨 Safety Note: Keep the base from moving during wheel installation to avoid tipping.
Hydraulic Lift Table Assembly
Step 3 – Install the Scissor Arms
- Place the scissor arms according to the diagram.
- Insert pins through the arm joints and secure them with snap rings.
- Manually move the arms to ensure smooth motion.
⚙️ Common Issue:
If the arms feel stiff, check the pin alignment or apply fresh grease to the bushings.
Step 4 – Mount the Table Platform
- Carefully place the top platform on the scissor arms.
- Secure it using bolts or pins according to the design.
- Check that the table surface is perfectly level.
📏 Tip: Use a spirit level to ensure precision alignment.
Hydraulic Lift Table Assembly
Step 5 – Install the Hydraulic Cylinder
- Position the hydraulic cylinder between the two scissor arms.
- The rod end (piston) connects to the upper arm, and the cylinder body connects to the base frame.
- Secure with pins and retaining clips.
🛠 Warning: Install the cylinder in the correct direction — reversed installation can cause unstable motion or damage.
Step 6 – Mount the Pump and Oil Reservoir
- Install the pump (manual, foot, or electric) in its designated spot.
- Connect the reservoir, ensuring easy access to the oil filling cap.
- Check or install the relief valve to prevent overpressure.
💡 Tip: Keep the pump accessible for maintenance and oil refilling.
Hydraulic Lift Table Assembly
Step 7 – Connect Hydraulic Hoses and Fittings
- Connect the high-pressure hose from the pump to the cylinder’s inlet port.
- Use Teflon tape or thread sealant to prevent leaks.
- Route the hoses securely to avoid kinks or interference with moving parts.
🧩 Pro Tip: Use metal clamps to fix the hoses in place for long-term durability.
Step 8 – Fill Hydraulic Oil and Bleed the System
- Fill the pump reservoir with hydraulic oil (ISO 32 or 46).
- Pump slowly several times to remove air from the lines.
- Continue until table movement becomes smooth and silent.
⚠️ Caution: Never use non-hydraulic oils; they can damage seals and reduce system performance.
Step 9 – Perform Function Test
- Operate the lift table without load several times.
- Then test with a light load (about 30% of rated capacity).
- Finally, check operation under full load.
🎯 Performance Checklist:
- Motion should be smooth and stable.
- No oil leakage or abnormal noise should occur.
Hydraulic Lift Table Assembly
Step 10 – Final Adjustments and Safety Locking
- Recheck all bolts, nuts, and hose connections.
- Tighten everything securely using a torque wrench if available.
- Attach safety locks, warning labels, and maintenance instructions.
✅ Final Checklist:
- Frame is level and stable
- Oil level is correct
- Safety locks engaged
- System tested under load
Maintenance Tips for Hydraulic Lift Tables
- Daily: Clean the surface and check for leaks.
- Monthly: Lubricate joints and inspect hose conditions.
- Annually: Replace hydraulic oil and inspect O-rings.
🧰 Pro Tip: Regular maintenance extends the lift’s lifespan and ensures smooth operation.
Hydraulic Lift Table Assembly
Troubleshooting Common Issues
| Problem | Possible Cause | Solution |
|---|---|---|
| Table won’t lift | Low oil / air in system / pump failure | Check oil, bleed air, inspect pump |
| Jerky or unstable motion | Air bubbles or dirty oil | Bleed system, replace oil |
| Oil leakage | Loose fittings or damaged seals | Tighten connections, replace seals |
| Sudden drop under load | Faulty control valve or O-rings | Inspect valve, replace O-rings |
Conclusion
Assembling a hydraulic lift table may seem challenging at first, but with the right tools, knowledge, and safety precautions, it’s an achievable and rewarding task.
To summarize:
- Understanding the components simplifies the assembly process.
- Prioritizing safety prevents injuries and equipment damage.
- Regular maintenance significantly extends the table’s lifespan.
By following these steps, you can build a safe, durable, and efficient hydraulic lift table for your workshop or industrial environment — while saving on maintenance and labor costs.
📞 Need Help?
Let us take care of the hard work while you sit back and relax.
📍 Serving: Austin, Round Rock, Cedar Park & more
📱 Call or Text: (737) 420-6992
🌐 Visit: https://lavahandyman.com


