Mounting a TV on a Ceramic Wall: A Complete and Practical Guide
Introduction
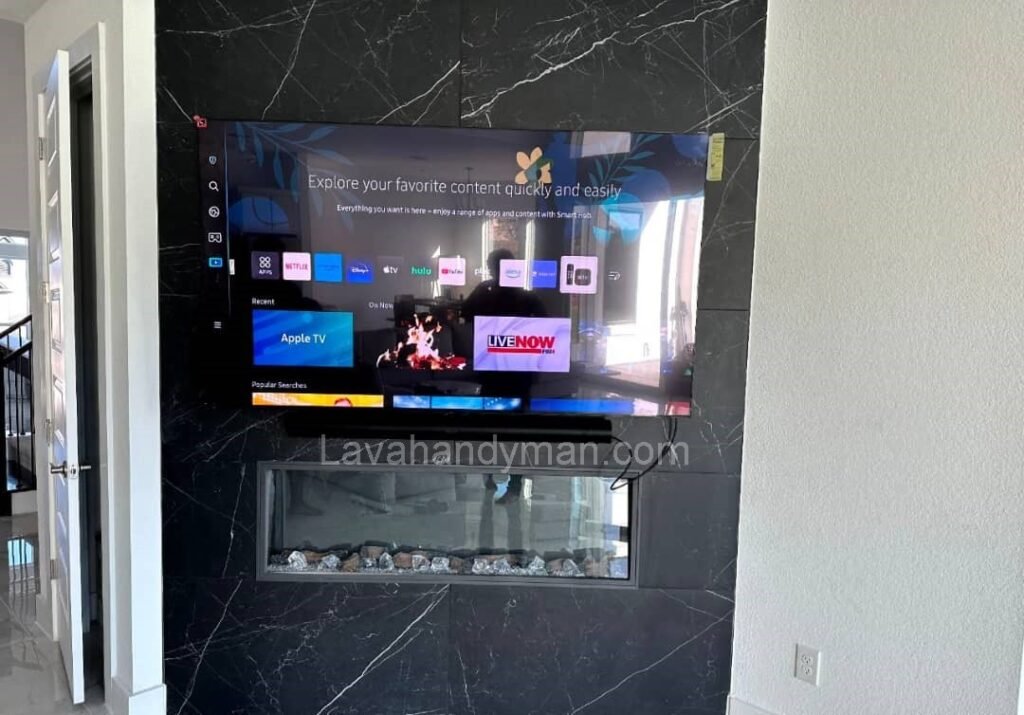
With technological advancements and the popularity of flat-screen TVs, mounting a television on the wall has become one of the most common ways to optimize space and create a modern interior design. However, mounting a TV on a ceramic wall requires more precision, skill, and specialized tools compared to drywall or wooden walls. Ceramics are fragile and slippery, which can pose serious challenges for installers—any small mistake can lead to cracks or the TV falling.
This article provides a comprehensive guide covering the benefits, challenges, necessary tools, installation steps, and safety tips, as well as professional methods for mounting a TV on a ceramic wall.
1. Why Mount a TV on a Ceramic Wall?
1.1 Space Saving
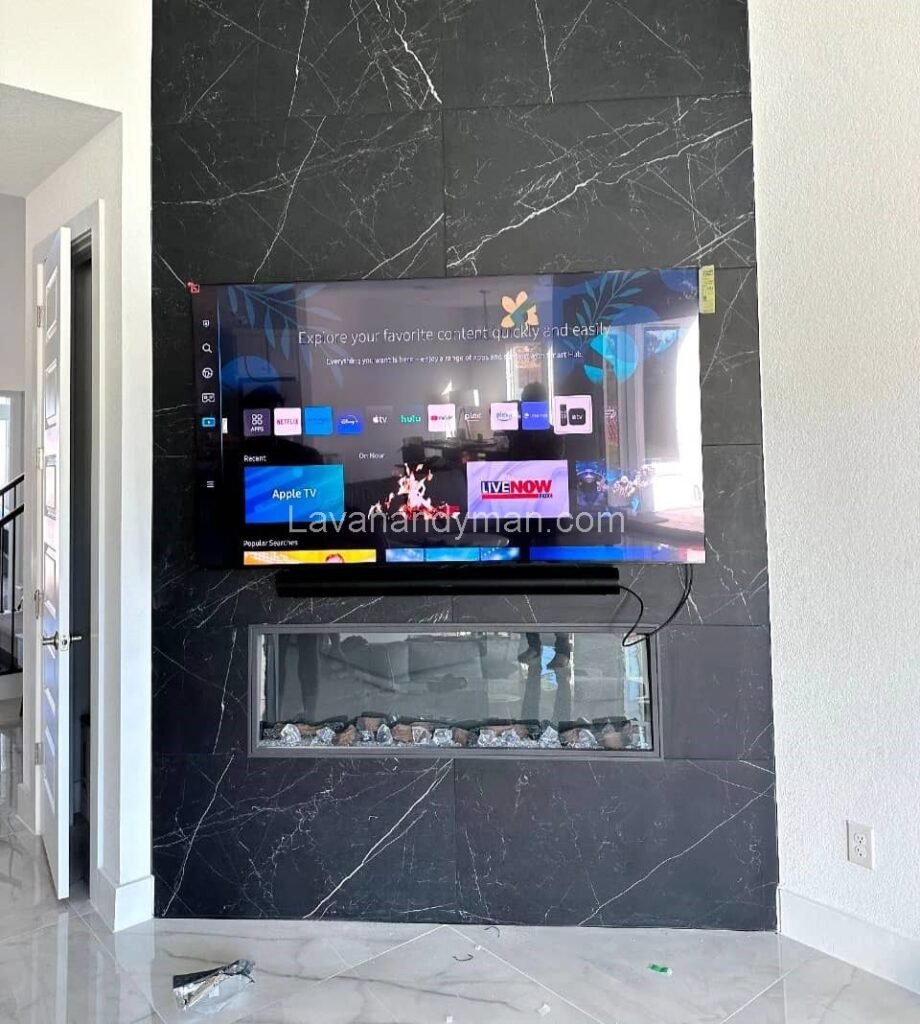
Wall-mounted TVs free up floor space, eliminating the need for large TV stands. This is particularly useful in small apartments or crowded rooms.
Mounting a TV on a Ceramic Wall: A Complete and Practical Guide

1.2 Modern Aesthetic
A wall-mounted TV adds a sleek and modern look to your interior, allowing it to harmonize with furniture, curtains, and other decorative elements.
1.3 Improved Viewing Angle
Mounting the TV at the correct height aligns it with the viewer’s eye level, creating a more comfortable and enjoyable viewing experience.
1.4 Safety
Properly mounting the TV prevents it from falling, which is especially important for households with children or pets.
Mounting a TV on a Ceramic Wall: A Complete and Practical Guide
2. Challenges of Mounting a TV on a Ceramic Wall
Ceramic walls are hard and fragile, making TV installation more demanding. Key challenges include:
- Cracking the ceramic: Incorrect drilling or excessive pressure can crack or break the tiles.
- Loose screws: The smooth surface of ceramics reduces the grip of plugs, potentially causing screws to loosen.
- Limited placement options: Behind ceramic tiles, there may be electrical wiring or plumbing that must be avoided.
3. Essential Tools and Equipment
Using the right tools is critical for a safe and professional installation:
- Drill with a ceramic tile bit: For precise drilling without cracking the tile.
- Special screws and wall plugs: Short metal screws and plugs designed for ceramic tiles.
- Level and ruler: To ensure the TV is perfectly straight.
- Standard TV bracket: Strong enough to support the TV and allow angle adjustment.
- Pencil or marker: For accurate hole marking.
- Plastic hammer or mallet: To install wall plugs without damaging the tile.
Mounting a TV on a Ceramic Wall: A Complete and Practical Guide
4. Steps to Mount a TV on a Ceramic Wall
4.1 Choosing the Right Location
- Standard height: The center of the TV should be approximately at eye level when seated.
- Avoid heat and moisture sources: Do not mount the TV near heaters, air conditioners, or windows.
- Access to power and cables: Ensure wiring behind the TV is organized and safe.
4.2 Marking the Holes
Place the TV bracket on the wall and mark the drill points with a pencil. Always use a level to ensure the markings are straight.
4.3 Drilling the Ceramic
- Use a ceramic drill bit.
- Keep the drill speed low.
- To prevent slipping, apply tape over the drill point.
- Use water or a cooling solution to reduce heat and protect the tile.
Mounting a TV on a Ceramic Wall: A Complete and Practical Guide
4.4 Installing Wall Plugs
Insert the wall plug into the hole and gently tap it with a plastic hammer until secure. Ensure it is fully fixed.
4.5 Attaching the Bracket
Secure the TV bracket to the wall plugs with screws. All screws must be tight and level.
4.6 Mounting the TV
With the help of another person, place the TV on the bracket and lock or fasten it. After installation, double-check the TV’s level.
Mounting a TV on a Ceramic Wall: A Complete and Practical Guide
5. Safety Tips
- Always have at least one helper during installation.
- Wear gloves and protective glasses.
- Repair any cracks or damage in the wall before installation.
- Ensure screws and brackets match the TV’s weight.
6. Common Installation Mistakes
- Drilling too fast or applying excessive pressure.
- Using inappropriate screws or wall plugs.
- Mounting the TV without checking level.
- Ignoring cable placement or power outlets.
Mounting a TV on a Ceramic Wall: A Complete and Practical Guide
7. Professional Tips and Tricks
- Use a swivel bracket to adjust the viewing angle.
- Organize cables with cable covers for a neat appearance.
- For fragile walls, consider mounting a MDF board behind the ceramic for extra support.
- Check wiring and plumbing behind the tiles before drilling to avoid hazards.
Step-by-Step Guide to Mounting a TV on a Ceramic Wall
Mounting a TV on a ceramic wall requires precision and the right tools to ensure safety and a professional look. Here is a practical, step-by-step guide:
Step 1: Choose the Right Location
- Standard height: The center of the TV should be at eye level when seated.
- Avoid heat and moisture: Do not mount near heaters, air conditioners, or windows.
- Access to power outlets and cables: Ensure wiring is organized and easily accessible.
- Consider viewing angles: Check from different positions in the room to ensure optimal visibility.
Mounting a TV on a Ceramic Wall: A Complete and Practical Guide
Step 2: Prepare Tools and Materials
Essential tools include:
- Drill with a ceramic tile bit
- Screws and wall plugs suitable for ceramic
- TV bracket that can support the weight of your TV
- Level, pencil or marker, plastic hammer
- Cable covers for organizing wires
Step 3: Mark the Drill Points
- Place the TV bracket on the wall.
- Use a pencil or marker to mark the exact hole locations.
- Check with a level to ensure the marks are perfectly horizontal.
Mounting a TV on a Ceramic Wall: A Complete and Practical Guide
Step 4: Drill the Ceramic Wall
- Attach the ceramic bit to the drill.
- Keep the drill speed low to avoid cracking the tiles.
- To prevent the bit from slipping, apply transparent tape over the drill points.
- Optionally, use a little water or coolant to reduce heat during drilling.
Step 5: Install Wall Plugs
- Insert the wall plug into the hole.
- Gently tap it with a plastic hammer until firmly seated.
- Make sure the plug is secure and does not wobble.
Step 6: Attach the TV Bracket
- Position the bracket over the wall plugs.
- Tighten the screws carefully to ensure it is secure.
- Double-check that the bracket is level before mounting the TV.
Mounting a TV on a Ceramic Wall: A Complete and Practical Guide
Step 7: Mount the TV
- With the help of another person, lift the TV onto the bracket.
- Lock or fasten the bracket to secure the TV safely.
- Recheck that the TV is perfectly level.
Step 8: Organize Cables and Final Check
Ensure the TV is stable and secure with no wobbling or loose parts.
Use cable covers or clips to tidy the wires for a professional look.
Complete Guide to TV Mount Types
Choosing the right TV mount is one of the most important steps for safely and effectively installing a television on the wall. The mount should match the TV’s weight, wall type, viewing angle, and room layout. Here’s a detailed explanation of the main types of TV mounts with their advantages, disadvantages, and best applications:
Mounting a TV on a Ceramic Wall: A Complete and Practical Guide
1. Fixed / Flat Mount
Features:
- The TV is mounted flush and flat against the wall.
- The simplest and most affordable type of mount.
Advantages:
- Sleek, minimal appearance.
- Quick and easy installation.
- Suitable for light to medium-weight TVs.
Disadvantages:
- Fixed viewing angle; cannot tilt or swivel.
- Not ideal for rooms with glare or multiple viewing angles.
Best For:
- Small rooms with a fixed seating position.
- People looking for a simple, space-saving solution.
Mounting a TV on a Ceramic Wall: A Complete and Practical Guide
2. Tilt Mount
Features:
- Allows tilting up or down to improve the viewing angle.
Advantages:
- Ideal for TVs mounted higher than eye level.
- Reduces glare from windows or lights.
- Relatively simple and cost-effective.
Disadvantages:
- No horizontal swivel.
- Stands slightly away from the wall.
Best For:
- TVs installed on high walls.
- Rooms with a fixed viewing area but a need for slight tilt adjustment.
3. Full-Motion / Articulating Mount
Features:
- Allows full swivel, tilt, and extension away from the wall.
Advantages:
- Full viewing angle from any point in the room.
- Can adjust the TV’s distance from the wall.
- Ideal for large or multi-purpose rooms.
Disadvantages:
- More complex installation; requires stronger wall anchors.
- Higher cost compared to fixed or tilt mounts.
- TV is slightly offset from the wall.
Best For:
- Large living rooms or multi-purpose spaces.
- Users who want to adjust the viewing angle freely.
4. Swivel Mount
Features:
- Allows limited horizontal rotation without extension from the wall.
Advantages:
- Simple, practical angle adjustment.
- Easier to install than full-motion mounts.
Disadvantages:
- Limited movement; cannot tilt or adjust distance from the wall.
Best For:
- Rooms where only minor angle adjustments are needed.
5. Ceiling Mount
Features:
- The TV hangs from the ceiling and is suitable for spaces where wall mounting isn’t possible.
Advantages:
- Ideal for rooms with limited wall space or large halls.
- Full flexibility in height and viewing angle.
Disadvantages:
- Complex installation; requires a strong ceiling.
- More expensive than wall-mounted options.
Best For:
- Conference rooms, sports halls, or rooms with no suitable wall.
Key Tips for Choosing a TV Mount
Cost and Installation: Simple mounts are cheaper and easier; motion or ceiling mounts are more expensive and complex.
TV Weight and Size: Ensure the mount can support the TV.
Wall Type: Use suitable anchors for ceramic, brick, or drywall.
Viewing Angle and Flexibility: Tilt or full-motion mounts offer greater flexibility.
Room Layout and Decor: Flat mounts for minimalist design; motion mounts for large or multi-purpose spaces.
Conclusion
Mounting a TV on a ceramic wall requires precision, proper tools, and adherence to safety principles. By selecting the right location, using suitable drill bits and wall plugs, and following safety guidelines, you can achieve a beautiful, professional, and secure TV installation. This method not only frees up floor space but also adds a modern aesthetic and enhances the viewing experience.
📞 Need Help?
Let us take care of the hard work while you sit back and relax.
📍 Serving: Austin, Round Rock, Cedar Park & more
📱 Call or Text: (737) 420-6992
🌐 Visit: https://lavahandyman.com