Installing Multi-Piece and Decorative Wall Art | Comprehensive Guide
Introduction
Multi-piece and decorative wall art is one of the best ways to beautify the interior walls of homes, offices, and public spaces. These artworks, with their modern and diverse designs, can create an attractive focal point in your décor and give your space a unique identity. Proper and professional installation of these pieces not only enhances the aesthetic appeal but also ensures safety. In this article, we’ll walk you through all the essential tips and steps for installing multi-piece and decorative wall art step by step.
Section One: Understanding Multi-Piece and Decorative Wall Art
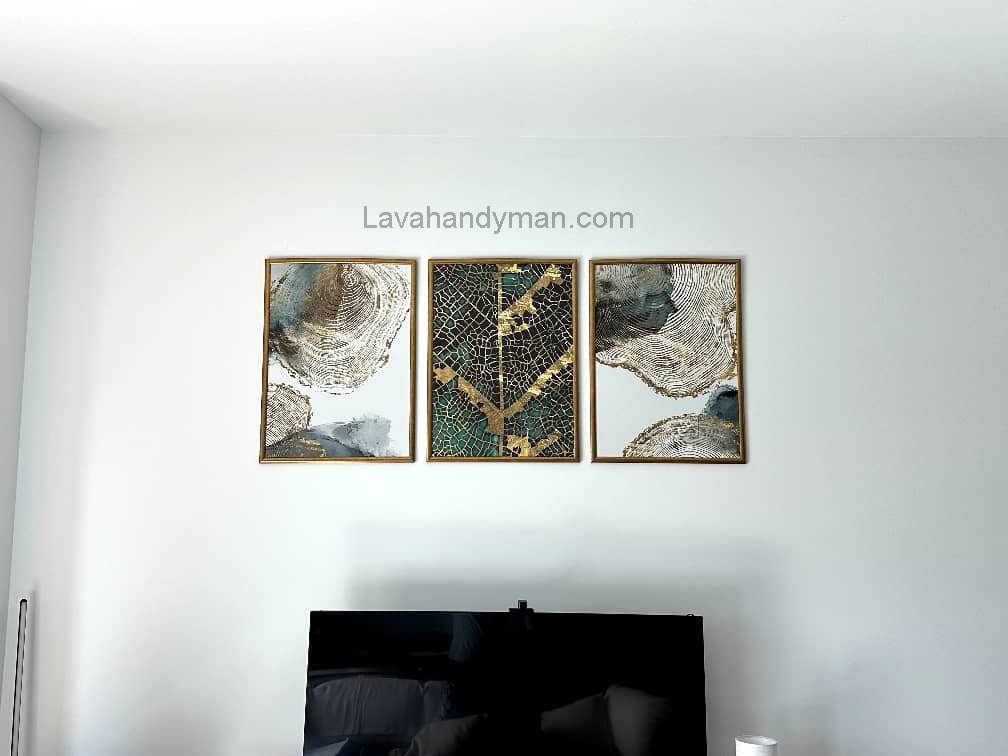
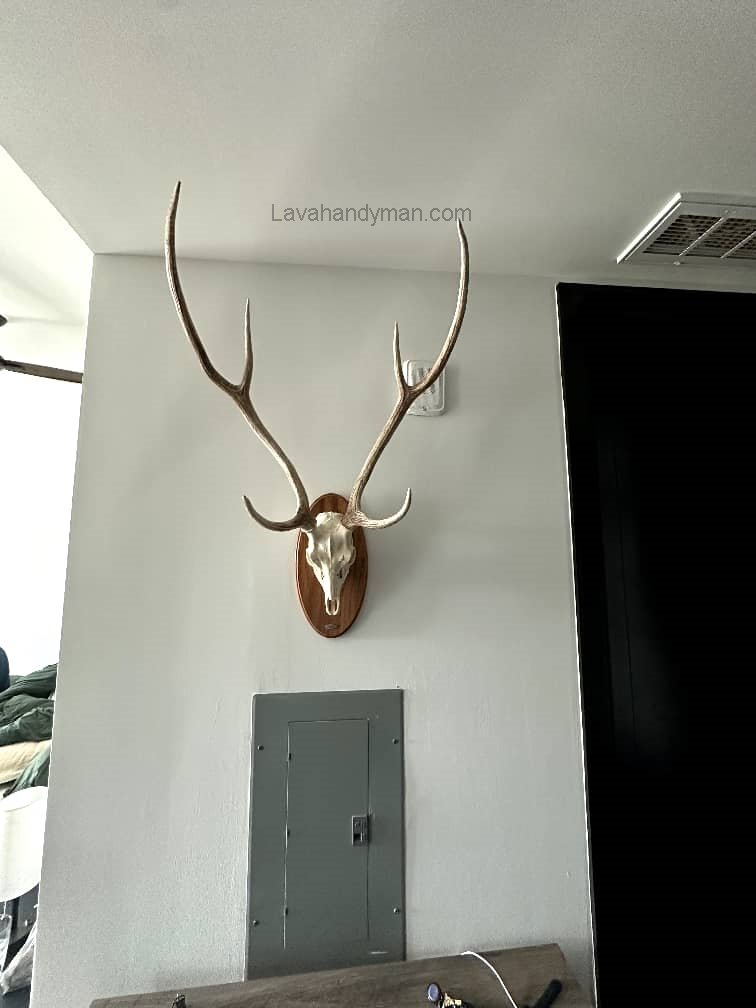
Multi-piece wall art consists of several separate pieces that come together to form a complete image or design. This style allows you to play with spacing and arrangement to add a modern and artistic touch to your walls. Decorative wall art is usually a single piece but focuses on material, color, and texture to create a luxurious and distinctive look.

Installing Multi-Piece and Decorative Wall Art | Comprehensive Guide
Section Two: Choosing the Right Wall Art
- Matching the Décor Style: Choose artwork that complements the overall style of your space. For example, multi-piece geometric designs suit modern interiors, while decorative art with classic frames works better in traditional settings.
- Proper Size for the Wall: The artwork should be large enough to fill the wall without overcrowding it.
- Color Coordination: The colors of the art should harmonize with the wall and other decorative elements for a balanced look.
Section Three: Tools Needed
To install multi-piece wall art, you’ll need:
- Nails and screws suitable for the weight of the artwork
- Wall plugs (anchors) for hard walls
- Measuring tape and level for precise measurements and straight installation
- Pencil for marking spots
- Drill for making holes
- Hammer
- Hooks or hangers designed for artwork
Installing Multi-Piece and Decorative Wall Art | Comprehensive Guide
Section Four: Installation Steps
- Initial Layout: Arrange the pieces on the floor to finalize the design and spacing.
- Measuring and Marking: Use the tape measure and level to mark exact spots on the wall for each piece.
- Preparing the Wall: Ensure the wall is clean, dry, and smooth. Repair any uneven areas before installation.
- Installing Supports: Depending on the wall type and artwork weight, insert nails, screws, or wall plugs at the marked spots.
- Hanging the Art: Carefully hang each piece on its support and double-check alignment and levelness.
- Final Adjustments: Step back and view from a distance, adjusting the placement slightly if necessary.
Section Five: Important Tips and Common Mistakes
- Using inappropriate hardware for heavy artwork can cause it to fall; always use proper screws and anchors.
- Avoid installing on weak or cracked walls without reinforcement to prevent accidents.
- Crooked and unevenly spaced art looks unprofessional; always use a level and maintain consistent spacing.
- Spacing between pieces should be balanced—not too far or too close—to keep the design intact.
Installing Multi-Piece and Decorative Wall Art | Comprehensive Guide
Section Six: Creative Ideas
- Use LED backlighting to highlight the artwork and add depth.
- Install pieces asymmetrically for a dynamic feel.
- Combine the artwork with other décor elements like shelves or mirrors for an interesting visual composition.
Section Seven: Maintenance
- Protect the artwork from direct moisture and water exposure.
- Dust the pieces regularly with a soft, dry cloth.
- Use mild cleaning agents if needed.
- Avoid hitting or applying pressure to the art.
Installing Multi-Piece and Decorative Wall Art | Comprehensive Guide
Types of Brackets Suitable for Installing Multi-Piece and Decorative Wall Art
Choosing the right bracket is crucial when installing multi-piece and decorative wall art. The type of bracket depends on the weight of the artwork, the wall material, and the kind of art. Below are the most common types of brackets:
- D-Ring Hangers
- Suitable for light to medium-weight artwork
- Screw onto the back of the artwork and hang on nails or screws on the wall
- Allow for precise height adjustment and leveling
- Adhesive Hooks or Strips
- Suitable for very light artwork
- Installed without drilling holes in the wall
- Best for drywall or painted walls but not recommended for heavy pieces
- L-Brackets
- Suitable for heavy and large artwork
- Screwed into both the wall and the back of the artwork for strong support
- Usually installed at the corners of the artwork
- French Cleat System
- A two-piece system where one part attaches to the wall and the other to the back of the artwork
- Makes hanging and repositioning easy
- Very sturdy and ideal for heavy pieces
- Simple Hooks and Nails
- Used for light to medium-weight artwork
- Quick and easy to install but less secure than specialized brackets
Installing Multi-Piece and Decorative Wall Art | Comprehensive Guide
Important Note: Always choose a bracket that can support the weight of your artwork and is compatible with your wall type (drywall, concrete, brick, etc.). For hard walls like concrete or brick, using wall anchors (rawl plugs) is essential to ensure the bracket is securely fixed and the artwork stays safely mounted.
Step-by-Step Guide to Installing Wall Art
1. Planning and Choosing the Installation Location
- Select a suitable spot on the wall that has good visibility and matches your décor.
- The usual height for installation is about 150 to 160 cm from the floor to the center of the artwork.
2. Arranging the Art Pieces on the Floor
- Lay out the pieces on the floor to finalize the design and spacing between them.
- This step helps ensure the size and arrangement are appropriate before hanging.
3. Measuring and Marking on the Wall
- Use a measuring tape to determine the exact positions for each piece.
- Mark the spots for nails or screws lightly with a pencil.
- Use a level to make sure the marks are even, so the artwork won’t hang crooked.
4. Preparing the Wall
- Clean and dry the wall surface.
- If the wall is uneven, use filler or appropriate materials to smooth it out.
5. Installing Wall Anchors and Screws (If Needed)
- For hard walls like concrete or brick, drill holes at the marked spots and insert wall anchors (rawl plugs).
- Then screw in the screws or nails securely into the anchors.
6. Installing Brackets or Hooks on the Wall
Installing Multi-Piece and Decorative Wall Art | Comprehensive Guide
- Attach the appropriate brackets or hooks for each piece to the screws or nails.
- Ensure the brackets are sturdy and secure.
7. Hanging the Art Pieces
- Hang each piece on its bracket or hook.
- Carefully check and adjust to make sure each piece is level.
8. Final Review
- Step back and view the artwork from a distance to ensure the overall design looks balanced and neat.
- Adjust the spacing between pieces if necessary.
Installing Multi-Piece and Decorative Wall Art | Comprehensive Guide
Types of Wall Art, Size, and Timing for Installing Multi-Piece and Decorative Wall Art
1. Type of Wall Art
- Multi-piece Art:
Consists of several separate pieces that come together to form a complete image or design. These are ideal for modern and minimalist spaces, creating a dynamic and artistic effect. - Decorative Art:
Usually single-piece, focusing more on texture, color, and frame design. This type suits classic, luxurious, and more formal interiors.
2. Size of the Wall Art
- Proportional to the Wall: The size of the artwork should be appropriate for the wall size; small pieces can get lost on large walls, and very large pieces can overwhelm the space.
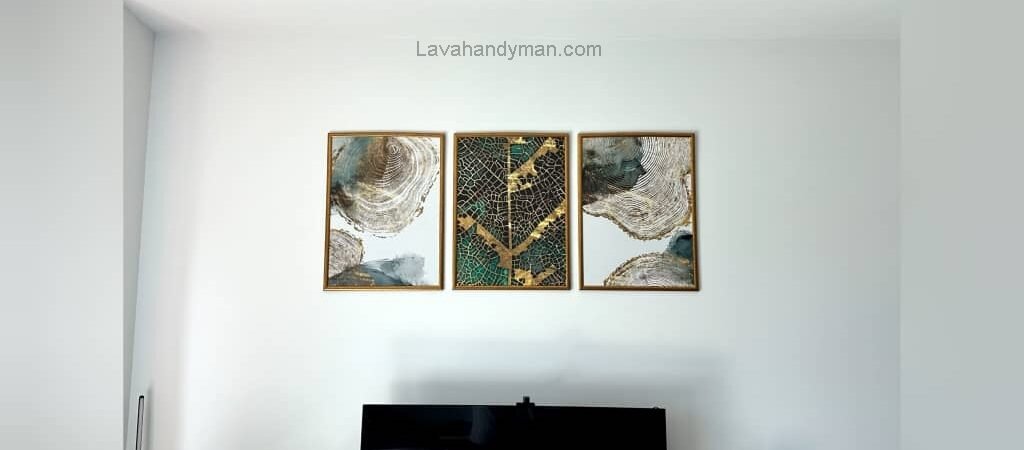
- Common Dimensions: For medium-sized walls, artworks between 60 to 90 cm wide are suitable. For multi-piece art, the combined dimensions of the pieces should be arranged with proper spacing to create a balanced composition.
- Spacing Between Pieces: For multi-piece art, a gap of 2 to 5 cm between pieces is recommended so the design is clear and not cluttered.
Installing Multi-Piece and Decorative Wall Art | Comprehensive Guide
3. Timing for Installation
Allow for Adhesive Drying Time: If using adhesive brackets, make sure to allow enough time for the glue to dry and set securely.
Before Painting or Wallpapering: It’s best to plan and prepare the installation spots before painting or wallpapering the walls to avoid unnecessary holes and repairs later.
After Completing Interior Decoration: When furniture and main items are in place, it’s easier to decide the exact location for the artwork.
Daytime Installation: Installing during the day with sufficient natural light helps ensure accuracy in measuring and leveling.
Proper Height for Hanging Wall Art
Installing Multi-Piece and Decorative Wall Art | Comprehensive Guide
1. Standard Height for Hanging Artwork
- Generally, the center of the artwork should be between 140 to 160 cm (about 55 to 63 inches) from the floor.
- This height ensures the artwork is at eye level for most people standing, providing the best visual impact.
2. Proportion to Surrounding Furniture
- If the artwork is to be hung above a sofa or table, there should be about 15 to 25 cm (6 to 10 inches) between the bottom of the artwork and the top of the furniture.
- This spacing helps integrate the artwork with the furniture, creating a balanced visual composition.
3. Height for Multi-Piece Artworks
- For multi-piece artworks, the entire set should be hung at the standard height mentioned above.
- Care should be taken to maintain proper spacing between pieces so that the overall design is preserved and the center height of the whole arrangement is appropriate.
4. In Special Spaces
- In living rooms or large halls, the hanging height may be adjusted slightly higher or lower to harmonize with the room’s dimensions and ceiling height.
- In public spaces or galleries, artworks may not be hung at standard eye level but placed according to the design and layout of the space.
Final Note
The height of the artwork should be chosen so that it is comfortably visible and coordinated with other elements in the space. Following these guidelines ensures the artwork stands out as a striking element in the décor.
Conclusion
Multi-piece and decorative wall art offers a simple and effective way to enhance your interior spaces. By choosing the right art, using proper tools, and paying attention to installation details, you can create a stunning and professional-looking environment. This guide has equipped you to install your wall décor easily and enjoy the art of interior decoration.
📞 Need Help?
Let us take care of the hard work while you sit back and relax.
📍 Serving: Austin, Round Rock, Cedar Park & more
📱 Call or Text: (737) 420-6992
🌐 Visit: https://lavahandyman.com