

Proper Installation of a Wall-Mounted TV with a Specialized Bracket
1. Introduction
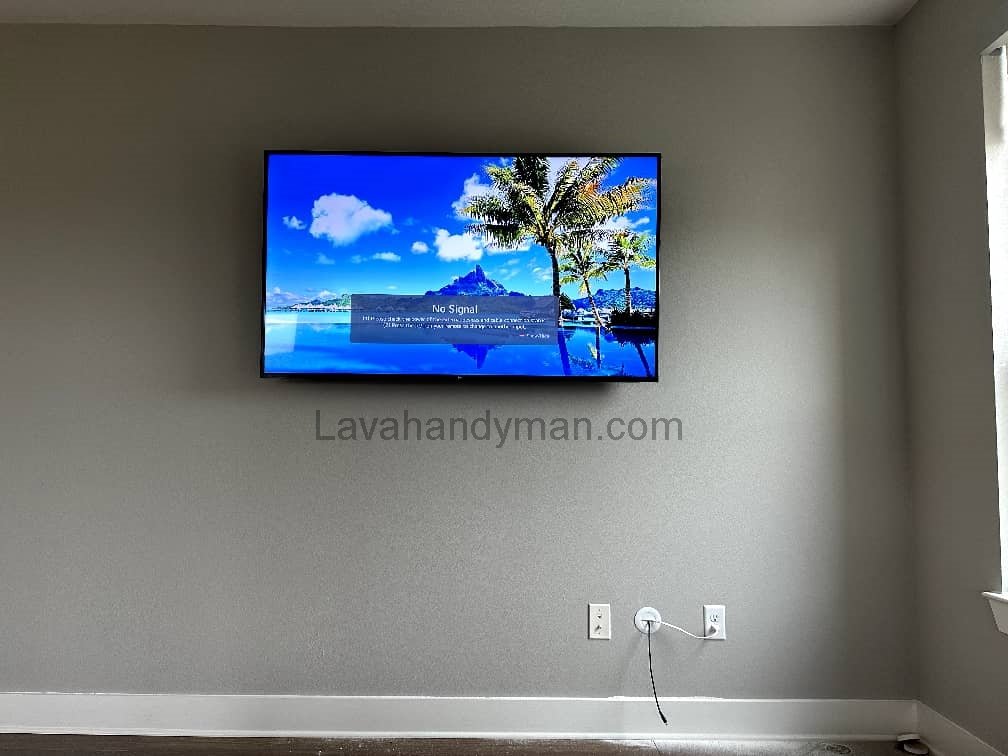
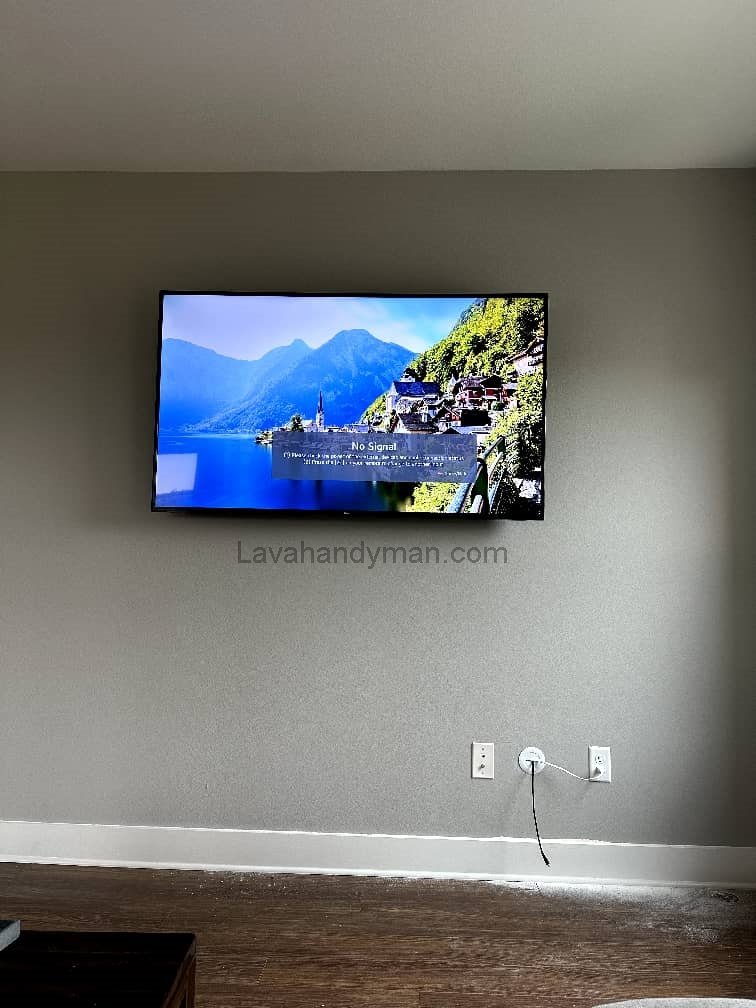
Wall-mounting a flat-screen TV not only enhances the aesthetics of a room but also saves space and improves the viewing experience. As flat-panel TVs become more popular, specialized wall brackets have become essential accessories. However, improper installation can lead to significant damage and safety hazards. This article provides a complete guide for installing your TV securely and correctly using wall-mount brackets.
2. Choosing the Right Location
The position of the TV plays a vital role in comfort and image quality. Consider the following when selecting the installation site:
- Optimal Viewing Angle: Avoid direct sunlight or reflective surfaces.
- Access to Power and Cables: The location should be close to a power outlet and necessary input ports (HDMI, antenna, LAN, etc.).
- Seating Alignment: Ideally, the center of the TV screen should be at eye level when seated.
- Wall Strength: Ensure the wall can support the weight. Weak drywall may require reinforcement or choosing a stud location.
Proper Installation of a Wall-Mounted TV with a Specialized Bracket
3. Understanding Different Types of Wall Mount Brackets
a) Fixed Bracket
The most basic type — sturdy and cost-effective. It holds the TV in a fixed position and is ideal for eye-level installations in stable lighting environments.
b) Tilting Bracket
Allows vertical adjustment (up/down), helpful when mounting above fireplaces or when avoiding glare from overhead lighting.
c) Full-Motion / Articulating Bracket
Offers complete flexibility: swivel, tilt, and extend/retract. Perfect for multi-angle viewing rooms or corner installations. More complex and expensive.
Proper Installation of a Wall-Mounted TV with a Specialized Bracket
4. Tools and Equipment Needed
To ensure a secure and professional installation, prepare the following:
- Wall bracket (VESA compatible)
- Appropriate screws and wall anchors
- Drill and drill bits for wood, concrete, or drywall
- Spirit level
- Measuring tape and pencil
- Screwdriver (manual or electric)
- Protective gloves and safety goggles
- HDMI, power, and AV/network cables
- Cable management accessories (clips, ducts, etc.)
Proper Installation of a Wall-Mounted TV with a Specialized Bracket
5. Wall Assessment
Identify the wall type:
- Brick or Concrete Walls: Ideal. Use standard anchors or chemical bolts.
- Drywall (Plasterboard): Weak for direct mounting. Use wall studs or chemical anchors for reinforcement.
- Gypsum or Hollow Walls: Must anchor to internal studs. Avoid mounting directly on hollow panels.
Check for internal wiring or plumbing before drilling.
Proper Installation of a Wall-Mounted TV with a Specialized Bracket
6. Determining Ideal Height and Viewing Distance
Proper alignment enhances viewing comfort and reduces eye/neck strain.
- Height: The center of the TV should ideally be between 100–120 cm (39–47 in) from the floor.
- Viewing Distance: 1.5 to 2.5 times the screen’s diagonal size. For example, for a 55″ TV, maintain a distance of about 2–3 meters (6.5–10 ft).
7. Step-by-Step Installation Process
Step 1: Marking the Wall
- Use a pencil and level to mark where the bracket will be mounted.
- Confirm the location aligns with wall studs or is reinforced.
Step 2: Installing the Wall Plate
- Drill holes as marked. Insert wall anchors as per wall type.
- Securely fasten the wall bracket using the appropriate screws.
- Recheck alignment with a level.
Proper Installation of a Wall-Mounted TV with a Specialized Bracket
Step 3: Attaching Brackets to the TV
- Lay the TV screen-down on a soft surface.
- Align the bracket arms to the VESA holes on the back of the TV.
- Insert and tighten screws evenly — don’t overtighten.
Step 4: Hanging the TV on the Wall
- With another person’s help, lift and hook the TV onto the wall-mounted bracket.
- Engage the locking mechanism or safety screws.
- Adjust angle or tilt as needed.
Proper Installation of a Wall-Mounted TV with a Specialized Bracket
8. Cable Management and Aesthetics
Proper cable organization improves safety and appearance:
- Use clips, adhesive cable guides, or decorative ducts.
- For a cleaner look, run cables behind the wall using in-wall rated conduits.
- Keep cables away from heat sources and ensure they’re not under tension.
- Choose high-quality shielded cables to prevent signal interference.
Proper Installation of a Wall-Mounted TV with a Specialized Bracket
9. Safety Tips and Compliance Standards
- Weight Support: Ensure the bracket supports at least 1.5x the TV’s weight.
- VESA Compatibility: Match the bracket to your TV’s VESA mount pattern (e.g., 200×200, 400×400).
- Power: Use grounded outlets and surge protectors.
- Lifting: Never lift a large TV alone — always ask for assistance.
- Ventilation: Leave enough space around the TV for proper airflow.
Proper Installation of a Wall-Mounted TV with a Specialized Bracket
10. Common Mistakes and Solutions
| Issue | Solution |
|---|---|
| Crooked installation | Always use a spirit level before final tightening |
| Loose or wobbly TV | Recheck safety locks and mounting points |
| Screen glare | Adjust tilt or reposition TV slightly |
| Visible or tangled cables | Use cable ducts or behind-wall routing |
| Weak wall surface | Use chemical anchors or choose a stud/reinforced location |
Proper Installation of a Wall-Mounted TV with a Specialized Bracket
🧩 A Complete Guide to TV Wall Mount Brackets
Choosing the right wall mount is one of the most critical steps in properly installing your TV. The type of bracket you use affects not only the aesthetics of your space but also the safety, comfort, and accessibility of your setup. Here’s an in-depth look at different types of TV brackets, including their pros, cons, and ideal use cases.
1. Fixed Wall Mount
Description:
Fixed mounts hold the TV flush against the wall without any movement. This type offers a clean, minimalist look with minimal gap between the TV and the wall.
Advantages:
- Simple and easy to install
- Most affordable option
- Very stable, with low vibration
- Ideal for direct, eye-level viewing
Proper Installation of a Wall-Mounted TV with a Specialized Bracket
Disadvantages:
- No tilt or swivel adjustments
- Difficult access to rear ports
- Not suitable for high wall placements
Best For:
- Bedrooms or rooms with a consistent viewing angle
- Anyone prioritizing aesthetics and low-profile design
Proper Installation of a Wall-Mounted TV with a Specialized Bracket
2. Tilting Wall Mount
Description:
Tilting mounts allow vertical angle adjustment (typically up to 15 degrees), helping reduce screen glare and improve viewing from higher or lower positions.
Advantages:
- Helps reduce reflections from lights or windows
- Ideal for mounting above eye level (e.g., above fireplaces)
- Maintains strong wall contact while adding flexibility
Disadvantages:
- Only allows vertical adjustment
- Slightly more expensive than fixed mounts
- Slightly more distance from the wall
Best For:
- Rooms with overhead lighting or natural glare
- Users who mount the TV higher than eye level
Proper Installation of a Wall-Mounted TV with a Specialized Bracket
3. Full-Motion / Articulating Mount
Description:
This advanced bracket offers complete movement: swivel left/right, tilt up/down, and extend/retract from the wall. It uses articulated arms for full flexibility.
Advantages:
- Excellent multi-angle viewing
- Easy access to the back of the TV
- Ideal for corner placements or multi-purpose rooms
Disadvantages:
- More expensive
- More complex to install
- Exerts more stress on the wall; requires a strong mounting surface
Best For:
- Living rooms with multiple seating areas
- Users who frequently access rear ports
- Unique room layouts or corner installations
Proper Installation of a Wall-Mounted TV with a Specialized Bracket
4. Ceiling Mount
Description:
This bracket mounts the TV from the ceiling and often features 360° rotation and adjustable height.
Advantages:
- Saves wall space
- High flexibility in positioning
- Great visibility from different directions
Disadvantages:
- Requires a solid ceiling structure
- Less common in home environments
- Installation is more complex
Best For:
- Public spaces (gyms, airports, shops)
- Open floor plans without suitable walls
Proper Installation of a Wall-Mounted TV with a Specialized Bracket
5. Anti-Theft Mount
Description:
Equipped with locking mechanisms or security features to prevent theft or tampering.
Best For:
- Commercial environments (expos, hospitals, retail)
- Shared or rental spaces where theft is a concern
Proper Installation of a Wall-Mounted TV with a Specialized Bracket
🧠 How to Choose the Right TV Mount
When selecting a wall bracket, consider the following:
| Factor | Recommendation |
|---|---|
| TV Size & Weight | Ensure the bracket supports your TV’s dimensions and weight. |
| VESA Compatibility | Check the VESA pattern (e.g., 400×400 mm) on your TV and match it with the bracket. |
| Wall Type | Weak walls (like drywall or plasterboard) are not ideal for full-motion mounts; consider fixed or reinforced setups. |
| Viewing Angle | Fixed view? Use a simple mount. Multiple viewing angles? Go with a full-motion bracket. |
| Port Accessibility | If you often plug/unplug cables, choose a tilt or articulating mount. |
| Budget & Aesthetics | Slim mounts are great for modern design. Articulating ones are costlier but more functional. |
Proper Installation of a Wall-Mounted TV with a Specialized Bracket
🛠️ Key Tips for Proper TV Wall Mounting
Mounting your TV on the wall, when done correctly, enhances both the appearance and functionality of your space while ensuring safety and comfort. Follow these essential tips for a secure and professional installation:
1. 📍 Choose the Right Location
- Comfortable Viewing Angle: The center of the TV should be at eye level when seated (around 110 cm from the floor).
- Avoid Direct Light: Do not install the TV opposite windows or under direct overhead lights to prevent glare.
- Close to Power & Ports: Select a spot near outlets and data ports to reduce messy cable runs.
2. 🧱 Check Wall Type
- Use a Strong Wall: Concrete, brick, or walls with metal/wood studs are ideal.
- Avoid Weak Surfaces: For drywall or plaster, use appropriate anchors or find wall studs for secure mounting.
Proper Installation of a Wall-Mounted TV with a Specialized Bracket
3. 🔩 Choose the Right Bracket
- Ensure it supports your TV’s weight and size
- Must be VESA-compatible with your TV’s mounting holes
- Choose based on your needs:
- Fixed: for direct, level viewing
- Tilting: reduces glare and supports higher mounting
- Full-motion/Articulating: offers flexible viewing angles
4. 📐 Measure Accurately
- Use a measuring tape and level to mark drill points.
- Double-check alignment before drilling.
- Mark drill holes lightly with a pencil for precision.
Proper Installation of a Wall-Mounted TV with a Specialized Bracket
5. 🧰 Tools & Supplies You’ll Need
- Drill with appropriate bit for your wall
- Screws, wall plugs, or anchor bolts (based on wall type)
- Screwdriver, level, tape measure, safety gloves, and goggles
- High-quality cables for power, HDMI, antenna, etc.
6. 🛠️ Safe Installation Steps
- Always work with a second person for safety and accuracy.
- Secure the bracket firmly and check for level alignment.
- Lock the TV into the bracket properly to avoid accidents.
7. 🧼 Cable Management & Aesthetics
- Use cable ducts, clips, or wall covers to keep wires neat.
- If possible, route cables inside the wall (while following electrical safety standards).
- A clean setup improves both safety and design.
8. ⚠️ Post-Installation Safety
If moving the TV, repeat the entire installation process properly.
Periodically check screws and bracket stability.
Prevent children or pets from pulling or hanging on the TV.
Final Summary
Properly mounting your TV on the wall adds style, saves space, and creates a cinematic experience — but only when done correctly. From selecting the right bracket to securely anchoring it and organizing cables, every detail matters. Always prioritize safety and, if unsure, consult or hire a professional installer.
📞 Need Help?
Let us take care of the hard work while you sit back and relax.
📍 Serving: Austin, Round Rock, Cedar Park & more
📱 Call or Text: (737) 420-6992
🌐 Visit: https://lavahandyman.com
